

Learn through the super-clean Baeldung Pro experience:
>> Membership and Baeldung Pro.
No ads, dark-mode and 6 months free of IntelliJ Idea Ultimate to start with.
Last updated: January 24, 2024
Learn through the super-clean Baeldung Pro experience:
>> Membership and Baeldung Pro.
No ads, dark-mode and 6 months free of IntelliJ Idea Ultimate to start with.
Creating a multiboot USB drive enables us to carry a whole toolbox of operating systems and utilities anywhere. There are many tools available to make a bootable USB. However, not all tools can create multiboot USB drives. Further, not all tools that can, are cross-platform.
In this tutorial, we’ll see how to create a bootable USB with multiple ISO choices in Linux.
Specifically, we’ve performed the steps described in this tutorial on Ubuntu 22.04.
A multi-bootable USB drive offers the ability to carry multiple operating systems on a single flash drive. This proves invaluable for many use cases:
So, eliminating the need for multiple physical USB drives, we can more conveniently choose our OS or bootable application on the spot.
There are several good options for creating a multiboot USB drive in Linux. Each tool has its strengths and weaknesses. So it’s essential to consider various aspects before using a tool:
Let’s see some of the popular choices of tools for multibooting.
YUMI (Your Universal Multiboot Installer) is a handy tool that can set up multiple ISO files on the same USB drive for booting. Furthermore, it automatically configures GRUB or Syslinux bootloaders.
To start, we download YUMI using wget:
$ wget https://yumiusb.com/downloads/YUMI/YUMI4Linux.tar.gzNext, we extract the file with the tar command:
$ tar xzvf YUMI4Linux.tar.gzLet’s navigate to the extracted directory:
$ cd YUMI4LINUXNow, we set the execute permission to the installer file via chmod:
$ chmod +x YUMI.shNotably, YUMI requires a Wine environment for its operation. Hence, Wine is a requirement for YUMI.
Finally, we run the file with sudo privileges:
$ sudo ./YUMI.shA series of prompts should start appearing. For example, to list all available devices, we enter a:
Enter the number corresponding to your USB device: aNext, we select the target USB device. In our case it’s 3) sdc – 57.3G – SanDisk. So, we enter 3 to select the device:
Enter the number corresponding to your USB device: 3Moving on, we see a warning message regarding new files and backing up the old ones:
==================== WARNING! ====================
 /dev/sdc will be wiped clean and and reformatted.
 YUMI and Ventoy boot files will be installed.
 All existing data on disk /dev/sdc will be lost.
 Backup files you wish to keep before proceeding!
==================== WARNING! ====================
Again, we should back up our files before moving further.
To continue, we enter y:
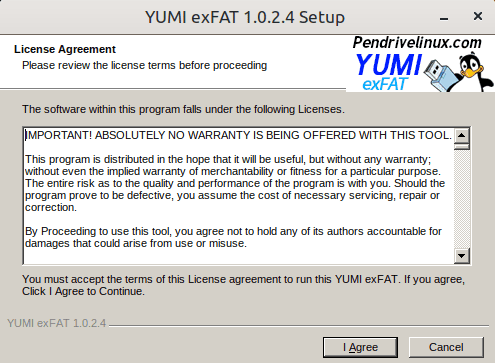
Continue? (y/n)YUMI now starts formatting our USB drive as well as downloading some new files. When the download finishes, a license agreement window opens up:
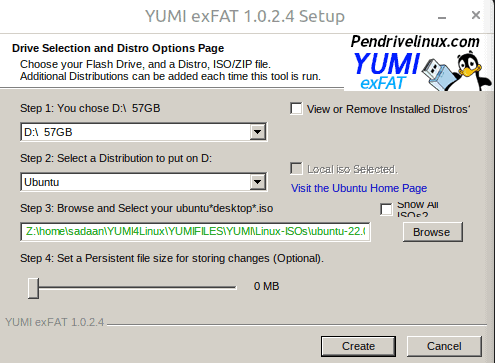
After accepting the license agreement, we get a prompt to select the target USB device. In this case, the previously selected device appears.
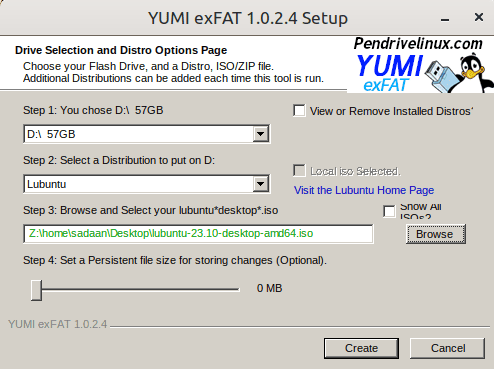
Next, we can browse and select the Linux distributions to install. Let’s install Ubuntu 22.04:
After clicking the Create button, we can see the progress of the OS installation:
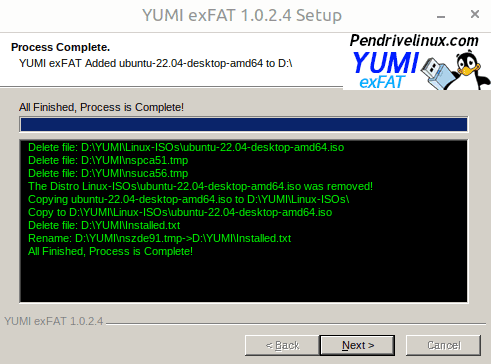
When the process finishes, the installer prompts if we want to add more distros:
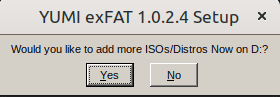
We click Yes and add another ISO file. This time we’re adding Lubuntu 23.04:
Now, we wait for the process to finish:
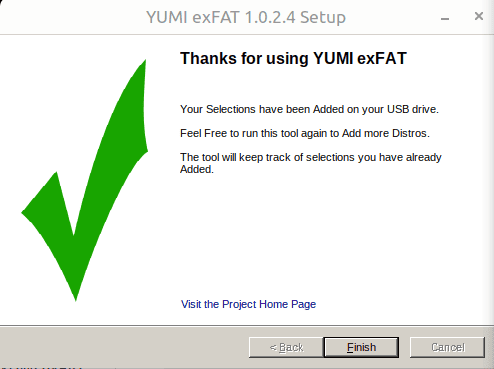
When the process completes, we can answer no for not adding more operating systems.
Let’s try to boot the system via the USB drive and see whether we can see the two ISO files:
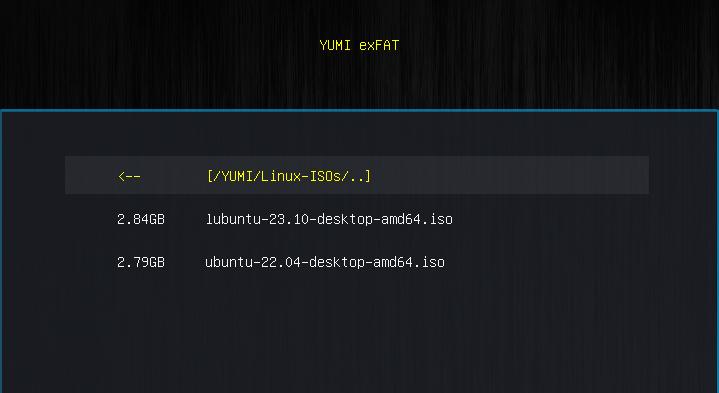
Finally, the new boot options are available in the boot menu.
SARDU (Shardana Antivirus Rescue Disk Utility) is another effective tool for creating a multiboot USB.
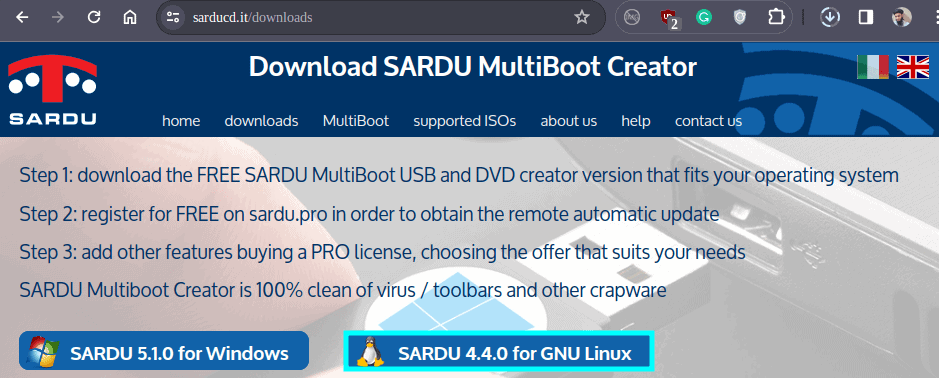
Sardu is available in three variants:
For this tutorial, we’ll use the free standard version of Sardu.
Let’s download Sardu from the official website:
Next, we extract the downloaded archive file using tar:
$ tar -xf sardu_4.4.0-linux.tar.gzThen, we change to the extracted directory:
$ cd sardu-440-linux/Now, we run the sardu_4 script with sudo:
$ sudo ./sardu_4Sardu’s main window opens along with a prompt asking for license information.
We can simply ignore the license prompt since we’re working with a free version of the tool.
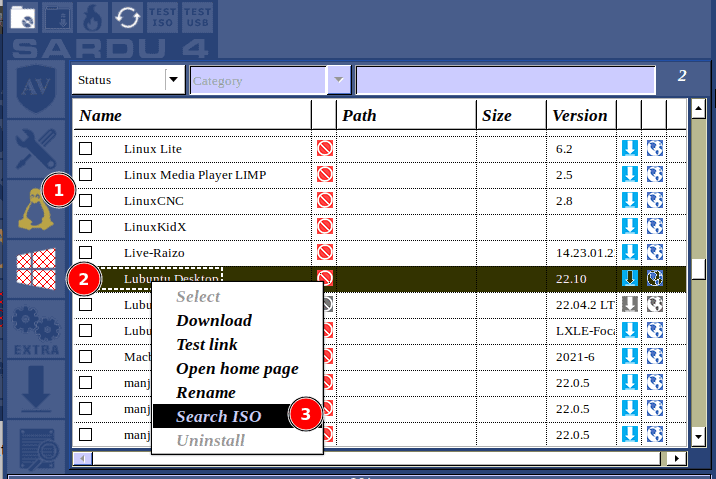
From the penguin icon on the left panel, we select the OS to install. First, we pick the name of the target OS. Then, we right-click the OS name and select the option Search ISO:
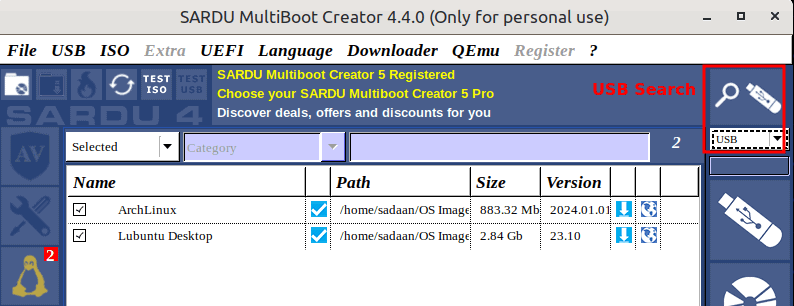
The path of the ISO file should eventually appear in the Path column. In this way, we can select multiple ISO images. For example, we’ve selected ArchLinux and Lubuntu 23.10.
Further, we select our USB device using the USB search icon on the top of the right panel. Subsequently, the target USB device appears in the list.
Finally, we can create the multiboot USB drive by clicking the USB icon below the USB device name:
The installation process starts once we click yes on the subsequent prompt:
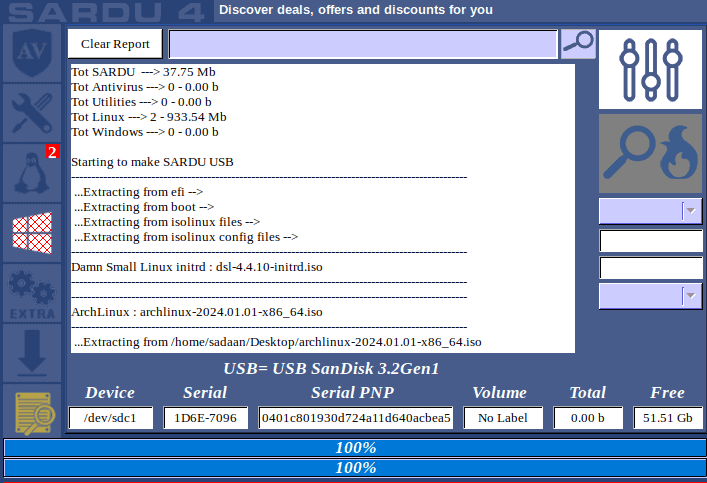
After the installation, an operation completion dialogue appears:
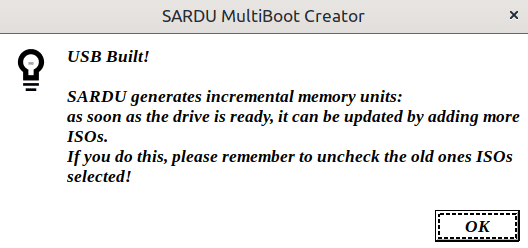
At this point, we can test our USB drive.
MultiBootUSB also enables the storage of multiple operating systems on a single USB drive. We can download the package .deb file from SourceForge.
Let’s try installing the .deb file of MultiBootUSB using dpkg:
$ sudo dpkg -i /python3-multibootusb_9.2.0-1_all.deb
(Reading database ... 451827 files and directories currently installed.)
Preparing to unpack .../python3-multibootusb ...
Unpacking python3-multibootusb ...
...
Once installation is complete, we can start MultiBootUSB from the Application menu or the command line with sudo access:
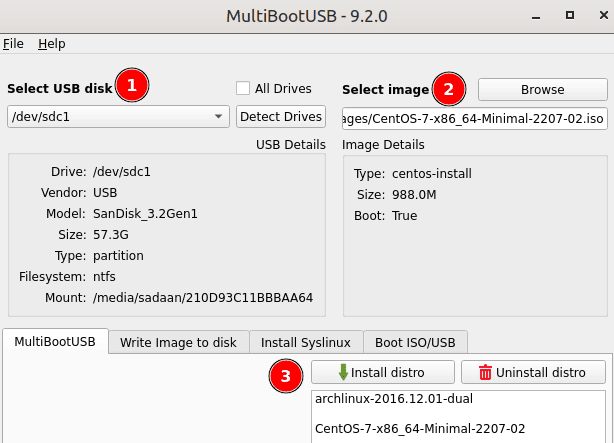
$ sudo multibootusbMultiBootUSB has a fairly straightforward interface. It automatically detects plugged-in USB devices.
Next, we select the ISO file to boot.
Let’s first select ArchLinux and click the Install distro option. Once the installation completes, we add the second OS, say CentOS 7:
Interestingly, MultiBootUSB enables checking ISO files and bootable USB without a system reboot. For this, it uses the Qemu emulator.
Let’s switch to the Boot ISO/USB tab. We click on Boot USB to check our USB:
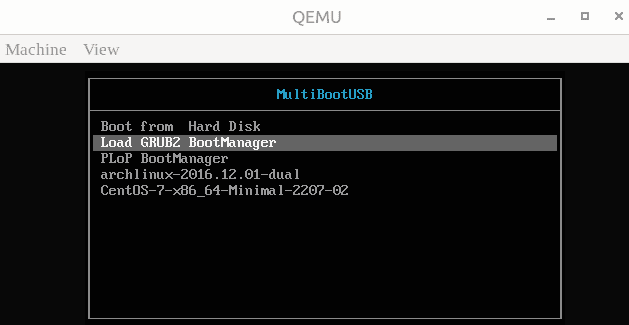
Eventually, the boot screen appears with the option to boot from multiple OSs.
The MultiSystem tool can also be used to get multiple OS versions on a single USB drive.
Unlike other tools, it comes installed within a live Ubuntu ISO file. Thus, we can start the ISO file using a virtual machine manager like VirtualBox. When the virtual machine starts, Multisystem also starts automatically.
Furthermore, we can use the refresh button to detect the target USB. Next, we click on the Confirm button to proceed.
Now, we can drag and drop the required ISO files one by one to Multisystem:
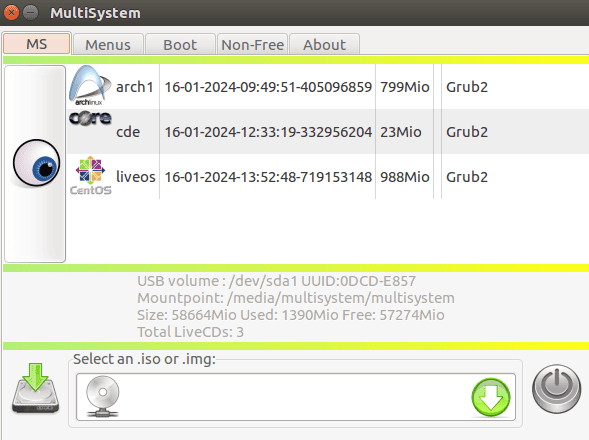
Multisystem automatically starts the process of making the USB bootable. Similarly, we can add multiple ISO files.
Let’s check if we can boot properly:
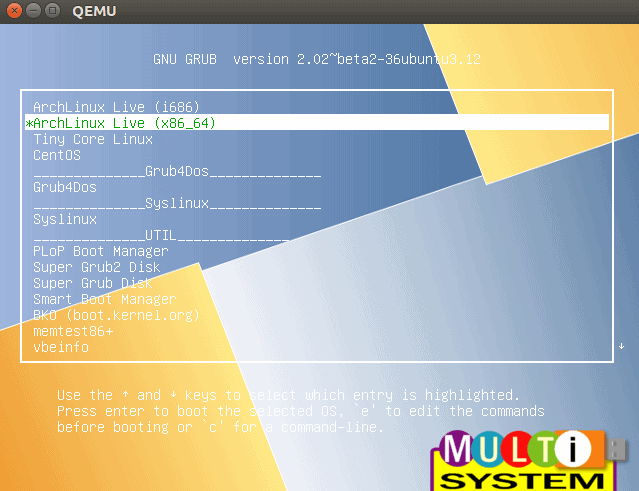
As we can see, there are many options to pick from.
In this article, we discussed many fairly easy ways to build a customized multiboot drive in Linux.
First, we saw how to use YUMI. Then, we used the Sardu tool. Notably, many options in Sardu are available only to paid users. Next, we leveraged the MultiBootUSB tool for our purposes. Finally, we used the MultiSystem tool which has a simpler drag-and-drop function.