

Mocking is an essential part of unit testing, and the Mockito library makes it easy to write clean and intuitive unit tests for your Java code.
Get started with mocking and improve your application tests using our Mockito guide:
Handling concurrency in an application can be a tricky process with many potential pitfalls. A solid grasp of the fundamentals will go a long way to help minimize these issues.
Get started with understanding multi-threaded applications with our Java Concurrency guide:
Spring 5 added support for reactive programming with the Spring WebFlux module, which has been improved upon ever since. Get started with the Reactor project basics and reactive programming in Spring Boot:
Since its introduction in Java 8, the Stream API has become a staple of Java development. The basic operations like iterating, filtering, mapping sequences of elements are deceptively simple to use.
But these can also be overused and fall into some common pitfalls.
To get a better understanding on how Streams work and how to combine them with other language features, check out our guide to Java Streams:
Explore Spring Boot 3 and Spring 6 in-depth through building a full REST API with the framework:
Yes, Spring Security can be complex, from the more advanced functionality within the Core to the deep OAuth support in the framework.
I built the security material as two full courses - Core and OAuth, to get practical with these more complex scenarios. We explore when and how to use each feature and code through it on the backing project.
You can explore the course here:
Spring Data JPA is a great way to handle the complexity of JPA with the powerful simplicity of Spring Boot.
Get started with Spring Data JPA through the guided reference course:
Refactor Java code safely — and automatically — with OpenRewrite.
Refactoring big codebases by hand is slow, risky, and easy to put off. That’s where OpenRewrite comes in. The open-source framework for large-scale, automated code transformations helps teams modernize safely and consistently.
Each month, the creators and maintainers of OpenRewrite at Moderne run live, hands-on training sessions — one for newcomers and one for experienced users. You’ll see how recipes work, how to apply them across projects, and how to modernize code with confidence.
Join the next session, bring your questions, and learn how to automate the kind of work that usually eats your sprint time.
Yes, we're now running our only Summer Sale. All Courses are 30% off until 20th July, 2026:
Yes, we're now running our only Summer Sale. All Courses are 30% off until 20th July, 2026:
1. Introduction
In this tutorial, we’ll take a look at the Hermes message broker from Allegro Tech. We’ll see what it is, how to set it up and how to send and receive messages with it.
2. What Is Hermes?
Hermes is a message broker built on top of Apache Kafka. It takes a simple, HTTP-centric approach, letting clients publish messages and receive deliveries through standard HTTP requests. This design lets any client use it with minimal dependencies and without needing to understand the underlying messaging infrastructure. This means we can use Hermes to connect applications regardless of the technologies they’re using.
Despite giving us this simplified interface for publishing and receiving messages, Hermes does so with minimal overhead on top of the underlying Kafka system. It also delivers high reliability and scales easily as demand grows. It will do its best to ensure that all messages sent to the system are correctly processed and delivered to all clients, even if the underlying infrastructure is down.
3. Running Hermes
Hermes consists of several components that all need to work together:
- Hermes Management – Management interface for configuring Hermes groups, topics and subscriptions
- Hermes Frontend – Interface that accepts new messages from clients for delivery to subscribed clients.
- Hermes Consumers – Sends messages out to subscribed clients
In addition, we need some infrastructure. At a minimum, this means Kafka and Zookeeper,
The easiest way to get started quickly is with Docker. Allegro Tech publishes Docker containers for all the Hermes components, as well as for our dependencies. As such, we can use a Docker Compose file to start everything together:
services:
  zk:
    image: "confluentinc/cp-zookeeper:7.9.4"
    ports:
      - "2181:2181"
    user: root
    environment:
      ZOOKEEPER_CLIENT_PORT: 2181

  kafka:
    image: "confluentinc/cp-kafka:7.9.4"
    ports:
      - '9092:9092'
    depends_on:
      - zk
    user: root
    environment:
      KAFKA_ZOOKEEPER_CONNECT: zk:2181
      KAFKA_ADVERTISED_LISTENERS: DOCKER_INTERNAL_LISTENER://kafka:29092,DOCKER_EXTERNAL_LISTENER://localhost:9092
      KAFKA_LISTENER_SECURITY_PROTOCOL_MAP: DOCKER_INTERNAL_LISTENER:PLAINTEXT,DOCKER_EXTERNAL_LISTENER:PLAINTEXT
      KAFKA_INTER_BROKER_LISTENER_NAME: DOCKER_INTERNAL_LISTENER
      KAFKA_OFFSETS_TOPIC_REPLICATION_FACTOR: 1

  frontend:
    image: allegro/hermes-frontend:hermes-2.11.7
    ports:
      - "8080:8080"
    depends_on:
      - zk
      - kafka

  consumers:
    image: allegro/hermes-consumers:hermes-2.11.7
    ports:
      - "8070:8070"
    depends_on:
      - zk
      - kafka

  management:
    image: allegro/hermes-management:hermes-2.11.7
    ports:
      - "8090:8090"
    depends_on:
      - zk
      - kafka
This will start Hermes 2.11.7, the latest at the time of writing, along with Zookeeper and Kafka. Note that this simple version has no volumes configured, so no data will be persisted after we shut down our containers. As such, it’s only suitable for quick testing.
Once we’ve started everything up, we can access the management interface on http://localhost:8090/ui:
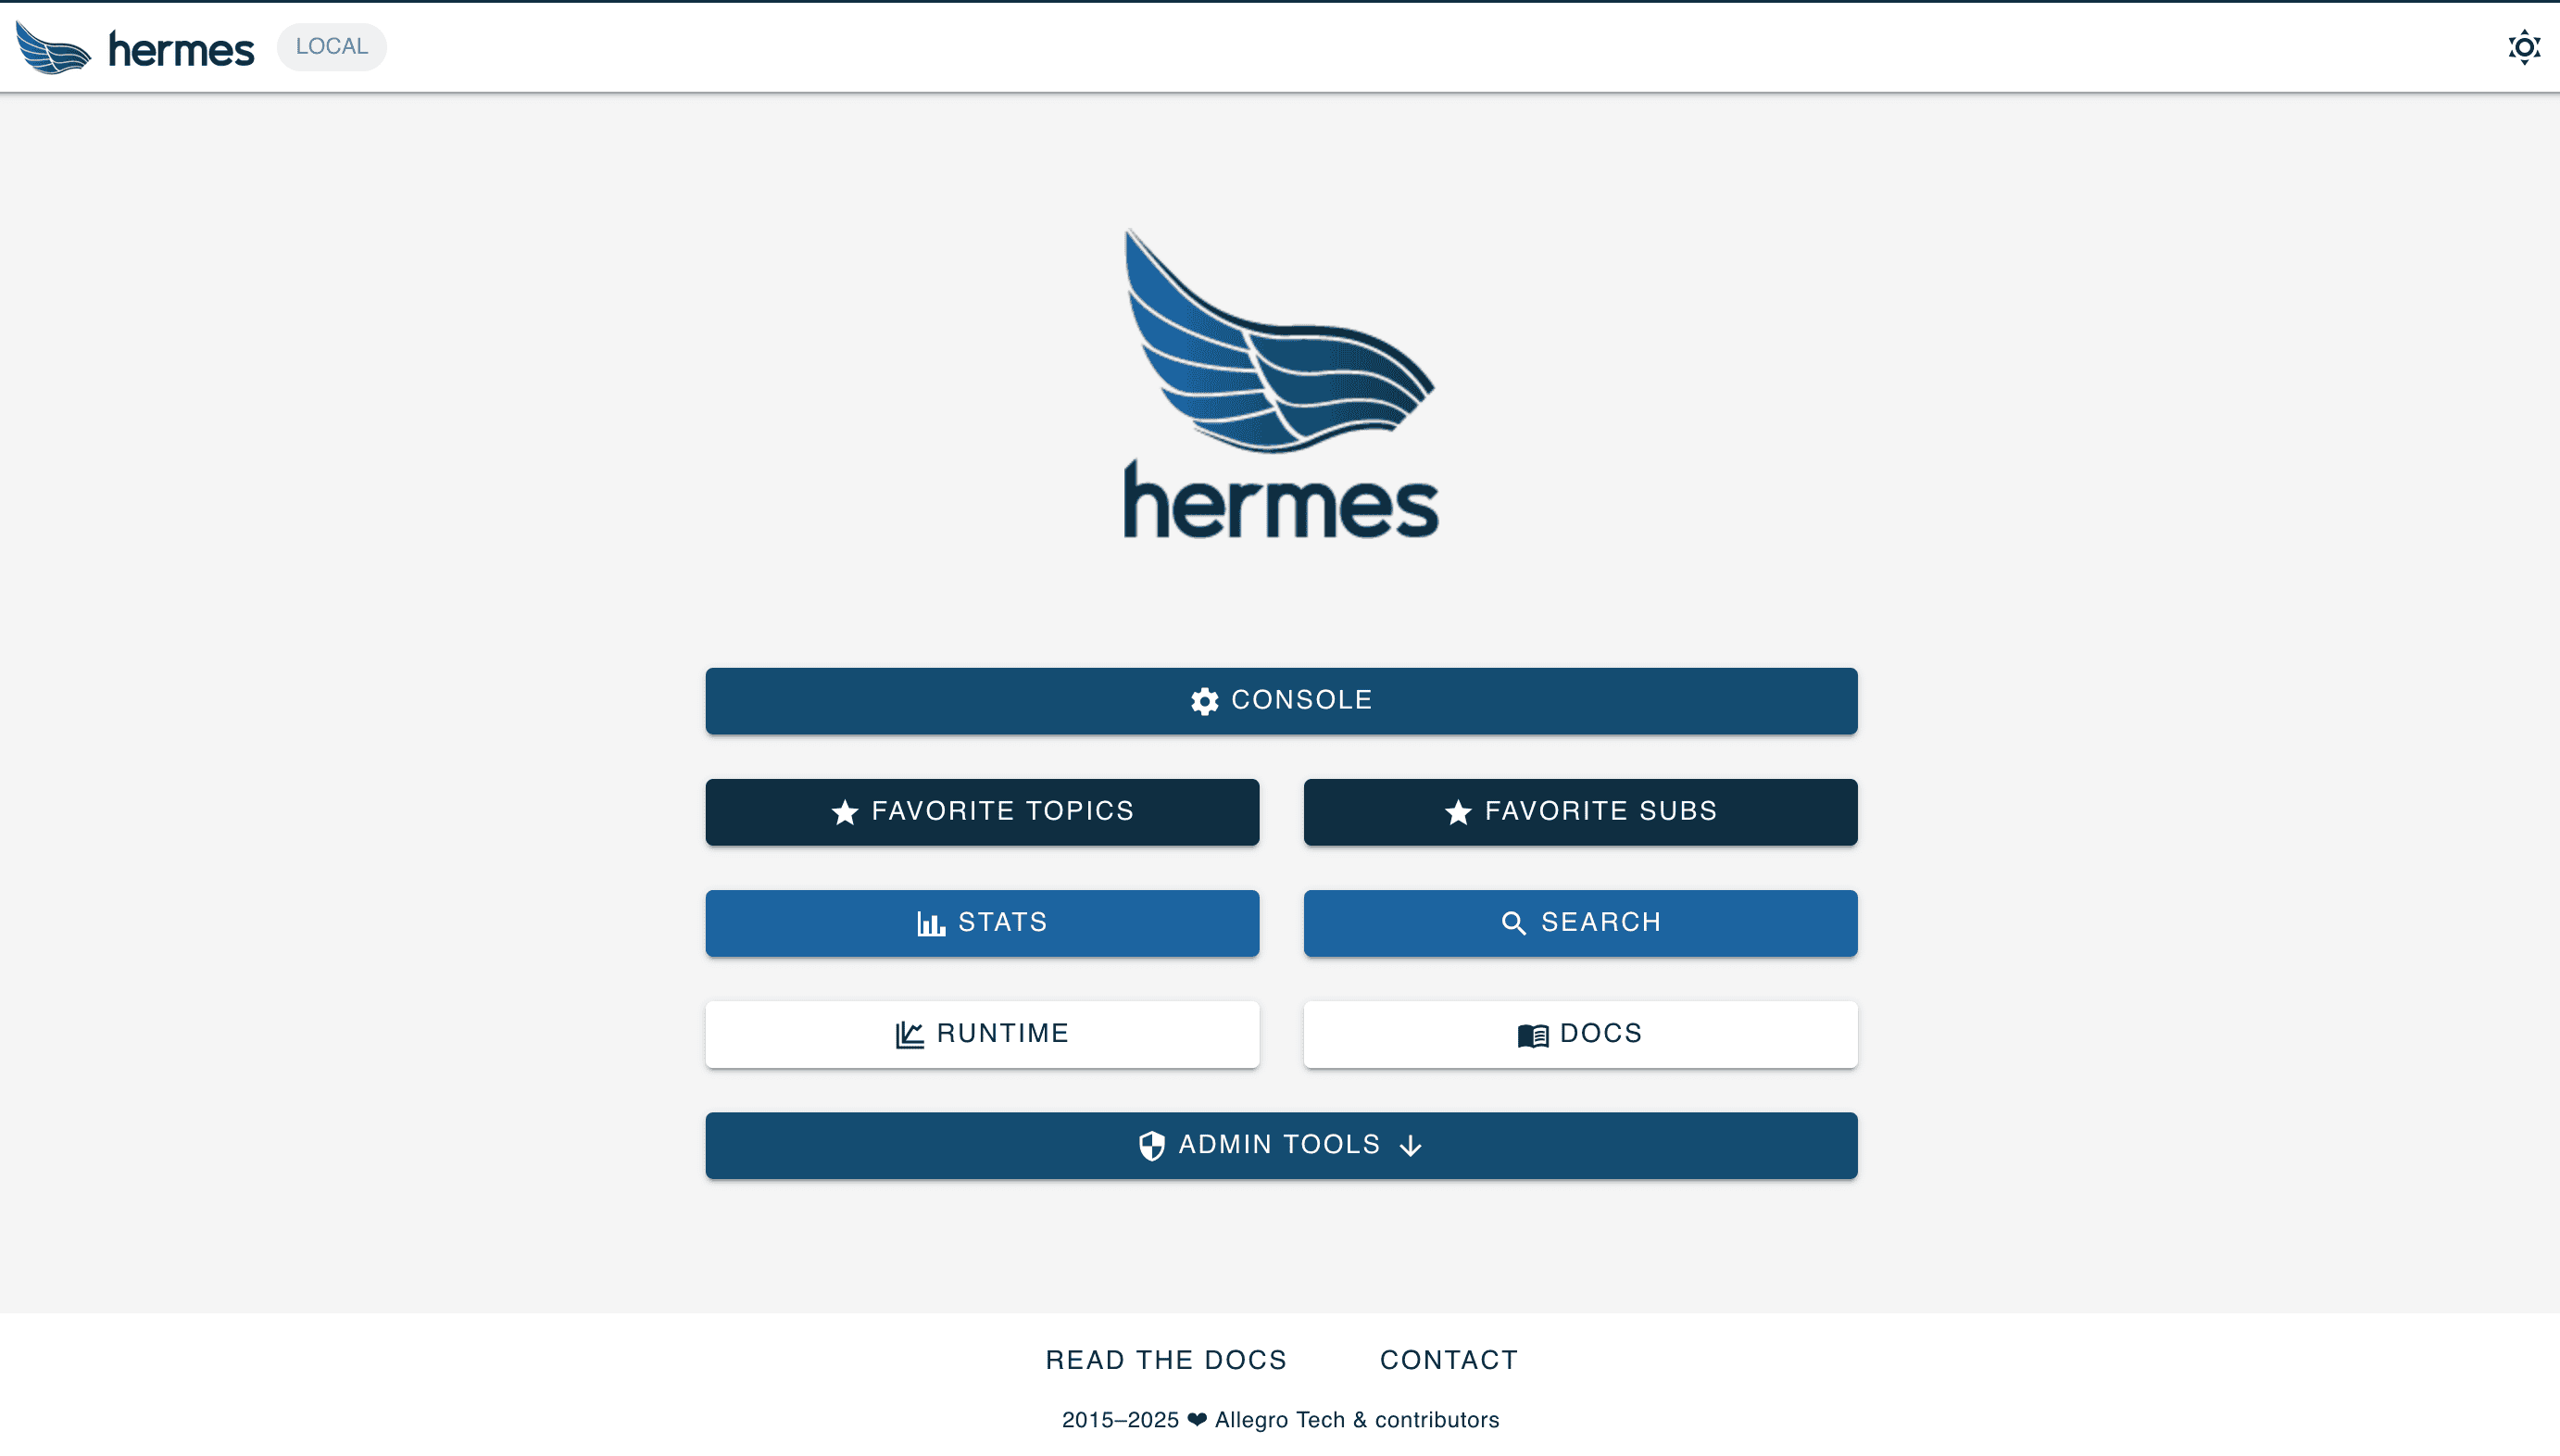
We’ll also be able to publish messages by making appropriate API calls to http://localhost:8080, as we’ll see later.
4. Groups and Topics
Hermes manages all of our messages in topics, which are combined into groups. We can manage all of this in the management console.
When we open the management interface and access the console, it displays a list of all groups:
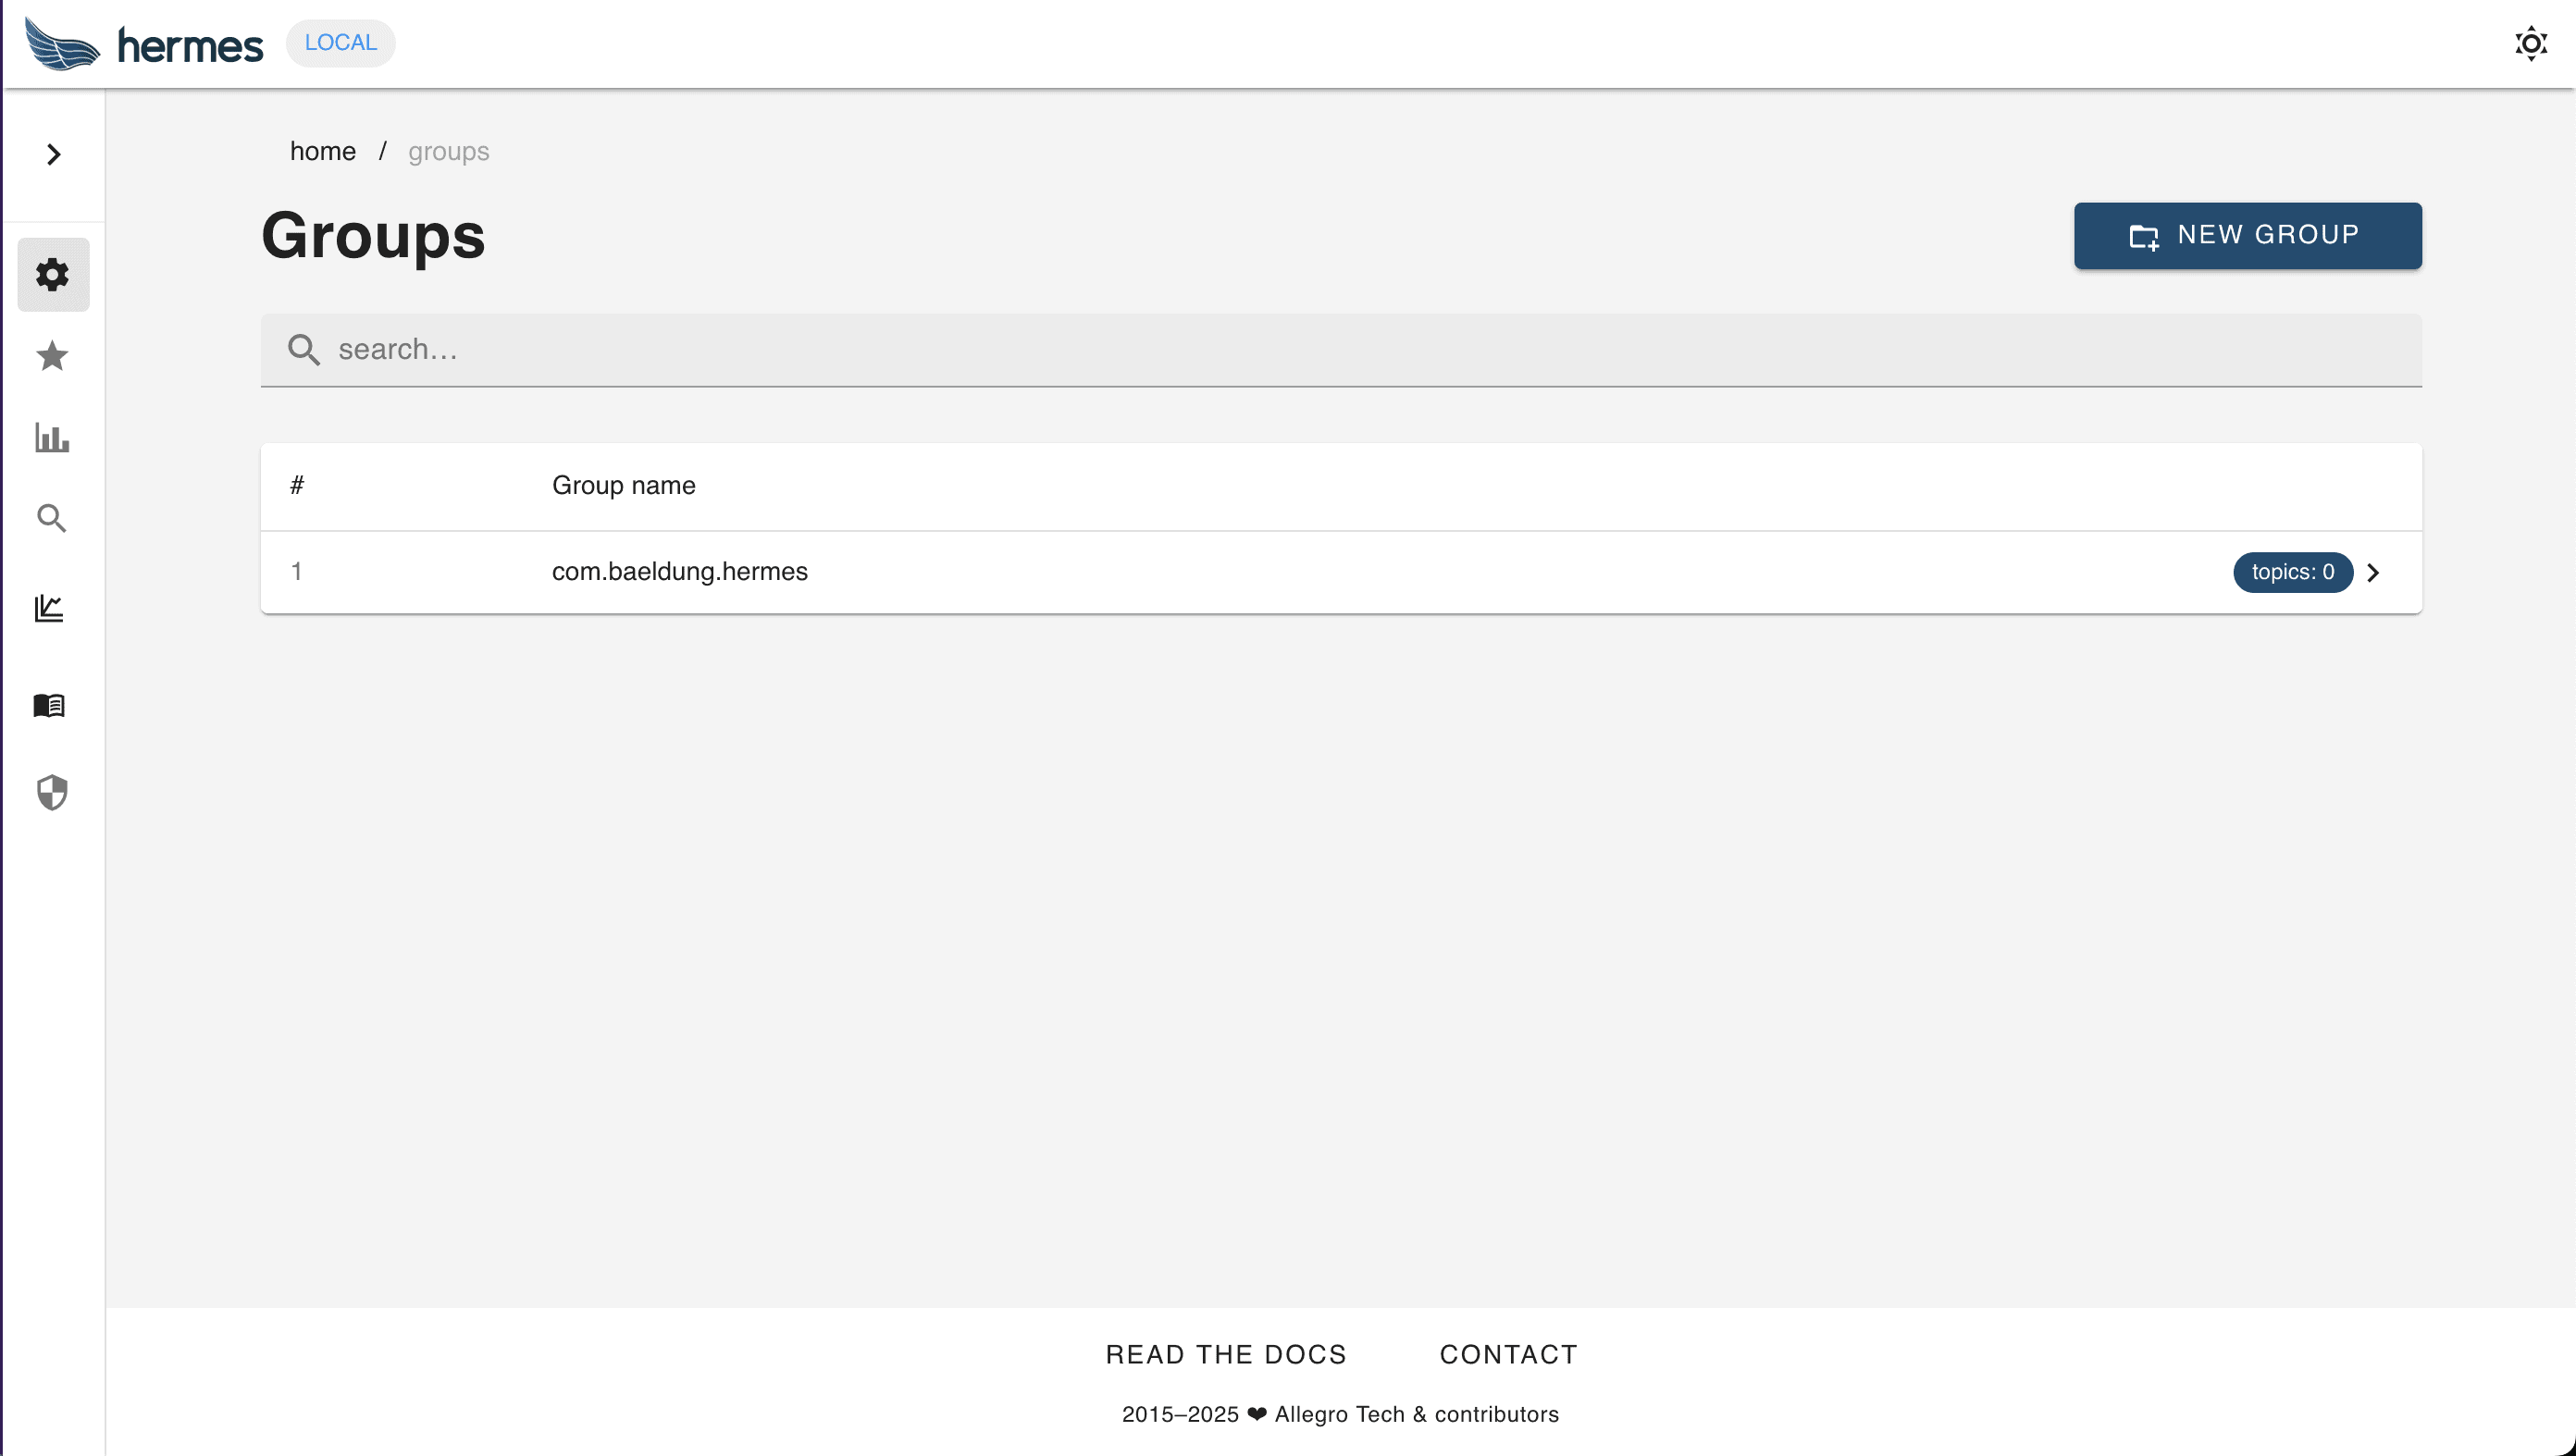
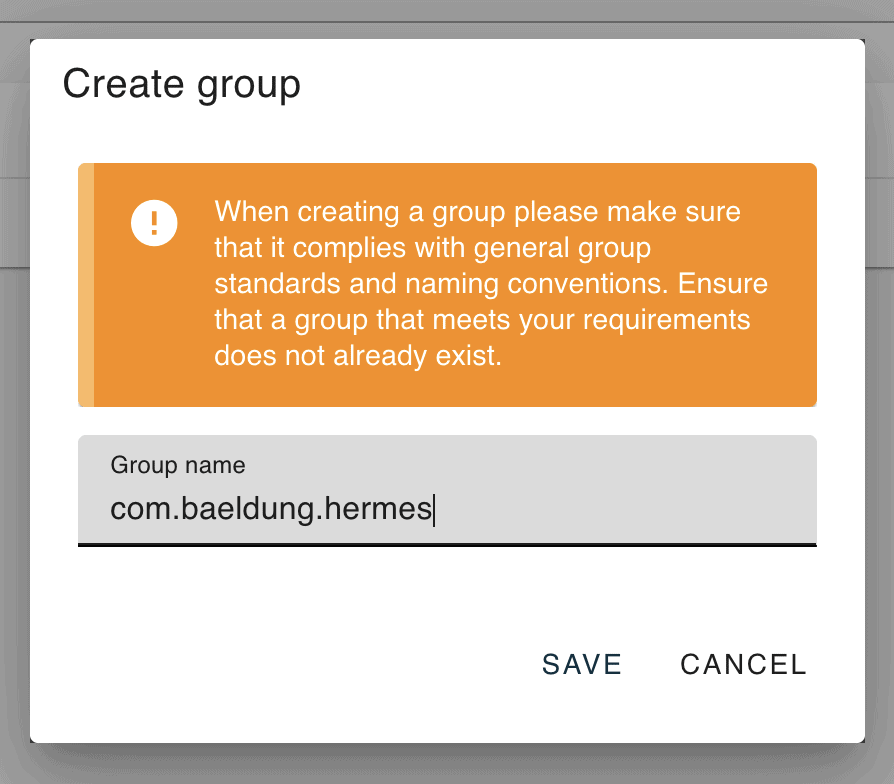
From here, we can either select an existing group or create a new one. Doing this needs nothing more than the name of the group:
Once we open our group, we can see the list of all the topics:
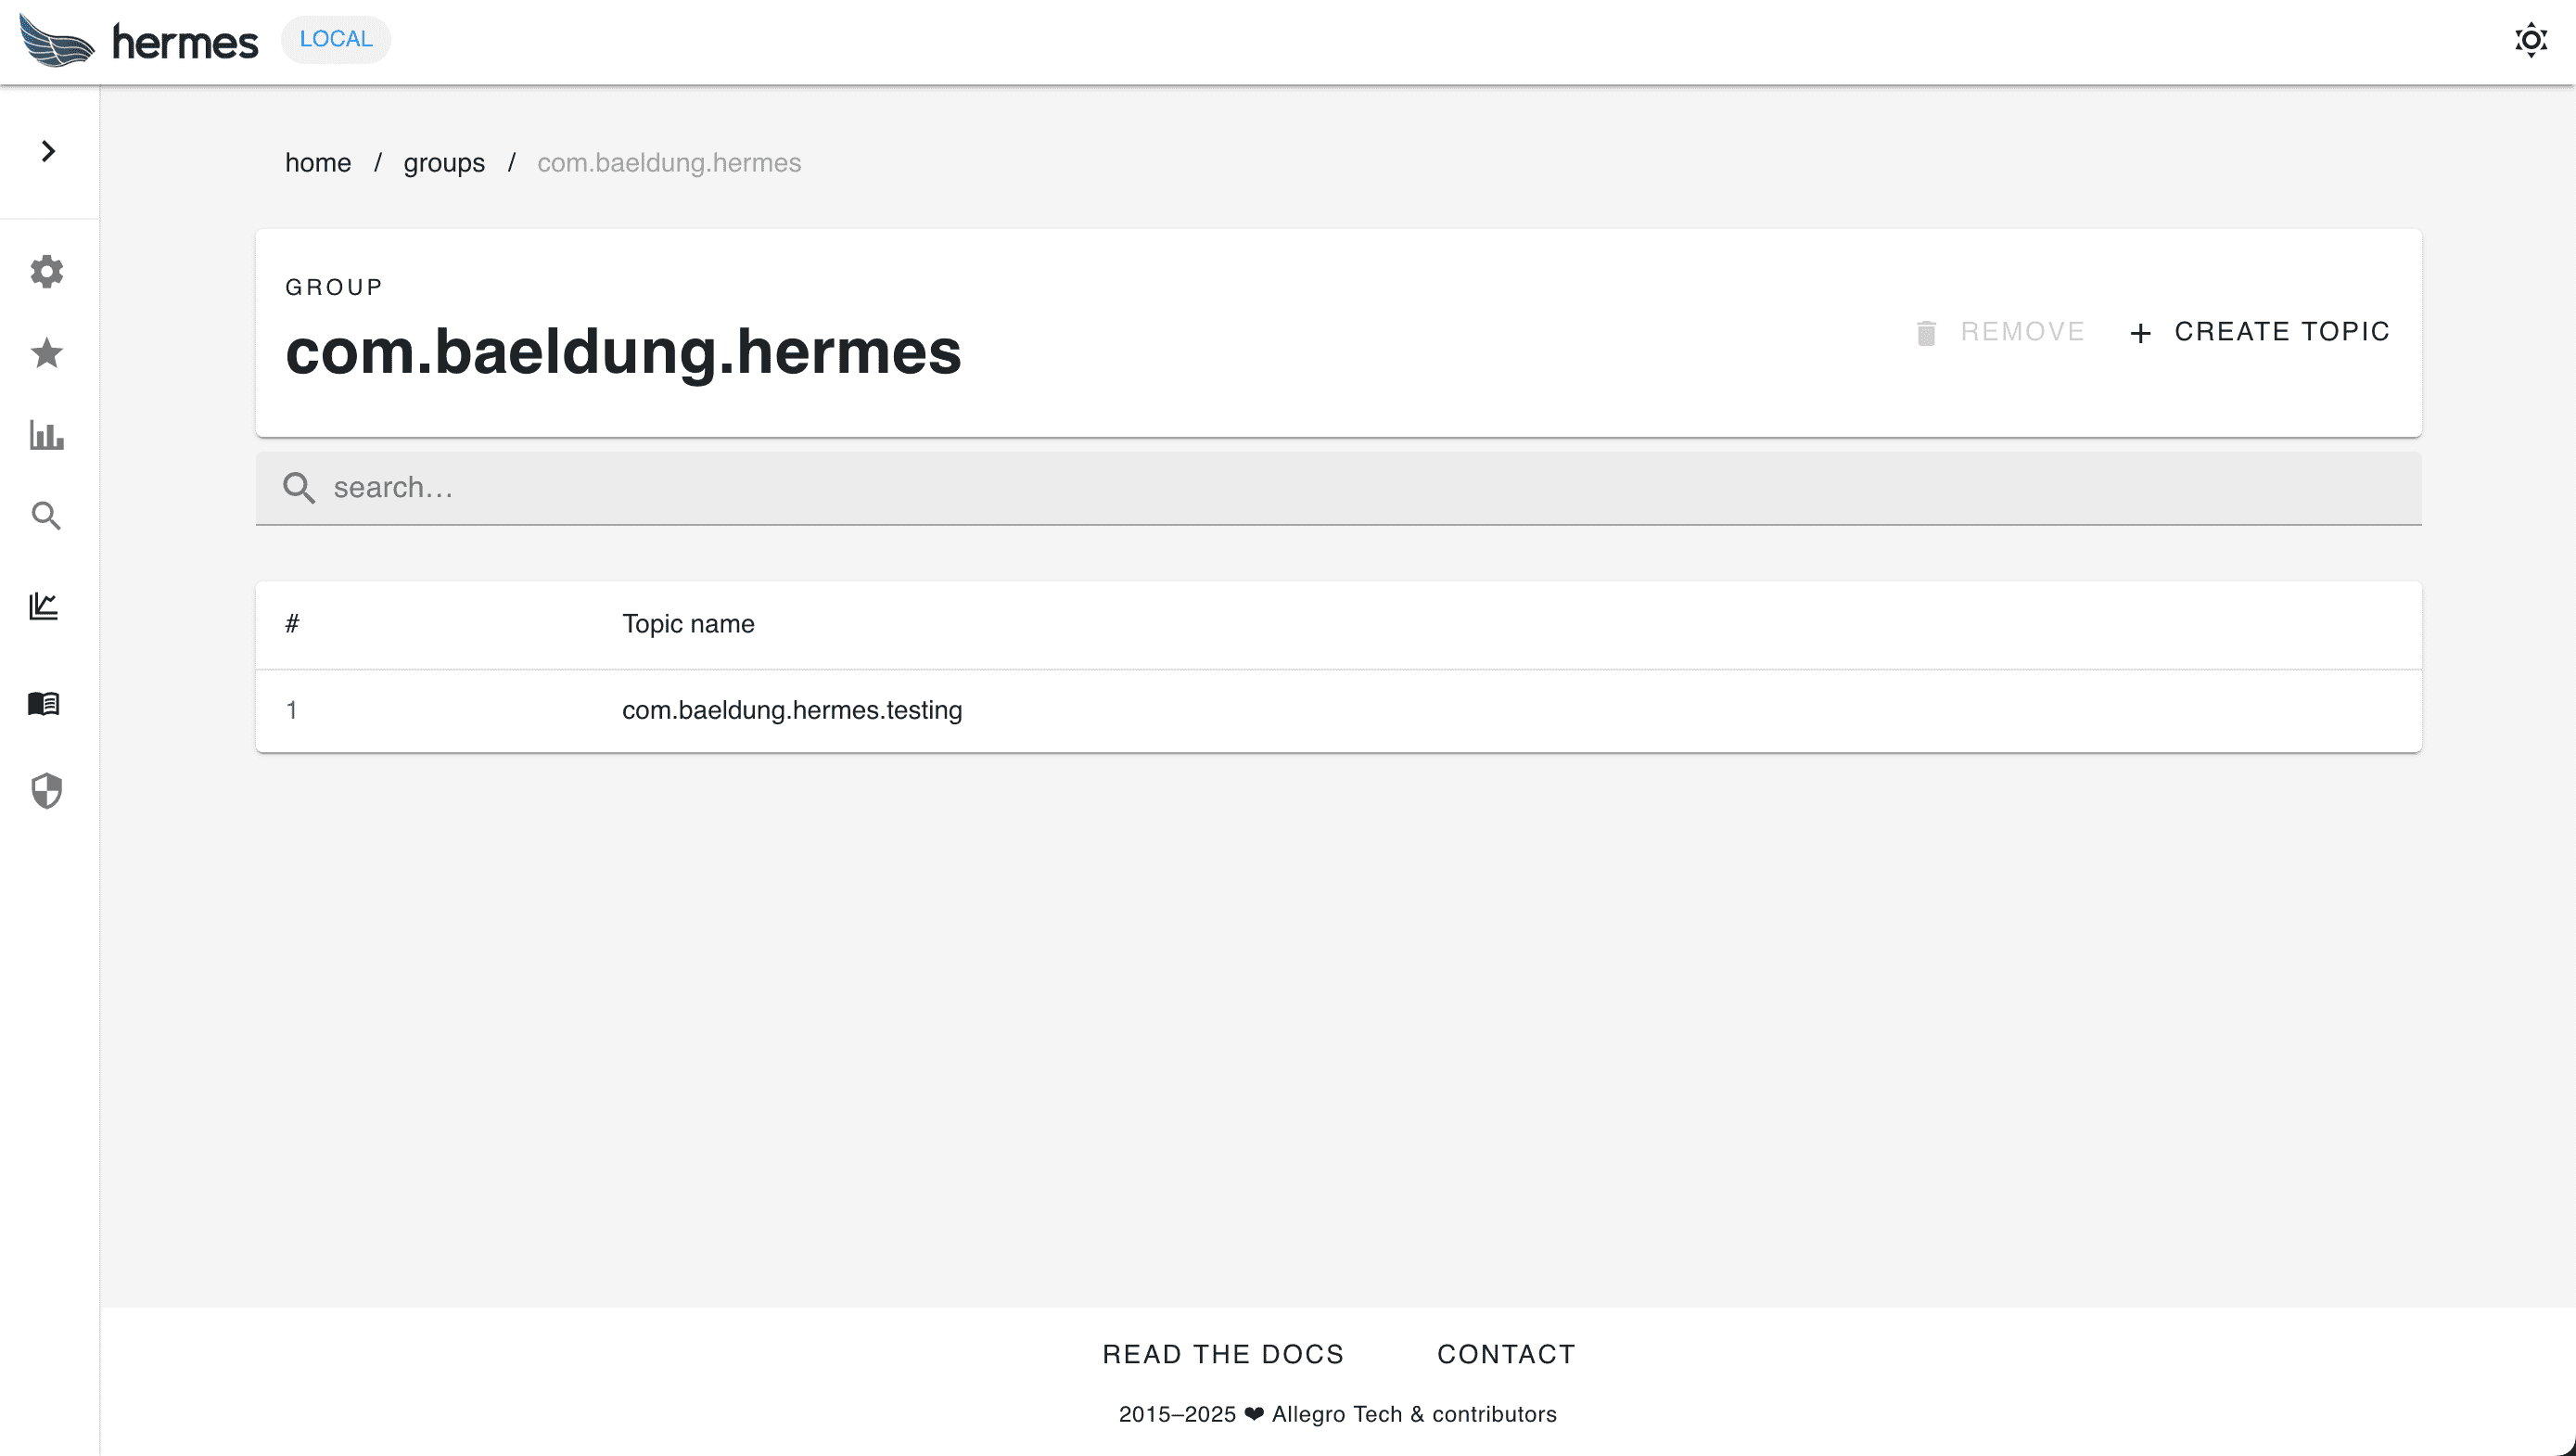
From here, we can either select an existing topic or create a new one:
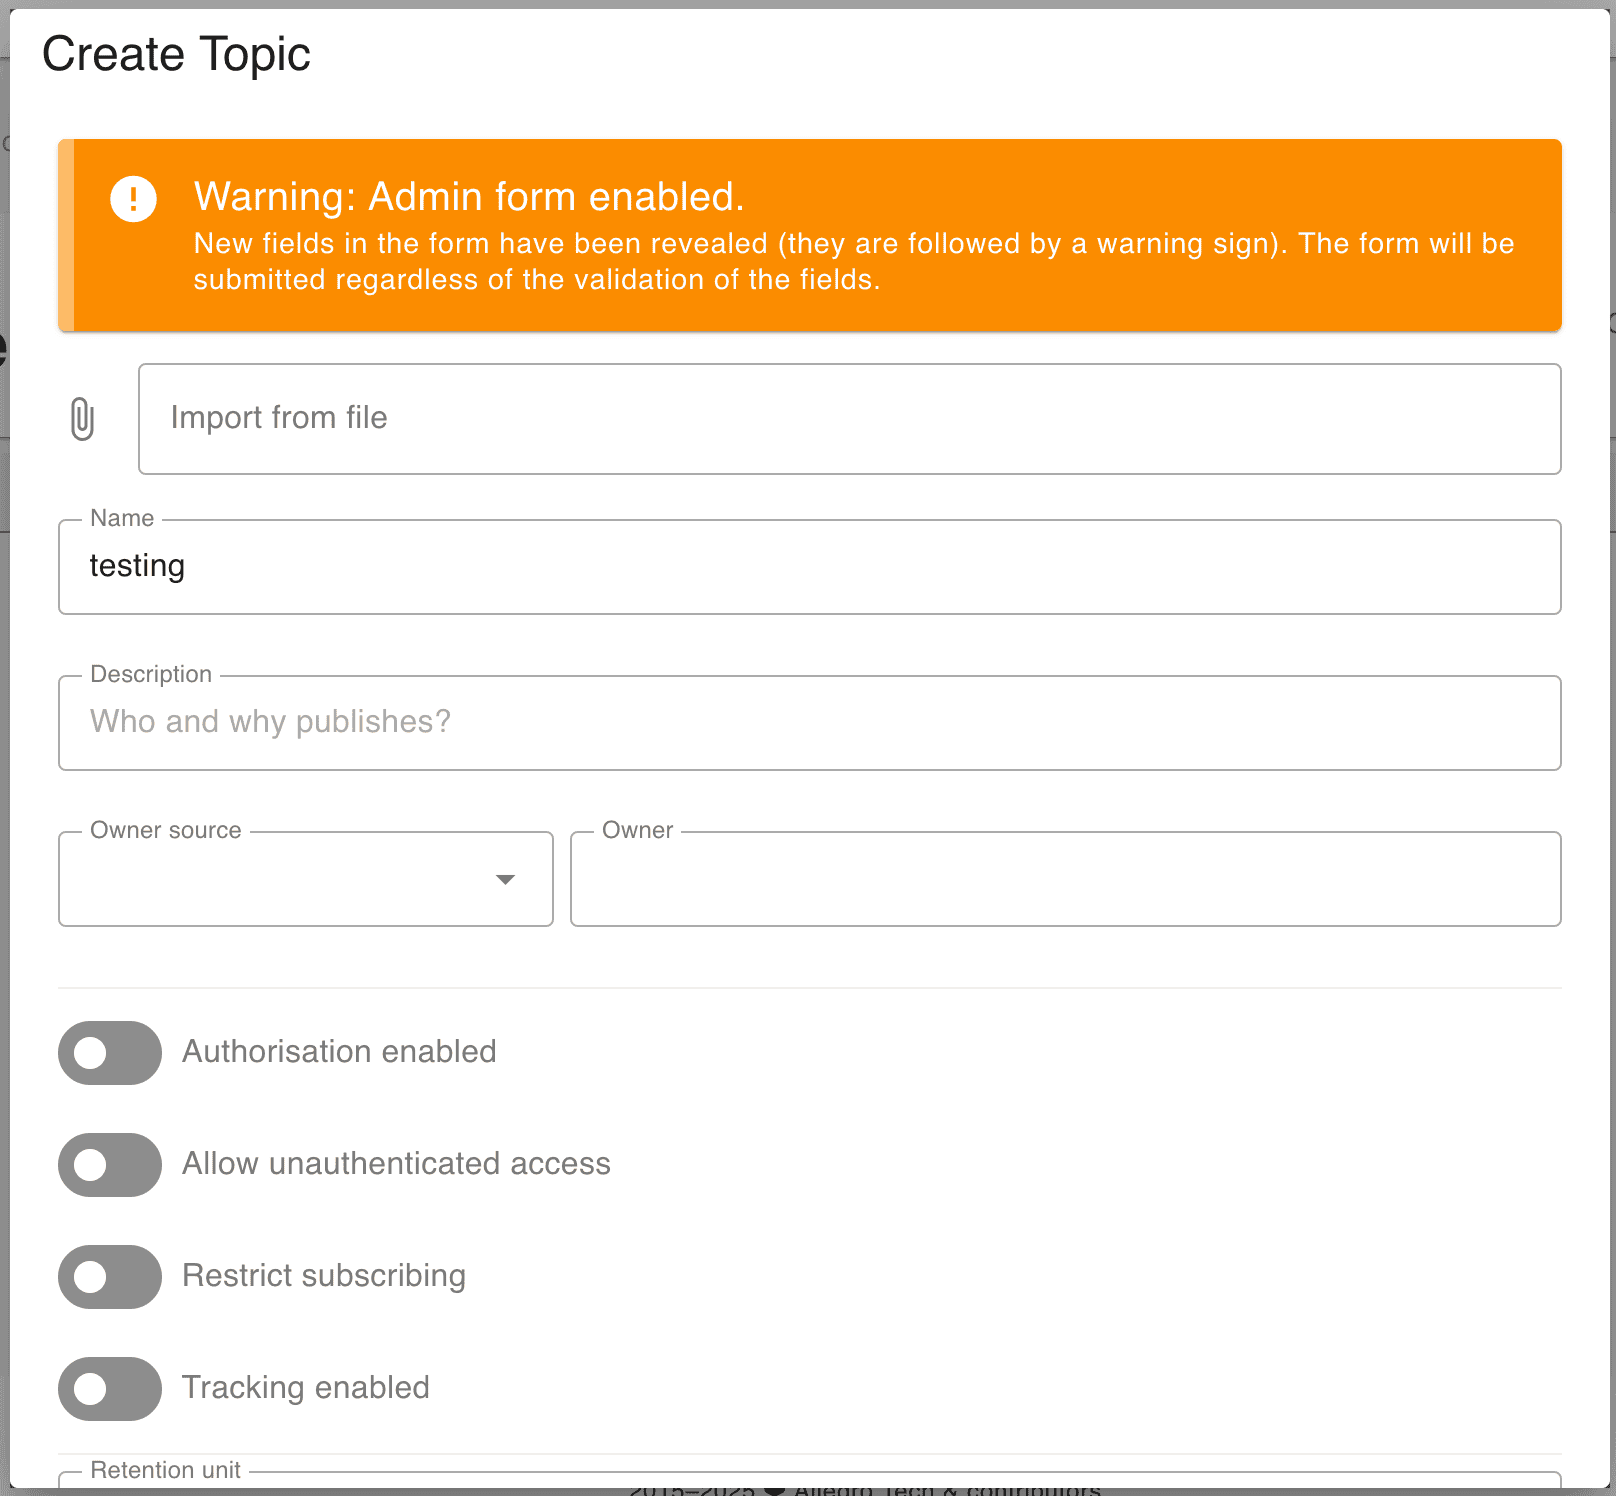
When creating a topic, we’re required to fill out:
- Name – The name of the topic.
- Description – A helpful description of the topic.
- Owner Source and Owner – A description of who owns the topic.
- Kafka ACK level – The number of Kafka nodes that need to acknowledge receipt of a new message.
- Content type – The type of messages that we’re going to send, JSON or AVRO.
Similar to Java classes, our topic has a fully qualified name that consists of the group name and topic name separated by periods – in this case, it would be com.baeldung.hermes.testing. This is important when we come to publish messages to the topic.
Once we’ve created our topic, we can immediately publish messages to it. However, at this point, nobody will receive them.
5. Subscriptions
When messages arrive on a topic, Hermes uses subscriptions to determine how to deliver them. We can see all of the subscriptions to a topic in the Subscriptions pane of our topic:

We can have as many subscriptions for a topic as we need. Each of these sends the messages to a different endpoint upon delivery.
From here, we can also create new subscriptions using the “Create Subscription” button:
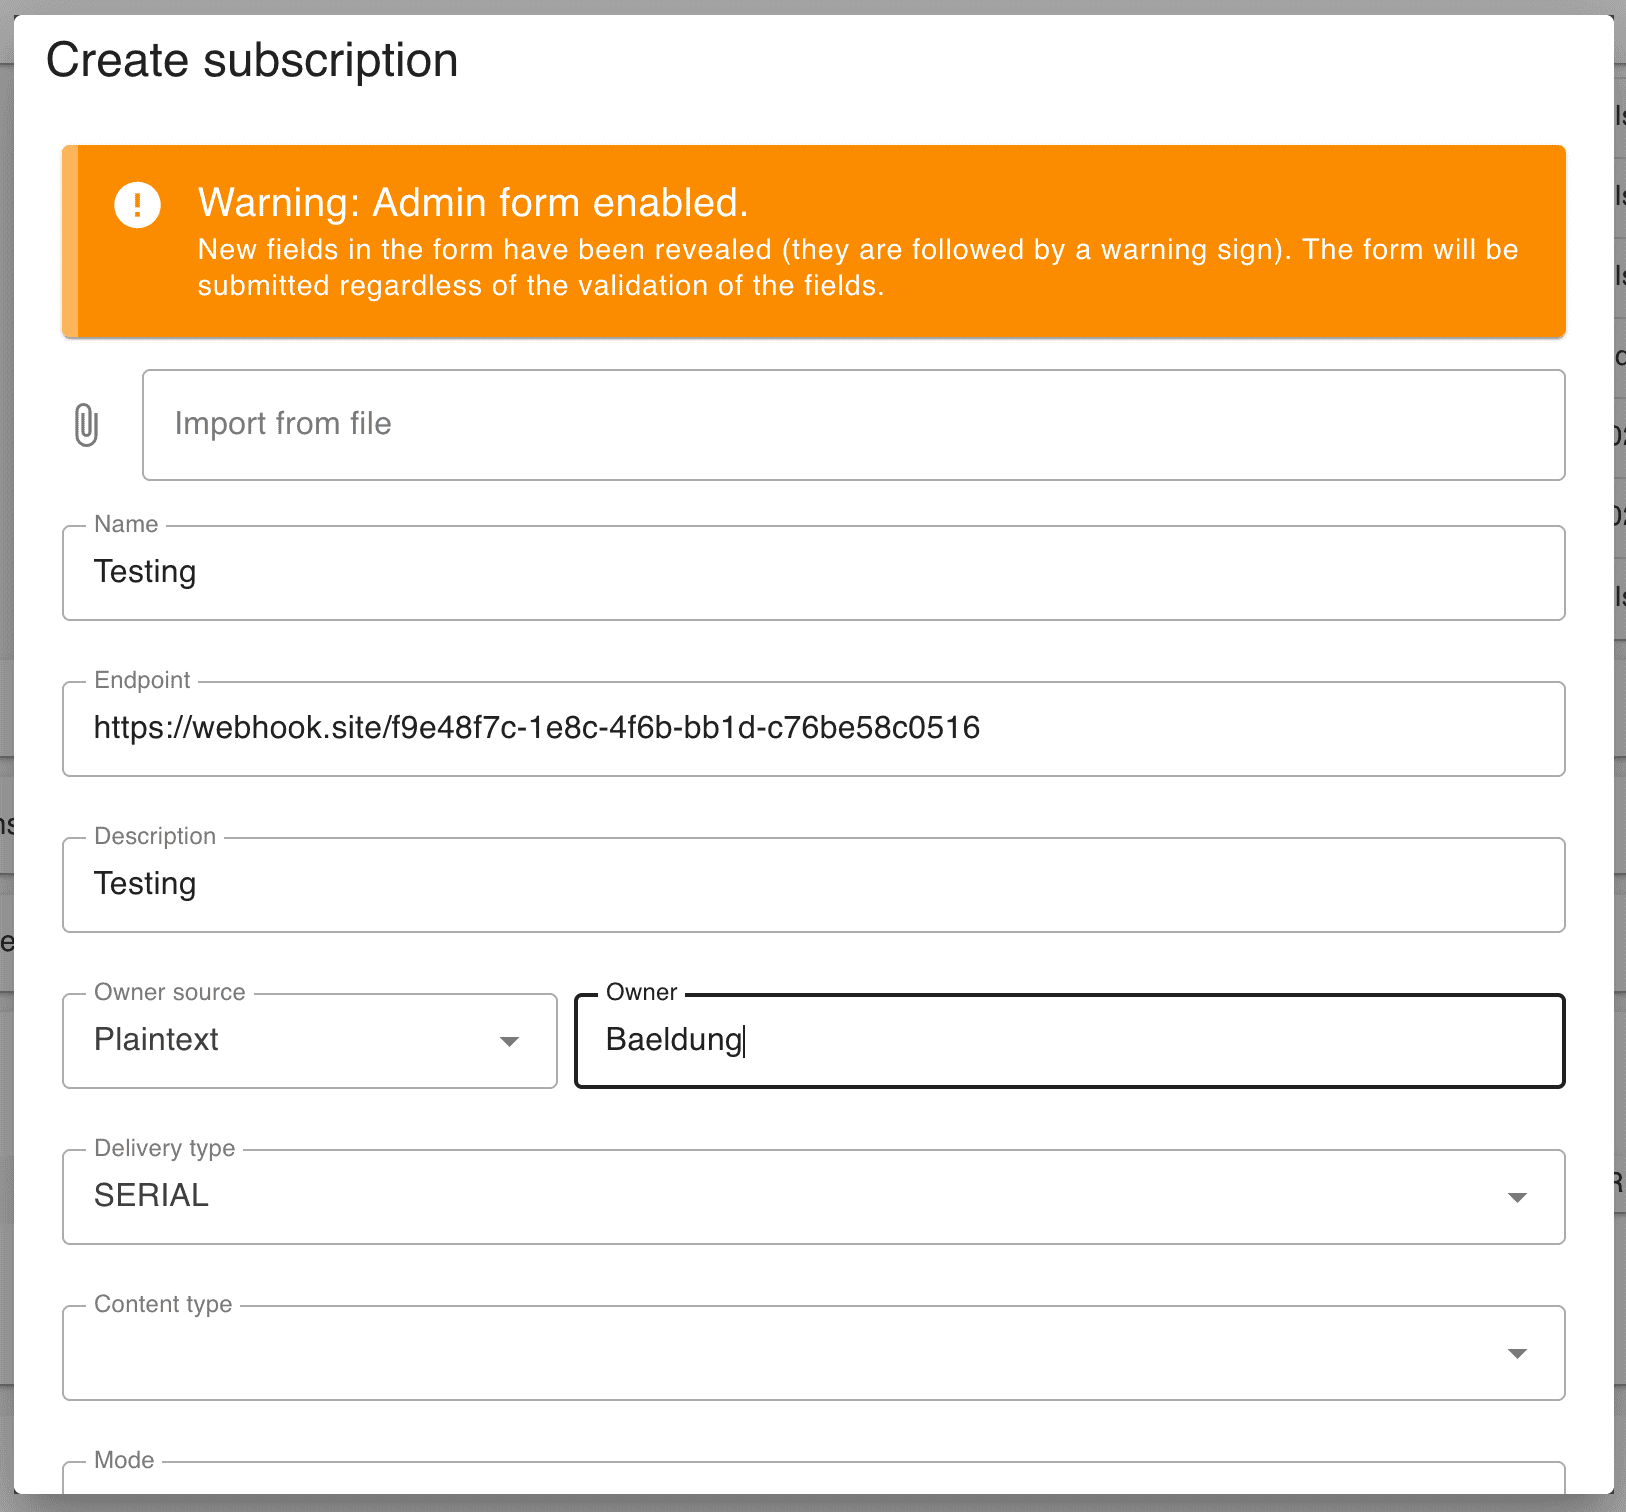
When creating a subscription, we’re required to fill out:
- Name – The name of the subscription.
- Endpoint – The URL that all messages will be sent to.
- Description – A helpful description of the subscription.
- Owner Source and Owner – A description of who owns the subscription.
- Delivery type – Whether to deliver messages individually, or batch them together.
- Content type – The content type of the messages, JSON or AVRO.
- Rate limit – The maximum number of messages to deliver per second.
- In-flight messages count – The maximum number of messages to be in the process of delivering at any one time.
Once we create the subscription, all messages sent to the topic are delivered to our endpoint. Additionally, the system delivers all messages previously sent to the topic within the configured retention period. allows us to create new subscriptions that can catch up on recent messages immediately.
6. Publishing Messages
Now that we’ve got our topic and subscriptions set up, we need to be able to publish messages to it. Hermes provides a simple HTTP API for publishing messages, as well as a Java client that makes it even easier to use.
6.1. HTTP
To publish messages to our topic, we need to make an HTTP POST request to the Hermes Frontend service. The URL for this is /topics/ followed by the fully qualified topic name – for example, /topics/com.baeldung.hermes.testing. The body of this request is then the message that we want to send to the topic:
POST /topics/com.baeldung.hermes.testing HTTP/1.1
Host: localhost:8080
Content-Length: 29
Content-Type: application/json

{"id": 12345, "page": "main"}
If the request succeeds, Hermes returns an HTTP 202 Accepted response:
HTTP/1.1 202 Accepted
Hermes-Message-Id: dd483b95-0a91-4331-b366-7c7ddff8eaf2
Content-Length: 0
Date: Thu, 20 Nov 2025 07:29:54 GMT
This response confirms that Hermes has accepted the message and will publish it to subscribers as soon as possible. Hermes also returns a unique message ID in the Hermes-Message-Id HTTP header. This is generated for every message that we send, allowing us to track it through the system.
If it fails, then we’ll get appropriate errors. For example, an HTTP 404 Not Found if we try to publish to a topic that doesn’t exist.
6.2. Java Client
We also have a Java client that makes it easier to publish messages.
To use it, we first need to add the client dependency to our project. If we’re using Maven, we can include this dependency in our pom.xml file:
<dependency>
    <groupId>pl.allegro.tech.hermes</groupId>
    <artifactId>hermes-client</artifactId>
    <version>2.11.10</version>
</dependency>
Once done, we can now create a HermesClient instance:
HermesClient hermesClient = HermesClientBuilder.hermesClient(hermesSender)
    .withURI(URI.create("http://localhost:8080"))
    .build();
We also need a HermesSender instance to make the HTTP requests. We have several that we can choose from, including WebClientHermesSender if we want to use Spring WebClient, and RestClientHermesSender if we want to use Spring RestClient:
HermesSender hermesSender = new WebClientHermesSender(WebClient.create());

HermesSender hermesSender = new RestClientHermesSender(RestClient.create());
Once we’ve created our HermesClient, we can use it to send messages using the publishJSON() method:
CompletableFuture<HermesResponse> result =
  hermesClient.publishJSON("com.baeldung.hermes.testing", "{\"hello\": 1}");
This takes the fully qualified name of the topic and the payload that we want to publish.
If we’re interested in the result, this gives us a CompletableFuture wrapping the result of publishing our message. We can use this to check if the call was successful, and if we need it to get the message ID:
HermesResponse response = result.join();

if (response.isSuccess()) {
    String messageId = response.getMessageId();
    // Handle success
} else {
    // Handle failure
}
At this point, we can send messages to Hermes, which then forwards them to all the subscribers for us.
7. Receiving Messages
As well as sending messages, we need to be able to receive them. This requires us to be running an HTTP server with a known URL. This can be anywhere we want, as long as the Hermes Consumer service can reach it:
@RestController
@RequestMapping("/hermes")
public class HermesController {

    @PostMapping("/testing")
    public void receive(@RequestBody String body) {
        System.out.println("Received message: " + body);
    }
}
We then need to register this URL as a subscriber to your topic, as we saw earlier. Hermes will make an HTTP POST call to our URL, with the message payload as the request body. We can then do whatever we want with this payload.
If our server responds with an HTTP 2xx or HTTP 4xx status code, Hermes will consider the message delivered. 4xx status codes are typically errors, but they’re errors on the client side, not the server. As such, Hermes will assume that the message can never be successfully delivered and not try again.
If our server returns an HTTP 5xx status code, Hermes will treat this as a failure and act accordingly. This can include retrying the message if appropriate, helping to ensure that messages are delivered whenever possible.
8. Summary
In this article, we’ve taken a very quick look at the Hermes message broker. There’s a lot more that we can do with this system. Next time you need a message broker for your applications, why not give it a try?


