

Learn through the super-clean Baeldung Pro experience:
>> Membership and Baeldung Pro.
No ads, dark-mode and 6 months free of IntelliJ Idea Ultimate to start with.
Learn through the super-clean Baeldung Pro experience:
>> Membership and Baeldung Pro.
No ads, dark-mode and 6 months free of IntelliJ Idea Ultimate to start with.
The open-source community offers plenty of image viewers for both raster and vector graphics, ranging from lightweight image viewers to highly configurable graphics manipulation programs.
In this article, we’ll be going through several tools for the sole purpose of viewing images from the Linux command line.
feh is a minimal tool for viewing raster images from the command line. We don’t need any fancy desktop environments or window managers for it to run because it only uses the X Window System. By default, it doesn’t ship with most Linux distributions, so we’ll need to install it ourselves.
The feh package should be available in our package repository, so we can install it through apt or yum. Once feh is installed, we can verify it through:
$ feh --version
feh version 3.7
Compile-time switches: curl exif inotify help stat64 verscmp xinerama
Using feh is dead simple. We merely type feh followed by a path(s):
$ feh [OPTIONS] <path>...Let’s open an image:
$ feh ~/Downloads/myimage.png
Alternatively, we can also provide multiple paths or a directory:
$ feh ~/DownloadsMoreover, we can also view image(s) using a URL:
$ feh https://www.baeldung.com/wp-content/uploads/2018/02/photo-eugen.pngfeh doesn’t have any GUI controls, but we can use left and right arrow keys to navigate through images. For zooming in and out, we can use the up and down arrow keys.
sxiv is a lightweight and extendable image viewer. It stands for Simple X Image Viewer.
The sxiv package is available in most official package repositories. As usual, we can install the package with apt or yum. Once installed, go ahead and verify that sxiv has been installed successfully:
$ sxiv -v
sxiv 26We can use sxiv the same way we use feh:
$ sxiv [OPTIONS] <path>...sxiv has built-in GIF support as well:
$ sxiv -A 10 ~/Pictures/flower.gif
The -A flag stands for animate, which expects the FPS value. Therefore, the above image will display 10 frames per second. Like feh, we can also feed a directory to sxiv:
$ sxiv -f -S 5 ~/DownloadsAlternatively, we can use the mouse to navigate through images and + / – keys for zooming in and out.
ImageMagick is a collection of tools for carrying out operations on raster images. It comes with a lot of handy utilities that we can use independently.
Some of the Linux distributions come with ImageMagick pre-installed. However, we can search and install the imagemagick package if it’s not installed using apt or yum. Let’s verify that imagemagick has been installed successfully:
$ display --version
Version: ImageMagick 7.1.0-2 Q16 x86_64 2021-06-25 https://imagemagick.org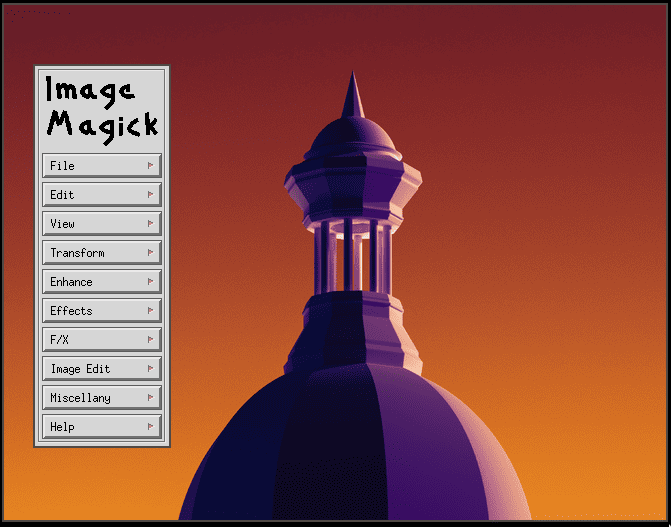
Copyright: (C) 1999-2021 ImageMagick Studio LLCImageMagick comes with a display utility that we can use to display our images:
$ display [OPTIONS] <path>...We can give display any number of image paths to display in sequence:
$ display ~/Downloads/img_1.png ~/Downloads/img_2.png
It also comes with a classic user interface that we can use to carry out a variety of image operations. For instance, if we want to rotate the image, we can simply press the mouse button over the image and select Transform > Rotate Right.
Terminal Image Viewer is a fun tool that displays images inside modern terminals. While it’s not available in most package repositories, we can compile and install it ourselves using g++ and make.
We’ll start by cloning the official repository using git:
$ git clone https://github.com/stefanhaustein/TerminalImageViewer.gitNext up, we’re going to compile it and then install it, which requires both g++ and make to be installed on our machine:
$ g++ --version
g++ (GCC) 11.1.0
Copyright (C) 2021 Free Software Foundation, Inc.
$ make --version
GNU Make 4.3
Built for x86_64-pc-linux-gnu
Copyright (C) 1988-2020 Free Software Foundation, Inc.
$ cd TerminalImageViewer/src/main/cpp
$ make
$ sudo make install
install -D tiv /usr/local/bin/tivOnce installed, we can view the images inside our terminal using the following syntax:
$ tiv [OPTIONS] <path>By default, it expects only a single file path. Nevertheless, we can specify multiple paths by providing the -f flag:
$ tiv -f ~/Downloads/flower1.jpg ~/Downloads/flower2.jpgFurthermore, we can also specify the line size and character size using the -h and -w flags, respectively:
$ tiv -w 64 -h 32 ~/Downloads/myimage.jpg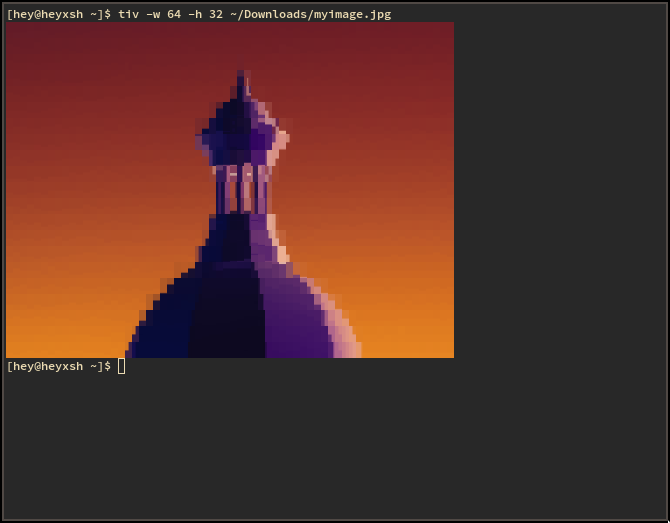
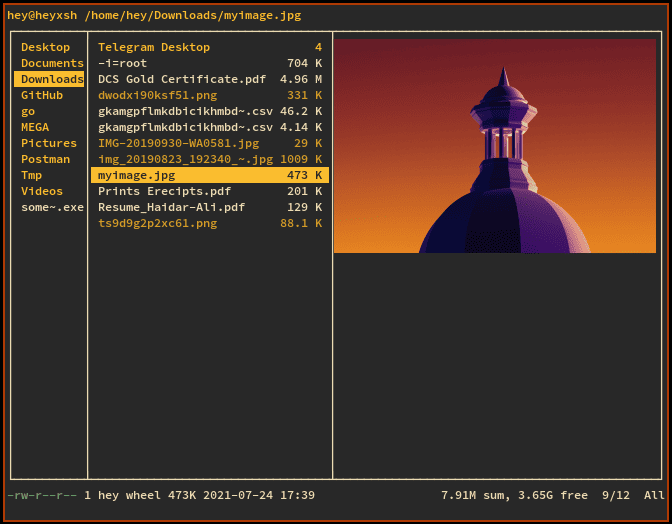
ranger is a powerful TUI file manager that is also capable of previewing images inside the terminal.
The ranger package is available on most package repositories. However, we can use the pip tool to install it. Since Python is installed on most Linux machines, we’ll use pip to install the latest version of ranger:
$ sudo pip install ranger-fmOnce ranger is installed, verify it by running the following command:
$ ranger --version
ranger version: ranger 1.9.3
Python version: 3.9.6 (default, Jun 30 2021, 10:22:16) [GCC 11.1.0]
Locale: en_US.UTF-8
Now that we have ranger installed, we need one more additional package called w3m for the image previews to work. The w3m package is available in most official repositories and can be installed with yum or apt.
To launch ranger, simply type the ranger command:
$ ranger
After it starts, we can navigate to our images directory with the h, j, k, and l keys. Once we highlight the image we want to preview, we can notice that it doesn’t quite work the way we expected. That’s because ranger has image previews disabled by default.
Like Vim, Ranger has a command-mode feature, through which we configure the behavior of the file manager. Simply press the “:” key to enter command mode, then type in the command to enable image previews:
:set preview_images trueIf we’d like the configuration to persist, we can simply save it in the ~/.config/ranger/rc.conf file:
$ echo "set preview_images true" >> ~/.config/ranger/rc.confNow, we’ll be able to preview our images inside ranger.
Additionally, we can install the ueberzug package from the Python Package Index repository if we run into issues with w3m.
Modern browsers are capable of viewing images, though it consumes more resources if we want to view an image. Therefore, it should be our last resort. For Mozilla Firefox, type the firefox command followed by the image path:
$ firefox ~/Downloads/myimage.png
In the same way, for other browsers, we can use the appropriate browser name followed by the image path:
$ opera ~/Downloads/myimage.png
$ google-chrome ~/Downloads/myimage.png
$ brave ~/Downloads/myimage.png
$ chromium ~/Downloads/myimage.png
Most desktop environments such as GNOME, KDE, and XFCE come with image viewers as goodies. If we’re using a desktop environment, we can simply launch the image viewer package from the command line. For instance, on GNOME, we can use eog:
$ eog ~/Downloads/myimage.pngSimilarly, for other desktop environments, we can enter the program name followed by image path(s) or directory:
$ gwenview ~/Downloads/
$ ristretto ~/Downloads/
$ eom ~/Downloads/Sometimes on Linux, we might not be sure what kind of image viewer is installed on our Linux system. For that reason, we can use the xdg-open tool, which will open the image in our preferred program:
$ xdg-open ~/Downloads/myimage.pngHowever, if it doesn’t find an appropriate program to process the file, it will exit with status code 3.
In this article, we looked at different tools we can use to open images from our command line.
We went through several tools, which are specifically designed for command-line. Next, we looked at using the ranger file manager and also using browsers to open image files. Finally, we got familiar with the helper utility xdg-open.