

Learn through the super-clean Baeldung Pro experience:
>> Membership and Baeldung Pro.
No ads, dark-mode and 6 months free of IntelliJ Idea Ultimate to start with.
Last updated: December 29, 2023
Learn through the super-clean Baeldung Pro experience:
>> Membership and Baeldung Pro.
No ads, dark-mode and 6 months free of IntelliJ Idea Ultimate to start with.
ImageMagick is a powerful image viewer and editing tool that we can use within the Linux ecosystem. Moreover, we can use the ImageMagick CLI to process images from shells such as Bash in a plethora of manners.
In this tutorial, we’ll take a look at some of the most common ways of using ImageMagick to manipulate an image.
First, let’s begin by installing ImageMagick, which is available in most operating system packaging repositories. It’s also possible to download the binary directly or build it from the source.
Once we’ve installed the package, let’s verify the installation by checking the version we have installed:
$ magick -version
Version: ImageMagick 7.0.8-13 Q16 x86_64 2018-10-21 https://imagemagick.org
Copyright: © 1999-2018 ImageMagick Studio LLC
...
If the installation was successful, we’ll see the version and some other information displayed in the console.
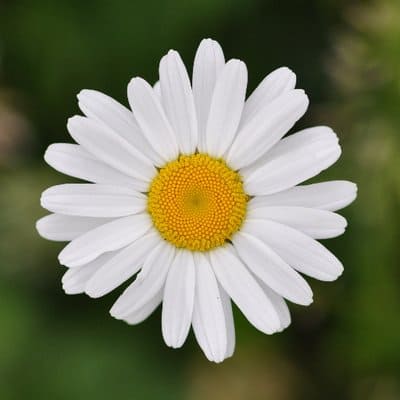
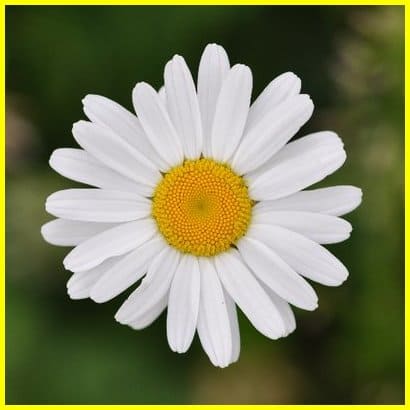
Throughout this tutorial, we’ll use a nice clean image of a flower:

Before we begin manipulating our image, let’s first start by checking out some of the attributes of our flower using the identify option:
$ magick identify flower_original.jpeg
flower_original.jpeg JPEG 400x400 400x400+0+0 8-bit sRGB 23693B 0.000u 0:00.000
This gives us a nice summary of information about our original flower image. The columns we see by default are:
Likewise, we can also use the -verbose option to get a whole lot more information.
It’s important to mention that ImageMagick has an overwhelming number of features and capabilities. Our examples will focus on image manipulation using the convert command. We’ll be tackling some simple, practical use cases, but in reality, we’re only scratching the surface of this tool.
The convert command has an eye-watering 237 options that provide a wide range of possibilities. However, let’s start with one of the most elementary:
$ convert flower_original.jpeg flower_original.pngAs we can see, this command converts a single file flower_original.jpeg from JPG to PNG format without changing the original.
If we check the new image, we’ll see it’s identical apart from the format and, of course, the file size:
$ magick identify flower_original.png
flower_original.png PNG 400x400 400x400+0+0 8-bit sRGB 163499B 0.000u 0:00.000
Likewise, if we have a directory of images, we can also apply the operation to all images in the directory:
$ convert *.jpg *.pngFinally, we can inspect the many different formats available to us:
$ identify -list format
   Format  Module    Mode  Description
-------------------------------------------------------------------------------
      3FR  DNG       r--   Hasselblad CFV/H3D39II
      3G2  MPEG      r--   Media Container
      3GP  MPEG      r--   Media Container
...
This is a particularly nice feature as we can even convert our jpeg image into a pdf.
Another typical operation is image resizing. We can build on the previous example by using the -resize option of the convert command:
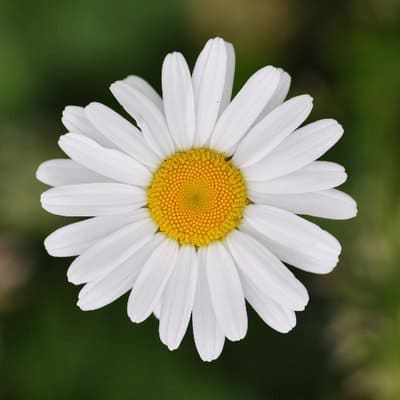
convert flower_original.jpeg -resize 64x64 flower_64x64.jpegIn this example, we fit our original flower image into a smaller square box 64×64 pixels in size:
 |
 |
Similarly, we can also specify a percentage value when using the resize option. This will scale the image by the amount specified:
convert flower_original.jpeg -resize 50% half_flower.jpegLet’s inspect the results:
 |
 |
For most of us, this type of scaling will be perfectly fine, but we should note that the final pixel size of the image will be rounded to the nearest integer. Consequently, the actual scale may not exactly match the scaling factor we provide, but it will be very close.
To conclude this section, typically, the most common way to change the size of an image is to shrink it to fit the desired size. However, using the –resize options we have covered, it is, of course, perfectly feasible to enlarge our image.
Now let’s take a look at how we can flip and rotate our images which can sometimes be useful:
convert flower_original.jpeg -flip flipped_flower.jpegAnd the corresponding result:
 |
 |
As we can see, it’s as simple as using the -flip option, which will create a new mirrored image upside-down.
Now, let’s see how we can rotate our image using the -rotate operation:
convert flower_original.jpeg -rotate 60 rotate_clockwise_flower.jpegOur image should shift 60 degrees clockwise:
 |
 |
If we supply a negative value such as -90, the rotation will occur in an anticlockwise direction.
Being able to crop an image is an important manipulation technique, so let’s go ahead and see how we can do that:
convert flower_original.jpeg -crop 180x170+50+50 cropped_flower.jpegRunning this command will cut out a rectangular region of the image:
 |
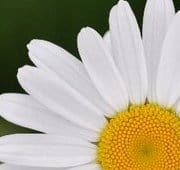 |
Simply put, the -crop image operator will cut out the part of the image in the current sequence at the size and position we specify using the geometry argument.
In this example, we’re specifying the width and height of the geometry argument, which will give the size of the image that remains after cropping (180×170). Then the x and y in the offset (+50+50) gives us the location of the top left corner of the cropped image with respect to the original image.
Now let’s take a look at how we can apply some simple but striking color effects to our flower image:
 |
 |
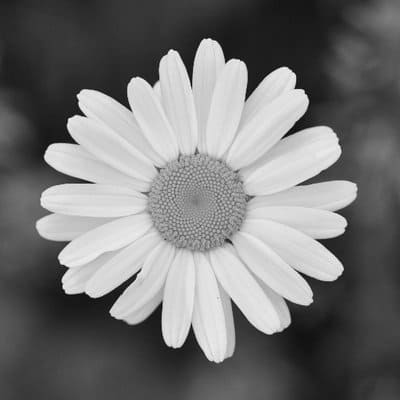
Starting from the left of the two images, in the first image, we’re explicitly setting the colourspace to Gray:
convert flower_original.jpeg -colorspace Gray greyscale_flower.jpegThis will merely convert color to gray. In fact, we can list all the colour spaces available to us:
$ convert -list colorspace
CIELab
CMY
CMYK
Gray
...
On the other hand, in the second image, we’re using the -monochrome option to transform the image to true black and white.
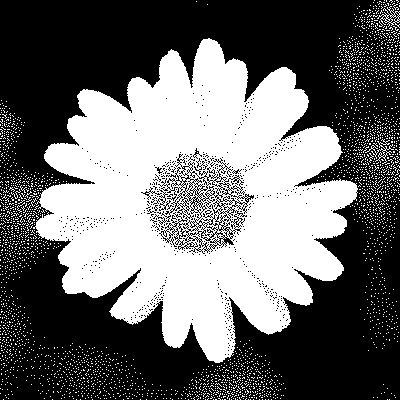
We can also replace each pixel with its complementary color using the -negate option:
 |
 |
As a result, the red, green, and blue intensities of our image are negated. White becomes black, and yellow becomes blue, etc.
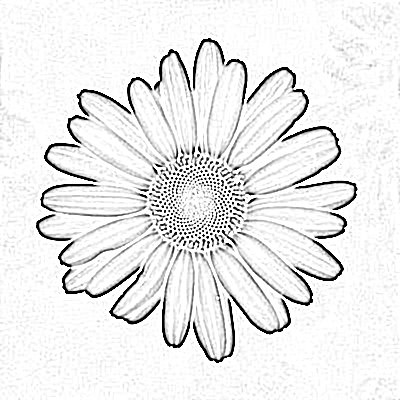
In our final image, we simulate a charcoal drawing:
convert flower_original.jpeg -charcoal 1.2 charcoal_flower.jpegThis flag takes an additional associated factor. Using a small number usually results in a pretty accurate output.
In our penultimate example, we’ll look at a neat feature using a couple of the CLI’s border options:
convert flower_original.jpeg -bordercolor yellow -border 5 flower_with_border.jpegIn this example, we set the border color to yellow and the border size using the -border option:
As we can see, we’re left with a vibrant yellow border around our original flower image.
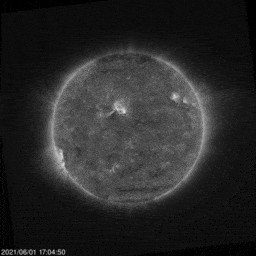
Let’s imagine we have a number of images spanning over a time period that we’d like to merge into an animated gif. Let’s say we have some images of the sun, which are captured roughly every 2 seconds.
Assuming our images are ordered sequentially in the correct time order, which they are:
$ ls -1
20210601_170450_swap174_512.jpg
20210601_170640_swap174_512.jpg
20210601_170830_swap174_512.jpg
20210601_171020_swap174_512.jpg
...
We can run a command to generate an animation from all the *.jpg image files in our directory:
convert -loop 0 *.jpg sol.gifThe output will look like a movie of the sun, pretty cool:
In this example, we’re using the -loop option with a value of 0. This sets iterations to zero, so the animation will repeat an infinite number of times.
We can also add a delay between each image transition using the -delay [ticks] option.
Consequently, we could combine various options, including -resize to keep the final gif size down:
convert -delay 20 -loop 0 -resize 50% *.jpg sol.gifIn this article, we’ve covered some of the basic capabilities that ImageMagick provides for manipulating images via the command line.
First, we looked at some basic resizing capabilities, and then we saw how to flip, rotate and crop images. Later, we saw how to apply some funky colouring options, and we finished by learning how to create an animation.
Of course, we’ve only touched the tip of the iceberg, so be sure to check out the excellent documentation for more details.