Yes, we're now running our only Summer Sale. All Courses are 30% off until 20th July, 2026:
Configuring Ubuntu as an LDAP Client
Last updated: January 30, 2024

Learn through the super-clean Baeldung Pro experience:
>> Membership and Baeldung Pro.
No ads, dark-mode and 6 months free of IntelliJ Idea Ultimate to start with.
1. Introduction
LDAP (Lightweight Directory Access Protocol) is a widely used protocol for accessing and managing directory information services. By configuring Ubuntu as an LDAP client, we can enable centralized authentication and user management across multiple systems.
In this tutorial, we’ll explore the process of configuring Ubuntu as an LDAP client.
2. Setup
Before we start, let’s ensure that we have a basic understanding of LDAP. It’s a protocol that allows clients to connect to a directory server and perform various operations, such as adding or modifying entries, searching for specific information, and authenticating users.
The directory server stores information in a hierarchical structure called the Directory Information Tree (DIT). Each entry in the DIT represents an object, such as a user or a group, and contains attributes that define its properties.
Most LDAP directories typically contain data that is regularly accessed but rarely changed. This is because it’s designed to offer exceptionally fast READ performance, even for larger datasets. However, the WRITE performance is significantly lower.
First, we need to install all the necessary packages for LDAP authentication.
Let’s open up the terminal and install the required packages from the package manager:
$ sudo apt-get install libnss-ldap libpam-ldap ldap-utils nscdDuring installation, we’ll get a prompt to provide information about our LDAP server. We need to ensure we have the LDAP server URI, base DN (Distinguished Name), and other relevant details ready:
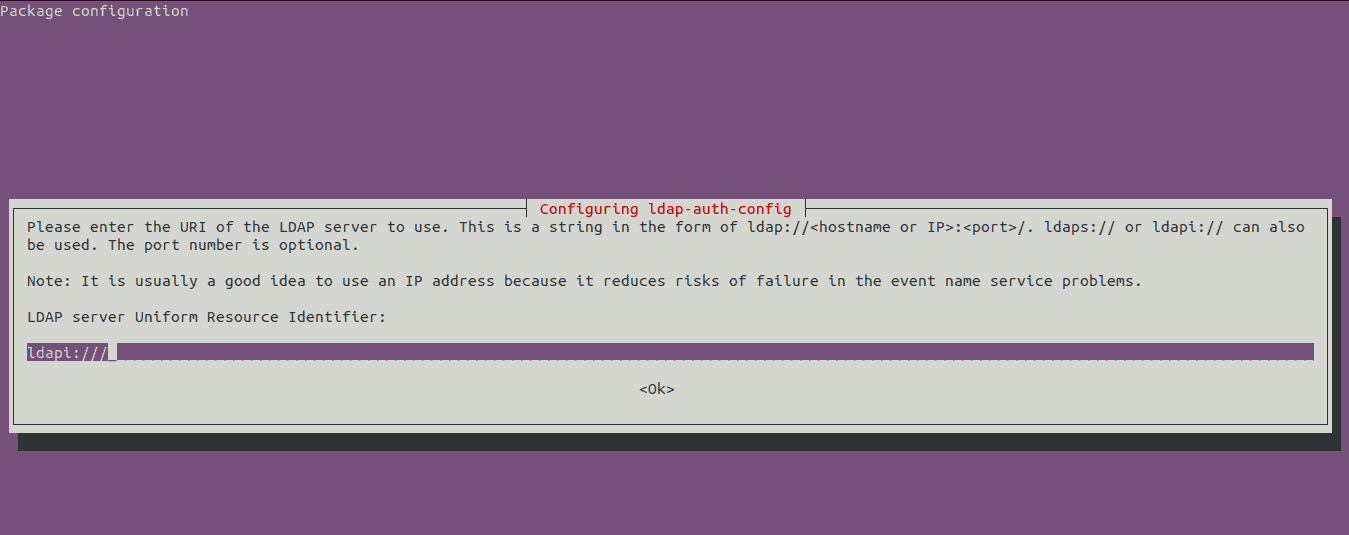
It’s a great practice to use the IP address instead of the DNS hostname to reduce the risk of failure during name service problems.
3. Configure LDAP and PAM Authentication
After installation of the packages, we first need to configure the LDAP client to authenticate against the LDAP server.
To do this, let’s open the /etc/nsswitch.conf file using the nano text editor:
$ sudo nano /etc/nsswitch.confLet’s locate the lines that start with passwd, group, and shadow, and modify them by appending ldap to each one:
passwd:         compat ldap
group:          compat ldap
shadow:         compat ldap
This configuration instructs the system to use LDAP for user, group, and shadow information. Finally, we can save the file and exit the text editor.
PAM (Pluggable Authentication Module) is a system that provides a flexible framework for authentication in Linux systems. It allows us to use different authentication methods, such as LDAP, local passwords, or external authentication sources.
By configuring PAM authentication, we can specify the use of LDAP as the authentication source for Ubuntu.
To achieve this, let’s open the /etc/pam.d/common-session file with a text editor:
$ sudo nano /etc/pam.d/common-sessionThen we add the line umask=0022 at the end:
session required pam_mkhomedir.so skel=/etc/skel/ umask=0022The line ensures the creation of a home directory for LDAP users if it doesn’t exist.
The combination of LDAP and PAM authentication enables centralized user management, simplifies administration, and offers a consistent authentication mechanism across the network.
4. Configure LDAP Client
Our next step is to configure the LDAP client to connect to the LDAP server. Let’s open the /etc/ldap/ldap.conf file using a text editor:
$ sudo nano /etc/ldap/ldap.confInside the file, we need to update the file with our LDAP server URI and the base DN:
BASE   dc=example,dc=com
URI    ldap://ldap.example.com ldap://ldap-master.example.com:666
Once done, we can save and exit the editor.
To apply the changes, we need to restart the necessary services:
$ sudo systemctl restart nscdnscd is a caching daemon that caches queries for various name services, including passwd, group, and hosts. In addition, we can restart the nslcd service:
$ sudo systemctl restart nslcdnslcd is a client caching daemon for LDAP. Restarting these services ensures that the changes take effect and the system recognizes the LDAP information that we’ve set.
5. Testing the Configuration
For us to test the LDAP configuration, we need to use the getent command. It’s a Linux tool that retrieves entries from several important databases, including passwd, group, hosts, and services.
Let’s use the getent command to test the authentication:
$ getent passwd <ldap-username>We can replace <ldap-username> with the actual username of an LDAP user. If the configuration was successful, we should see the user’s information on the terminal.
Alternatively, we can use the ldapsearch command-line tool since it allows us to perform LDAP queries and retrieve information from the LDAP server.
As an illustration, let’s use the ldapsearch command to search for a specific user:
$ ldapsearch -x -D "cn=admin,dc=example,dc=com" -W -b "dc=example,dc=com" "(uid=username)"
We’re using the -x option to use simple authentication instead of SASL. The -D option specifies the DN to bind to, the -W option prompts for the password of the specified DN, and the -b option specifies the base DN to start the search from.
We need to replace cn=admin,dc=example,dc=com with the appropriate LDAP admin domain name and dc=example,dc=com with the domain name of our LDAP server. Finally, we need to replace username with a user existing in the LDAP server.
6. Conclusion
In this article, we’ve explored how to configure Ubuntu as an LDAP client. It’s a crucial process for organizations seeking centralized authentication and user management. By following the outlined steps, which include installing necessary packages, adjusting system configuration files, and restarting services, we can integrate Ubuntu with LDAP servers. The careful configuration of files such as /etc/nsswith.conf and /etc/ldap/ldap.conf ensures that the system appropriately queries LDAP for user and group information.
We need to remember to consider the specific needs of our environment, such as LDAP server details and network configurations, while making these changes. Consequently, it’s good practice to regularly consult the documentation of our LDAP server and Ubuntu version for any updates or specific configurations.
By successfully configuring Ubuntu as an LDAP client, we establish a foundation for streamlined user management and authentication within a centralized directory service, contributing to enhanced system security and efficiency.