

Learn through the super-clean Baeldung Pro experience:
>> Membership and Baeldung Pro.
No ads, dark-mode and 6 months free of IntelliJ Idea Ultimate to start with.
Last updated: March 18, 2024
Learn through the super-clean Baeldung Pro experience:
>> Membership and Baeldung Pro.
No ads, dark-mode and 6 months free of IntelliJ Idea Ultimate to start with.
Bash scripting is a lightweight activity that we can accomplish easily with a text editor that has good syntax highlighting support. However, as the script grows in complexity, we’ll need some tools to aid in the development. While there may not be a dedicated IDE for shell scripting, there are powerful tools and utilities that can carry out the same task.
In this tutorial, we’ll discuss setting up a development workflow for shell scripting using Vim and NeoVim. First, we’ll install Vim and NeoVim. Then, we’ll add the vim-plug plugin manager to easily install the plugins we need for shell scripting.
Next, we’ll add support for autocompletion through coc.nvim and the bash-language-server LSP (Language Server Protocol). Then, we’ll add the vim-shellcheck plugin to check our shell scripts for errors.
Finally, we’ll add a few mappings for running the script, adding the Shebang, and enhancing comments.
We can either use Vim or NeoVim for shell scripting, as both editors have a vast community and free plugins.
NeoVim is a fork of the Vim editor with a more extensible architecture, better defaults, and more features. Not only that, the Vim plugins and configurations are compatible with NeoVim but not always the other way around.
Vim and NeoVim provide an abundance of extensions specifically designed for shell development, such as syntax highlighting, auto-completion, and integrated terminal support. Moreover, Vim and NeoVim are lightweight and can run smoothly on various platforms, making them suitable for remote development scenarios.
The subsequent steps will apply to both Vim and NeoVim.
Vim and NeoVim are available on most official package repositories. So, we can use a package manager like apt to install them using their canonical names:
$ sudo apt install vim -y
$ sudo apt install neovim -y
Once installed, we can launch them with the vim and nvim commands respectively.
In Vim and NeoVim, apart from syntax highlighting, there are no built-in plugins for shell scripting. However, we can easily add 3rd-party plugins either manually or with a plugin manager like vim-plug.
We’ll make use of vim-plug as it’s a more convenient way to manage and maintain the plugins for the editor. So, first, we’ll install vim-plug:
$ curl -fLo ~/.vim/autoload/plug.vim --create-dirs \
    https://raw.githubusercontent.com/junegunn/vim-plug/master/plug.vim
In the same way, we can also install it for NeoVim:
$ sh -c 'curl -fLo "${XDG_DATA_HOME:-$HOME/.local/share}"/nvim/site/autoload/plug.vim --create-dirs \
       https://raw.githubusercontent.com/junegunn/vim-plug/master/plug.vim'
Once installed, we’re ready to add the plugins.
There are a few implementations of LSP for Bash, but we’ll work with the bash-language-server. It’s actively maintained and works out-of-the-box once it’s run.
We can install bash-language-server from the official repository:
$ sudo apt install bash-language-server -yAlternatively, we can also use npm:
$ npm install -g bash-language-serverOnce the language server is installed, it’s time to add an autocompletion plugin. For that purpose, we’ll use the popular coc.nvim plugin. So, let’s add the entry for the plugin in ~/.vimrc for Vim and ~/.config/nvim/init.vim for Neovim:
call plug#begin()

Plug 'neoclide/coc.nvim', {'branch': 'release'}

call plug#end()
Now, we need to create a coc-settings.json file in the ~/.config/coc directory and specify the server configuration:
"languageserver": {
  "bash": {
    "command": "bash-language-server",
    "args": ["start"],
    "filetypes": ["sh"]
  }
}
Let’s break this down:
Now, we need to have Node.js installed on our system for coc.nvim to work. Fortunately, it’s available on most official package repositories. On Ubuntu, we can install it through apt:
$ sudo apt install nodejs -yNext, we launch Vim and run the PlugInstall command to install coc.nvim:
$ vim +PlugInstall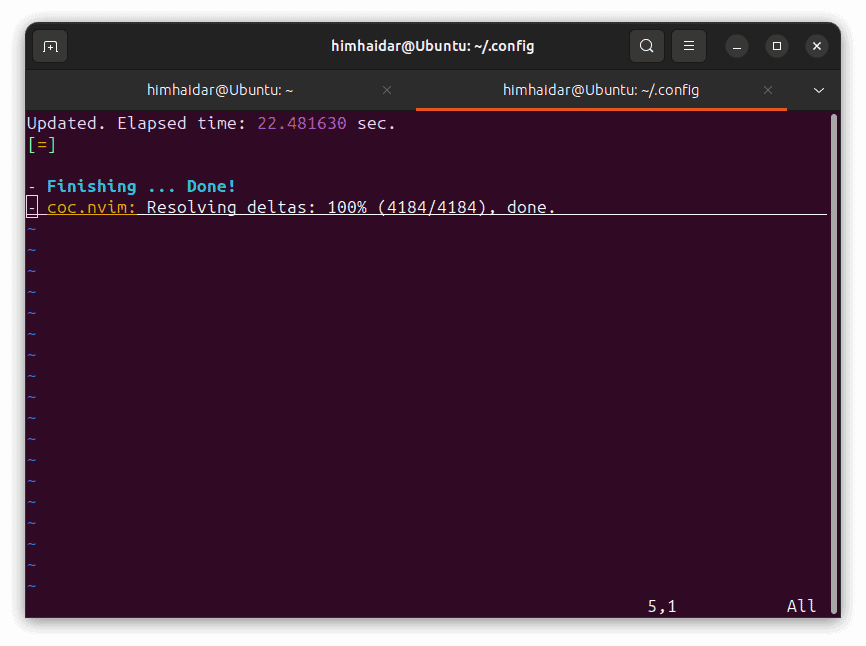 Now, we can restart the terminal and open a shell script file with Vim, and the autocomplete will work automatically.
Debugging Bash scripts is challenging due to their linear execution nature and reliance on external programs. The behavior of Bash commands heavily depends on interactions with the environment and external utilities. Unlike compiled languages, there are no traditional debugging functionalities like breakpoints or step-by-step execution.
Nevertheless, there are a few tools that can provide linting and static analysis. One of these tools is known as ShellCheck.
ShellCheck is a static analysis tool that can help us lint and write better shell scripts. Therefore, it’s a good substitute for a debugger.
By default, it’s not installed on most Linux distributions, but we can install it from the package repository:
$ sudo apt install shellcheck -yOnce installed, let’s verify it:
$ shellcheck --version
ShellCheck - shell script analysis tool
version: 0.9.0
Now, let’s add the vim-spellcheck plugin, which is a wrapper for ShellCheck:
call plug#begin()
...
Plug 'itspriddle/vim-shellcheck'
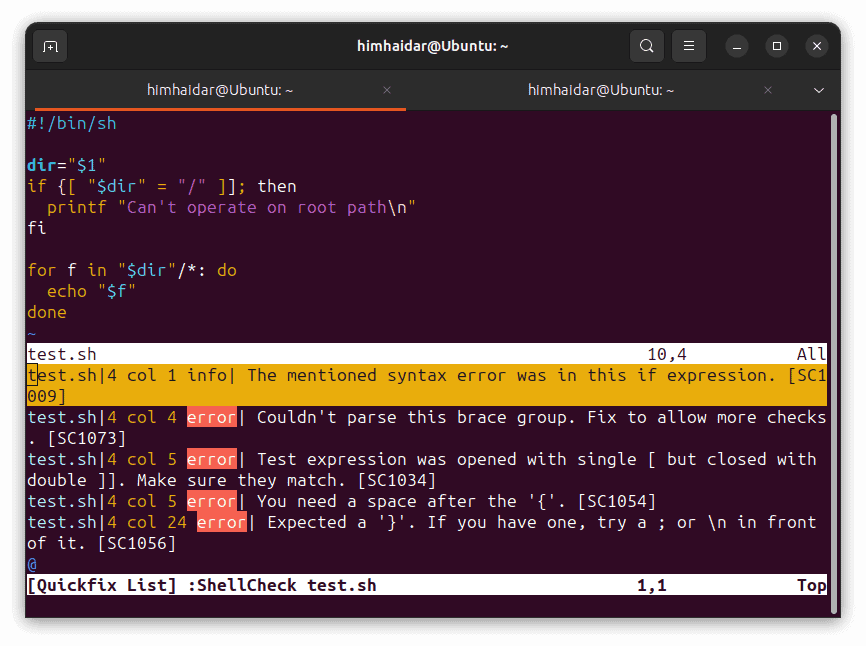
call plug#end()Once added and installed with PlugInstall, we can try it out with the :ShellCheck! command in Vim:
We can add a simple binding that executes the current shell script file. So, let’s add the following entry to our Vim config:
nnoremap ex :!chmod +x % && source %Here, we specify that whenever we press the e and x keys on the keyboard, Vim will run the given commands. The command first makes the script executable, then runs it with source.
Next, we’ll create a simple boilerplate macro that adds a Shebang to the script file:
nnoremap sh ggO#!/bin/bash<ESC>o<ESC>Here, we specify that whenever we press the s and h keys, Vim will add #!/bin/bash at the top of the file.
Finally, let’s add one more visual enhancement that puts a comment in a box:
nnoremap @c I# <ESC>A #<ESC>yyPlvt#r-yyjpNow, if we have a line like this:
This is a commentThen, when we press the @ and c keys, the macro will turn it into a comment like so:
#-------------------#
# This is a comment #
#-------------------#In this article, we saw how we can create a development environment for shell scripting. For that purpose, we added a couple of plugins for autocompletion and linting the shell script to Vim and NeoVim.
Finally, we discussed executing a shell script within the editor and utilizing macros for shebang and comments.