Learn through the super-clean Baeldung Pro experience:
>> Membership and Baeldung Pro.
No ads, dark-mode and 6 months free of IntelliJ Idea Ultimate to start with.
Last updated: January 31, 2024

Learn through the super-clean Baeldung Pro experience:
>> Membership and Baeldung Pro.
No ads, dark-mode and 6 months free of IntelliJ Idea Ultimate to start with.
Converting PNG (Portable Network Graphics) images to the SVG (Scalable Vector Graphics) format can be a useful skill for Linux users. This is especially true when designing prints or Web content, where bigger resolutions are needed.
In this tutorial, we’ll explore the different methods to convert PNG to SVG in Linux, otherwise known as tracing.
PNG (Portable Network Graphics) files are a raster graphics format that attempts to get the quality of raw BMP with a size closer to JPG. The PNG format also features transparency support and has gained a lot of popularity online.
SVG (Scalable Vector Graphics) files are resolution-independent and can be scaled without loss of quality. As a vector graphics format that uses mathematical equations to define images, it enables infinite scalability without compromising the quality. This makes it ideal for various applications such as web design, graphic editing, and printing.
Now, let’s see some methods to convert between the two formats.
Inkscape is a free and open-source vector graphics editor for Linux and other operating systems such as Windows and macOS. It offers a rich set of features and uses vector graphics to enable short printouts and renderings at unlimited resolution. Inkscape has standardized the SVG instead of a proprietary file structure as its primary format.
Let’s discover how to install and use Inkscape to convert PNG files to SVG format.
Inkscape is available in most major Linux distros via the local package manager.
To install it on Debian and Debian-based variants, we can use the APT package manager:
$ sudo apt install inkscapeOn Arch Linux, we can use Pacman:
$ sudo pacman -S inkscapeFinally, on Fedora, we can employ DNF:
$ sudo dnf install inkscapeNow, let’s proceed to use Inkscape to convert PNG files to SVG.
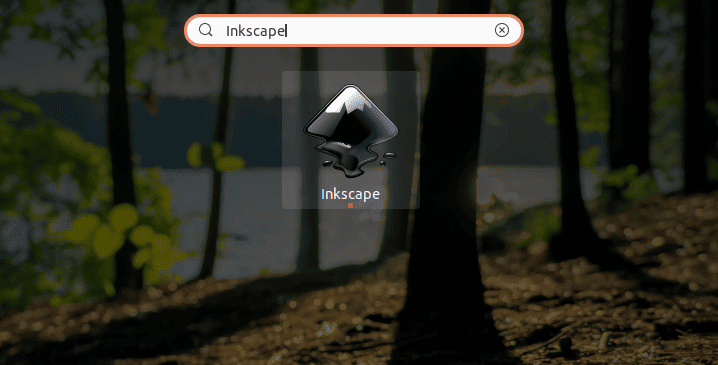
We can open Inkscape by searching for Inkscape in the application menu:
On the first startup, we may have to perform some initial setup. After that, we should see an initial dialog:
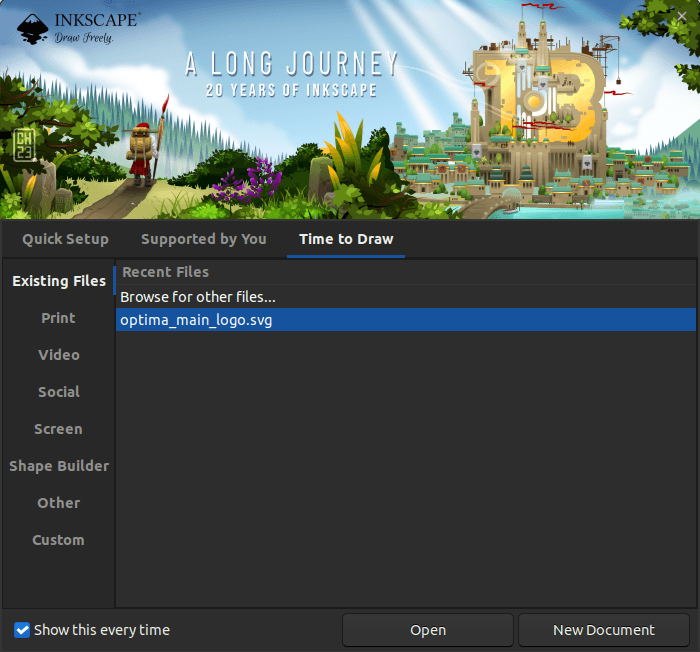
From the dialog, we have several options such as importing local documents, creating new documents, a list of recently processed files, and more.
It also has several options on the left navigation bar that contain templates we can use to quickly launch a specific project.
To trace a PNG image, we first import a PNG file from our local machine by clicking on the Open button at the bottom right of the dialog:
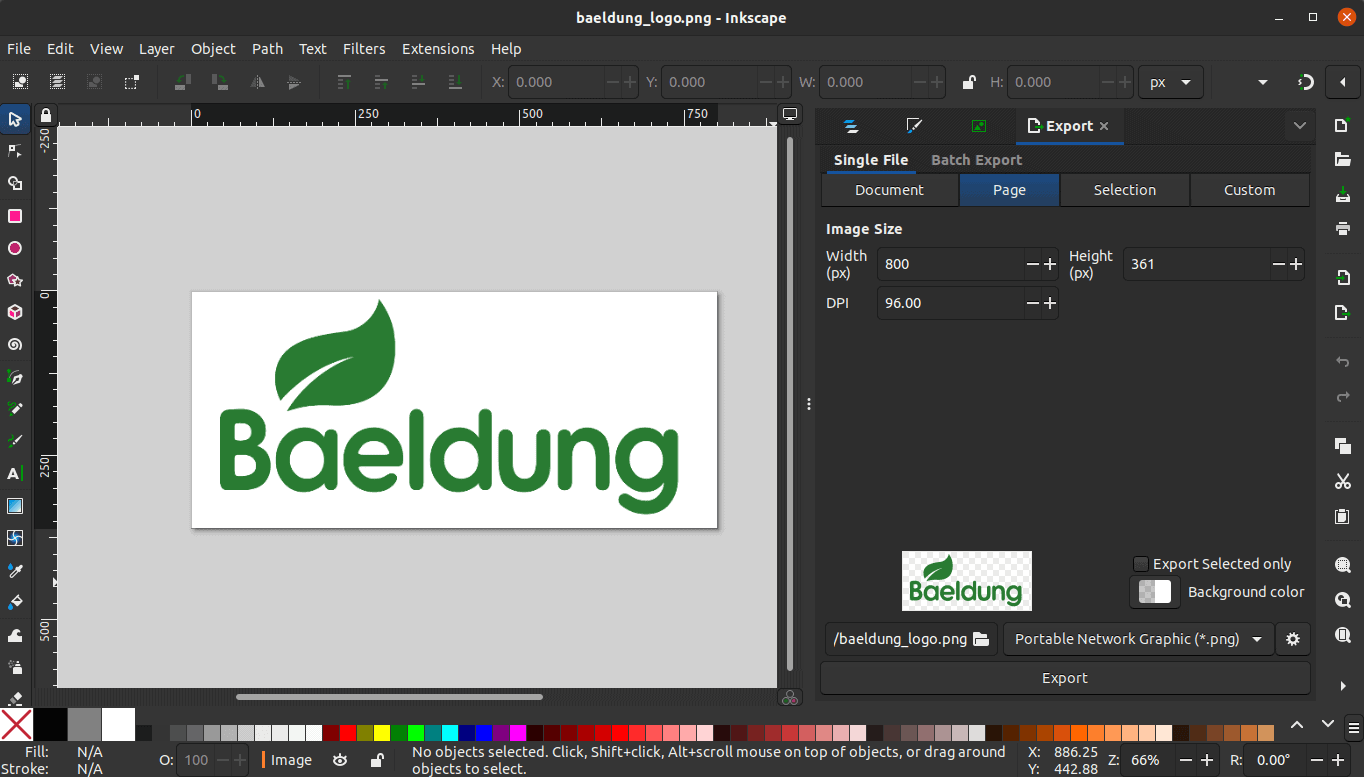
The tool offers several options to edit the image. However, to convert it to SVG, we need to click on the Path option on the navigation bar. Next, we need to click on the Trace Bitmap option from the dropdown.
Finally, we can click on our image and we’ll see a preview of the trace SVG on the right side:
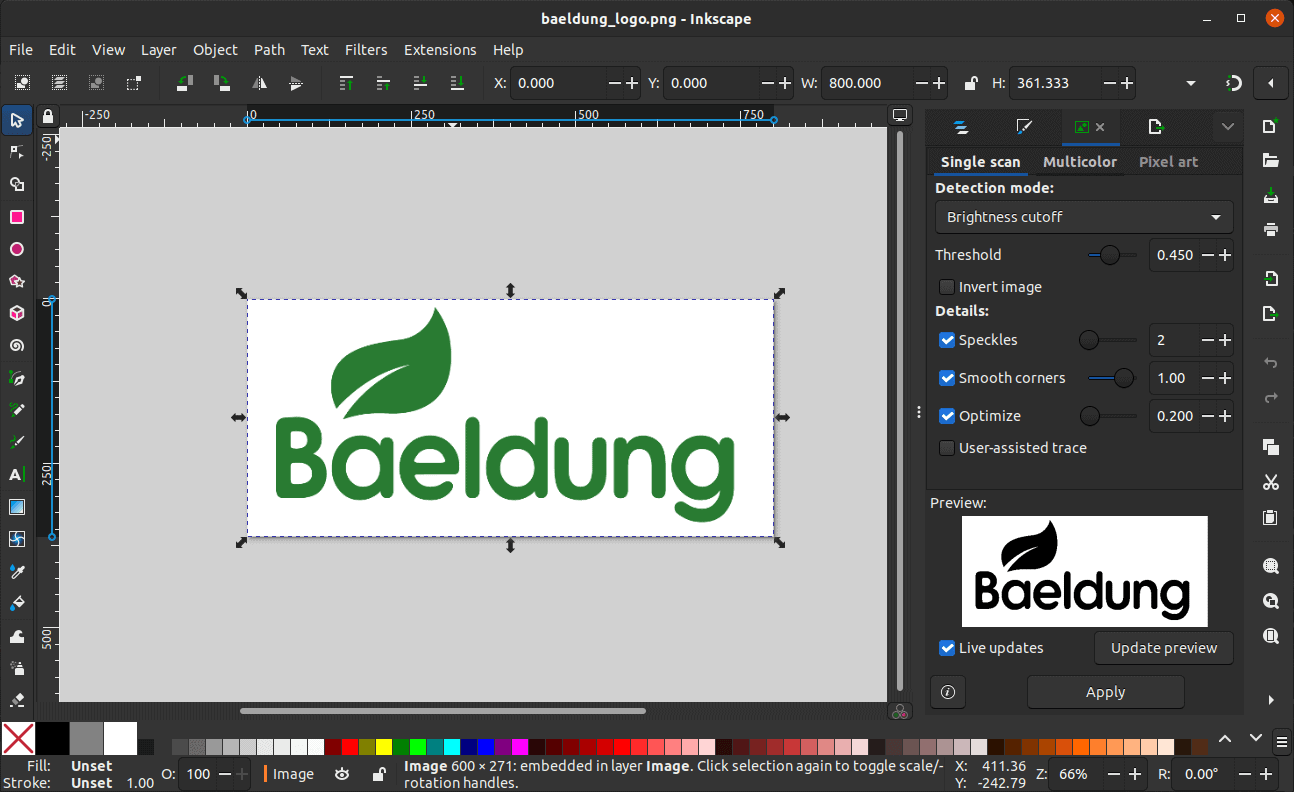
Next, let’s click on the dropdown option Detection mode: on the right side and select the Autorace option. This option auto-traces the image for us without further intervention. However, we can opt for manual configurations for better precision and more control over the final SVG.
Once we select the Autotrace option, we can click on the Apply button at the bottom of the right sidebar. As a result, we’ll have a layer of the generated SVG that we can double-click and drag from the original image:
The next step is to select and delete the original image and then drag the SVG image to the center of the canvas.
Finally, we can export the file as SVG from the File option in the top navigation bar.
Inkscape also provides a command-line interface (CLI) for automation purposes and quick conversions or edits.
First, let’s check the default syntax of the inkscape command:
$ inkscape [options] [filename_1 filename_2 ...]Running inkscape without any arguments opens up the Inkscape GUI.
As an illustration, let’s use the inkscape command to convert a PNG file to SVG:
$ inkscape -p baeldung_logo.png -o output_baeldung.svgWe’re using the -p option to specify the input file and the -o option to specify the output file.
As with other tasks, we can consider using online conversion tools to convert PNG to SVG format. There’s a long list of free and premium online tools that we can use to perform the conversion on the fly. Moreover, we don’t have to install any conversion tool locally and we should be able to bulk-convert several PNG files with ease.
It’s strongly advisable to use reputable and trusted online conversion tools, and always review their privacy policies and terms of service before uploading any sensitive PNG images.
Here, we’ll use a free tool offered by Adobe at https://www.adobe.com/express/feature/image/convert/png-to-svg. To use the website, we need to have an active Adobe account or create a new one.
We can access the website through a web browser of our choice. On the main page, we should see the homepage with a button labeled Upload your photo:
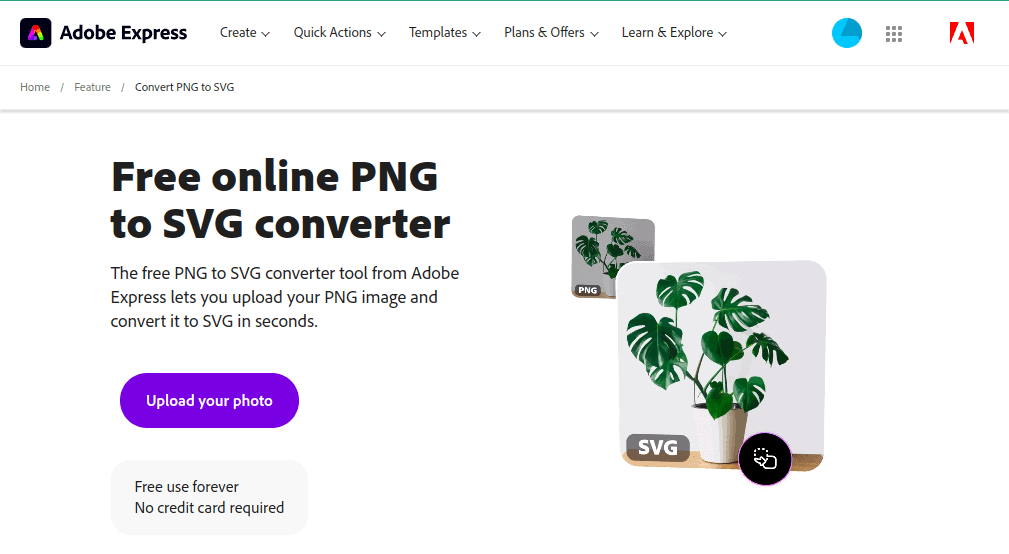
We can click on the Upload your photo button, and we’ll be redirected to a new page with a section where we can upload images from our local machine:
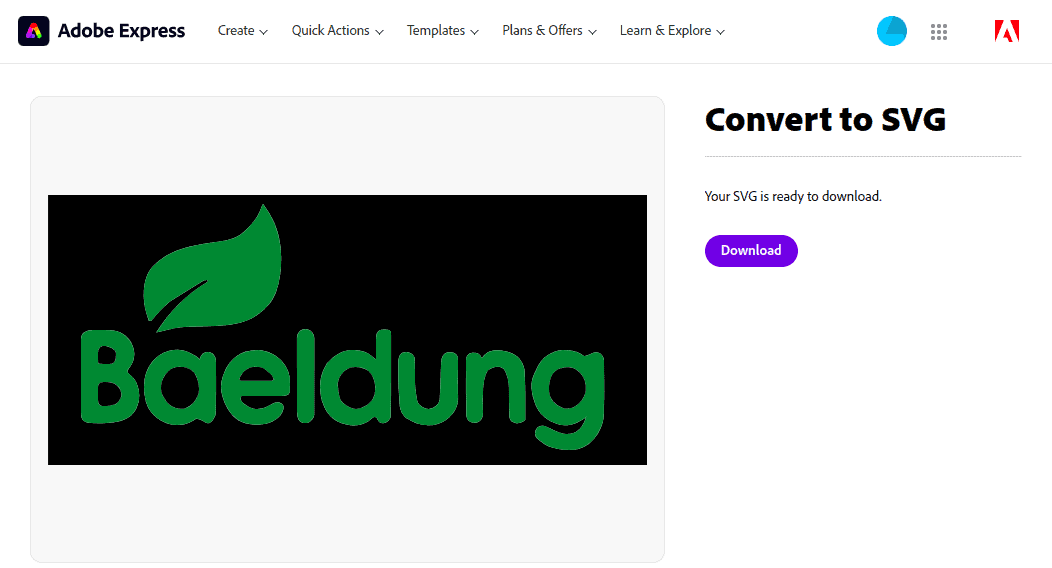
The conversion happens immediately after we upload the image, and we’re presented with a preview of the SVG. On the right side, we can click on the Download button to get the SVG file.
Notably, this method isn’t very flexible since the conversion process is usually automated and might not be able to perform customizations.
In this article, we’ve used two different methods to convert PNG files to SVG.
In the first method, we used Inkscape to perform conversion through the GUI and terminal. For the second option, we turned to online tools.
Each method has its advantages and drawbacks, the method to use mostly depends on personal preference or use case. However, using online tools is usually faster and simpler in comparison to installing a conversion tool locally. Conversely, the online method isn’t very flexible since we don’t have much control over the whole conversion process.