Learn through the super-clean Baeldung Pro experience:
>> Membership and Baeldung Pro.
No ads, dark-mode and 6 months free of IntelliJ Idea Ultimate to start with.
Last updated: January 30, 2024

Learn through the super-clean Baeldung Pro experience:
>> Membership and Baeldung Pro.
No ads, dark-mode and 6 months free of IntelliJ Idea Ultimate to start with.
Image cropping tools enable users to trim and adjust images, serving purposes like composition improvement and focusing on the main subject. Valuable for resizing and complying with social media requirements, these tools also correct alignment issues.
In this tutorial, we’ll explore various ways to perform rapid image cropping in Linux.
Initially, we’ll start by looking at applications that can be installed via the APT package manager, such as GIMP, ImageMagick, Shotwell, and RawTherapee. Finally, we’ll discuss Pinta, Krita, Nomacs, and XnView MP. Since many package managers lack a repository for more specialized applications, we might first need to install Flatpak before installing some of these programs.
GIMP, short for GNU Image Manipulation Program, is a free and powerful open-source raster graphics editor used for tasks like photo editing and composition. Thus, it provides a range of tools from basic functions to advanced features. Additionally, it has support for multiple platforms and is extensible with plugins. Consequently, GIMP is a cost-effective alternative to commercial image editing software.
First, we install the GIMP image editor by using the install command and APT package manager:
$ sudo apt-get install gimpOnce the installation is complete, we launch the GIMP application by navigating to the Activities panel and entering GIMP in the search bar, followed by pressing the Return key:
Now, let’s start with a graphical user interface for importing images and performing operations on them.
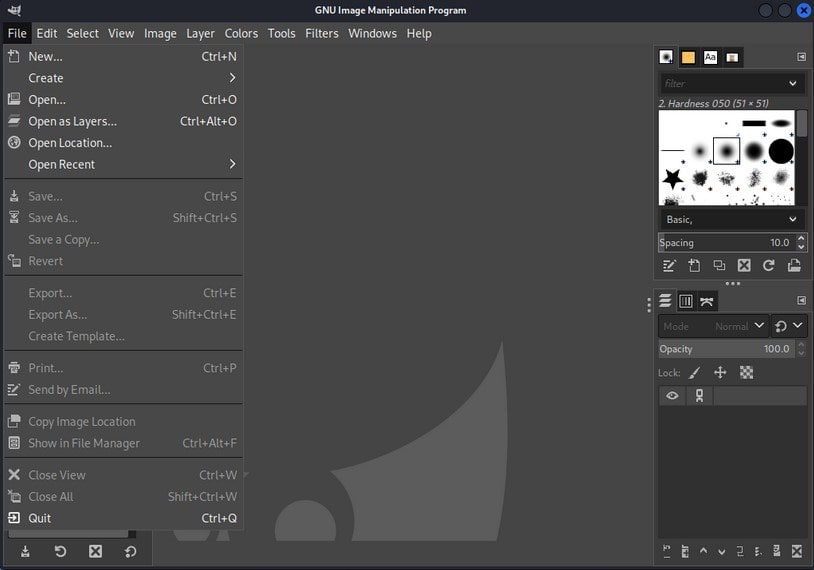
Next, we create a new file by going to the menu bar and selecting the File option. After that, we select the New option. Now, a new instance of the file opens:
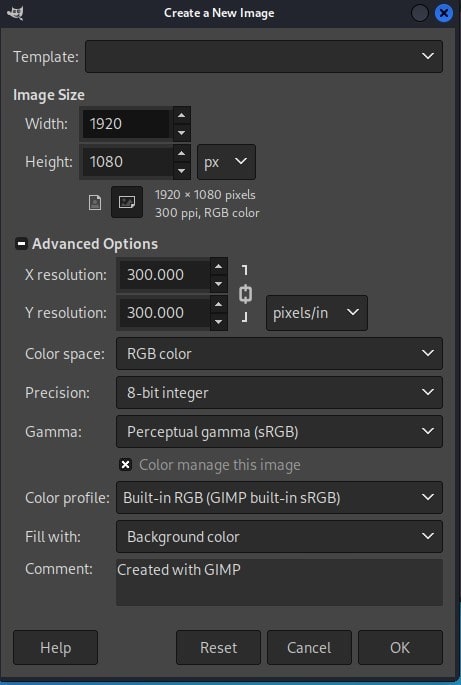
In addition, we can set the size and resolution of the image, as well as other parameters:
Following that, we import an image in GIMP by navigating to the menu bar, selecting the File option, and clicking on the Open option. After clicking the Open option, we get a file picker to select our desired file:
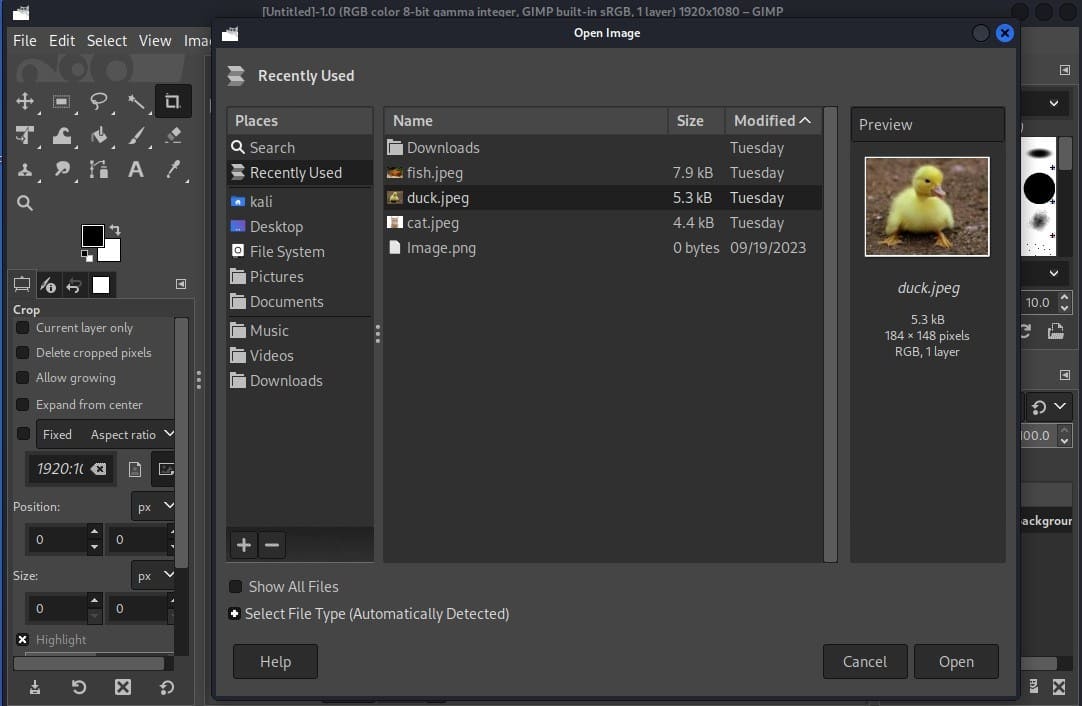
Finally, the image is imported into the GIMP interface.
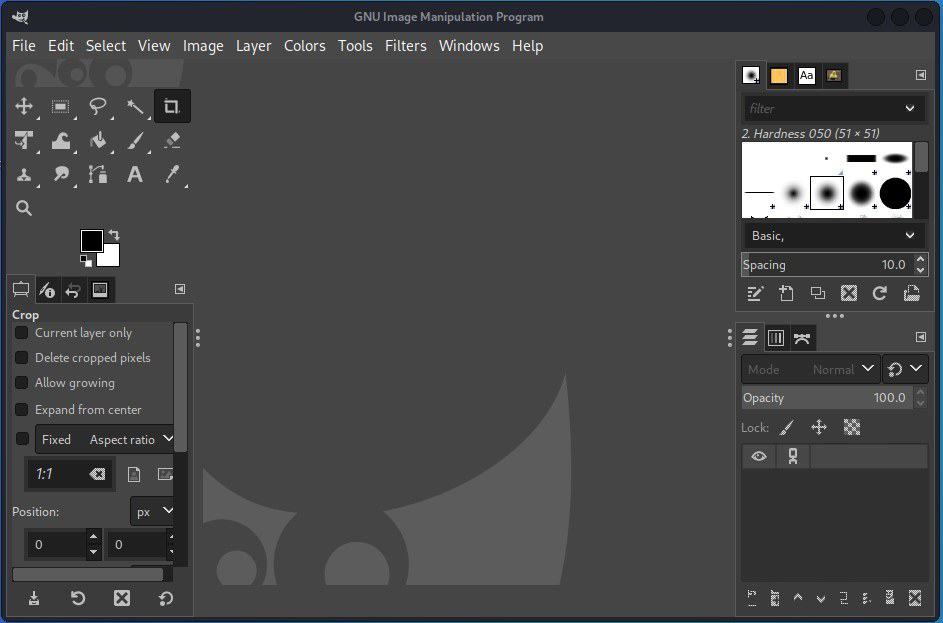
Once the image is imported, we can start working on it:
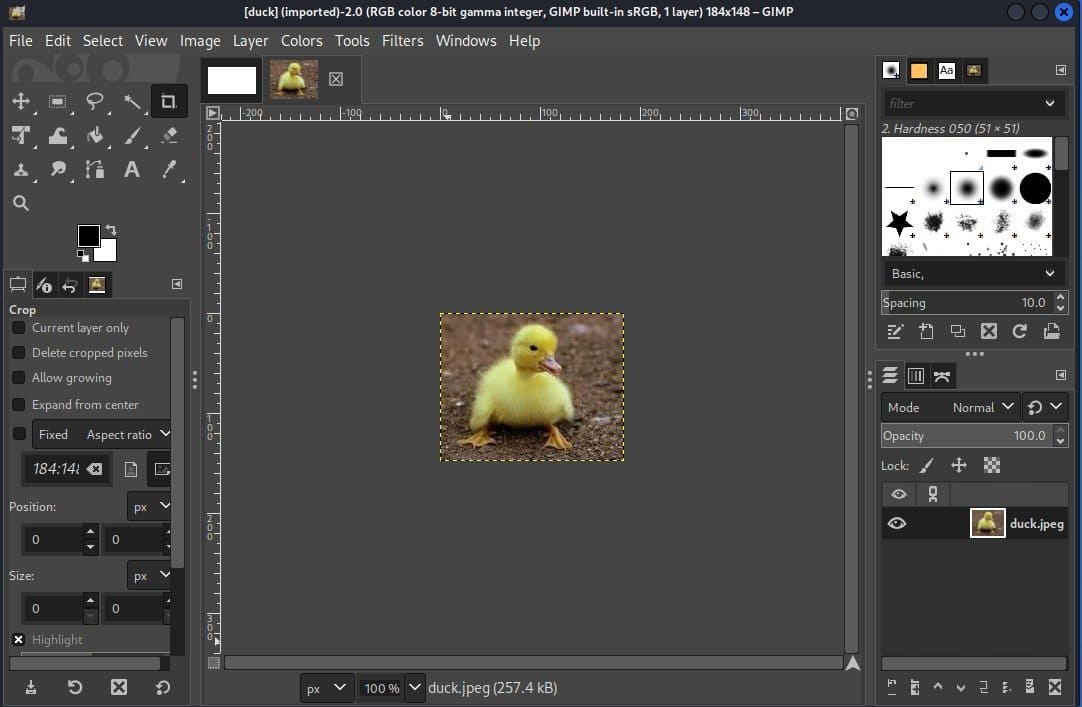
Here, we can see the interface of the application. Now, let’s start cropping the image:
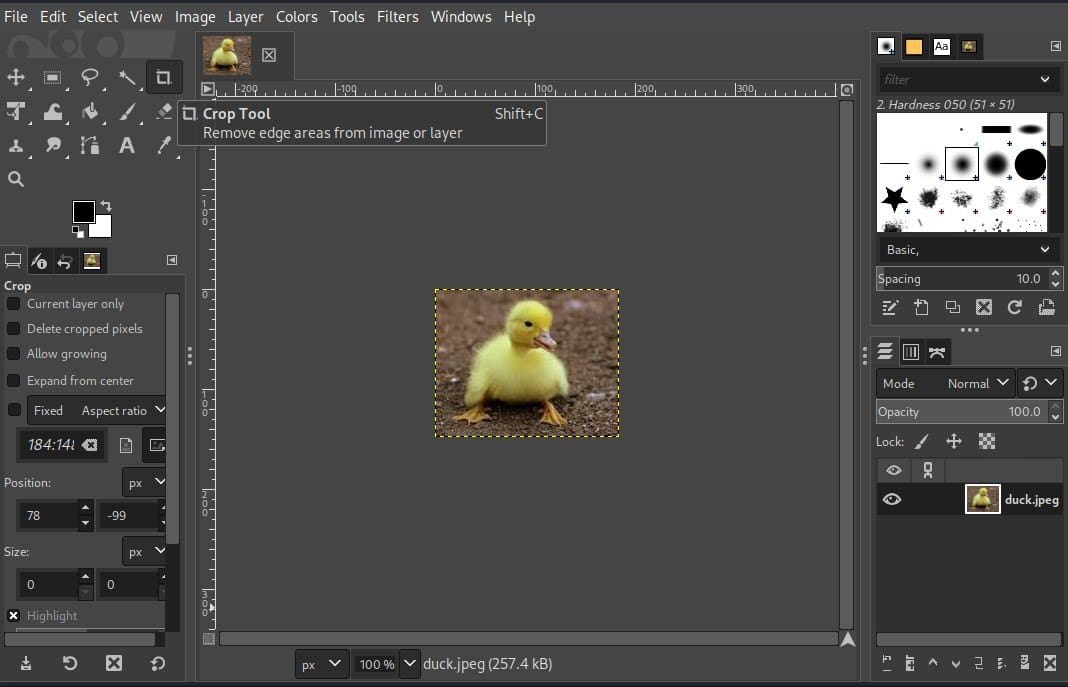
To do so, we go to the toolbar and then select the crop tool.
However, we can also access the crop tool by pressing Shift+C.
In summary, the GIMP application is a widely used image editing tool known for its various features including:
To conclude, these features collectively make GIMP a versatile tool for precise and customizable cropping in image editing.
ImageMagick is a powerful open-source image processing tool with versatile capabilities. Additionally, it supports various formats and offers command-line functionality for automation. Also, ImageMagick is known for its performance and cross-platform compatibility. Extensively employed in web development, ImageMagick is free and boasts support for multiple programming languages.
Since ImageMagick isn’t always included in the default software set on Linux, we might need to install it manually.
To begin with, we install the ImageMagick using the APT package manager:
$ sudo apt-get install imagemagickUpon finishing the installation, we start our work by opening the ImageMagick application:
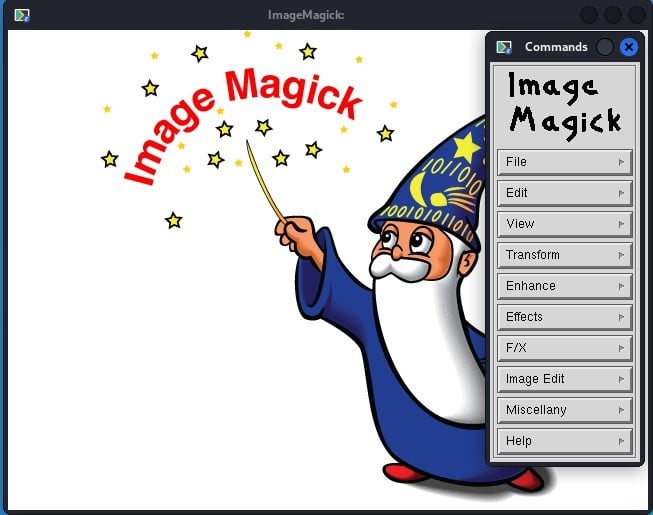
When the application is launched, the interface above appears.
Now, we can import an image for editing. To do so, we navigate to the menu named Commands. Next, we select the File option. Finally, we select Open:
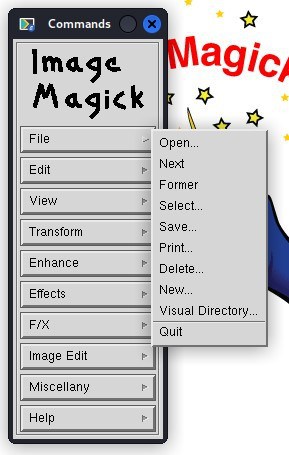
Now, we can access directories. Thus, we navigate to the image that we want to edit:
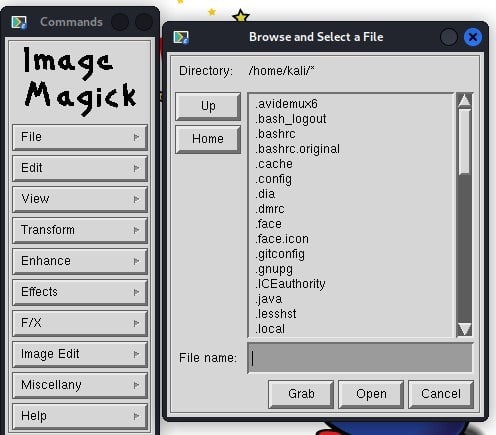
Now, we select the image and import it in ImageMagick.
Ultimately, once the image is selected, we click on the Open button to import the image and start our work:
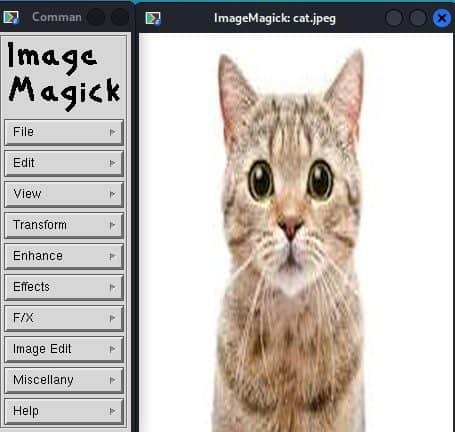
Now, we can crop this image easily with ImageMagick:

Moreover, for efficient image editing in ImageMagick, we can use the crop tool by navigating to the menu named Commands > Transformation > Crop. After selecting the crop tool we use the mouse right-click to select the part that we want to crop.
ImageMagick is ideal for basic tasks:
Furthermore, it also has geometry specifications, output format control, and no-destructive cropping.
In summary, its resource-intensive nature and complexity may pose challenges for beginners. However, it has an active development, and extensive documentation remains advantageous.
Shotwell is a user-friendly, open-source photo management software offering benefits such as efficient photo organization, tagging, and metadata features. Moreover, it provides basic image editing, seamless integration with online services, and supports cross-platform compatibility. With its focus on simplicity and free accessibility. Consequently, Shotwell is a popular choice for users looking to organize, edit, and manage their digital photo collections.
To kick off the installation, we employ the APT package manager to install Shotwell:
$ sudo apt-get install shotwellAfter the installation is finished, we launch the application:
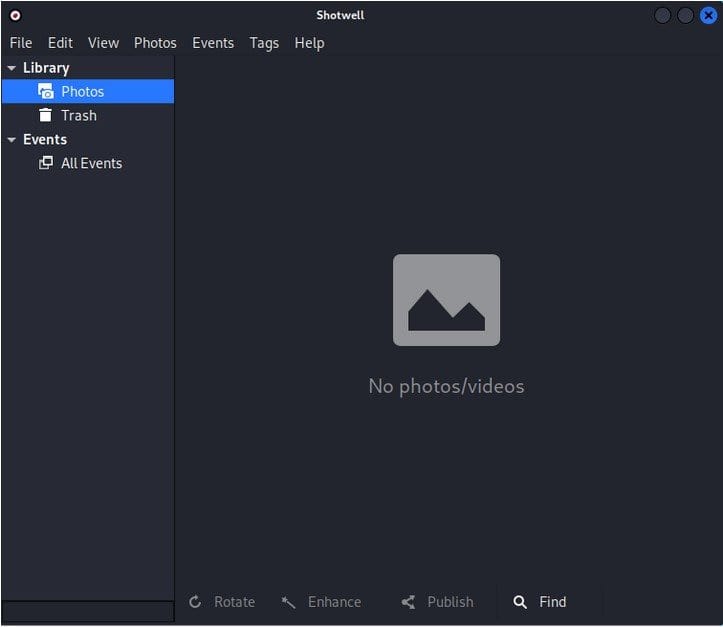
Therefore, we should see the interface above after launching.
Next, let’s import an image to crop and edit by going to the menu bar and then selecting the File option from the menu bar:
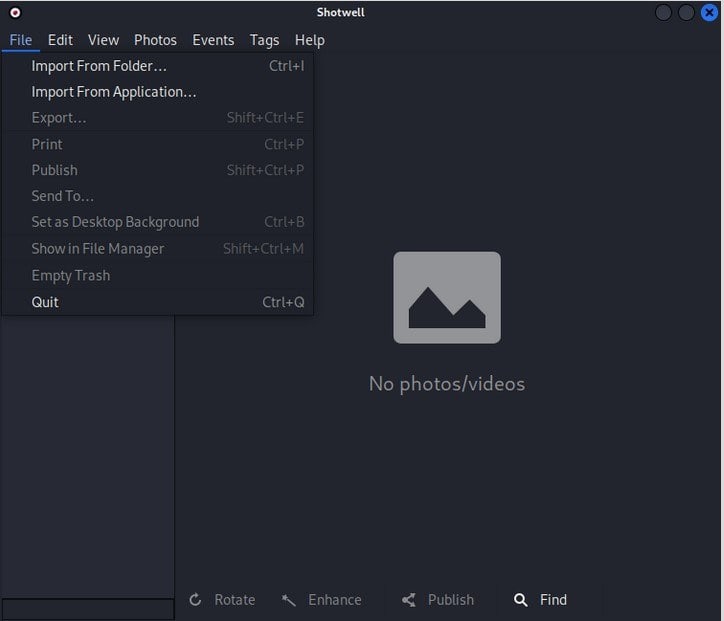
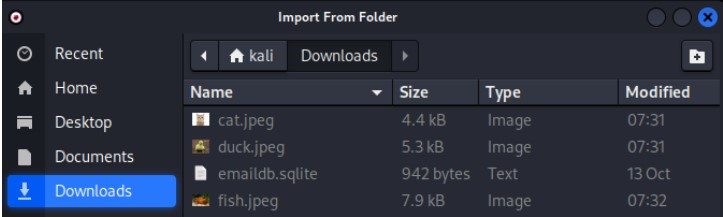
Subsequently, we go to the Import From Folder option and click. After clicking a file picker appears from where we can navigate and choose an image file:
However, we can also add an image file using the drag-and-drop functionality.
Upon adding the image file to the Shotwell application, we can start our work on it:
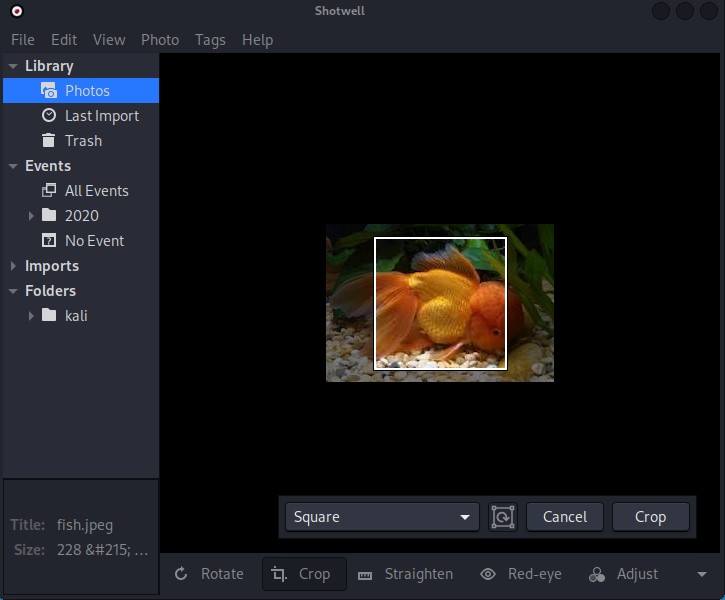
Subsequently, in Shotwell the crop tool is present in the bottom toolbar we select the crop tool from the toolbar and start cropping the image.
Shotwell is primarily a photo manager and may not have advanced cropping features. Firstly, it features a Crop Tool with aspect ratio options and a Straighten Tool for basic adjustments. Additionally, there’s auto-enhancement, red-eye removal, and standard image adjustments. Notably, all edits are non-destructive, preserving the original image.
Conversely, Shotwell might not be the ideal choice if advanced cropping features are a priority.
RawTherapee is a free, open-source raw image processing software ideal for photographers. With advanced editing tools, non-destructive processing, and high bit-depth support, it offers flexibility and control. Notably, regular updates, a customizable interface, and compatibility with various raw file formats make it a powerful choice for enhancing and fine-tuning images.
To initiate the installation process, we again use the APT package manager to install RawTherapee:
$ sudo apt-get install rawtherapeeOnce the installation is complete, we launch the image editor from the Activities panel:
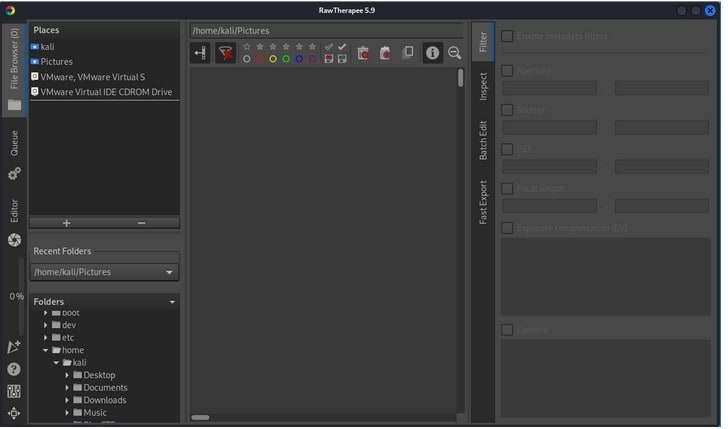
Upon initiating the application, the aforementioned interface is displayed.
Now, we import a sample image in the RawTherapee image editor by going to the bottom left box named Folders from there we navigate to our desired directory where our image file is located:
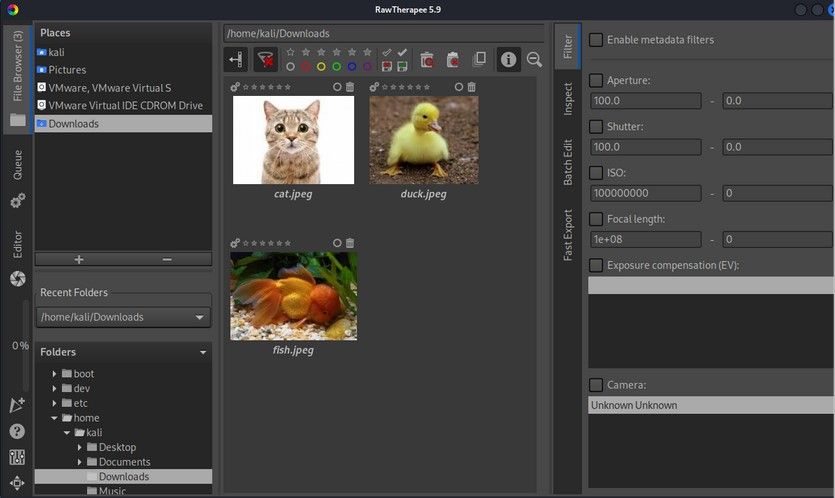
Afterward, we select an image on which we want to perform editing and start working on it.
To use the crop tool in RawTherapee. First, we go to the menu bar and then select Editor.

Next, we navigate to the Processing Profiles section. Subsequently, we go to the toolbar present in the Processing Profiles section. From there, we select the third tool from the right with the scissor icon:
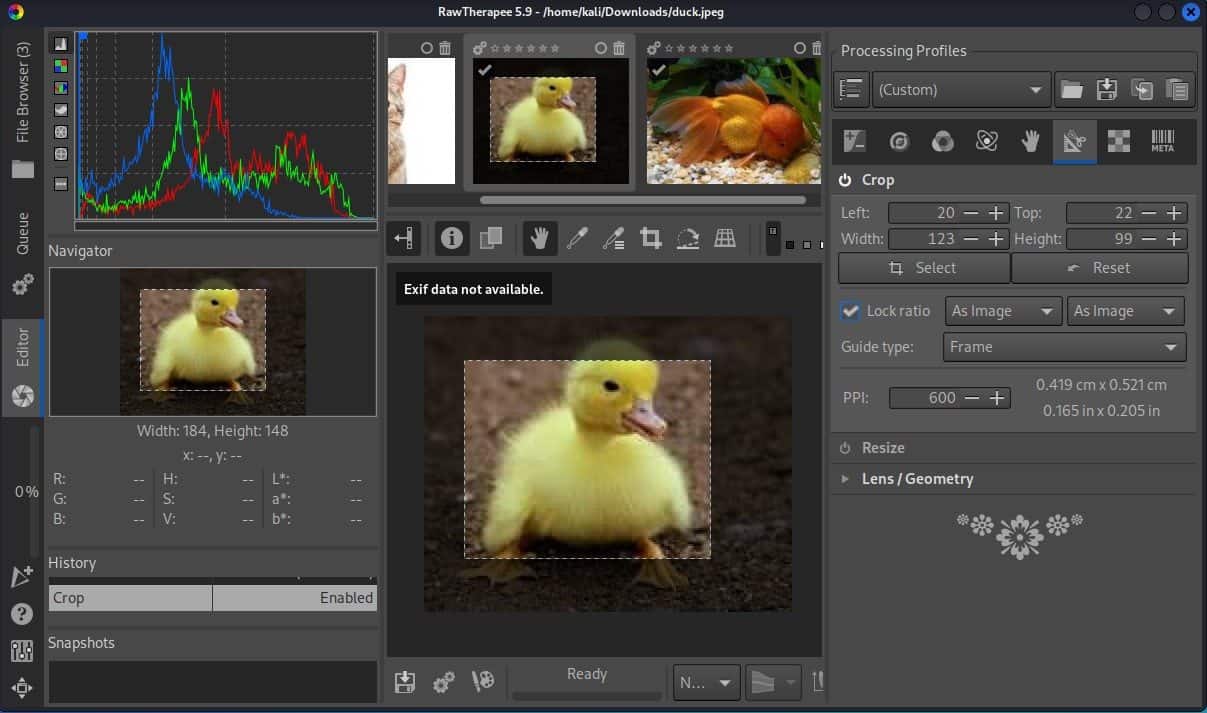
After that, we select the Crop option and click on the Select button to crop the image.
Significantly, RawTherapee primarily focuses on raw photo development, it offers various features related to cropping:
In addition, RawTherapee offers tools for angle and perspective adjustment, auto levels, auto white balance, histogram, and exposure.
With the following features, RawTherapee stands out as a versatile tool for photographers who desire advanced cropping and editing capabilities in their raw image processing workflow.
Pinta is a free, open-source graphics editor with a user-friendly interface, cross-platform compatibility, and basic yet effective editing tools. Consequently, fast and community-driven, Pinta is ideal for quick and versatile graphic editing tasks.
As with other specialized software, we use Flatpak to install Pinta:
$ flatpak install flathub com.github.PintaProject.PintaAt this stage, Pinta should be ready for use.
To access the Pinta image editor, we type Pinta in the search bar in the Activities panel and hit the Return key:
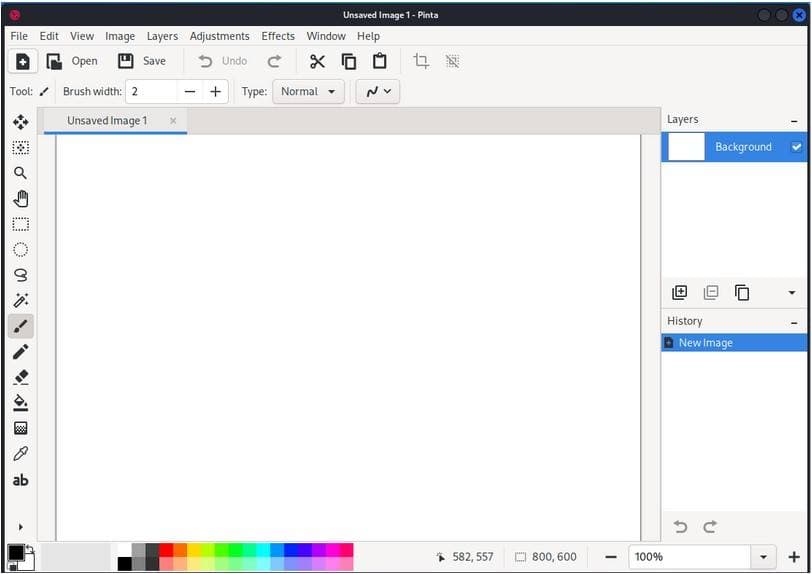
After starting the application, the above interface should become visible.
Now that we have Pinta open, we can import an image to edit. To import the image in Pinta, we click the menu bar and then click File. Next, we click on Open:
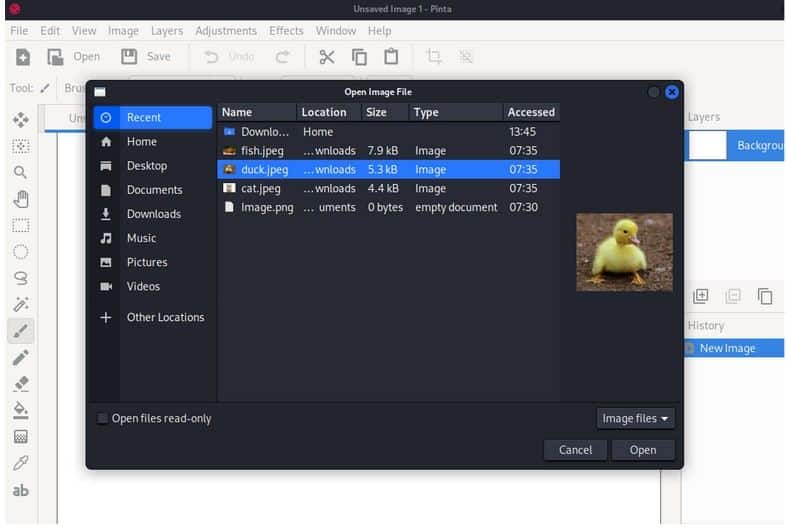
Following this, a file picker appears from which we navigate and select our desired image:
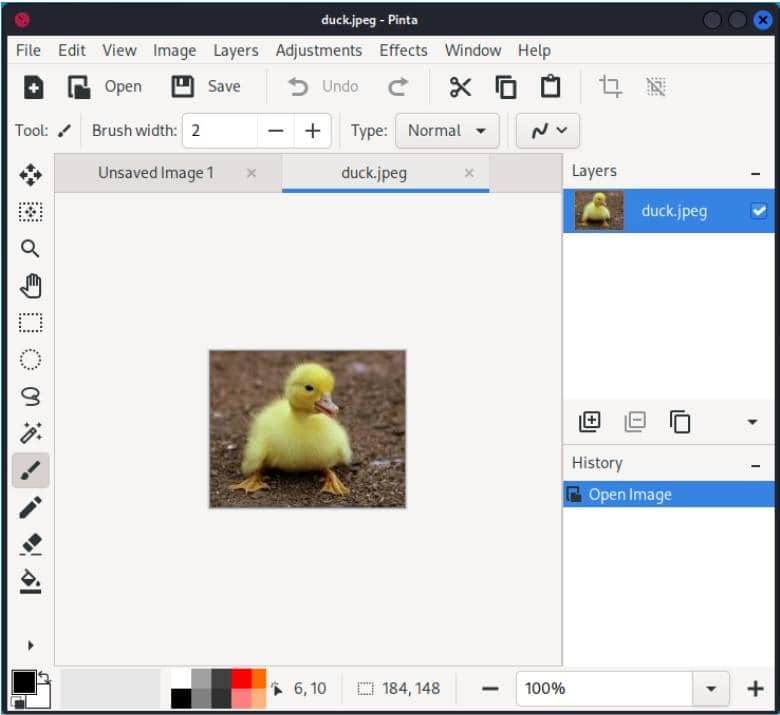
After the image is selected and imported it becomes visible.
Now, we can perform cropping on the image as we like:

At this point, we can simply select the crop tool from the toolbar. Next, we use the mouse right-click to crop the selected area of the image.
Pinta is a lightweight image editing software. Some features related to cropping in Pinta include:
Moreover, these features render Pinta a user-friendly option for basic to intermediate image cropping and editing.
Similarly, Krita is a free and open-source digital painting software favored by artists for its customizable brushes and advanced selection tools. Furthermore, Krita’s user-friendly interface and compatibility across operating systems, coupled with its versatility and continuous development driven by an active community. Hence, this has made it a popular choice for digital illustration and painting.
Since Krita usually isn’t pre-installed in Linux, we can do that using Flatpak:
$ flatpak install flathub org.kde.kritaThe above command installs Krita from the Flathub repository.
Once the installation is complete, let’s Open the Krita application:
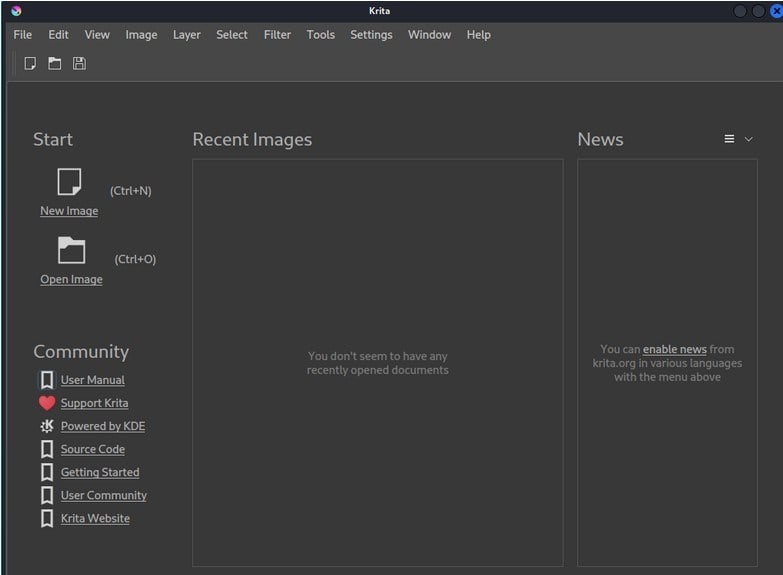
Next, the mentioned interface becomes visible upon launching the application.
Now, let’s import an image file to work on. Subsequently, we can import an image file by going to the menu bar and selecting the File option. Following that, we click the Open option.
However, we can also import an image file by directly going to the option Open Image under the Start heading.
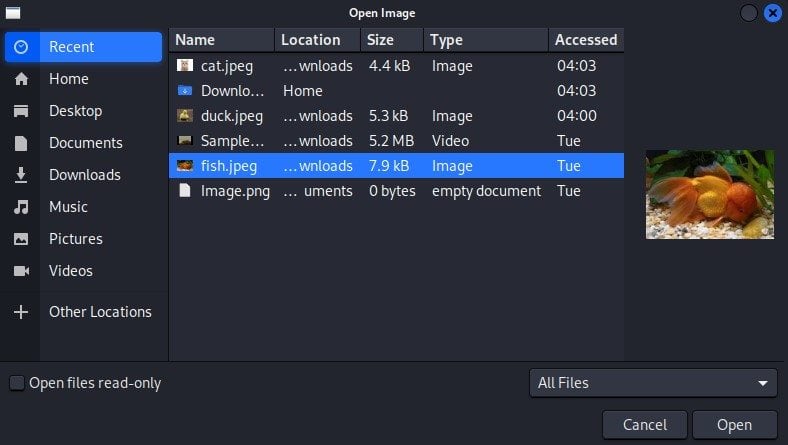
After clicking on Open Image, we get a prompt to select an image from there, we select an image to crop and edit:
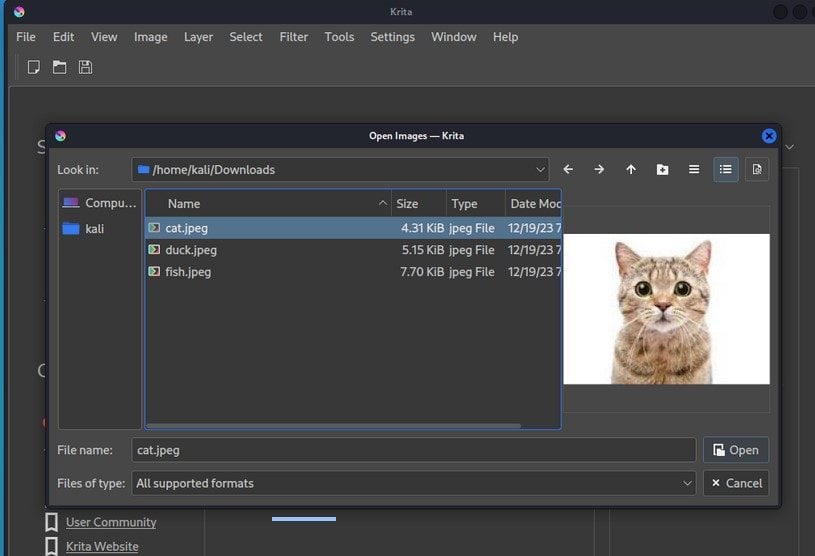
Thus, we click on the Open button in the bottom right to import an image.
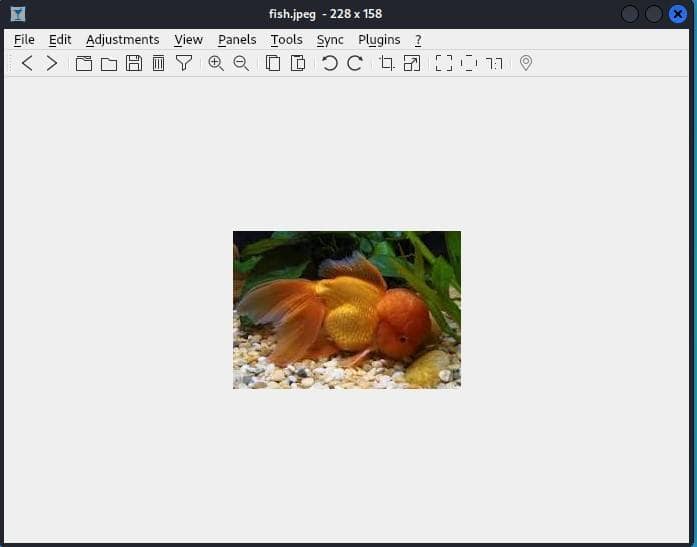
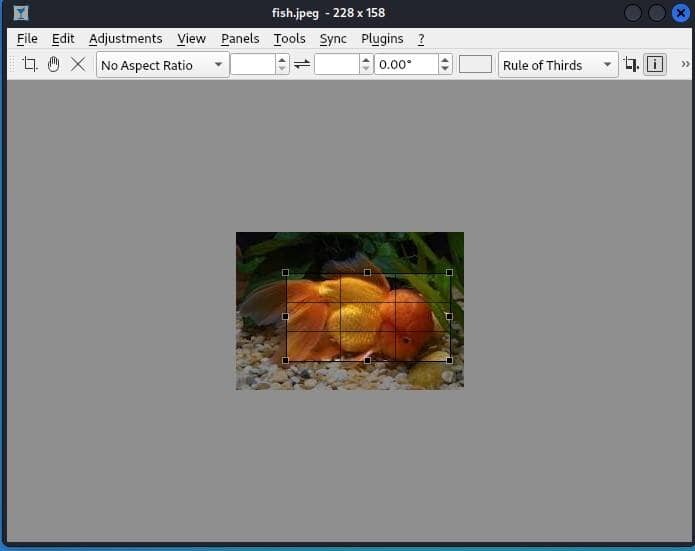
Now, let’s start cropping the image:
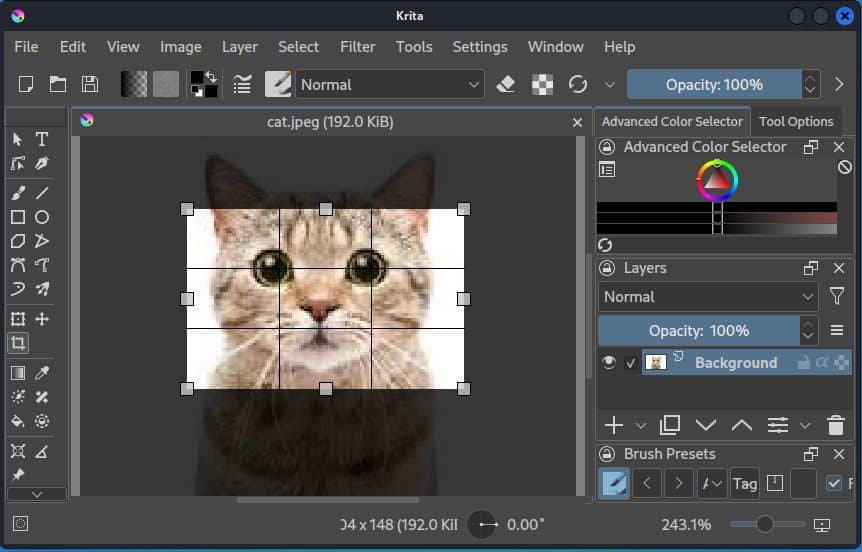
In Krita, the corp tool is present in the toolbar. Therefore, we can easily select the crop tool from the toolbar and crop our images.
Krita image editing functionalities provide users with a powerful solution for image editing with many features:
Additionally, it also contains features like instant preview layer clipping, animation support, and robust layer management.
Collectively, these features not only enhance Krita’s flexibility but also contribute significantly to its efficiency in adeptly handling various cropping scenarios for digital painting and illustration projects.
Nomacs is a free and open-source image viewer for Windows, Linux, and macOS. It provides a user-friendly interface, basic editing tools, batch processing, and cross-platform synchronization. Notably, Nomacs assists with customization, slideshows, and displays metadata. Hence, ideal for efficient image viewing and editing, it’s a cost-effective solution for users across different operating systems.
To utilize Nomacs on Linux, where it’s not usually pre-installed, we install it via Flatpak packages:
$ flatpak install flathub org.nomacs.ImageLoungeThus, by using this command, we install Nomacs from the Flathub package manager.
Once the installation is complete, let’s launch Nomacs from the Activities panel:
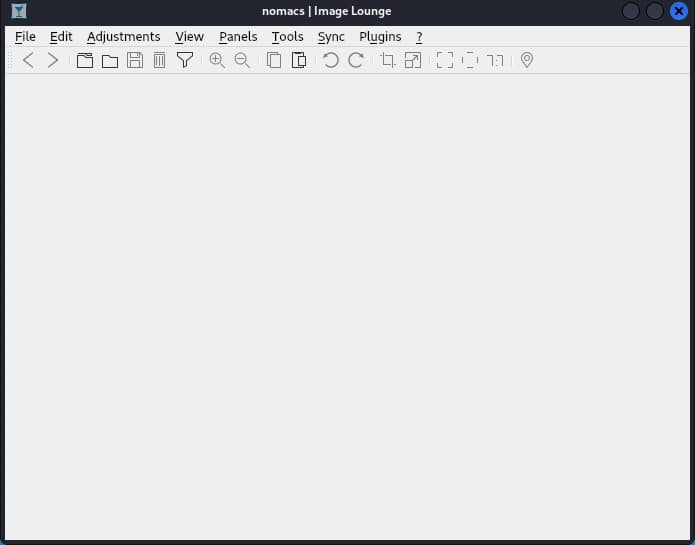
After initiating the application, we see the interface above.
Now, we can import the image file into the Nomacs image editor. To import an image file, we access the File option from the menu toolbar and then click on Open. Subsequently, let’s navigate within the directory and choose a desired file.
Next, we click the Open button which is located in the bottom right:
Following the import of an image file, we can commence the image editing process:
After importing the image, it’s visible on the interface.
At this point, the image is imported. So, let’s select the cropping tool. To do so, we navigate to the toolbar and click the cropping tool:
After selecting the cropping tool, we use the mouse to crop the image.
Nomacs offers several features unavailable in more basic editors:
Although Nomacs lacks advanced editing features, its simplicity and user-friendly interface make it ideal for basic image viewing and cropping tasks. Moreover, for those seeking a straightforward experience, Nomacs offers an uncomplicated option for image editing.
XnView MP is a free, open-source image viewer and organizer known for broad file format support, powerful batch processing, and basic editing tools. Its features include efficient organization, slide show capability, metadata handling, and multi-language support, making it a versatile choice for managing diverse image collections.
Since XnView MP isn’t available by default in Linux systems, let’s install it by using the Flatpak application:
$ flatpak install flathub com.xnview.XnViewMPBy employing the following command, we can install XnView MP through the Flathub package manager.
After completing the installation, let’s initiate XnView MP by accessing it from the Activities panel:
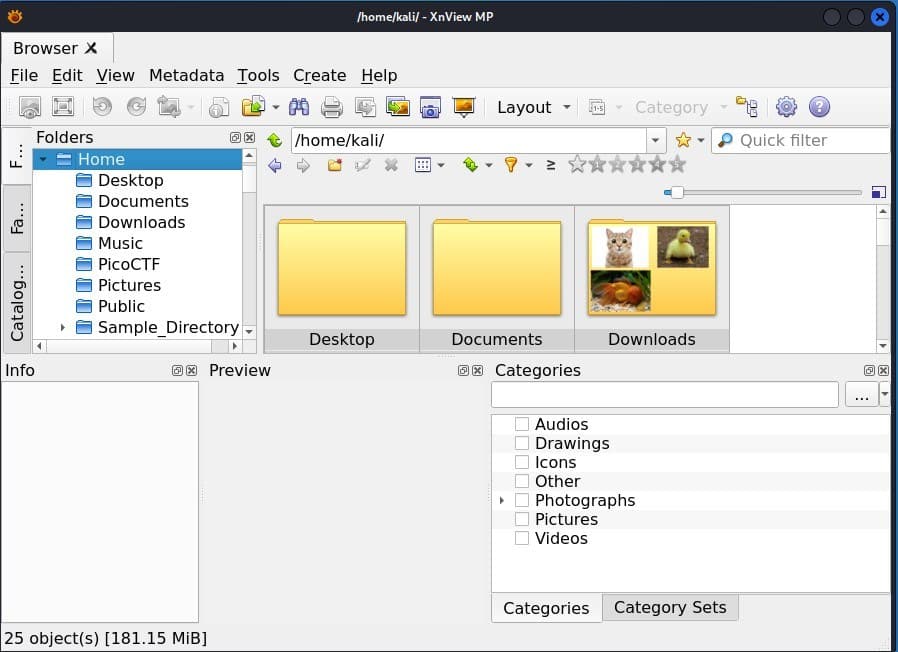
Upon launch, the application displays the interface as mentioned above.
Next, let’s import an image file. There are two ways to import a file. First, go to the folder icons and select the folder then the image. Additionally, we can go to the Folders section, navigate to the folder where the image is located, and then select the image from that folder:
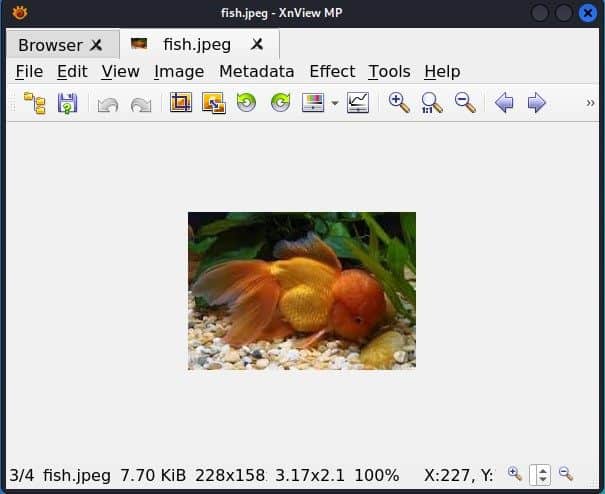
Once the image is selected and imported into the XnView MP image editor. we can engage in cropping and implement diverse image editing operations.
Now, let’s perform cropping processes on the image:
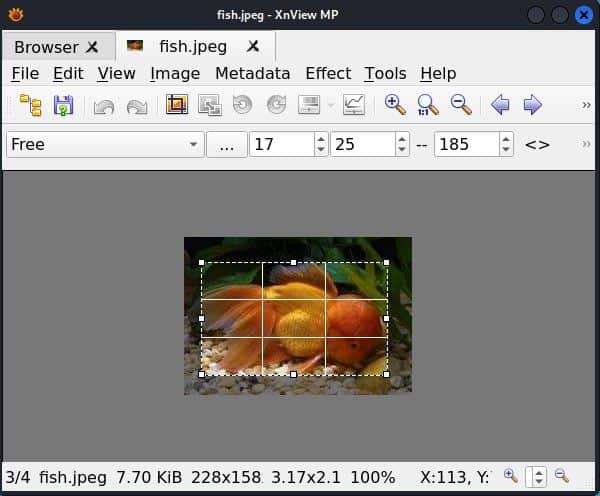
Here, we can access the cropping tool from the toolbar and use the mouse to select the area of the image.
XnView MP image editing functionalities present users with a potent solution, encompassing a wide range of features for comprehensive image editing:
In addition, these features collectively characterize XnView MP as a user-friendly tool for cropping and editing images, providing both flexibility and efficiency.
In this article, we explored various ways to perform rapid image cropping in Linux.
Initially, we began by examining applications that were installable through the APT package manager, including GIMP, ImageMagick, Shotwell, and RawTherapee. Finally, we explored Pinta, Krita, Nomacs, and XnView MP, detailing the installation procedure using Flatpak.