

Yes, we're now running our only Summer Sale. All Courses are 30% off until 20th July, 2026:
Linux Display Managers (LightDM, SLiM, XDM, GDM, SDDM, KDM, Ly): Install and Uninstall Guide
Last updated: June 13, 2025
Learn through the super-clean Baeldung Pro experience:
>> Membership and Baeldung Pro.
No ads, dark-mode and 6 months free of IntelliJ Idea Ultimate to start with.
1. Introduction
The display manager (DM) is a graphical user interface (GUI) front-end for login information entry, which then often directs to an actual full-fledged GUI.
In this tutorial, we go over some top choices for display managers. First, we go through the hierarchy of displays and GUI options. After that, we proceed by looking at examples of graphical, console, and terminal interface examples of display managers.
For all installation, management, and removal procedures, we use root or sudo privileges. In many GUI cases, a system needs to boot to the graphical.target for a DM to work.
We tested the code in this tutorial on Ubuntu 22.04 (Jammy) with GNU Bash 5.2.15. It should work in most POSIX-compliant environments unless otherwise specified.
2. Display and GUI Hierarchy
Display servers like X11, Wayland, Mir are the middleware between the kernel and upper-level components:
+---------------------------------------+
|          Desktop Environment          |
+-----------------------------+---------+
         ^                    ^         ^
         v                    v         |
+--------+--------+  +--------+-------+ |
| Display Manager |<>| Window Manager | |
+-----------------+  +----------------+ |
                  ^  ^                  |
                  v  v                  v
+---------------------------------------+
|                                       |
|            Display Server             |
|                                       |
+---------------------------------------+
                    ^
                    v
+---------------------------------------+
|                Kernel                 |
+---------------------------------------+
Near the top of the hierarchy, we can have a window manager (WM), a desktop environment (DE), or both.
Before that is usually a display manager (DM). In a way, display managers are login managers, as they are daemons that often comprise several components:
- login screen, i.e., greeter
- optional WM or DE selector
- optional session type selector
- remote options
Because of their decoupling, we can decide on a display manager irrespective of the WM and DE. Still, several major desktop environments come with their own DM.
To facilitate this, modern systemd distributions provide the configurable display-manager.service, which can be modified to run many different display managers. Further, /etc/X11/default-display-manager usually shows the current selection, and dpkg-reconfigure facilitates changes.
Importantly, we should make sure display managers don’t end up in conflict, so stopping, disabling, or modifying the display-manager.service and any other DM is part of the best practices when switching. Further, we should ensure the system doesn’t rely on a given DM before disabling or uninstalling it.
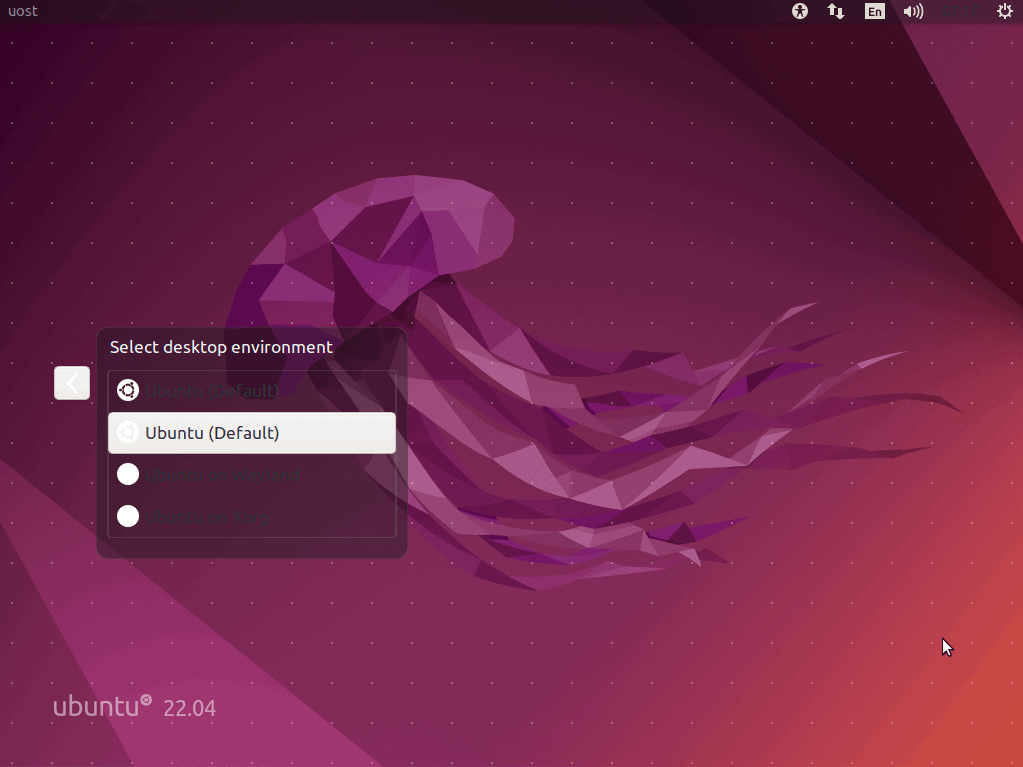
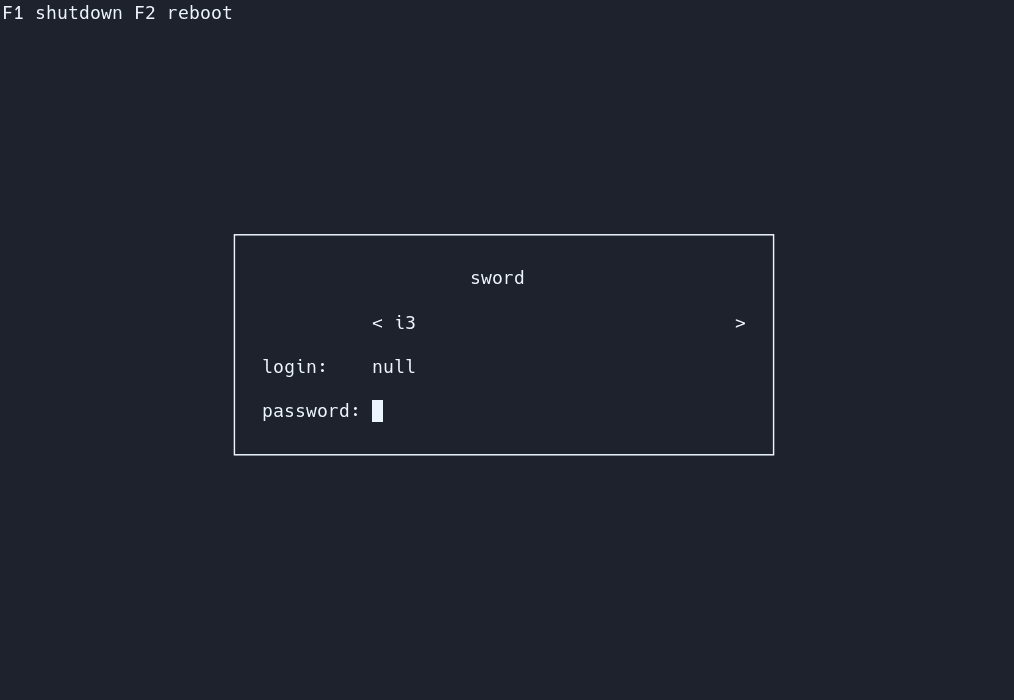
3. LightDM (Lightweight Display Manager)
The cross-desktop lightweight display manager LightDM is independent of any DE:
It has several main features:
- support different display servers
- no GNOME dependencies
- support GTK and Qt
- low memory requirements
- fast performance
- remote login via XDMCP and VNC
- guest sessions
Now, let’s work with LightDM.
3.1. Install and Configure
To install LightDM, we use apt to install the lightdm package:
$ apt-get install lightdmAlthough it doesn’t have its own greeter, there are many to choose from such as lightdm-gtk-greeter, lightdm-pantheon-greeter, lightdm-slick-greeter, and lightdm-slick-greeter:
$ apt-get install lightdm-gtk-greeterAfter that, we can configure via the /etc/lightdm/lightdm.conf file or component files within /etc/lightdm/lightdm.conf.d/.
Next, we set LightDM as the current display manager with dpkg-reconfigure:
$ dpkg-reconfigure lightdmAt this point, if our configuration is adequate, we should be able to use LightDM after the next reboot.
3.2. Disable and Uninstall
Alternatively, we can revert our dpkg-reconfigure choices.
If run as a service, we can control any DM:
$ systemctl stop lightdm.service
$ systemctl disable lightdm.service
In this case, we use systemctl to stop and disable LightDM.
As usual, we can remove LightDM with apt:
$ apt-get remove lightdmIt’s often good to first ensure we don’t rely on it.
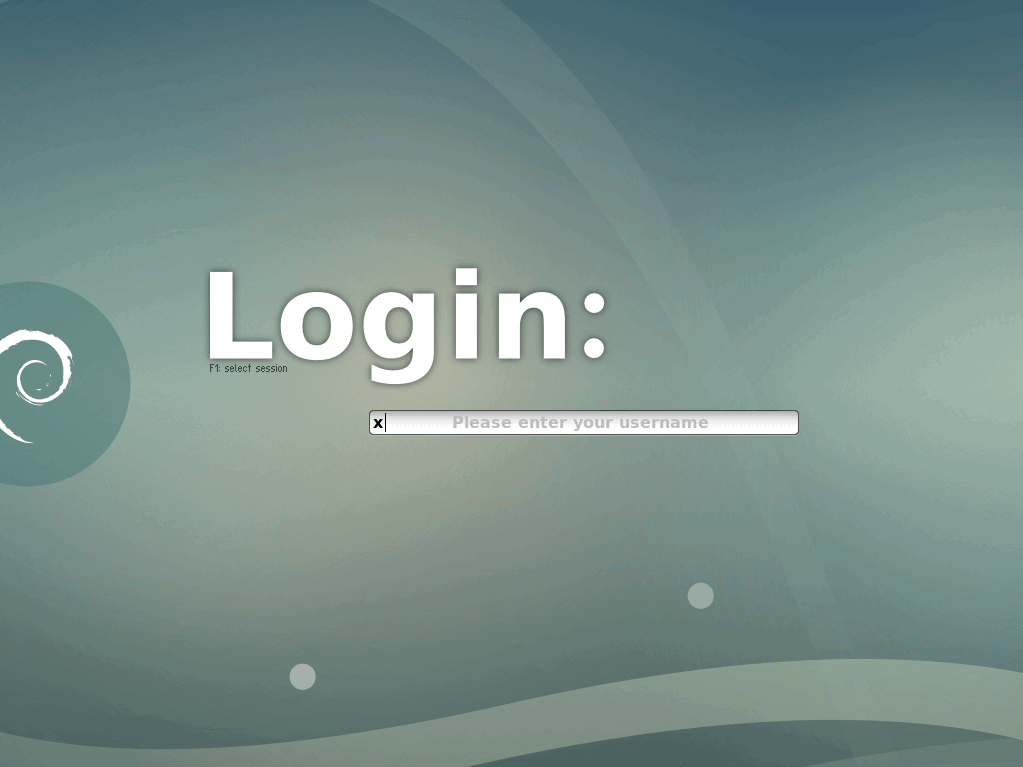
4. SLiM (Simple Login Manager)
The Simple Login Manager (SLiM) is mainly tailored for X11:
It supports several specific features:
- DE-independent
- external theming
- external configuration
- PNG panel customization
- PNG and JPEG backgrounds
- standard XFT and freetype fonts
First, let’s install SLiM.
4.1. Install and Configure
To install SLiM, we use the slim package:
$ apt-get install slimThe self-explanatory configuration file is at /usr/etc/slim.conf.
After setup, we can start slim as a [-d]aemon:
$ slim -dEither way, SLiM runs $HOME/.xinitrc by default, so a correct configuration there is paramount.
4.2. Disable and Uninstall
We can stop and disable SLiM in the usual manner:
$ systemctl stop slim.service
$ systemctl disable slim.service
If the DM doesn’t work out, we can remove the package:
$ apt-get remove slimNow, let’s move on to an alternative solution.
5. CDM (Console Display Manager)
The Console Display Manager (CDM) is minimalistic and fast:
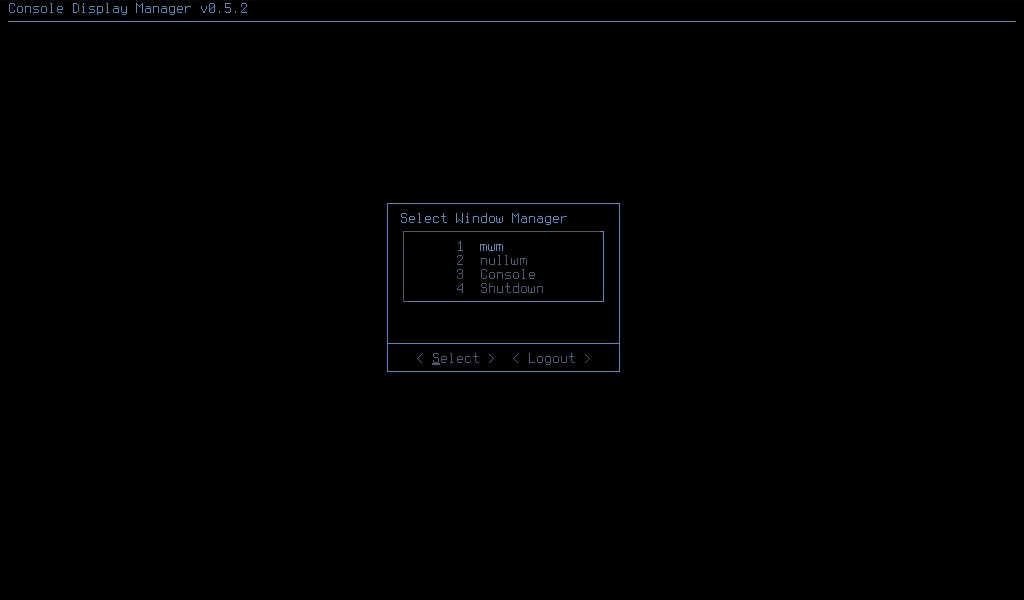
Its main forte is minimalism, but it does have features:
- X11-independent
- pure Bash
- extremely small footprint
- minimal dependencies
- multi-user
- multi-session
- works with any DE or WM
To begin with, we can get and deploy CDM.
5.1. Install and Configure
To install CDM, we download or clone the latest repository content and run install.sh:
$ bash install.shThe configuration can be in one of several files, in order of precedence:
- direct input RC file
- $HOME/.cdmrc
- $XDG_CONFIG_HOME/cdm/cdmrc
- /etc/cdmrc
Initially, we can run CDM by hand:
$ cdm <RCFILE>However, to start CDM automatically, we append /usr/share/doc/cdm/profile.sh to our profile:
$ cat /usr/share/doc/cdm/profile.sh >> $HOME/.profileIt’s usually best to back up our original profile before making changes.
5.2. Disable and Uninstall
To begin with, reverting the .profile additions is very important if we want to disable or remove CDM.
After doing so, we can use the provided uninstall.sh script:
$ bash uninstall.shAt this point, CDM should be unavailable.
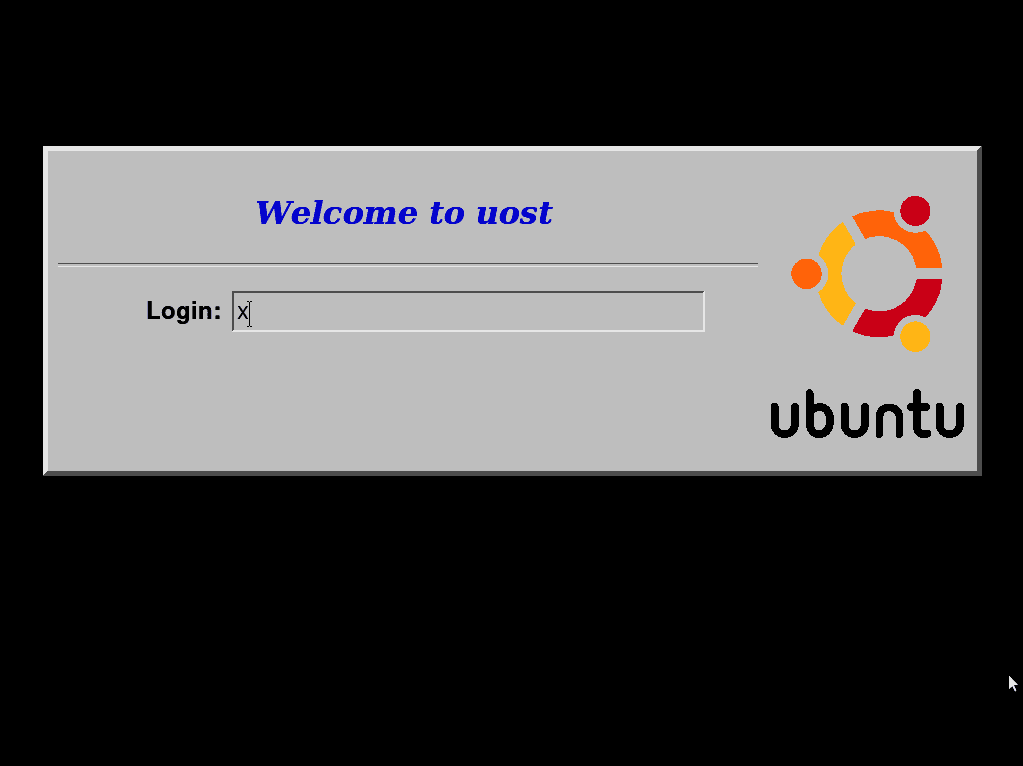
6. XDM (X Display Manager)
The X Display Manager (XDM) is the native DM for X11:
Its features are basic but stable:
- XDMCP support
- remote login
Because it’s so rudimentary but fundamental, XDM is usually available but unused on most systems.
6.1. Install and Configure
To install XDM, we use the xorg-xdm package:
$ apt-get install xorg-xdmCritically, XDM is incompatible with other major display managers.
Still, to ensure XDM is the active DM, we can use dpkg-reconfigure:
$ dpkg-reconfigure xdmUnlike many of its modern counterparts, XDM only executes the $HOME/.xsession file, which is expected to run the actual desktop environment.
Despite this, XDM is very configurable via resource files and shell scripts.
In case of issues, we can check the /var/log/xdm.log log file.
6.2. Disable and Uninstall
Same as with others, we can disable XDM via its service:
$ systemctl stop xdm.service
$ systemctl disable xdm.service
Since we installed it as a package, we can also remove it with apt:
$ apt-get remove xorg-xdmNaturally, configuring a replacement display manager should now be a priority.
7. Ly
The Ly terminal user interface (TUI) display manager has a vast array of tested desktop environments that includes all major ones:
Let’s check its features:
- lightweight
- robust
- ncurses-like (no ncurses dependency)
- very basic dependency list
- written in C
This display manager is a mix between options like CDM and the high-end LightDM.
7.1. Install and Configure
To install Ly, we first ensure all dependencies are in place:
$ apt-get install build-essential libpam0g-dev libxcb-xkb-devAfter that, we download or clone the latest repository content with –recurse-submodules and then use make.
$ makeAt this point, Ly is ready for deployment.
Should we want to try it out first, we can do so via run:
$ make runOnce ready, we can install the provided systemd service file:
$ make install installsystemdThen, we enable the service:
$ systemctl enable ly.serviceTo support TTY switching, we usually need to disable the getty service:
$ systemctl disable [email protected]The self-explanatory configuration file resides at /etc/ly/config.ini.
7.2. Disable and Uninstall
Since it’s a systemd service, we can control Ly with systemctl:
$ systemctl stop ly.service
$ systemctl disable ly.service
To remove Ly, we can use the uninstall target:
$ make uninstallNotably, we may want to reenable the getty service.
8. Simple Desktop Display Manager (SDDM) and KDE Display Manager (KDM)
The Simple Desktop Display Manager (SDDM) is the successor and replacement of the KDE Display Manager (KDM):

It offers some special features:
- support X11 and Wayland
- autologin
- modern and prettified look
- DPI settings (HiDPI)
- highly customizable
- Qt-based
So, let’s see the installation, management, and removal procedures for SDDM.
8.1. Install and Configure
Initially, to install SDDM, we use apt:
$ apt-get install sddmThen, we ensure it’s selected as the current DM with dpkg-reconfigure:
$ dpkg-reconfigure sddmUsually, the configuration file is /etc/sddm.conf:
$ cat /etc/sddm.conf
[...]
[Autologin]
User=<USERNAME>
Session=<DENAME>.desktop
Relogin=false
Here, we replace the USERNAME and DENAME with the appropriate user and desktop environment names.
In addition, /usr/lib/sddm/sddm.conf.d/ and /etc/sddm.conf.d/ may also contain settings.
8.2. Disable and Uninstall
Let’s stop and disable SDDM:
$ systemctl stop sddm.service
$ systemctl disable sddm.service
Then, we can uninstall:
$ apt-get remove sddmAt this point, we should pick a new DM.
9. GNOME Display Manager (GDM)
The GNOME Display Manager (GDM) is the native DM for the GNOME DE but works with many other desktop environments as well:
GDM has a number of features:
- robust
- written from scratch
- WM and DE selector
- user assist
- XDMCP support
- face browser (image user selection)
- comprehensive logging
The latest iteration of GDM as of this writing is GDM3.
9.1. Install and Configure
First, let’s install GDM:
$ apt-get install gdm3Next, we can configure any desired settings in /etc/gdm/gdm.conf.
Then, we can set it as the current DM:
$ dpkg-reconfigure gdm3Naturally, we should ensure there is support for our DE and no conflict with other display managers.
9.2. Disable and Uninstall
Again, we can manipulate the GDM service:
$ systemctl stop gdm3.service
$ systemctl disable gdm3.service
To uninstall, we employ apt:
$ apt-get remove gdm3In case of issues, we can check the logs in /var/log/gdm or $HOME/.cache/gdm.
10. LXDM
The LXDM display manager is a lightweight alternative to major display managers:
It has no support for XDMCP and a very rudimentary featureset:
- autologin
- basic theming
- individual user preferences
- face icons
Although basic, this is the native DM for the minimalist LXDE desktop environment.
10.1. Install and Configure
To install LXDM, we use the lxdm or lxdm-gtk3 packages:
$ apt-get install lxdm || apt-get install lxdm-gtk3As usual, dpkg-reconfigure can set this new DM as the default:
$ dpkg-reconfigure lxdmAll configuration files are under /etc/lxdm/ with the main one being /etc/lxdm/lxdm.conf.
10.2. Disable and Uninstall
To stop and disable, we use the lxdm.service:
$ systemctl stop lxdm.service
$ systemctl disable lxdm.service
An uninstall can be performed via the package:
$ apt-get remove lxdm || apt-get remove lxdm-gtk3Overall, LXDM is a good option for lightweight environments.
11. Summary
In this article, we talked about display managers, their role, and several specific examples along with their installation, configuration, and uninstallation procedures.
In conclusion, the choice of a display manager depends less on the desktop environment and more on the needs of the user.