

Mocking is an essential part of unit testing, and the Mockito library makes it easy to write clean and intuitive unit tests for your Java code.
Get started with mocking and improve your application tests using our Mockito guide:
Handling concurrency in an application can be a tricky process with many potential pitfalls. A solid grasp of the fundamentals will go a long way to help minimize these issues.
Get started with understanding multi-threaded applications with our Java Concurrency guide:
Spring 5 added support for reactive programming with the Spring WebFlux module, which has been improved upon ever since. Get started with the Reactor project basics and reactive programming in Spring Boot:
Since its introduction in Java 8, the Stream API has become a staple of Java development. The basic operations like iterating, filtering, mapping sequences of elements are deceptively simple to use.
But these can also be overused and fall into some common pitfalls.
To get a better understanding on how Streams work and how to combine them with other language features, check out our guide to Java Streams:
Explore Spring Boot 3 and Spring 6 in-depth through building a full REST API with the framework:
Yes, Spring Security can be complex, from the more advanced functionality within the Core to the deep OAuth support in the framework.
I built the security material as two full courses - Core and OAuth, to get practical with these more complex scenarios. We explore when and how to use each feature and code through it on the backing project.
You can explore the course here:
All Access is finally out, with all of my Spring courses. Learn JUnit is out as well, and Learn Maven is coming fast. And, of course, quite a bit more affordable. Finally.
>> GET THE COURSESpring Data JPA is a great way to handle the complexity of JPA with the powerful simplicity of Spring Boot.
Get started with Spring Data JPA through the guided reference course:
Refactor Java code safely — and automatically — with OpenRewrite.
Refactoring big codebases by hand is slow, risky, and easy to put off. That’s where OpenRewrite comes in. The open-source framework for large-scale, automated code transformations helps teams modernize safely and consistently.
Each month, the creators and maintainers of OpenRewrite at Moderne run live, hands-on training sessions — one for newcomers and one for experienced users. You’ll see how recipes work, how to apply them across projects, and how to modernize code with confidence.
Join the next session, bring your questions, and learn how to automate the kind of work that usually eats your sprint time.
1. Overview
Quarkus allows us to deliver small artifacts with extremely fast boot time and lower first-contact response time.
In this tutorial, we’re going to explore the Funqy extension of the Quarkus framework.
2. What Is Funqy?
Quarkus Funqy is a solution that aims to provide a portable Java API which allows us to write serverless functions. We can easily deploy these functions to FAAS environments like AWS Lambda, Azure Functions, Google Cloud Functions, and Kubernetes Knative. We can also use them as a standalone service.
3. Implementation
Let’s create a simple Greeting Function using Quarkus Funky and deploy it on a FAAS infrastructure. We can create a project using the Quarkus web interface. We can also use maven to create a project by executing the following command:
$ mvn io.quarkus:quarkus-maven-plugin:2.7.7.Final:create
  -DprojectGroupId=com.baeldung.quarkus
  -DprojectArtifactId=quarkus-funqy-project
  -Dextensions="funqy-http"
We’re using quarkus-maven-plugin to create the project. It’ll generate a project skeleton with a function class.
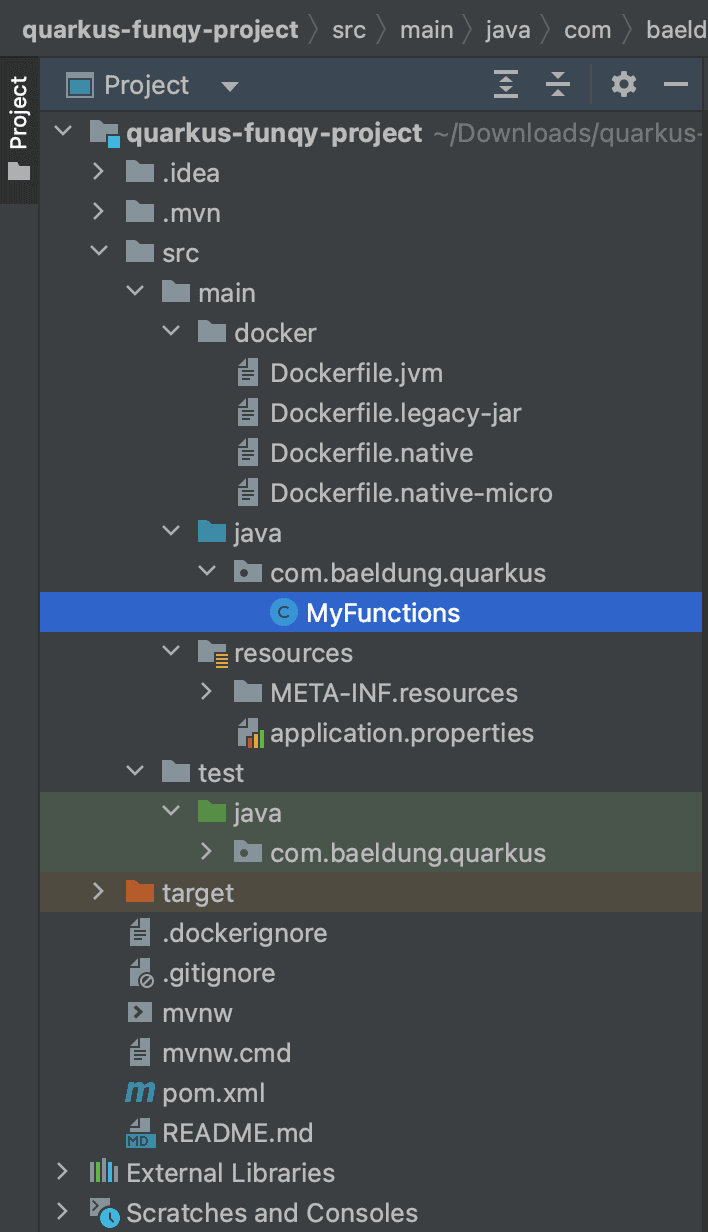
Let’s import this project into our IDE to get a similar structure to that shown below:
3.1. Java Code
Let’s open the MyFunctions.java file and analyze the content:
public class MyFunctions {

    @Funq
    public String fun(FunInput input) {
        return String.format("Hello %s!", input != null ? input.name : "Funqy");
    }

    public static class FunInput {
        public String name;
        // constructors, getters, setters
    }
}
The annotation @Funq marks the method as the entry point function. There can be, at most, only one method parameter, which may or may not return a response. The default function name is the annotated method name; we can update it by passing the name string in the @Funq annotation.
Let’s update the name to GreetUser and add a simple log statement:
@Funq("GreetUser")
public String fun(FunInput input) {
    log.info("Function Triggered");
    ...
}
4. Deployment
Let’s now open the MyFunctionTest.java class and update the method name mentioned in the path in all test cases. We’ll first run it locally by running the following command:
$ ./mvnw quarkus:devIt’ll start the server and execute the test cases.
Let’s test it using curl:
$ curl -X POST 'http://localhost:8080/GreetUser'
--header 'Content-Type: application/json'
--data-raw '{
    "name": "Baeldung"
}'
It’ll give us the greeting response.
4.1. Kubernetes Knative
Let’s now deploy it on Kubernetes Knative. We’ll add the quarkus-funqy-knative-events dependency in the pom.xml file:
<dependency>
    <groupId>io.quarkus</groupId>
    <artifactId>quarkus-funqy-knative-events</artifactId>
    <version>3.0.0.Alpha3</version>
</dependency>
Let’s test it out with a unit test:
@Test
public void givenFunctionAPI_whenCallWithEvent_thenShouldReturn200() {
    RestAssured.given().contentType("application/json")
      .header("ce-specversion", "1.0")
      .header("ce-id", UUID.randomUUID().toString())
      .header("ce-type", "GreetUser")
      .header("ce-source", "test")
      .body("{ \"name\": \"Baeldung\" }")
      .post("/")
      .then().statusCode(200);
}
Now let’s create the build and image of our application:
$ ./mvnw install
$ docker build -f src/main/docker/Dockerfile.jvm -t
  <<dockerAccountName>>/quarkus-funqy-project .
$ docker push <<ourDockerAccountName>>/quarkus-funqy-project
We’ll create the Kubernetes Knative configuration knative.yaml file in src/main/kubernetes directory used for resource creation:
apiVersion: serving.knative.dev/v1
kind: Service
metadata:
  name: quarkus-funqy-project
spec:
  template:
    metadata:
      name: quarkus-funqy-project-v1
    spec:
      containers:
        - image: docker.io/<<dockerAccountName>>/quarkus-funqy-project
Now we only need to create a broker, broker event configuration YAML file, and deploy all of them.
Let’s create a knative-trigger.yaml file:
apiVersion: eventing.knative.dev/v1
kind: Trigger
metadata:
  name: baeldung-event
spec:
  broker: baeldung
  filter:
    attributes:
      type: GreetUser
  subscriber:
    ref:
      apiVersion: serving.knative.dev/v1
      kind: Service
      name: quarkus-funqy-project
$ kn broker create baeldung
$ kubectl apply -f src/main/kubernetes/knative.yaml
$ kubectl apply -f src/main/kubernetes/knative-trigger.yamlLet’s verify the pods and pod logs, as the pod should be running. The pod will automatically scale down to zero if we’re not sending any events. Let’s fetch the broker URL to send the event:
$ kubectl get broker baeldung -o jsonpath='{.status.address.url}'Now, we can send events to this URL from any pod and see that a new pod of our Quarkus application will start if it’s already shut down. We can also check the logs to verify if our function is triggered:
$ curl -v "<<our_broker_url>>"
  -X POST
  -H "Ce-Id: 1234"
  -H "Ce-Specversion: 1.0"
  -H "Ce-Type: GreetUser"
  -H "Ce-Source: curl"
  -H "Content-Type: application/json"
  -d "{\"name\":\"Baeldung\"}"
4.2. Cloud Deployments
We can similarly update our application to deploy on cloud platforms. However, only one Funqy function can be exported per cloud deployment. If our application has multiple Funqy methods, we can specify the active functions by adding the following in the application.properties file (replace GreetUser with active function name):
quarkus.funqy.export=GreetUser5. Conclusion
In this article, we’ve seen that Quarkus Funqy is a great addition that helps us run Java functions very easily on the Serverless infrastructure. We’ve learned about Quarkus Funqy and how to implement, deploy, and test it on a serverless environment.


