


Mocking is an essential part of unit testing, and the Mockito library makes it easy to write clean and intuitive unit tests for your Java code.
Get started with mocking and improve your application tests using our Mockito guide:
Handling concurrency in an application can be a tricky process with many potential pitfalls. A solid grasp of the fundamentals will go a long way to help minimize these issues.
Get started with understanding multi-threaded applications with our Java Concurrency guide:
Spring 5 added support for reactive programming with the Spring WebFlux module, which has been improved upon ever since. Get started with the Reactor project basics and reactive programming in Spring Boot:
Since its introduction in Java 8, the Stream API has become a staple of Java development. The basic operations like iterating, filtering, mapping sequences of elements are deceptively simple to use.
But these can also be overused and fall into some common pitfalls.
To get a better understanding on how Streams work and how to combine them with other language features, check out our guide to Java Streams:
Explore Spring Boot 3 and Spring 6 in-depth through building a full REST API with the framework:
Yes, Spring Security can be complex, from the more advanced functionality within the Core to the deep OAuth support in the framework.
I built the security material as two full courses - Core and OAuth, to get practical with these more complex scenarios. We explore when and how to use each feature and code through it on the backing project.
You can explore the course here:
All Access is finally out, with all of my Spring courses. Learn JUnit is out as well, and Learn Maven is coming fast. And, of course, quite a bit more affordable. Finally.
>> GET THE COURSE
Spring Data JPA is a great way to handle the complexity of JPA with the powerful simplicity of Spring Boot.
Get started with Spring Data JPA through the guided reference course:
Refactor Java code safely — and automatically — with OpenRewrite.
Refactoring big codebases by hand is slow, risky, and easy to put off. That’s where OpenRewrite comes in. The open-source framework for large-scale, automated code transformations helps teams modernize safely and consistently.
Each month, the creators and maintainers of OpenRewrite at Moderne run live, hands-on training sessions — one for newcomers and one for experienced users. You’ll see how recipes work, how to apply them across projects, and how to modernize code with confidence.
Join the next session, bring your questions, and learn how to automate the kind of work that usually eats your sprint time.
1. Overview
With the popularity of microservice architecture and cloud-native application development, there’s a growing need for a fast and lightweight application server.
In this introductory tutorial, we’ll explore the Open Liberty framework to create and consume a RESTful web service. We’ll also examine a few of the essential features that it provides.
2. Open Liberty
Open Liberty is an open framework for the Java ecosystem that allows developing microservices using features of the Eclipse MicroProfile and Jakarta EE platforms.
It is a flexible, fast, and lightweight Java runtime that seems promising for cloud-native microservices development.
The framework allows us to configure only the features our app needs, resulting in a smaller memory footprint during startup. Also, it is deployable on any cloud platform using containers like Docker and Kubernetes.
It supports rapid development by live reloading of the code for quick iteration.
3. Build and Run
First, we’ll create a simple Maven-based project named open-liberty and then add the latest liberty-maven-plugin plugin to the pom.xml:
<plugin>
    <groupId>io.openliberty.tools</groupId>
    <artifactId>liberty-maven-plugin</artifactId>
    <version>3.3-M3</version>
</plugin>
Or, we can add the latest openliberty-runtime Maven dependency as an alternative to the liberty-maven-plugin:
<dependency>
    <groupId>io.openliberty</groupId>
    <artifactId>openliberty-runtime</artifactId>
    <version>20.0.0.1</version>
    <type>zip</type>
</dependency>
Similarly, we can add the latest Gradle dependency to the build.gradle:
dependencies {
    libertyRuntime group: 'io.openliberty', name: 'openliberty-runtime', version: '20.0.0.1'
}
Then, we’ll add the latest jakarta.jakartaee-web-api and microprofile Maven dependencies:
<dependency>
    <groupId>jakarta.platform</groupId>
    <artifactId>jakarta.jakartaee-web-api</artifactId>
    <version>8.0.0</version>
    <scope>provided</scope>
</dependency>
<dependency>
    <groupId>org.eclipse.microprofile</groupId>
    <artifactId>microprofile</artifactId>
    <version>3.2</version>
    <type>pom</type>
    <scope>provided</scope>
</dependency>
Then, let’s add the default HTTP port properties to the pom.xml:
<properties>
    <liberty.var.default.http.port>9080</liberty.var.default.http.port>
    <liberty.var.default.https.port>9443</liberty.var.default.https.port>
</properties>
Next, we’ll create the server.xml file in the src/main/liberty/config directory:
<server description="Baeldung Open Liberty server">
    <featureManager>
        <feature>mpHealth-2.0</feature>
    </featureManager>
    <webApplication location="open-liberty.war" contextRoot="/" />
    <httpEndpoint host="*" httpPort="${default.http.port}"
      httpsPort="${default.https.port}" id="defaultHttpEndpoint" />
</server>
Here, we’ve added the mpHealth-2.0 feature to check the health of the application.
That’s it with all the basic setup. Let’s run the Maven command to compile the files for the first time:
mvn clean packageLast, let’s run the server using a Liberty-provided Maven command:
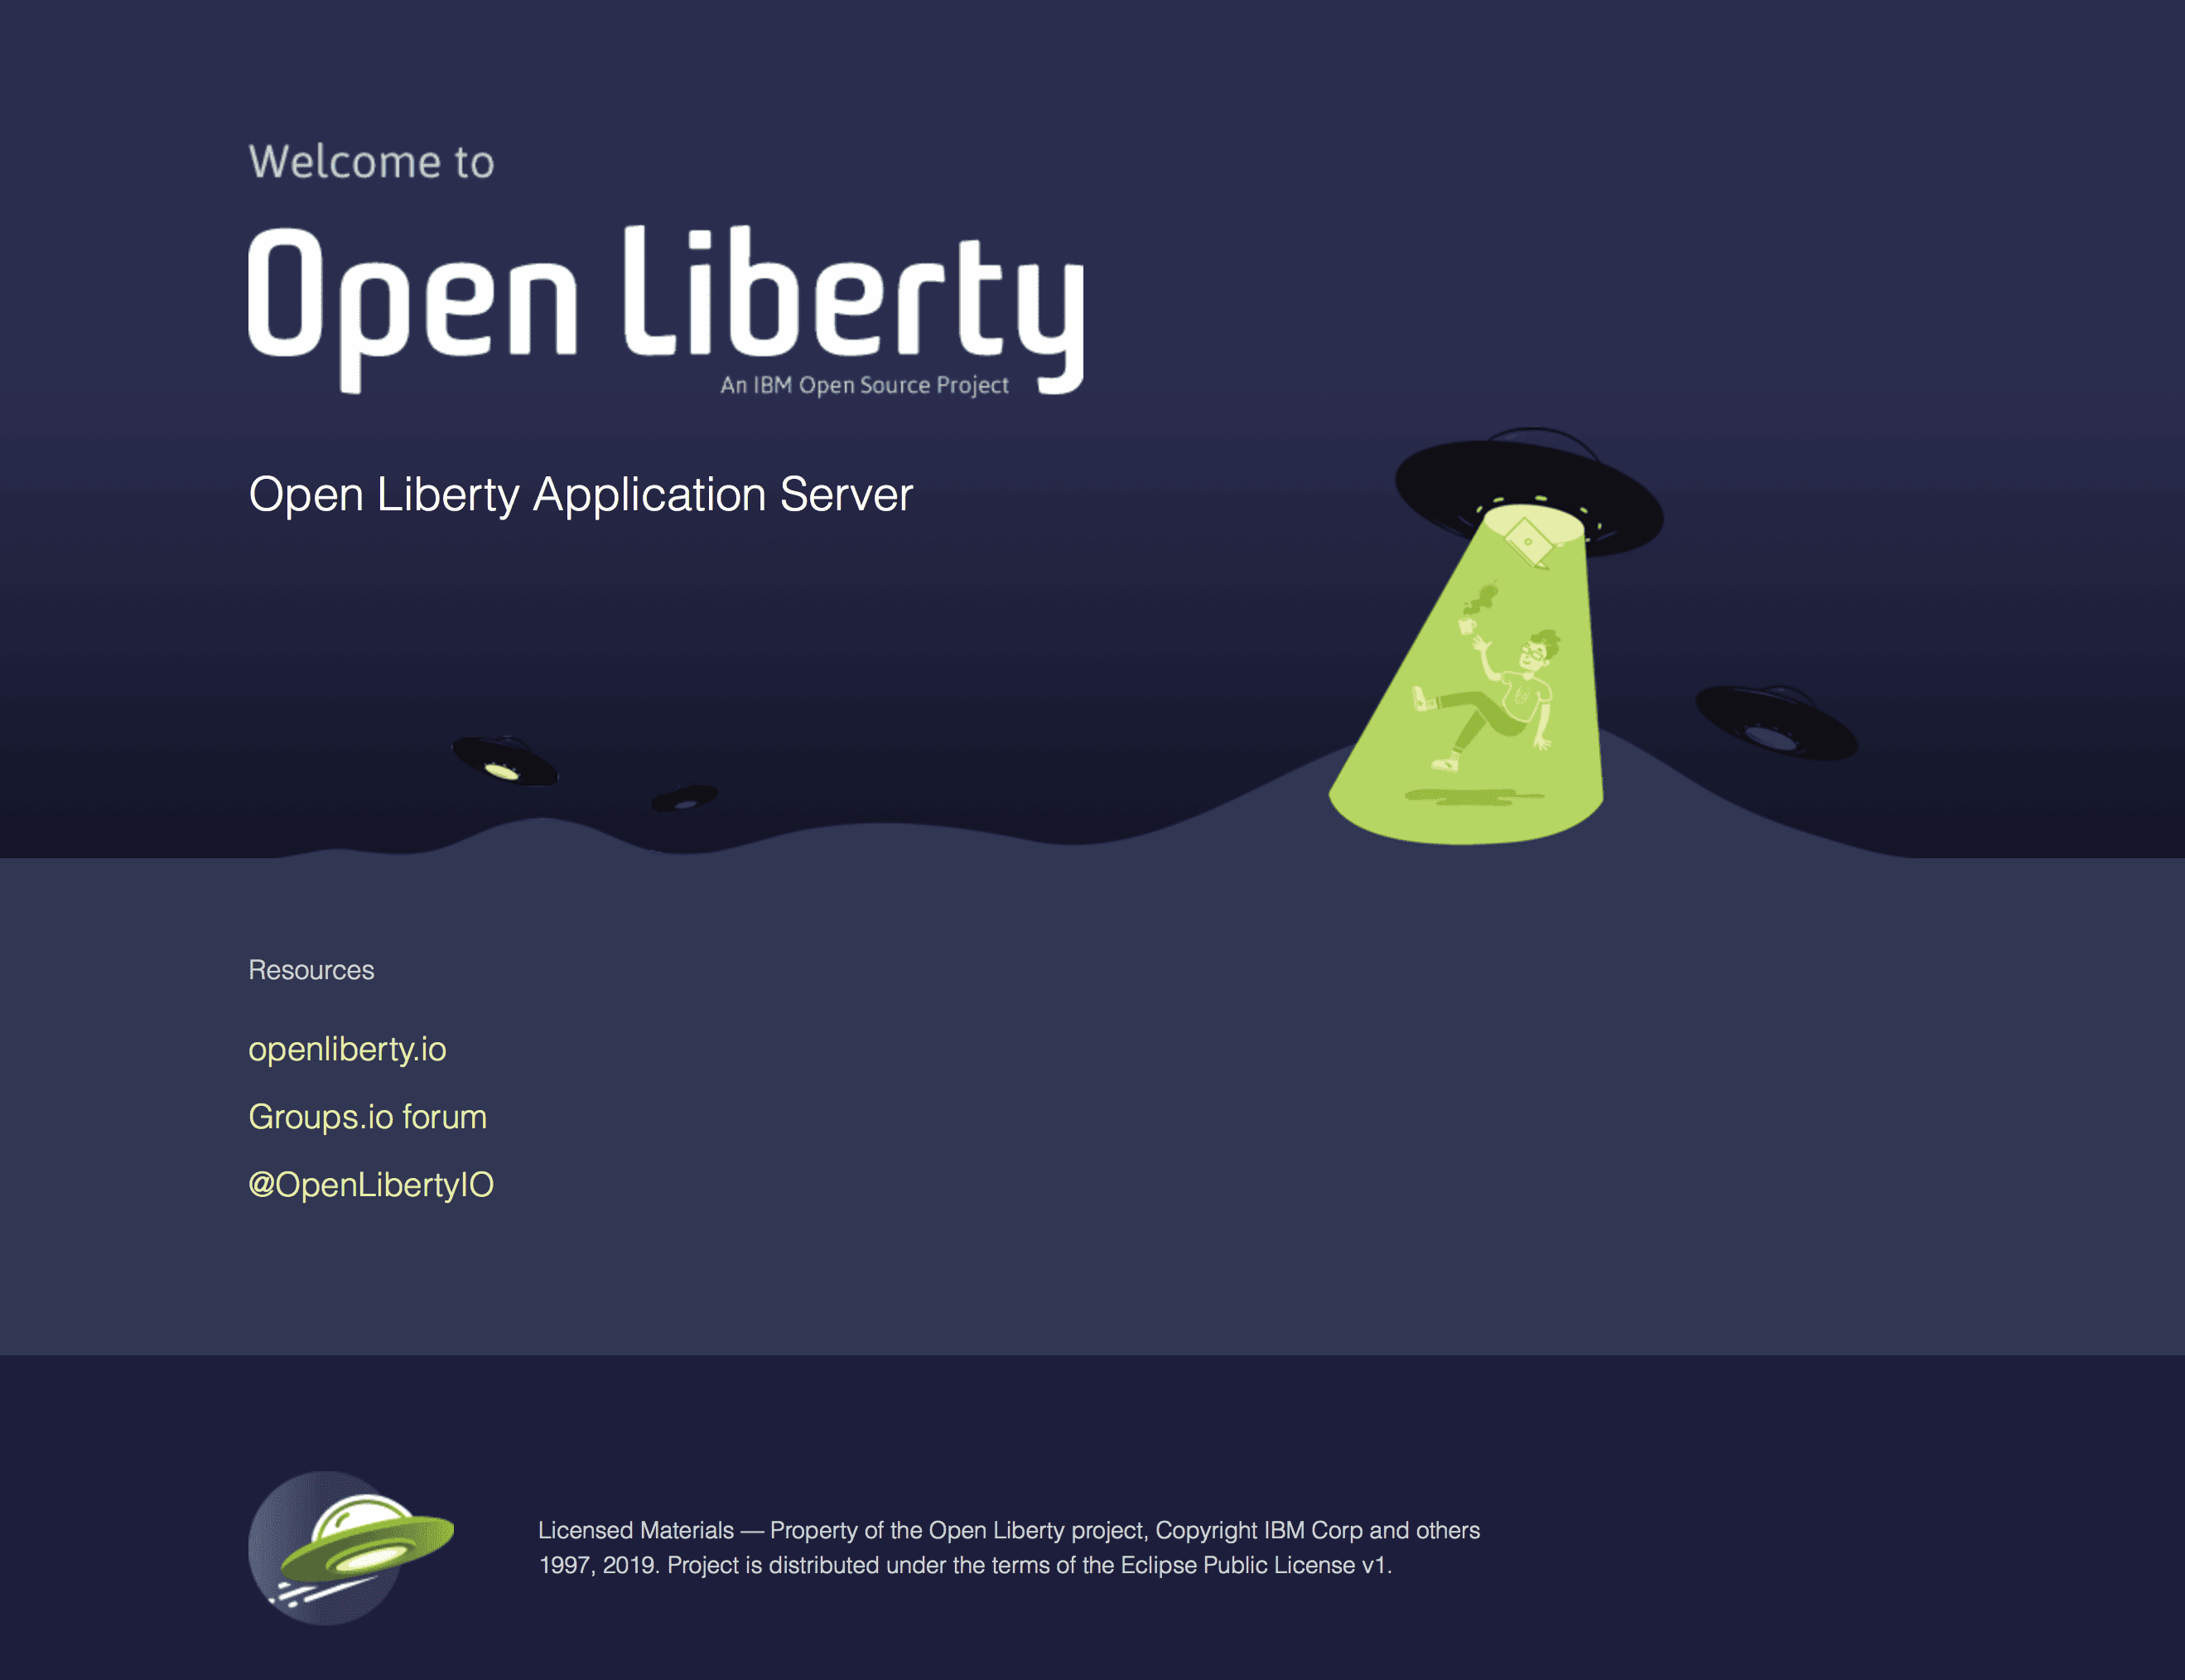
mvn liberty:devVoila! Our application is started and will be accessible at localhost:9080:
Also, we can access the health of the app at localhost:9080/health:
{"checks":[],"status":"UP"}The liberty:dev command starts the Open Liberty server in development mode, which hot-reloads any changes made to the code or configuration without restarting the server.
Similarly, the liberty:run command is available to start the server in production mode.
Also, we can use liberty:start-server and liberty:stop-server to start/stop the server in the background.
4. Servlet
To use servlets in the app, we’ll add the servlet-4.0 feature to the server.xml:
<featureManager>
    ...
    <feature>servlet-4.0</feature>
</featureManager>
Add the latest servlet-4.0 Maven dependency if using the openliberty-runtime Maven dependency in the pom.xml:
<dependency>
    <groupId>io.openliberty.features</groupId>
    <artifactId>servlet-4.0</artifactId>
    <version>20.0.0.1</version>
    <type>esa</type>
</dependency>
However, if we’re using the liberty-maven-plugin plugin, this isn’t necessary.
Then, we’ll create the AppServlet class extending the HttpServlet class:
@WebServlet(urlPatterns="/app")
public class AppServlet extends HttpServlet {
    private static final long serialVersionUID = 1L;

    @Override
    protected void doGet(HttpServletRequest request, HttpServletResponse response)
      throws ServletException, IOException {
        String htmlOutput = "<html><h2>Hello! Welcome to Open Liberty</h2></html>";
        response.getWriter().append(htmlOutput);
    }
}
Here, we’ve added the @WebServlet annotation that will make the AppServlet available at the specified URL pattern.
Let’s access the servlet at localhost:9080/app:

5. Create a RESTful Web Service
First, let’s add the jaxrs-2.1 feature to the server.xml:
<featureManager>
    ...
    <feature>jaxrs-2.1</feature>
</featureManager>Then, we’ll create the ApiApplication class, which provides endpoints to the RESTful web service:
@ApplicationPath("/api")
public class ApiApplication extends Application {
}
Here, we’ve used the @ApplicationPath annotation for the URL path.
Then, let’s create the Person class that serves the model:
public class Person {
    private String username;
    private String email;

    // getters and setters
    // constructors
}
Next, we’ll create the PersonResource class to define the HTTP mappings:
@RequestScoped
@Path("persons")
public class PersonResource {
    @GET
    @Produces(MediaType.APPLICATION_JSON)
    public List<Person> getAllPersons() {
        return Arrays.asList(new Person(1, "normanlewis", "[email protected]"));
    }
}
Here, we’ve added the getAllPersons method for the GET mapping to the /api/persons endpoint. So, we’re ready with a RESTful web service, and the liberty:dev command will load changes on-the-fly.
Let’s access the /api/persons RESTful web service using a curl GET request:
curl --request GET --url http://localhost:9080/api/personsThen, we’ll get a JSON array in response:
[{"id":1, "username":"normanlewis", "email":"[email protected]"}]Similarly, we can add the POST mapping by creating the addPerson method:
@POST
@Consumes(MediaType.APPLICATION_JSON)
public Response addPerson(Person person) {
    String respMessage = "Person " + person.getUsername() + " received successfully.";
    return Response.status(Response.Status.CREATED).entity(respMessage).build();
}
Now, we can invoke the endpoint with a curl POST request:
curl --request POST --url http://localhost:9080/api/persons \
  --header 'content-type: application/json' \
  --data '{"username": "normanlewis", "email": "[email protected]"}'
The response will look like:
Person normanlewis received successfully.6. Persistence
6.1. Configuration
Let’s add persistence support to our RESTful web services.
First, we’ll add the derby Maven dependency to the pom.xml:
<dependency>
    <groupId>org.apache.derby</groupId>
    <artifactId>derby</artifactId>
    <version>10.14.2.0</version>
</dependency>
Then, we’ll add a few features like jpa-2.2, jsonp-1.1, and cdi-2.0 to the server.xml:
<featureManager>
    ...
    <feature>jpa-2.2</feature>
    <feature>jsonp-1.1</feature>
    <feature>cdi-2.0</feature>
</featureManager>
Here, the jsonp-1.1 feature provides the Java API for JSON Processing, and the cdi-2.0 feature handles the scopes and dependency injection.
Next, we’ll create the persistence.xml in the src/main/resources/META-INF directory:
<?xml version="1.0" encoding="UTF-8"?>
<persistence version="2.2"
    xmlns="http://xmlns.jcp.org/xml/ns/persistence"
    xmlns:xsi="http://www.w3.org/2001/XMLSchema-instance"
    xsi:schemaLocation="http://xmlns.jcp.org/xml/ns/persistence
                        http://xmlns.jcp.org/xml/ns/persistence/persistence_2_2.xsd">
    <persistence-unit name="jpa-unit" transaction-type="JTA">
        <jta-data-source>jdbc/jpadatasource</jta-data-source>
        <properties>
            <property name="eclipselink.ddl-generation" value="create-tables"/>
            <property name="eclipselink.ddl-generation.output-mode" value="both" />
        </properties>
    </persistence-unit>
</persistence>
Here, we’ve used the EclipseLink DDL generation to create our database schema automatically. We can also use other alternatives like Hibernate.
Then, let’s add the dataSource configuration to the server.xml:
<library id="derbyJDBCLib">
    <fileset dir="${shared.resource.dir}" includes="derby*.jar"/>
</library>
<dataSource id="jpadatasource" jndiName="jdbc/jpadatasource">
    <jdbcDriver libraryRef="derbyJDBCLib" />
    <properties.derby.embedded databaseName="libertyDB" createDatabase="create" />
</dataSource>
Note, the jndiName has the same reference to the jta-data-source tag in the persistence.xml.
6.2. Entity and DAO
Then, we’ll add the @Entity annotation and an identifier to our Person class:
@Entity
public class Person {
    @GeneratedValue(strategy = GenerationType.AUTO)
    @Id
    private int id;

    private String username;
    private String email;

    // getters and setters
}
Next, let’s create the PersonDao class that will interact with the database using the EntityManager instance:
@RequestScoped
public class PersonDao {
    @PersistenceContext(name = "jpa-unit")
    private EntityManager em;

    public Person createPerson(Person person) {
        em.persist(person);
        return person;
    }

    public Person readPerson(int personId) {
        return em.find(Person.class, personId);
    }
}
Note that the @PersistenceContext defines the same reference to the persistence-unit tag in the persistence.xml.
Now, we’ll inject the PersonDao dependency in the PersonResource class:
@RequestScoped
@Path("person")
public class PersonResource {
    @Inject
    private PersonDao personDao;

    // ...
}
Here, we’ve used the @Inject annotation provided by the CDI feature.
Last, we’ll update the addPerson method of the PersonResource class to persist the Person object:
@POST
@Consumes(MediaType.APPLICATION_JSON)
@Transactional
public Response addPerson(Person person) {
    personDao.createPerson(person);
    String respMessage = "Person #" + person.getId() + " created successfully.";
    return Response.status(Response.Status.CREATED).entity(respMessage).build();
}
Here, the addPerson method is annotated with the @Transactional annotation to control transactions on CDI managed beans.
Let’s invoke the endpoint with the already discussed curl POST request:
curl --request POST --url http://localhost:9080/api/persons \
  --header 'content-type: application/json' \
  --data '{"username": "normanlewis", "email": "[email protected]"}'
Then, we’ll receive a text response:
Person #1 created successfully.Similarly, let’s add the getPerson method with GET mapping to fetch a Person object:
@GET
@Path("{id}")
@Produces(MediaType.APPLICATION_JSON)
@Transactional
public Person getPerson(@PathParam("id") int id) {
    Person person = personDao.readPerson(id);
    return person;
}
Let’s invoke the endpoint using a curl GET request:
curl --request GET --url http://localhost:9080/api/persons/1Then, we’ll get the Person object as JSON response:
{"email":"[email protected]","id":1,"username":"normanlewis"}7. Consume RESTful Web Service Using JSON-B
First, we’ll enable the ability to directly serialize and deserialize models by adding the jsonb-1.0 feature to the server.xml:
<featureManager>
    ...
    <feature>jsonb-1.0</feature>
</featureManager>
Then, let’s create the RestConsumer class with the consumeWithJsonb method:
public class RestConsumer {
    public static String consumeWithJsonb(String targetUrl) {
        Client client = ClientBuilder.newClient();
        Response response = client.target(targetUrl).request().get();
        String result = response.readEntity(String.class);
        response.close();
        client.close();
        return result;
    }
}
Here, we’ve used the ClientBuilder class to request the RESTful web service endpoints.
Last, let’s write a unit test to consume the /api/person RESTful web service and verify the response:
@Test
public void whenConsumeWithJsonb_thenGetPerson() {
    String url = "http://localhost:9080/api/persons/1";
    String result = RestConsumer.consumeWithJsonb(url);

    Person person = JsonbBuilder.create().fromJson(result, Person.class);
    assertEquals(1, person.getId());
    assertEquals("normanlewis", person.getUsername());
    assertEquals("[email protected]", person.getEmail());
}
Here, we’ve used the JsonbBuilder class to parse the String response into the Person object.
Also, we can use MicroProfile Rest Client by adding the mpRestClient-1.3 feature to consume the RESTful web services. It provides the RestClientBuilder interface to request the RESTful web service endpoints.
8. Conclusion
In this article, we explored the Open Liberty framework — a fast and lightweight Java runtime that provides full features of the Eclipse MicroProfile and Jakarta EE platforms.
To begin with, we created a RESTful web service using JAX-RS. Then, we enabled persistence using features like JPA and CDI.
Last, we consumed the RESTful web service using JSON-B.














