

Learn through the super-clean Baeldung Pro experience:
>> Membership and Baeldung Pro.
No ads, dark-mode and 6 months free of IntelliJ Idea Ultimate to start with.
Learn through the super-clean Baeldung Pro experience:
>> Membership and Baeldung Pro.
No ads, dark-mode and 6 months free of IntelliJ Idea Ultimate to start with.
Linux offers numerous options for users to explore and customize their computing experience, including the ability to access and watch webcam feeds.
Whether we’re monitoring our surroundings, keeping an eye on our home while away, or any other possible reason, Linux offers a variety of methods and utilities we can leverage to achieve this.
In this tutorial, we’ll explore different methods to watch webcam feeds on Linux systems.
Before we dive into the world of webcam feeds on Linux, it’s important to ensure that our webcam is compatible with the current operating system. The methods we’ll go through will cover how to monitor video feeds with the built-in laptop camera or any external webcams connected.
Fortunately, most modern webcams are compatible with Linux by default. This is all made possible by the wide range of webcam drivers available.
To check if our webcam is recognized by the current Linux operating system, we can use the lsusb command to list all the USB (Universal Serial Bus) devices connected to the system:
$ lsusb
Bus 002 Device 001: ID 1d6b:0003 Linux Foundation 3.0 root hub
Bus 001 Device 003: ID 06cb:00d8 Synaptics, Inc.
Bus 001 Device 002: ID 04f2:b669 Chicony Electronics Co., Ltd HP HD Camera
Bus 001 Device 004: ID 0bda:b00c Realtek Semiconductor Corp. Bluetooth Radio
Bus 001 Device 001: ID 1d6b:0002 Linux Foundation 2.0 root hub
The command displays a list of all USB devices connected, including the webcam if it has been detected.
FFmpeg is a command-line utility for processing media files. It’s one of the most popular video processing and compression libraries in Linux.
We can use FFmpeg to watch the webcam feed on Linux and even stream video from the webcam to the network.
FFmpeg powers some of the most powerful commercial encoders. Furthermore, since it’s open source, it’s the base for many widespread multimedia players such as VLC, YouTube, iTunes, and more.
We can install FFmpeg from the local package manager.
On Ubuntu, we can use the apt package manager:
$ sudo apt install ffmpegOn the other hand, on Arch-Linux, we can use the Pacman package manager:
$ pacman -S ffmpegAlternatively, we can use DNF for Fedora Linux:
$ sudo dnf -y install ffmpegLet’s view our webcam feed using FFmpeg:
$ ffmpeg -f v4l2 -video_size 640x480 -i /dev/video0 -vf "format=yuv420p" -f sdl "Webcam Feed"The command assumes that the webcam is the first video device in the /dev/video0 directory.
The command will launch a window showing a live feed from the webcam:
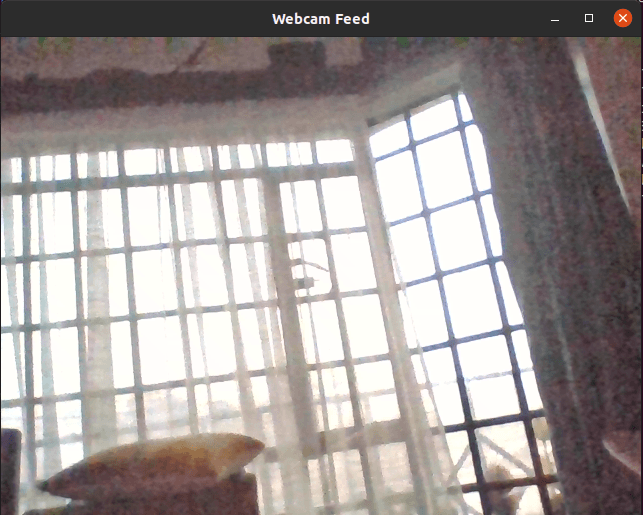
Let’s break down the command above to understand more about what’s happening:
VLC is a free and open-source multimedia player and framework that plays most multimedia files, as well as Audio CDs, DVDs, VCDs, and various streaming protocols.
Let’s see how we can watch a webcam feed using VLC.
We can install VLC in case it’s not available on the system.
To install on Ubuntu, we can use the apt command:
$ sudo apt install vlcAlternatively, on Arch-Linux, we can use the Pacman package manager:
$ sudo pacman -S vlcFinally, we can use the dnf command for Fedora Linux:
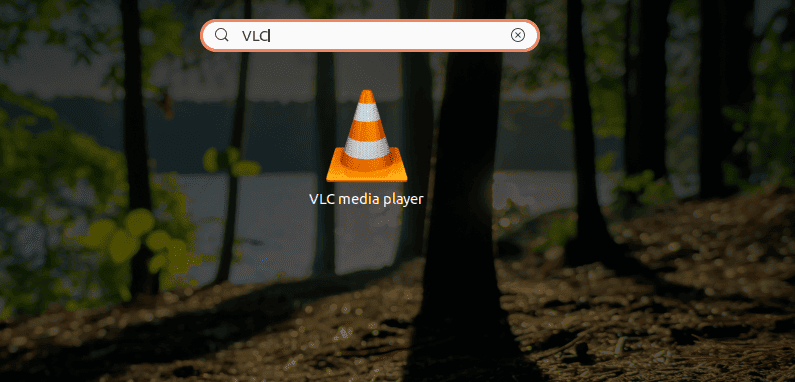
$ sudo dnf install vlcWe can open VLC by searching “VLC” on the application menu:
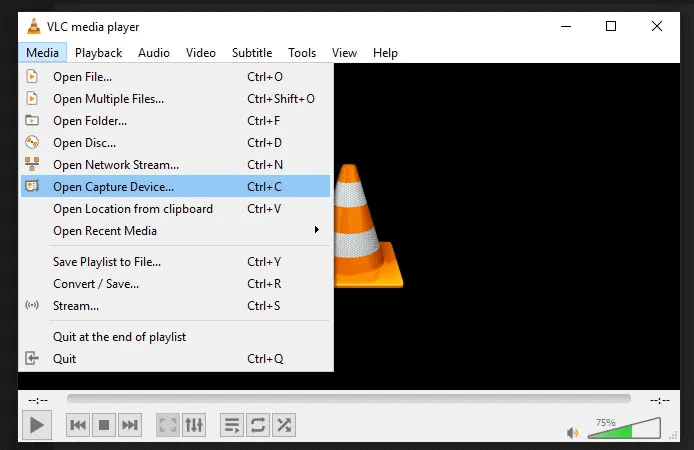
To view the webcam through VLC, we need to open the VLC application and look for the “Media” menu in the top-left area of the application window.
Inside the “Media” menu, we’ll find an option that reads “Open Capture Device”:
Clicking on the “Open Capture Device” option will open up a window where we can set specific video and audio devices:
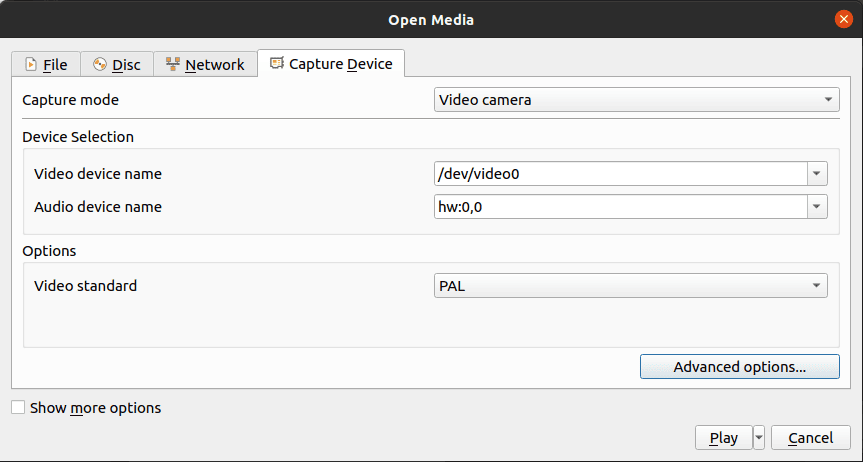
In the screenshot above, we’ve selected /dev/video0 as the video device name and hw:0,0 as the audio device name. We can change these values to point to different video or audio devices.
VLC also allows us to specify a video standard from a list of more than 20 supported video standards.
To view the webcam feed, we need to click the “Play” button at the bottom right section of the window.
This will open up a new window with the live webcam feed:
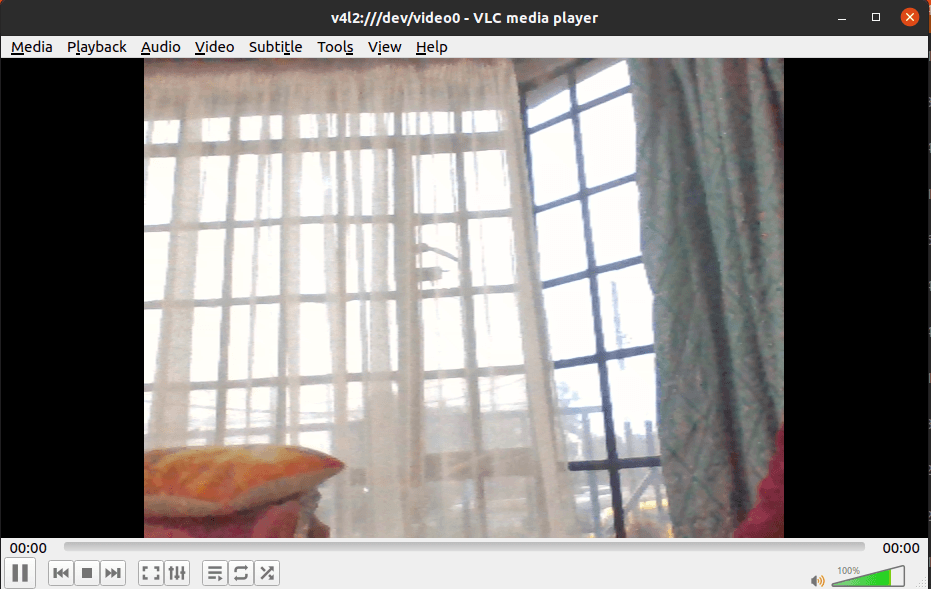
The screenshot above shows the VLC window with a live feed of the webcam.
We need to note that webcam broadcasts in VLC are sometimes laggy since it’s not a full-fledged webcam utility.
To stop the webcam feed, we can click the stop button or close the VLC window.
In this article, we’ve explored different methods of watching webcam feeds on Linux systems. The first method features a command-line-based approach using FFmpeg, while the VLC method is more graphical and user-friendly.
Linux offers a plethora of options for watching and interacting with the webcam feed from connected devices. It has command-line tools, which may be favorable for advanced users, as well as graphical applications that are more beginner-friendly.