

Learn through the super-clean Baeldung Pro experience:
>> Membership and Baeldung Pro.
No ads, dark-mode and 6 months free of IntelliJ Idea Ultimate to start with.
Last updated: December 3, 2025
Learn through the super-clean Baeldung Pro experience:
>> Membership and Baeldung Pro.
No ads, dark-mode and 6 months free of IntelliJ Idea Ultimate to start with.
FFmpeg is a versatile multimedia CLI converter that can take a live audio/video stream as input. Its extensive support for streaming protocols makes it compatible with all popular streaming services.
In this tutorial, we’ll see how to use FFmpeg to stream our webcam over the most common network protocols. Some free online services will help us with our tests.
Before we start streaming, we need to ensure that our audio and video sources are working properly.
Cheese is perfect for basic testing. We can record both the webcam and microphone by pressing its ‘Record a video‘ button: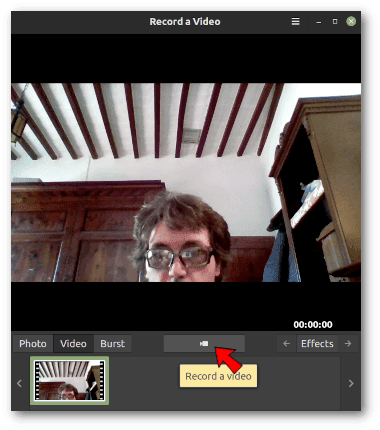 Cheese is available for all major Linux distributions.
Video4Linux2 (usually referred to as v4l2) is the standard Linux way for software applications to interact with video capture devices such as webcams, digital video cameras, and TV tuner cards. FFmpeg has many v4l2 options for fine-tuning streaming.
For now, however, we’re just interested in knowing which video device file to use. v4l2-ctl, a utility for controlling Video4Linux2 devices, comes in handy. Let’s see which device corresponds to our webcam:
$ v4l2-ctl --list-devices
USB2.0 HD UVC WebCam: USB2.0 HD (usb-0000:00:14.0-7):
	/dev/video0
	/dev/video1
	/dev/media0
Multiple file devices for the same webcam is a Linux kernel feature. In this case, the correct choice for FFmpeg is /dev/video0, as it’s the only one that supports video capture:
$ v4l2-ctl --info --device /dev/video0
[...]
	Device Caps      : 0x04200001
		Video Capture
[...]
On the other hand, /dev/video1 is just a second metadata device:
$ v4l2-ctl --info --device /dev/video1
[...]
	Device Caps      : 0x04a00000
		Metadata Capture
[...]
Finally, let’s test if FFmpeg can capture the webcam by displaying it in an SDL window. The following example is almost identical to the one in FFmpeg’s Devices Documentation. Let’s note the input flag -i, followed by our /dev/video0 device:
$ ffmpeg -i /dev/video0 -c:v rawvideo -pix_fmt yuv420p -f sdl "SDL output"If the close icon at the top right of the SDL window doesn’t work, we can use CTRL+C in the terminal to close it:
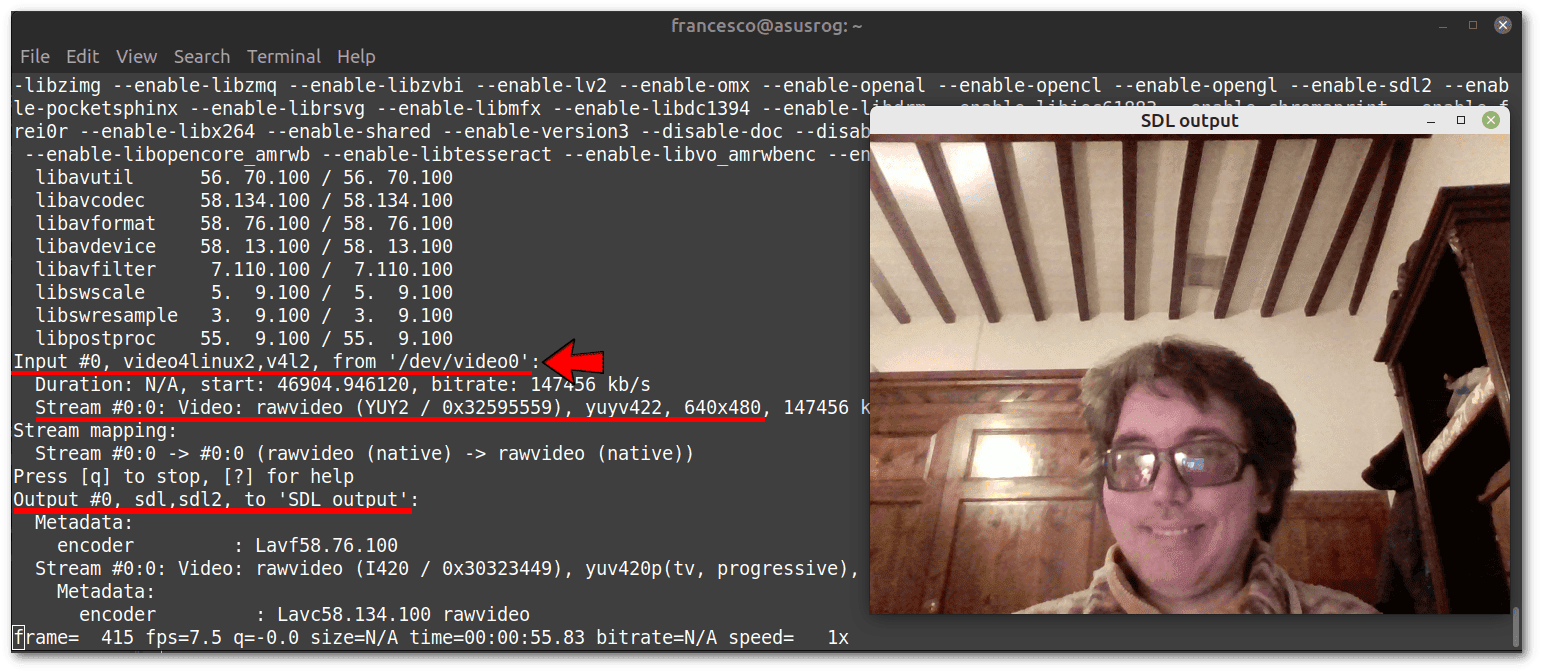 In the image, we can see the relevant options highlighted in red.
In the rest of the tutorial, we’ll also use the microphone, following the instructions in FFmpeg’s Capture/Alsa documentation. FFmpeg needs the name of the input audio device in ALSA format, which is something like hw:X,Y, where X is the card ID, and Y is the device ID.
First, let’s use arecord to check that our input audio device is recognized:
$ arecord -l
**** List of CAPTURE Hardware Devices ****
card 0: PCH [HDA Intel PCH], device 0: ALC295 Analog [ALC295 Analog]
  Subdevices: 1/1
  Subdevice #0: subdevice #0
In this case, we only have one sound card (with ID 0) and one capture device (with ID 0). Converting this information to ALSA format, our microphone is hw:0,0. We can try to record it with FFmpeg for a few seconds. Again, let’s look at the input flag -i:
$ ffmpeg -f alsa -i hw:0,0 -t 5 testmic.mp3This way, we can record our voice for five seconds and listen to it again by opening the MP3 file. The -t flag indicates the recording time.
Incidentally, the ALSA format can cause problems on reboots due to ID variations. In such cases, an alternative method of specifying the input device may help.
FFmpeg supports all major streaming protocols. These include RTMP, HLS, DASH, UDP, RTP, and RTSP. We’ll focus on RTMP, which is by far the most widely used by almost all streaming platforms to receive the audio/video stream in a device-independent manner.
We’ll use the free streaming service offered by YouTube as an example. Let’s ensure we’ve enabled live streaming on our channel before we continue.
In general, the RTMP URL of the ingest endpoint for the audio/video stream always includes a unique identifier for the user, the stream, or both. We shouldn’t confuse the RTMP URL for sending the stream with the URL for viewing it on a website or mobile app.
In the case of YouTube Studio, let’s look at the main screen in the following screenshot. At the top, we’ll see the live stream as our users will see it. At the bottom, where we put the two red arrows, are the two pieces of information we need to know the RTMP URL:
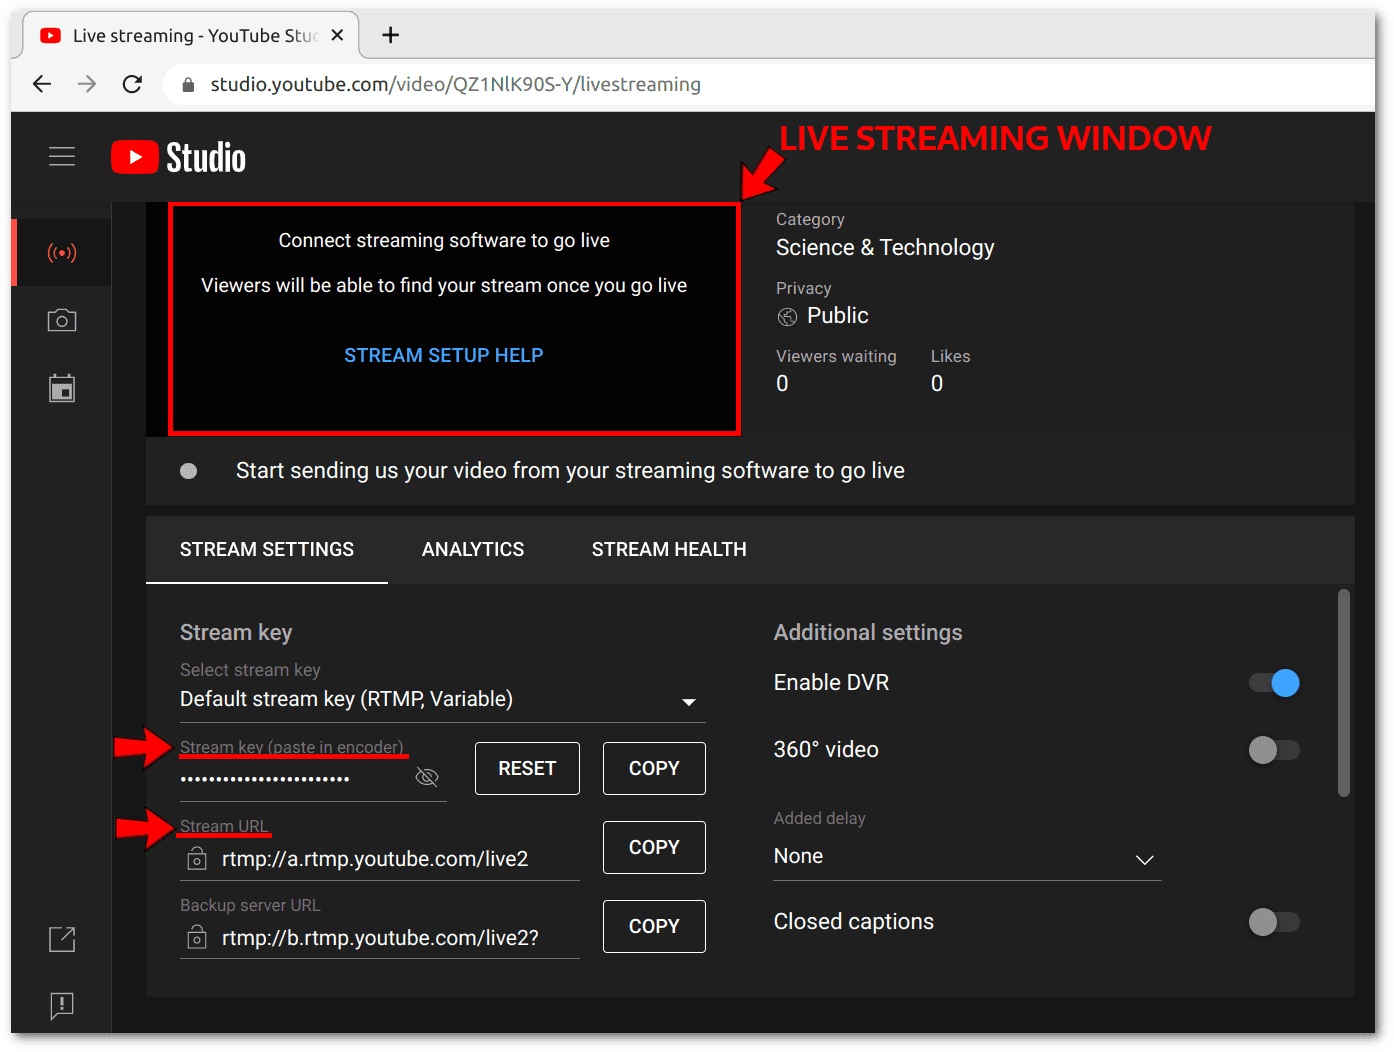 The first part of the RTMP URL is near the second arrow, followed by the hidden key indicated by the first arrow. In this case, we get rtmp://a.rtmp.youtube.com/live2/j7t5-avgw-uryg-0aga-epkz. Although the key is secret, it changes for each stream, and we can use it only once.
The default options in Android Studio are good in most cases. The expected average latency is around ten seconds with the low latency option, which is the default. We could reduce it to three seconds with the ultra-low latency option, but this could cause problems for our stream viewers with poor connectivity:
 Knowing the expected average latency times will help us assess whether FFmpeg’s parameters are fine-tuned to our internet connection and our webcam’s video resolution.
To stream our webcam to YouTube, we can use the following command. Obviously, we need to change the secret key in the RTMP URL:
$ ffmpeg -f v4l2 -i /dev/video0                                   \
  -f alsa -i hw:0,0                                               \
  -c:v libx264 -pix_fmt yuv420p -framerate 15 -g 30 -b:v 500k     \
  -c:a aac -b:a 128k -ar 44100 -ac 2                              \
  -preset ultrafast -tune zerolatency                             \
  -f flv rtmp://a.rtmp.youtube.com/live2/a8rx-y9t2-vrxh-cy6p-a5v6
Let’s look at the different options in detail and compare them with YouTube’s recommended settings:
Depending on our bandwidth and webcam resolution, we can try to adjust some of the suggested options, especially -framerate, -g, and -b:v. Moreover, if the webcam resolution is too high, we can add options to scale (resize) the video input.
If there are any problems with our connection or encoding, YouTube Studio will usually display warnings. In this case, it signals an excellent connection:
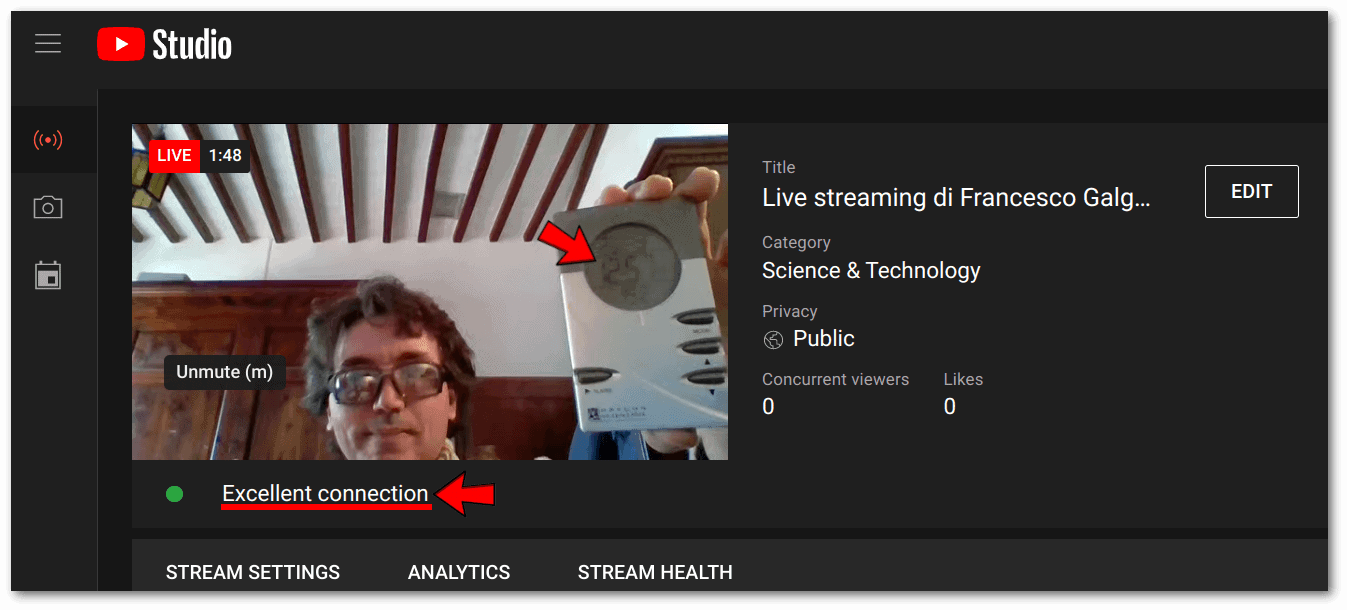 Framing a clock, as shown in the image above, is a valid technique to measure latency accurately. We can also check that our voice sounds good by unmuting the microphone. In general, what we’ve seen so far will be pretty much the same on other streaming platforms.
In this article, we looked at the best options for streaming via FFmpeg. We can explore this topic further by looking at other examples and options in FFmpeg’s Encoding for Streaming Sites documentation and Streaming Guide.