

Learn through the super-clean Baeldung Pro experience:
>> Membership and Baeldung Pro.
No ads, dark-mode and 6 months free of IntelliJ Idea Ultimate to start with.
Learn through the super-clean Baeldung Pro experience:
>> Membership and Baeldung Pro.
No ads, dark-mode and 6 months free of IntelliJ Idea Ultimate to start with.
In this tutorial, we’ll explore the process of securely sending emails using OpenSSL. OpenSSL, a versatile open-source tool is known for its cryptographic capabilities. It enables us to establish a secure connection to mail servers and send mail emails through the command line.
In this section, we’ll bring together the critical components of securely sending emails using OpenSSL. We’ll examine this process by intertwining installing OpenSSL with preparing the SSL certificate.
To securely send emails using OpenSSL, let’s first ensure that OpenSSL is installed on our system. We can achieve this by utilizing the operating system’s package manager:
$ sudo apt-get install opensslWith OpenSSL successfully installed, we move on to the crucial step of preparing an SSL certificate and its private key. It can either be a self-signed certificate designed for testing purposes or one issued by a trusted Certificate Authority (CA). In either case, it remains imperative to keep the private key secure, ensuring the integrity of a secure communication.
Moving on, we’ll initiate the connection phase using OpenSSL’s command-line interface to reach the SMTP server of the email provider.
For the SMTP server using the standard port 587, we initiate a connection using the openssl command:
$ openssl s_client -starttls smtp -connect smtp.gmail.com:587This command attempts to connect to the SMTP server at smtp.gmail.com on port 587:
CONNECTED(00000003)
SSL handshake has read 4582 bytes and written 559 bytes
Verification: OK
New, TLSv1.3, Cipher is TLS_AES_256_GCM_SHA384
Verify return code: 0 (ok)
...
250 SMTPUTF8
AUTH LOGIN
...
Post-Handshake New Session Ticket arrived:
SSL-Session:
The starttls option is to upgrade the connection to a secure one. It encrypts the communication channel with the mail server, safeguarding our data during transit.
With the secure connection in place, we can proceed to authenticate ourselves with the mail server, typically by providing our username and password.
The AUTH LOGIN command is a common method for SMTP server authentication. It involves encoding the username and password in Base64 before sending them to the server.
Once the secure connection is established, we initiate the authentication process:
AUTH LOGINThe server responds with a “Username:” prompt. We enter our Base64-encoded username:
334 VXNlcm5hbWU6  # This is a Base64-encoded prompt for the username
base64_encoded_username
We replace base64_encoded_username with the actual Base64 encoding of our username. The server responds with a “Password:” prompt. We enter our Base64-encoded password:
334 UGFzc3dvcmQ6  # This is a Base64-encoded prompt for the password
base64_encoded_password
We replace base64_encoded_password with the actual Base64 encoding of our password:
read R BLOCK
334 VXNlcm5hbWU6
dGlrbmFq
334 UGFzc3dvcmQ6
dnJtZmVleHRzZWFnZ3Fubw==
235 2.7.0 Accepted
If the credentials are correct, the server responds with a 235 2.7.0 Accepted message, indicating a successful login.
In the transition to email composition and transmission, the SMTP commands establish the groundwork for data transmission. The commands mail from: <sender-email> and rcpt to: <recipient-email> respectively specify the sender’s and recipient’s email addresses:
mail from: <sender-email-address>
250 2.1.0 OK 5-20020a170902ee4500b001d06b63bb98sm3514166plo.71 - gsmtp
rcpt to: <recipient-email-address>
250 2.1.5 OK 5-20020a170902ee4500b001d06b63bb98sm3514166plo.71 - gsmtp
data
354 Go ahead 5-20020a170902ee4500b001d06b63bb98sm3514166plo.71 - gsmtp
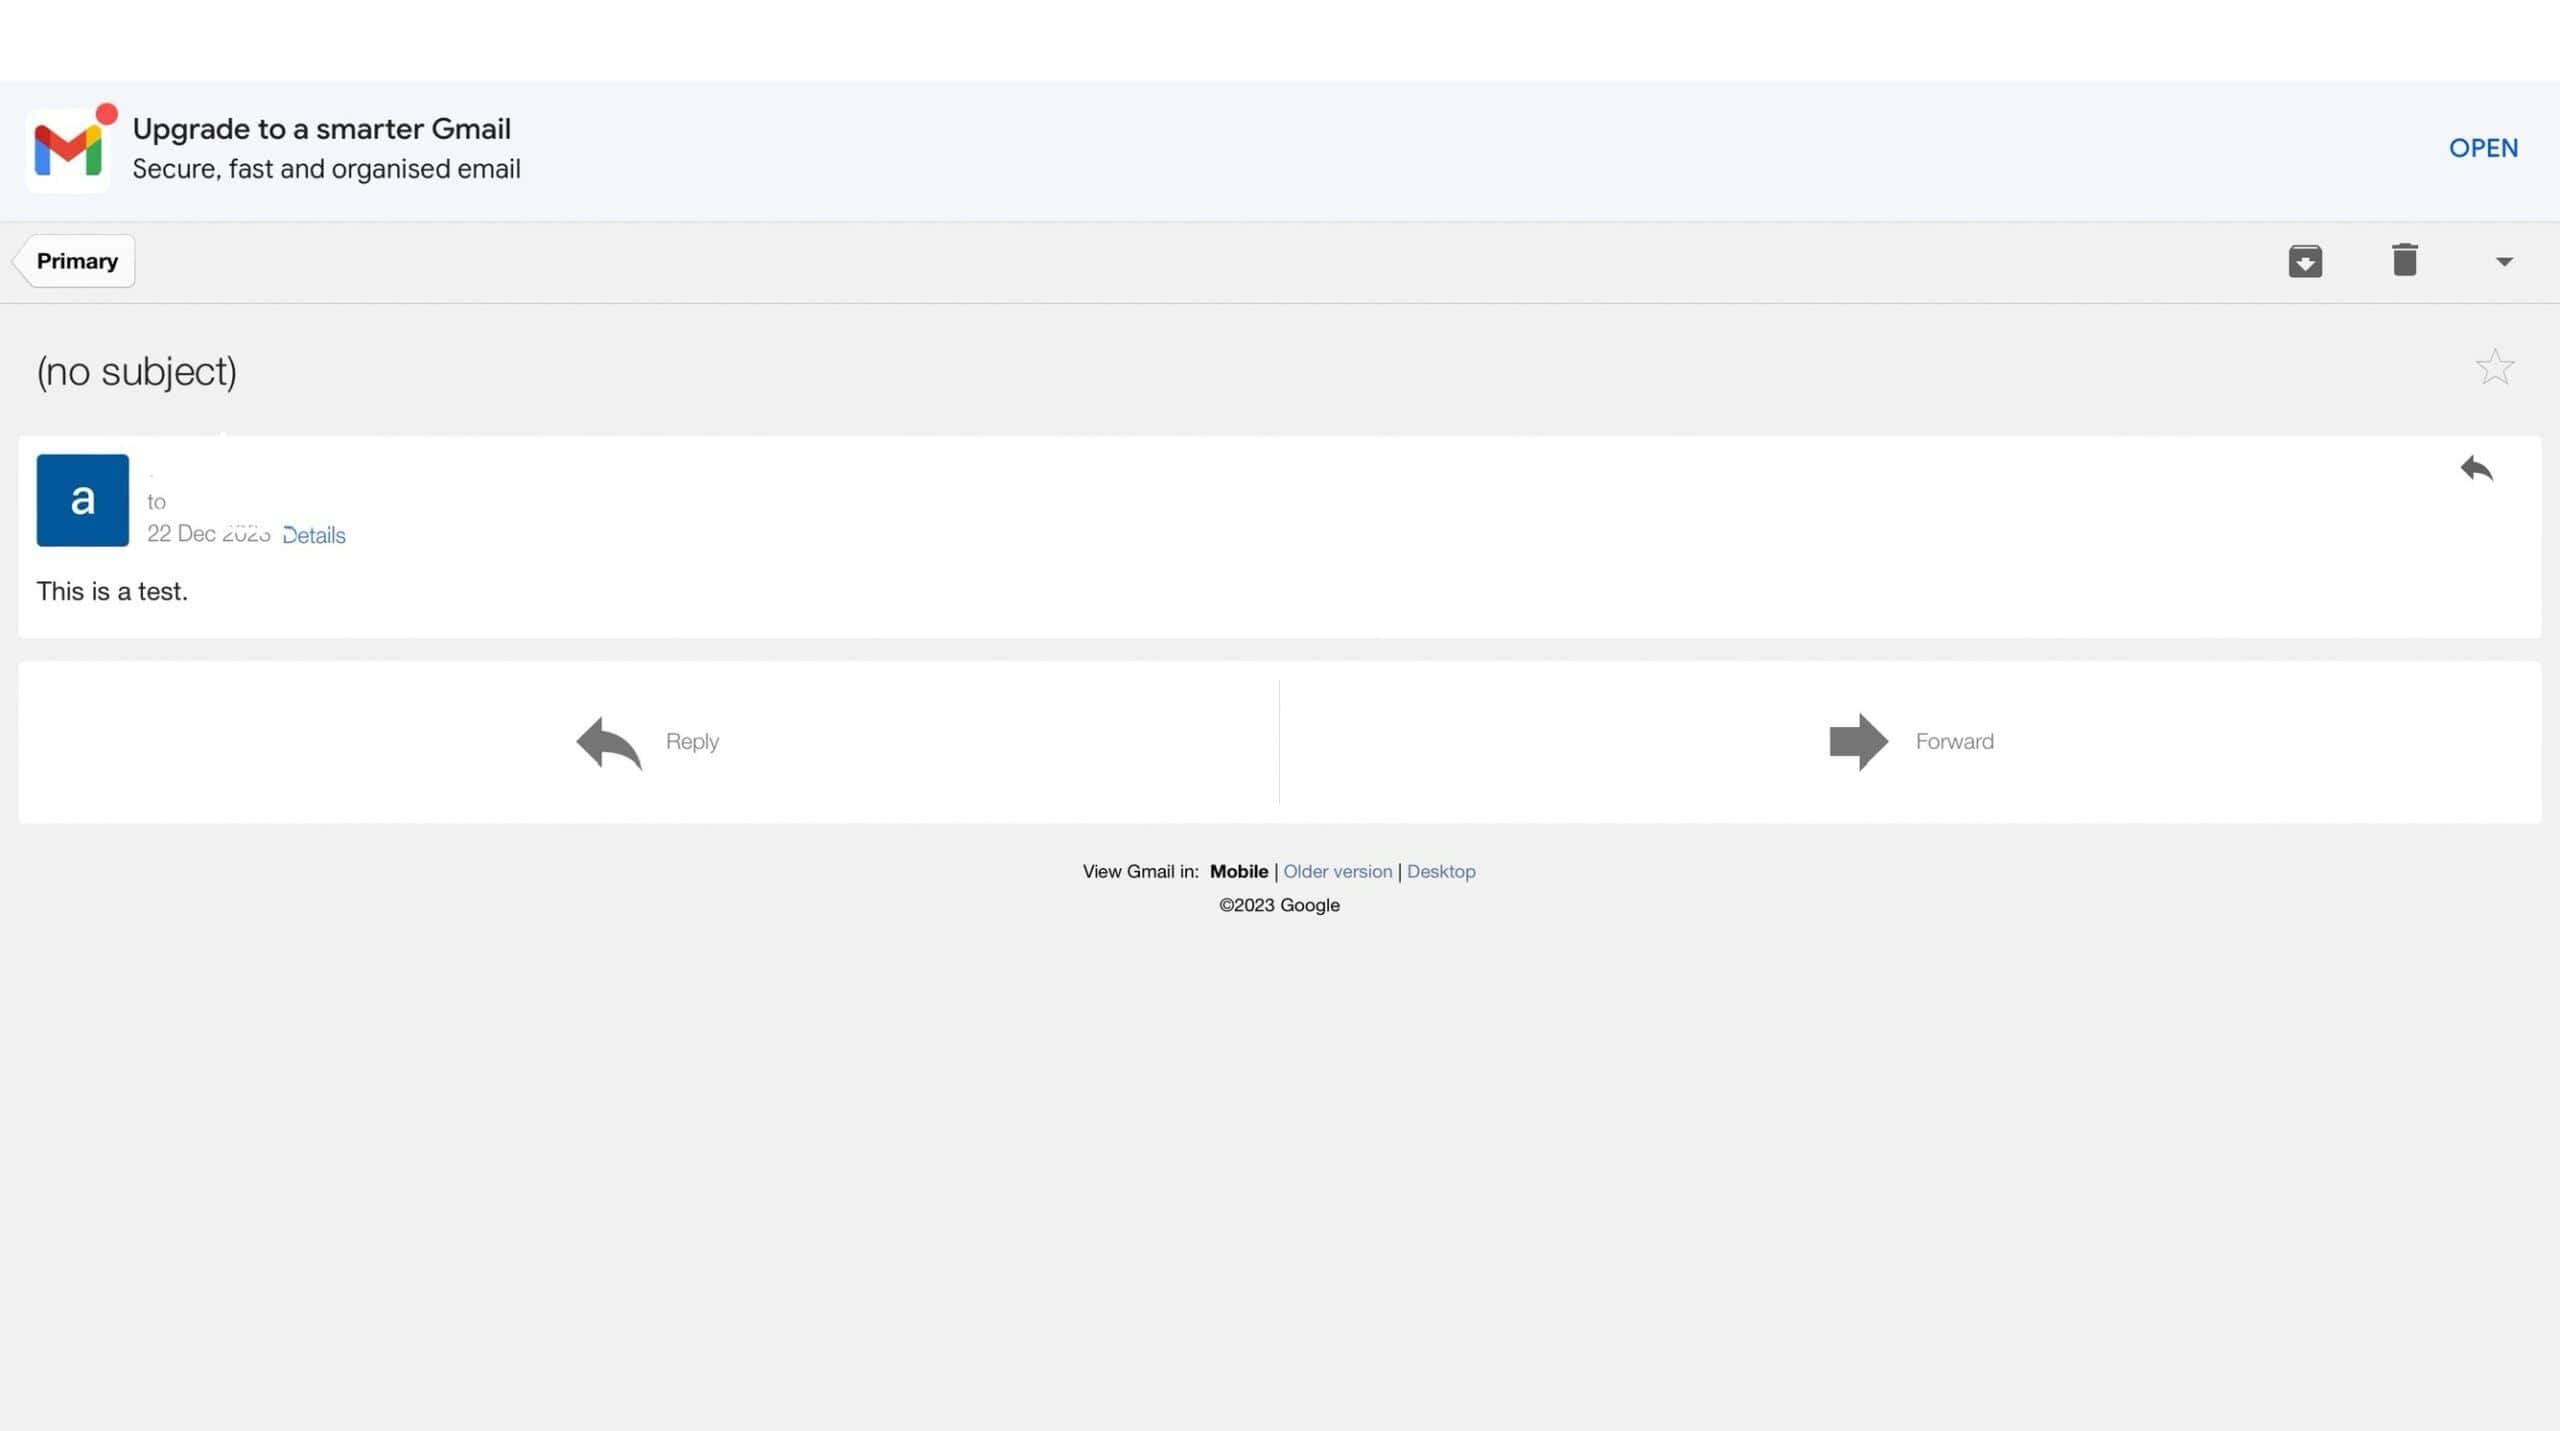
This is a test.Upon entering the data command, we’ll input the contents of our email. A period (.) on a new line signals the conclusion of the email content:
.
250 2.0.0 OK  1703255039 5-20020a170902ee4500b001d06b63bb98sm3514166plo.71 - gsmtp
We get a confirmation message upon successful email transmission. As we can see, if we get 250 2.0.0 OK, it means our email has already been sent:
As the final step, we can exit the OpenSSL session with the quit command:
quit
221 2.0.0 closing connection 5-20020a170902ee4500b001d06b63bb98sm3514166plo.71 - gsmtpIn this article, we discussed the process of securely sending emails using OpenSSL.
We began by preparing OpenSSL for sending emails securely. Thereafter, we examined how to connect to an SMTP server. We could then authenticate ourselves when sending emails via OpenSSL ensuring the integrity and confidentiality of communication.