

Learn through the super-clean Baeldung Pro experience:
>> Membership and Baeldung Pro.
No ads, dark-mode and 6 months free of IntelliJ Idea Ultimate to start with.
Learn through the super-clean Baeldung Pro experience:
>> Membership and Baeldung Pro.
No ads, dark-mode and 6 months free of IntelliJ Idea Ultimate to start with.
Linux distributions often provide ways for entirely network-based installation. In particular, this enables administrators to set up a central server containing the installation files. Thus, client machines can boot and install Linux remotely via so-called net booting. Net booting requires a small set of packages to start the installation. The rest of the packages are then downloaded during installation.
A network installer can be a good choice for systems without a GUI. Similarly, for a large number of systems, network installers can be very helpful. Also, net booting usually downloads the latest packages. Thus, we’ve got no immediate need to upgrade them.
In this tutorial, we’ll see the steps to install Ubuntu over a network. Moreover, we’ll install Ubuntu 20.04 in UEFI mode.
Before proceeding with the network installation, let’s ensure we’ve some prerequisites:
Also, we’re using VMware virtualization to test the client machine.
To summarize, network installation requires several steps:
Additionally, using a UEFI boot facilitates the secure boot option.
There are several required packages on the server side. In addition to installing them, we might need to change some package settings.
dnsmasq serves as an easy-to-setup DHCP and DNS server for network installation. Further, it offers combined DNS and DHCP functionality for the local area network (LAN).
First, we install dnsmasq:
$ sudo apt install dnsmasqAfter that, we edit the dnsmasq config file, /etc/dnsmasq.conf.
Next, we add entries for the DHCP configuration in this file:
$ cat /etc/dnsmasq.conf
...
interface=wlo1
bind-interfaces
dhcp-range=192.168.29.150,192.168.29.240,255.255.255.0,8h
dhcp-option=option:router,192.168.29.1
dhcp-option=option:dns-server,192.168.29.1
dhcp-boot=bootx64.efi,192.168.29.45
Let’s break down each setting:
Later, we restart the dnsmasq service:
$ sudo systemctl restart dnsmasqThus, the new settings should now be in effect.
Next, we set up a TFTP server to serve the installation files.
So, let’s install the TFTP server:
$ sudo apt install tftpd-hpaNext, we create the TFTP root directory, if not already present, since it stores the installation files:
$ sudo mkdir /srv/tftp
Markedly, TFTP has a config file at /etc/default/tftpd-hpa. In this file, we set the TFTP parameters:
$ cat /etc/default/tftpd-hpa
# /etc/default/tftpd-hpa
TFTP_USERNAME="tftp"
TFTP_DIRECTORY="/srv/tftp"
TFTP_ADDRESS=":69"
TFTP_OPTIONS="--secure"
Let’s see the meaning of the parameter in the above file:
Subsequently, we restart the TFTP server:
$ sudo systemctl restart tftpd-hpaFinally, this completes the TFTP server setup.
Let’s now install the NFS kernel server package:
$ sudo apt install -y nfs-kernel-serverFurther, we edit the /etc/exports file to share the TFTP root directory over NFS:
$ cat /etc/exports
...
/srv/tftp *(ro,sync,no_root_squash,insecure,no_subtree_check)
Let’s break down the above options:
Finally, we export the NFS share:
$ sudo exportfs -aSeveral other options can also be used to control how the shared file system is mounted.
Before starting the installation, let’s ensure we have the necessary files ready.
Essentially, to acquire them, we download the ISO file for Ubuntu 20.04.
Let’s create the focal subdirectory inside the TFTP root directory to store the ISO file:
$ sudo mkdir /srv/tftp/focalThen, we download the Ubuntu 20.04 ISO file and place it in the focal directory:
$ wget https://www.releases.ubuntu.com/focal/ubuntu-20.04.6-desktop-amd64.iso -O /srv/tftp/focal/ubuntu-20.04.6-desktop-amd64.isoAlternatively, we can copy the existing ISO file on the system to the focal directory.
Let’s move to the TFTP root directory:
$ cd /srv/tftp/Next, we create a mount subdirectory /mnt/iso:
$ sudo mkdir /mnt/isoThen, we mount the ISO file at /mnt/iso using a loop device:
$ sudo mount focal/ubuntu-20.04.6-desktop-amd64.iso /mnt/iso -o loop
mount: /mnt/iso: WARNING: device write-protected, mounted read-only.
A loop device enables a file to be mounted like a physical block device. Thus, the file system inside the file is now mounted.
This way, we can see and read the contents of the ISO file in the /mnt/iso directory.
Further, we copy the necessary boot files from /mnt/iso to the focal directory:
$ sudo cp -a /mnt/iso/. focal/
$ sudo cp -rf /mnt/iso/* focal/
$ sudo cp /mnt/iso/casper/{vmlinuz,initrd} focal/
Finally, we unmount the ISO file:
$ sudo umount /mnt/isoAdditionally, we can also remove the .iso file from the server to save on server space:
$ sudo rm focal/ubuntu-20.04.6-desktop-amd64.isoThus, the TFTP root directory can now serve the files over the network.
To network boot the client machine, we need a GRUB config file and support files.
First, we create a subdirectory, grub, inside /srv/tftp:
$ sudo mkdir grubNext, we create the GRUB config file in the grub directory:
$ cat grub/grub.cfg
menuentry "Focal - OS" {
linux /focal/vmlinuz ip=dhcp netboot=nfs nfsroot=192.168.29.45:/srv/tftp/focal/ boot=casper root=/dev/ram0 maybe-ubiquity
echo "Loading Ram Disk..."
initrd /focal/initrd
}
The above GRUB menu performs multiple actions on the client machine:
Also, while booting, the grub menu shows the Loading Ram Disk… message.
On UEFI systems, SHIM acts as a lightweight initial boot loader. Moreover, SHIM simplifies the signing complexity introduced by Microsoft’s Secure Boot requirement.
To be clear, the GRUB bootloader (GRUB 2) doesn’t have a universally trusted Microsoft key signature. Thus, UEFI Secure Boot can’t directly validate it. Since SHIM possesses a Microsoft key signature, Secure Boot can easily validate it. Thus, it can chainload other EFI binaries, like GRUB.
Let’s download the SHIM, GRUB, and grub-common .deb files to /tmp:
$ cd /tmp
$ apt-get download shim.signed -y
$ apt download grub-efi-amd64-signed
$ apt download grub-common
Next, we copy the signed SHIM binary, signed GRUB binary, and GRUB font file to the TFTP root directory:
$ sudo sh -c 'dpkg-deb --fsys-tarfile /tmp/shim-signed*deb | tar x ./usr/lib/shim/shimx64.efi.signed.latest -O > /srv/tftp/bootx64.efi'
$ sudo sh -c 'dpkg-deb --fsys-tarfile /tmp/grub-efi-amd64-signed*deb | tar x ./usr/lib/grub/x86_64-efi-signed/grubnetx64.efi.signed -O > /srv/tftp/grubx64.efi'
$ sudo sh -c 'dpkg-deb --fsys-tarfile grub-common*deb | tar x ./usr/share/grub/unicode.pf2 -O > /srv/tftp/unicode.pf2'
In the above commands, dpkg-deb extracts the .deb package using the –fsys-tarfile option. It then pipes the output to STDOUT in .tar format.
Then, tar extracts several files within the tar stream:
Finally, the redirection operator writes the files to the TFTP directory with the specified file names.
To test the above setup, let’s create a virtual machine in VMware.
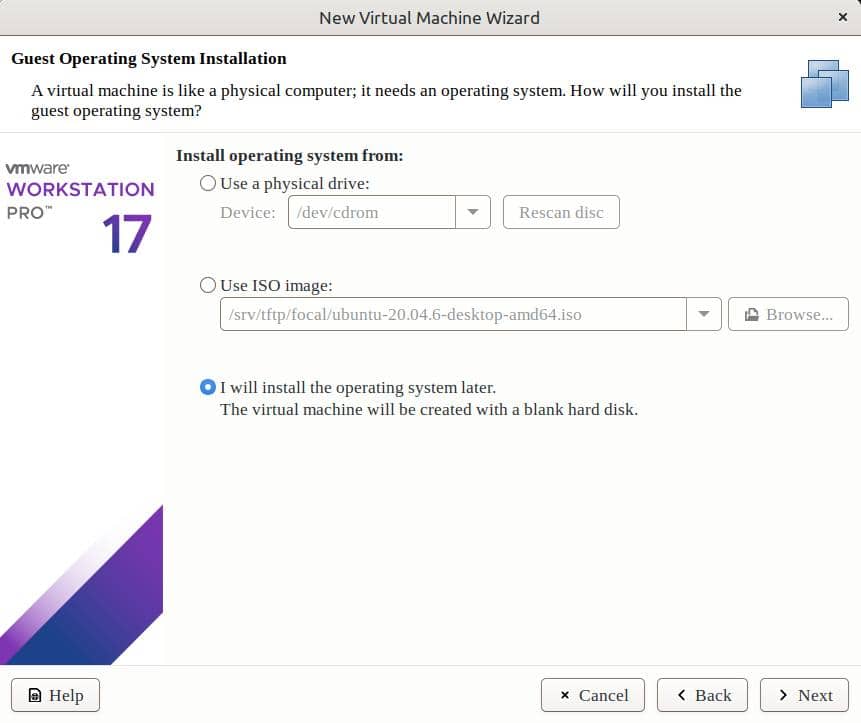
We can set up a new VM with the option to later install the OS:
After completing the VM setup, we open the VM settings. Now, we change the firmware type to UEFI:
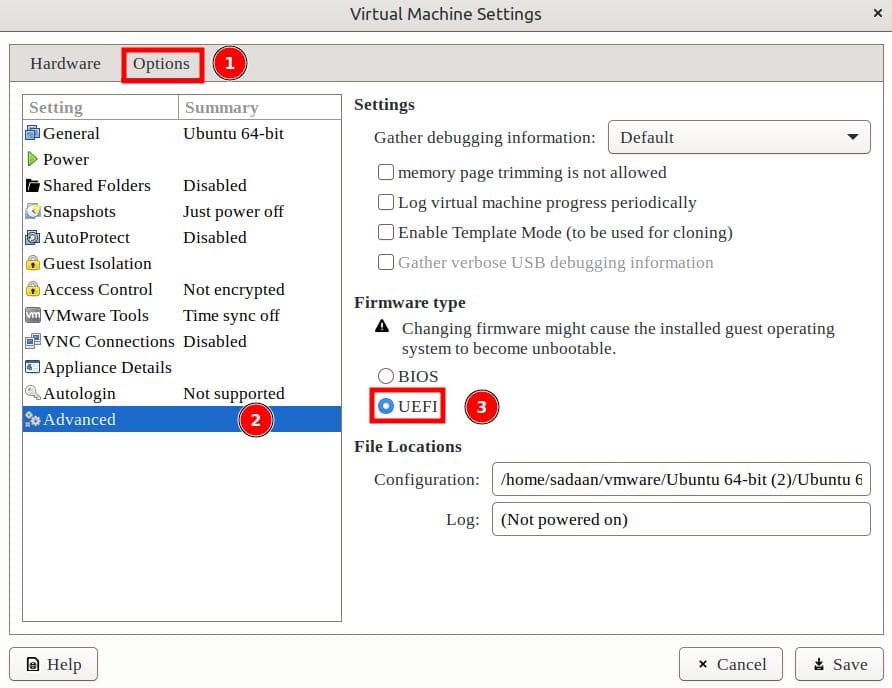
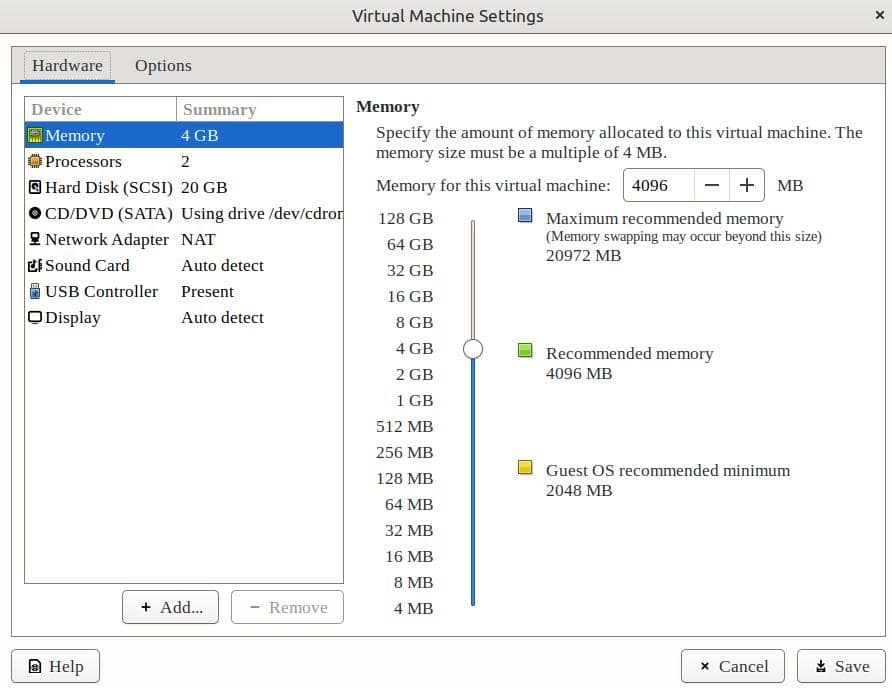
After these changes, we keep the rest of the settings to the default ones:
Now, let’s start the client machine:
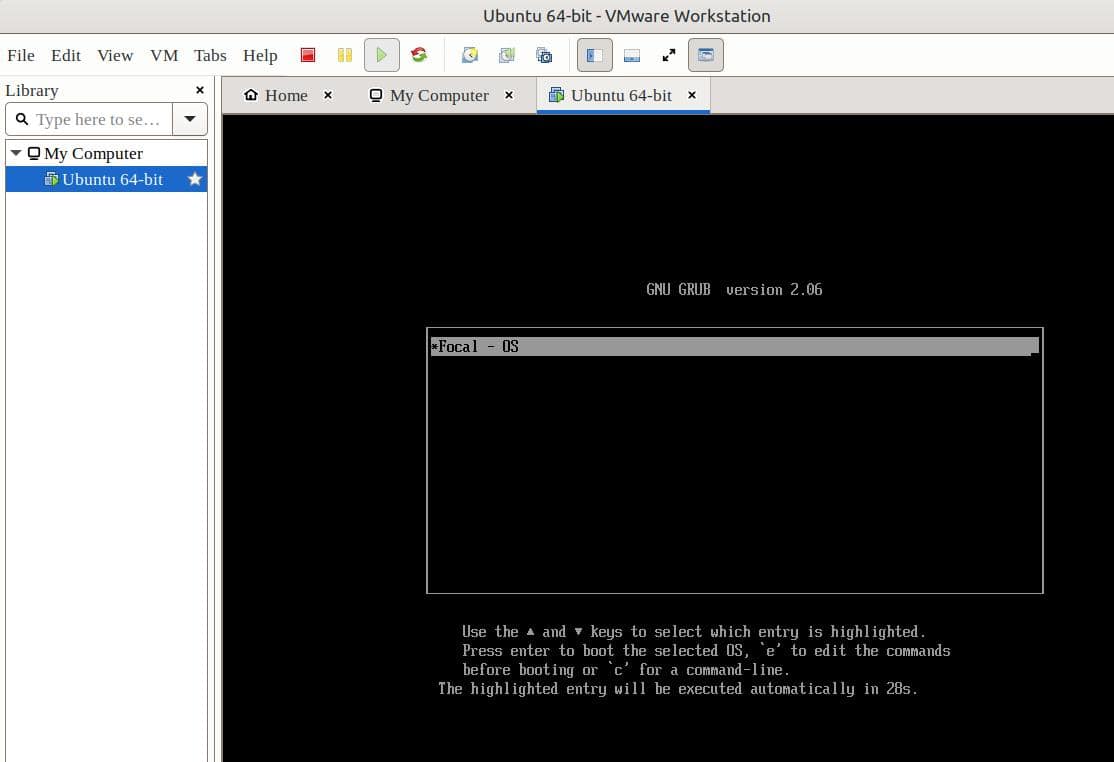
Thus, the VM boots from the network. Finally, we can start the Ubuntu installation process.
In this article, we’ve successfully set up a network installation server for Ubuntu. Client machines can now boot from the network. Similarly, multiple machines can install Ubuntu at the same time. Further, we don’t need a physical media.