

Yes, we're now running our only Summer Sale. All Courses are 30% off until 20th July, 2026:
Learn through the super-clean Baeldung Pro experience:
>> Membership and Baeldung Pro.
No ads, dark-mode and 6 months free of IntelliJ Idea Ultimate to start with.
1. Overview
In this tutorial, we’ll learn how we can install fonts on a Linux machine. First, we’ll discuss how to install fonts for single and multiple users using the command-line. Then, we’ll tackle the Font Manager GUI utility that can assist in installing fonts on any Linux machine.
Finally, we’ll see how to install Google Fonts using Font Manager.
2. Manual Installation
On Linux, it’s much easier to install fonts manually by copying the respective font files into the fonts directory. Usually, most users prefer the TrueType fonts, but we can also install the OpenType font families.
2.1. Installing Fonts for Single User
For single users, we can copy the fonts to the ~/.fonts directory. However, we can also put the fonts into the ~/.local/share/fonts directory:
$ mkdir -p ~/.local/share/fontsThen, we can copy or move our fonts there:
$ cp ~/Downloads/{*.ttf,*.otf} ~/.local/share/fontsAdditionally, if a font family contains a lot of fonts, the fonts directory can get quite messy. So, it’s usually a good practice to collect the related fonts into a directory and then copy the directory to the fonts directory.
Once our fonts are copied, we should rebuild the font cache using the fc-cache command so the fonts will be available for immediate use:
$ fc-cache -f -v
Font directories:
	/home/hey/.local/share/fonts
	/usr/local/share/fonts
	/usr/share/fonts
	/home/hey/.fonts
...
/home/hey/.local/share/fonts: caching, new cache contents: 5 fonts, 0 dirs
/usr/local/share/fonts: skipping, no such directory
...
fc-cache succeeded.
Let’s understand the command:
- -f forces fc-cache to scan up-to-date font files as well—overriding the timestamp checking
- -v is used for verbose output
At this point, we can use the fonts without having to log out and log back in. However, some applications might not take effect without restarting.
2.2. Installing Fonts for Multiple Users
Installing fonts for multiple users follows the same method. However, we’ll need to put the fonts into the /usr/share/fonts directory:
$ sudo cp ~/Downloads/*.ttf /usr/share/fonts/TTFIt’s a good practice to put the TrueType fonts inside the TTF directory and OpenType fonts inside the OTF directory.
As usual, let’s update the system-wide font cache using the -s option:
$ fc-cache -f -s2.3. Removing Fonts
We can remove the fonts by deleting the respective files in the fonts directory:
$ rm -f ~/.local/share/fonts/TTF/Fira-CodeSimilarly, don’t forget to update the font cache after:
$ fc-cache -f -v3. Alternative: Font Manager
Font Manager is a GUI-based utility that helps in managing, analyzing, and viewing fonts without having to use the command-line.
3.1. Installation
On Ubuntu and other GNOME-based distributions, this utility should be installed out of the box. However, we can also install it from our distribution package repository under the canonical name font-manager.
On Ubuntu-based distros, we can use apt:
$ sudo apt install -y font-managerOn RHEL and Fedora-based distros, we can use yum:
$ sudo yum install -y font-manager3.2. Installing Multiple Fonts
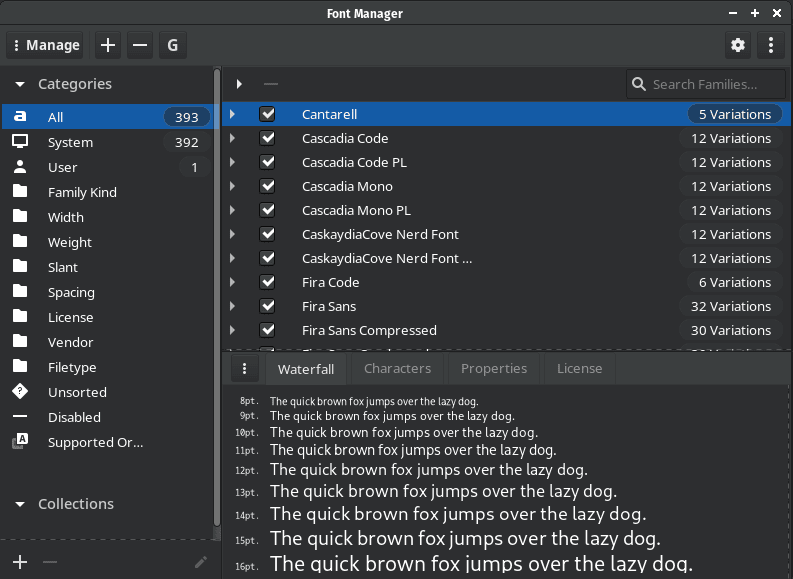
Once Font Manager is installed, we can use it to install a bunch of fonts at the same time. On launch, we’ll be presented with the main view:
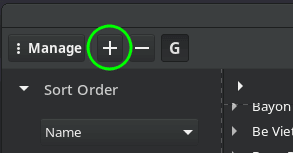
Now, we can press the “+” button on the top left to install new fonts:
Afterward, we can select multiple fonts to install:

Finally, we can click “Open” to install the selected fonts.
3.3. Removing Multiple Fonts
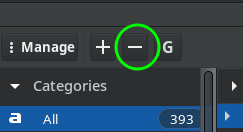
Similarly, we can remove multiple fonts by selecting the “–” button on the top left corner:
Then, we can select the desired fonts to remove:
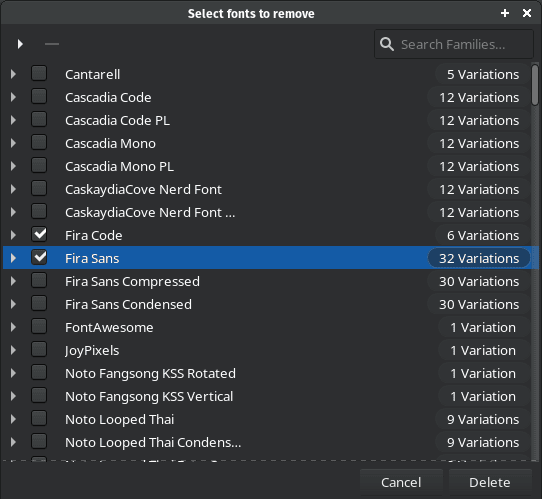
Finally, we can press the “Delete” button on the bottom to delete the selected fonts.
4. Extra: Installing Multiple Google Fonts
Google has one of the popular web font repositories that contains free fonts that we can use for both personal and commercial use.
However, it’s tedious to individually download, extract, and then manually install these fonts. Therefore, we can make this process quicker by using the Google Fonts feature of Font Manager.
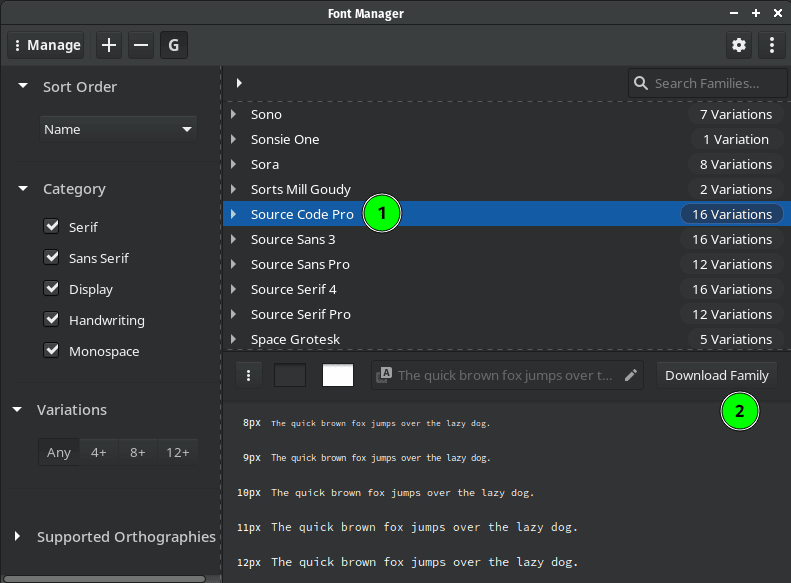
In the main view of Font Manager, we can select the “G” button to list the available Google Fonts:

Then, we can select a font and click the “Downloading Family” button:
As we can see, it’s much easier to download and install Google Fonts without having to open up a browser and go through the process manually.
5. Conclusion
In this article, we discussed how we can install multiple fonts on a Linux machine. First, we learned the manual approach by copying the font files to the fonts directory. Then, we saw how we could achieve the same result using the handy GUI utility Font Manager.
Finally, we saw how we can easily install Google Fonts using Font Manager.