

Learn through the super-clean Baeldung Pro experience:
>> Membership and Baeldung Pro.
No ads, dark-mode and 6 months free of IntelliJ Idea Ultimate to start with.
Last updated: May 1, 2025
Learn through the super-clean Baeldung Pro experience:
>> Membership and Baeldung Pro.
No ads, dark-mode and 6 months free of IntelliJ Idea Ultimate to start with.
Sometimes, we might want to switch fonts and adjust their size in Linux using the graphical user interface (GUI). This task is essential in different scenarios such as for personalizing the appearance of the user interface and improving the readability, and visual clarity.
In this tutorial, we’ll check out methods to change the fonts used in different GUI elements and adjust the size of text in a Ubuntu 22.04 GNOME desktop environment.
By default, in Linux-based systems, the GNOME desktop environment offers some basic settings related to the customization of the GUI.
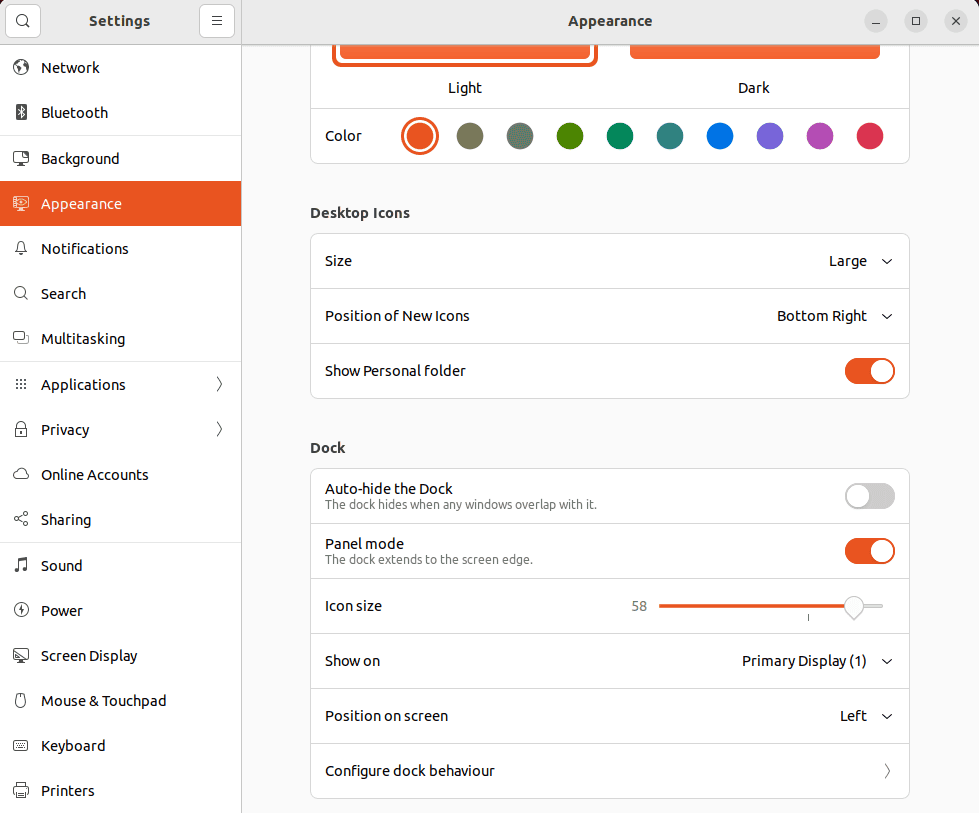
For instance, we can open the Appearance settings and set the Size of the Desktop Icons:
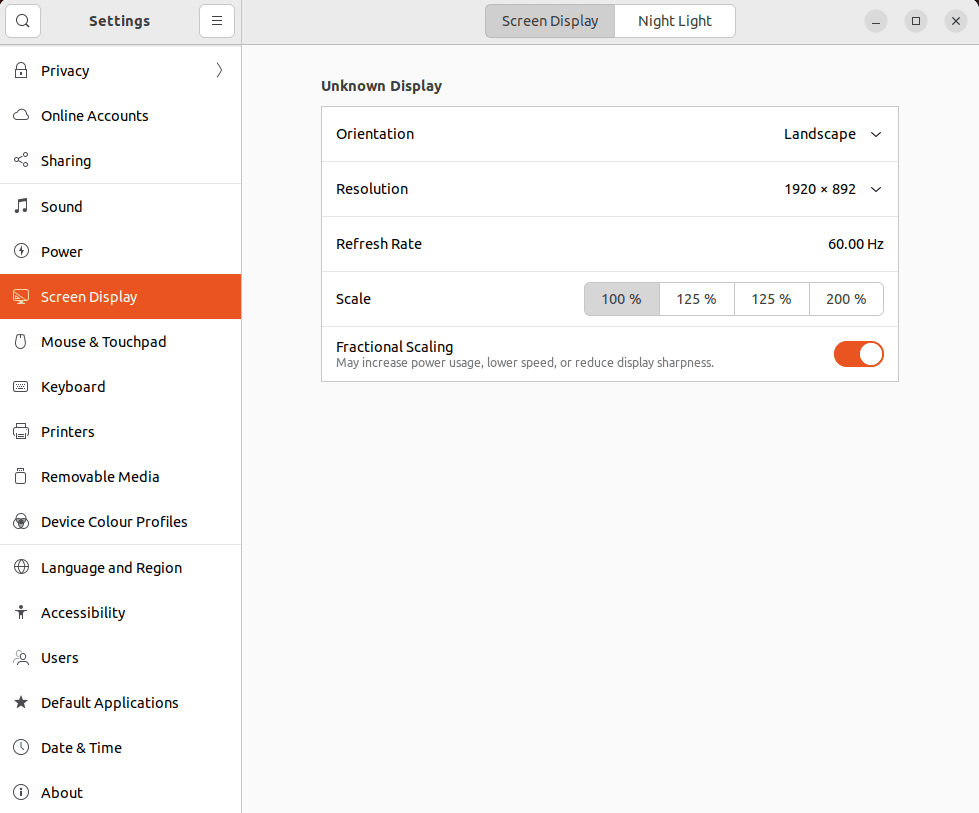
In addition, we can also select the desired Scale of the screen in the Screen Display settings:
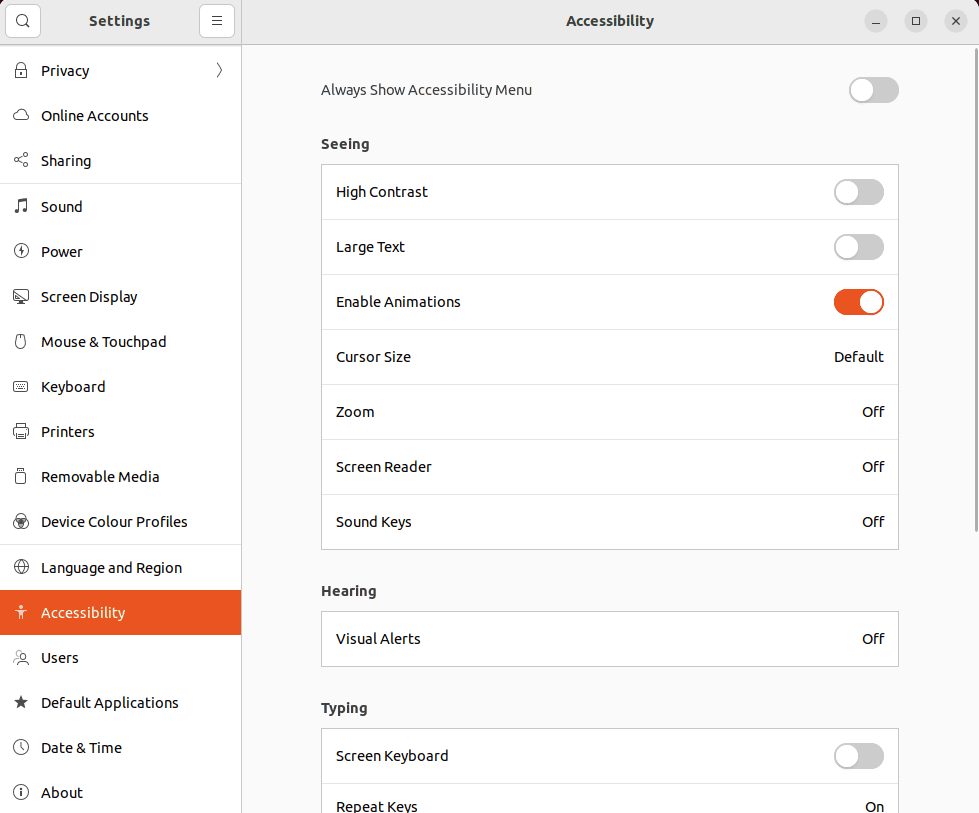
On the other hand, the Accessibility settings enable Large Text on our system:
However, the built-in GNOME interface settings don’t have any specific option related to changing the system fonts and adjusting their size.
For this, we can use different GUI tools, such as the GNOME Tweaks tool, the dconf Editor, and the User style sheet & font shell extension.
In Linux with the GNOME desktop environment, the GNOME Tweaks tool enables us to customize the general behavior and appearance of components. Moreover, we can also use it to change fonts and perform size adjustments.
To install the GNOME Tweaks tool, we use apt to update the packages list and install the gnome-tweaks package on our system:
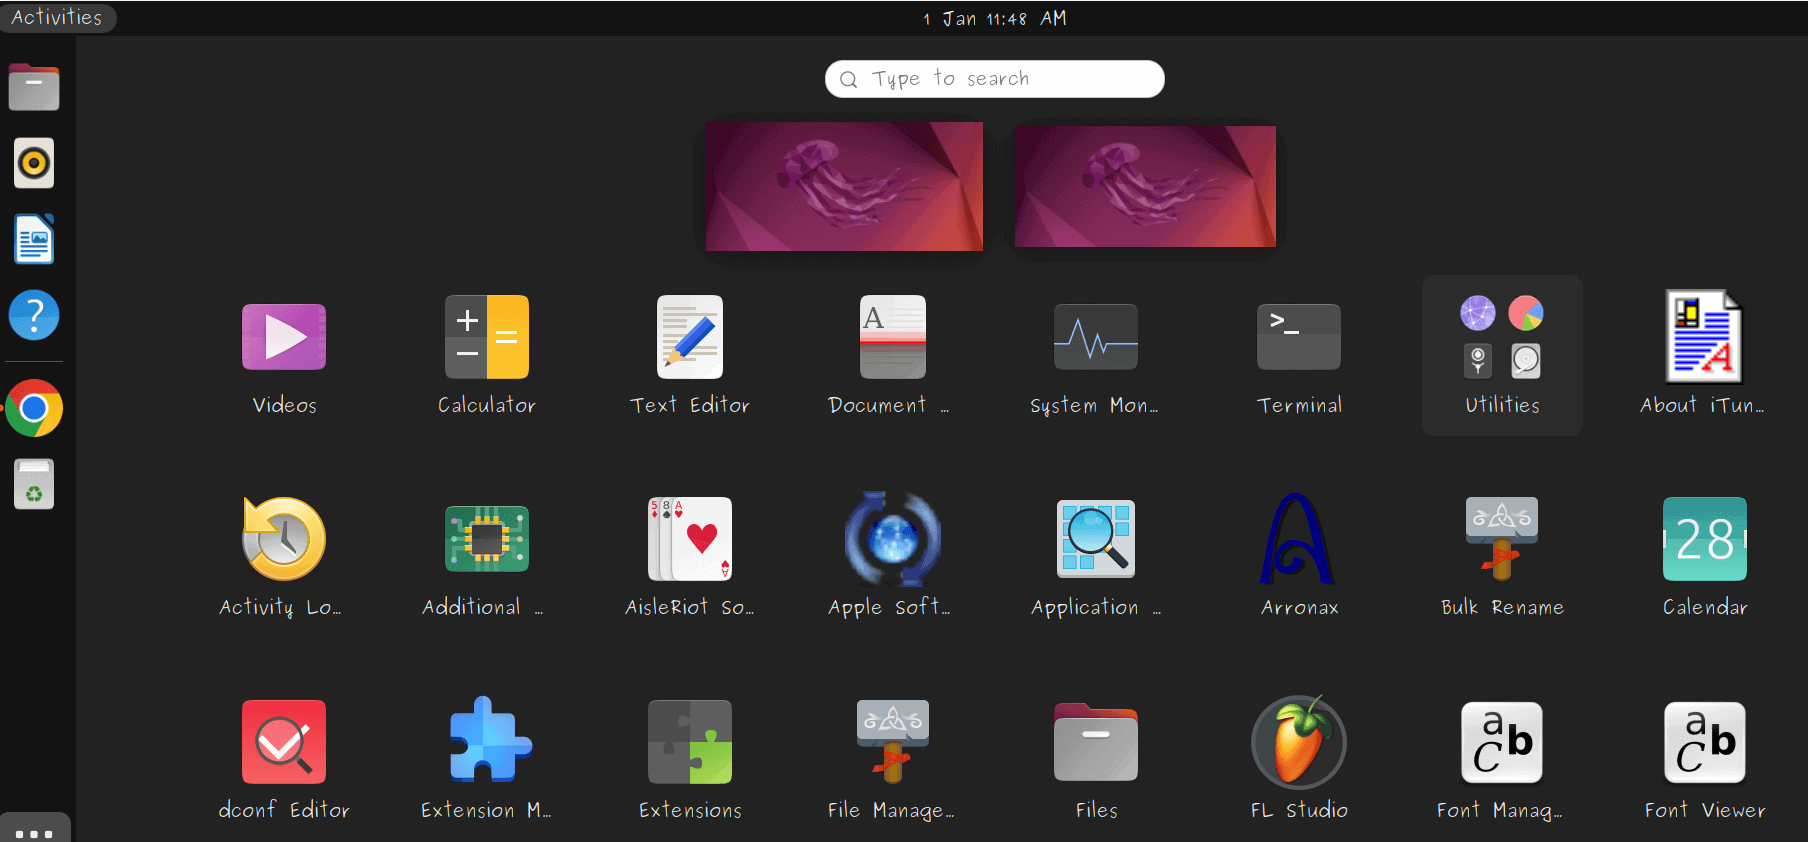
$ sudo apt update && apt install gnome-tweaksAfter a successful installation, we open the Activities menu, type Tweaks, and open the application:

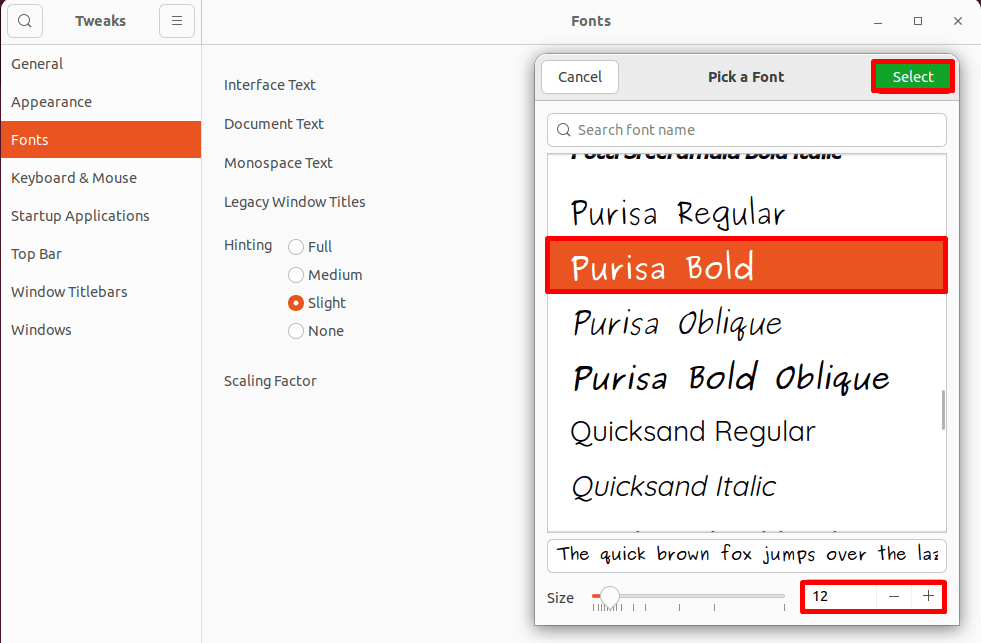
Then, we go to the Fonts option from the left-side panel and click on the default value of the Interface Text:
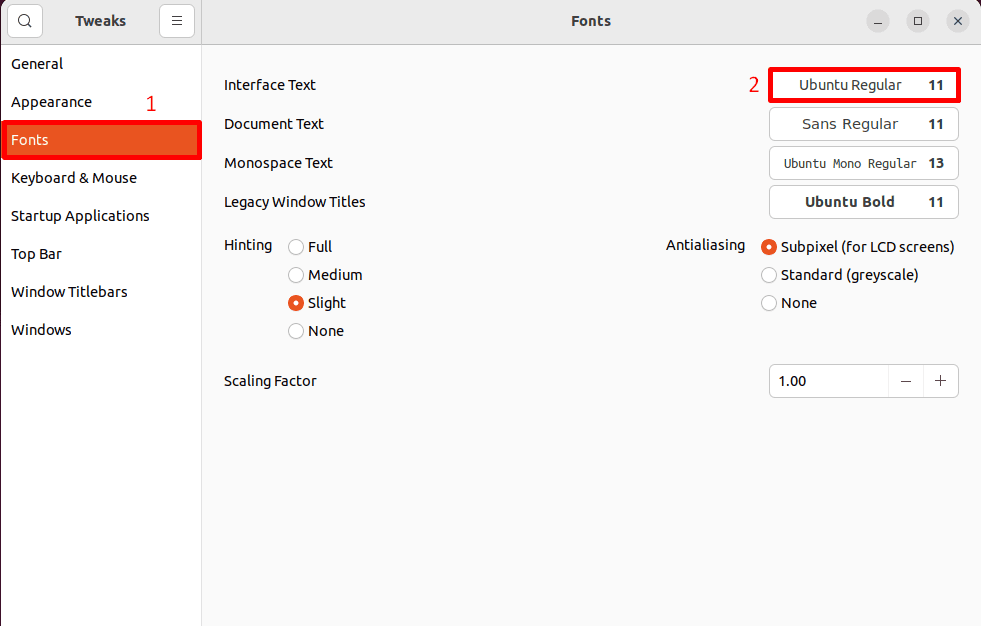
Next, we Pick a Font from the list of available fonts, set its Size, and click Select:
Let’s check the result:
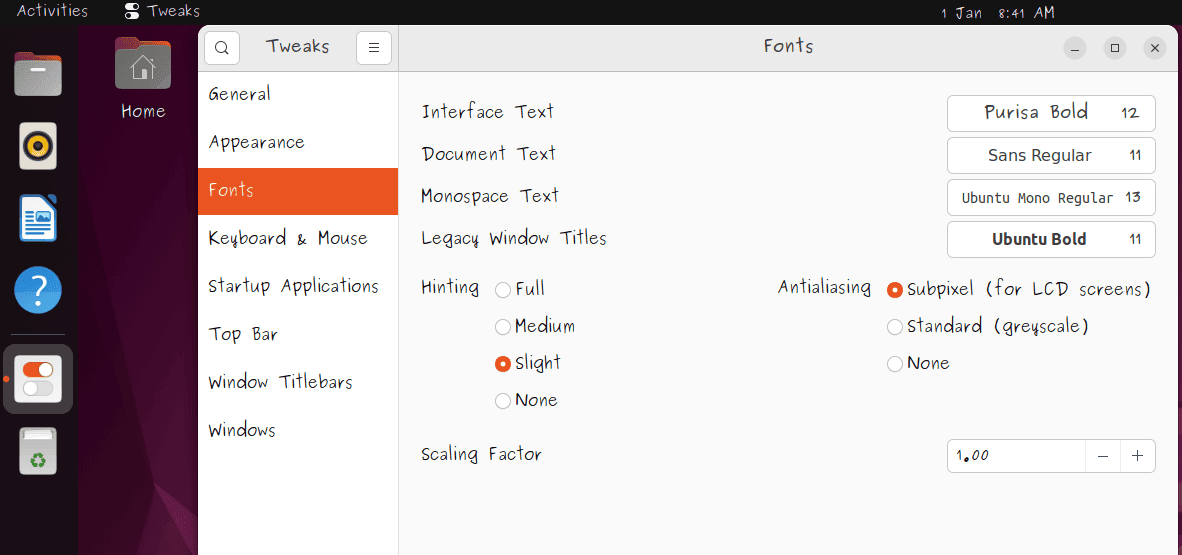
Thus, we can now see the changed fonts and size of the system interface.
Since GNOME Tweaks is a well-established application, this is a fairly universal method of changing the general appearance of text in the GNOME desktop environment.
The donf Editor is used to directly edit the dconf configuration database entries. Moreover, we can use it to view and modify internal settings of system applications.
As with other tools, we can use dconf to change fonts and adjust their size on our system.
For this, first, we install the dconf Editor on the system:
$ sudo apt-get install dconf-editorAfter a successful installation, we open the Activities menu, type dconf Editor, and open it:

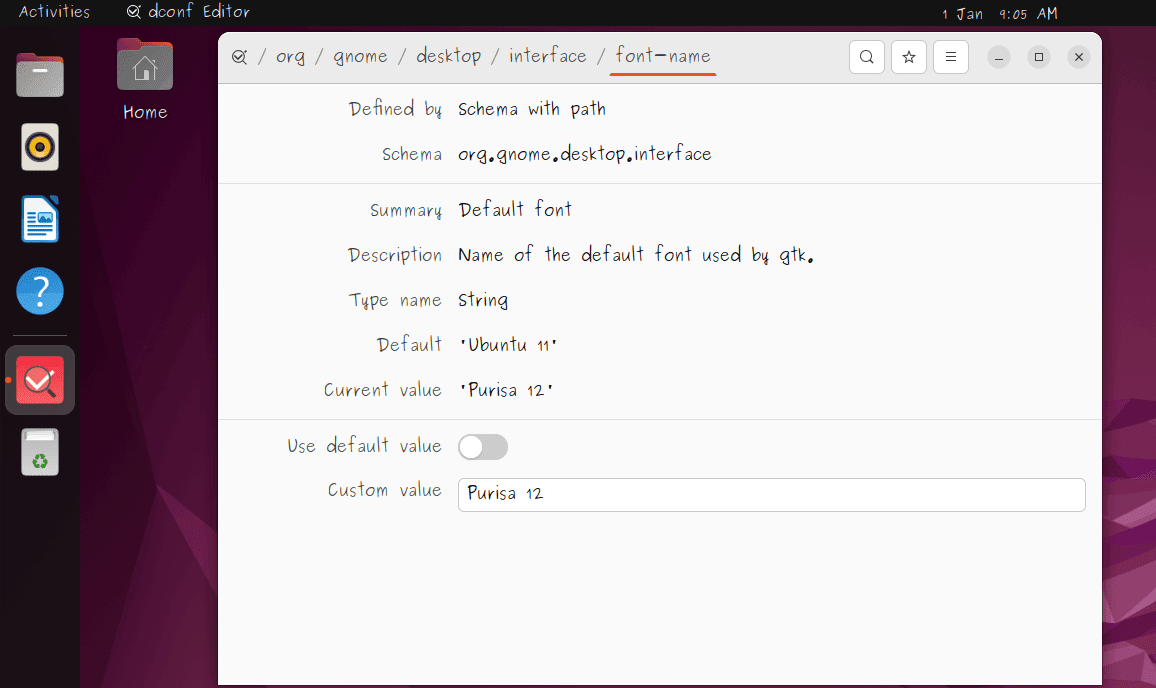
Then, we navigate to the /org/gnome/desktop/interface/ path and click on the font-name option:
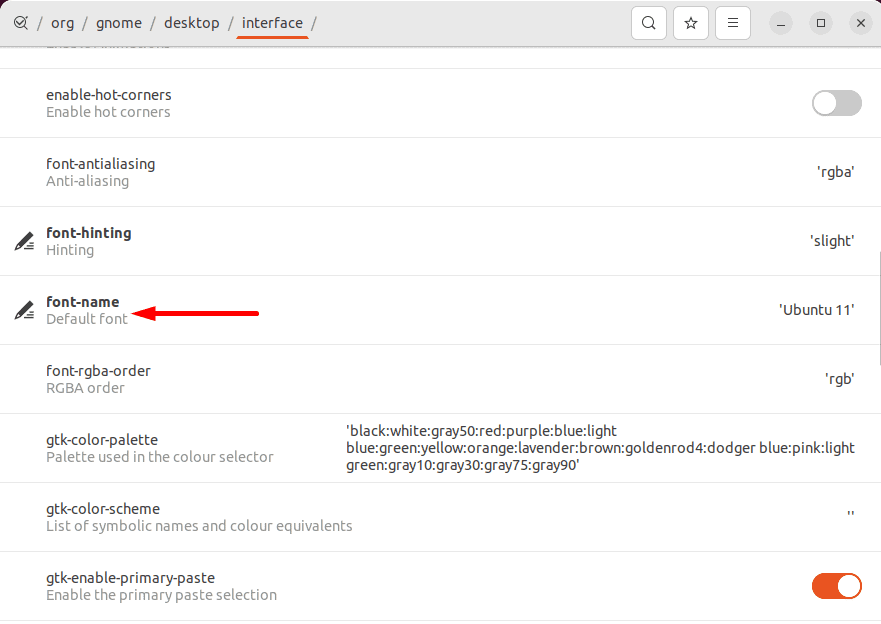 Here, we see the font-name option is set to the Default font of Ubuntu 11.
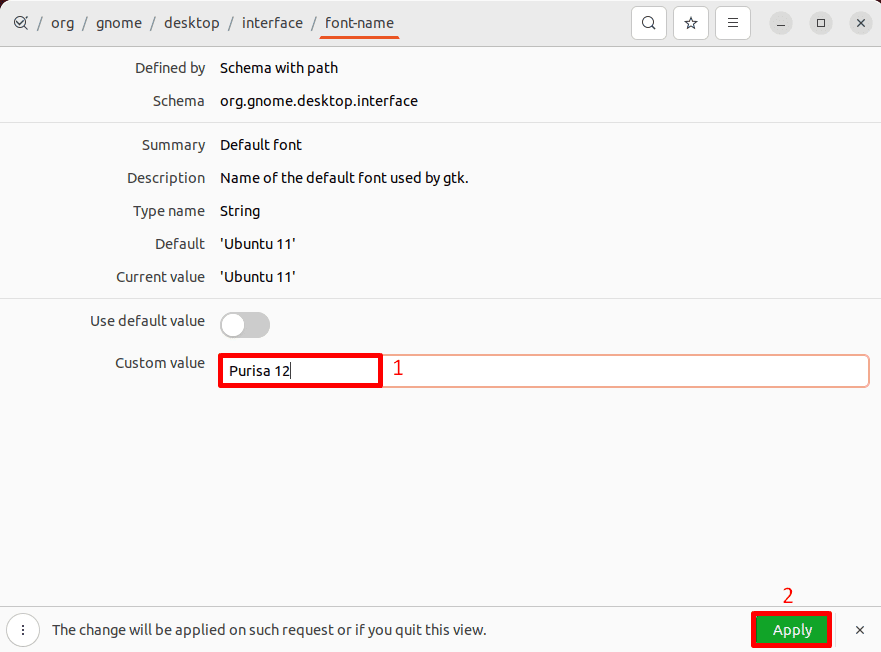
Next, we set Purisa 12 as a Custom value for the font and its size and click Apply:
Let’s check the result:
Consequently, we can see the changed font and size in the graphical system interface.
The User style sheet & font GNOME shell extension loads a CSS file from ~/.config/gnome-shell/gnome-shell.css. After that, it uses the loaded custom style sheet to customize the GNOME interface.
Thus, we can use the User style sheet & font extension to change fonts and adjust the text size in Linux.
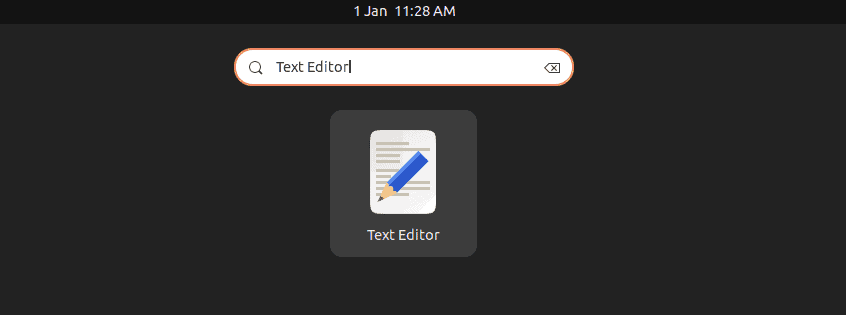
However, first, we need to create the gnome-shell.css file as a prerequisite. To do so, we open the Activities menu, type Text Editor, and open the application:
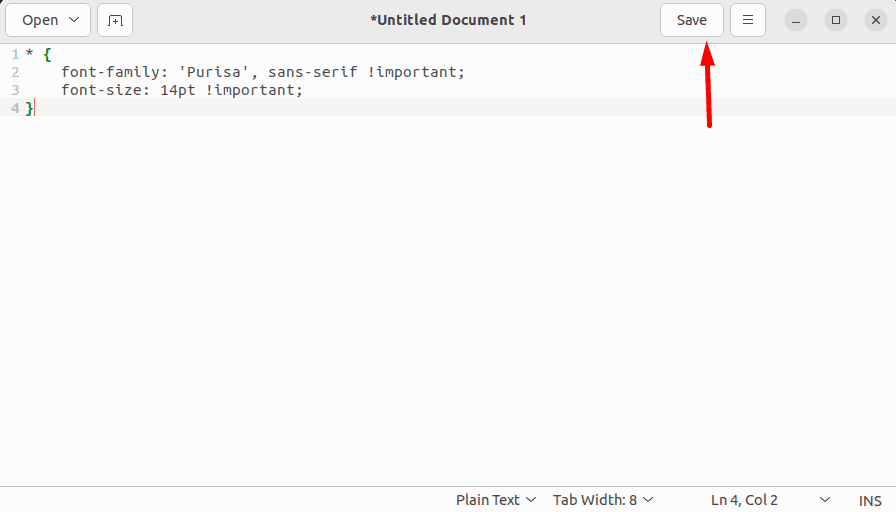
Next, we add some basic CSS code to the file:
* {
    font-family: 'Purisa', sans-serif !important;
    font-size: 14pt !important;
}
Let’s break down the script above:
After adding the code, we click on the Save option:
Then, we navigate to the ~/.config/gnome-shell path, specify the Name of the file as gnome-shell.css, and click Save:

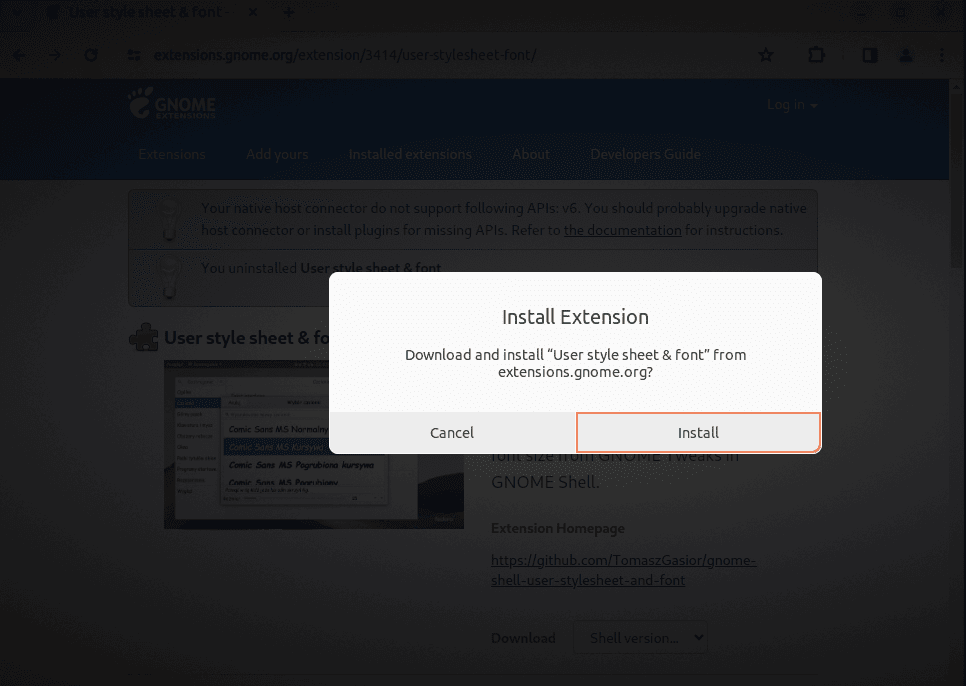
After that, we open the Chrome browser, visit the User style sheet & font GNOME extension page, and click on its toggle:
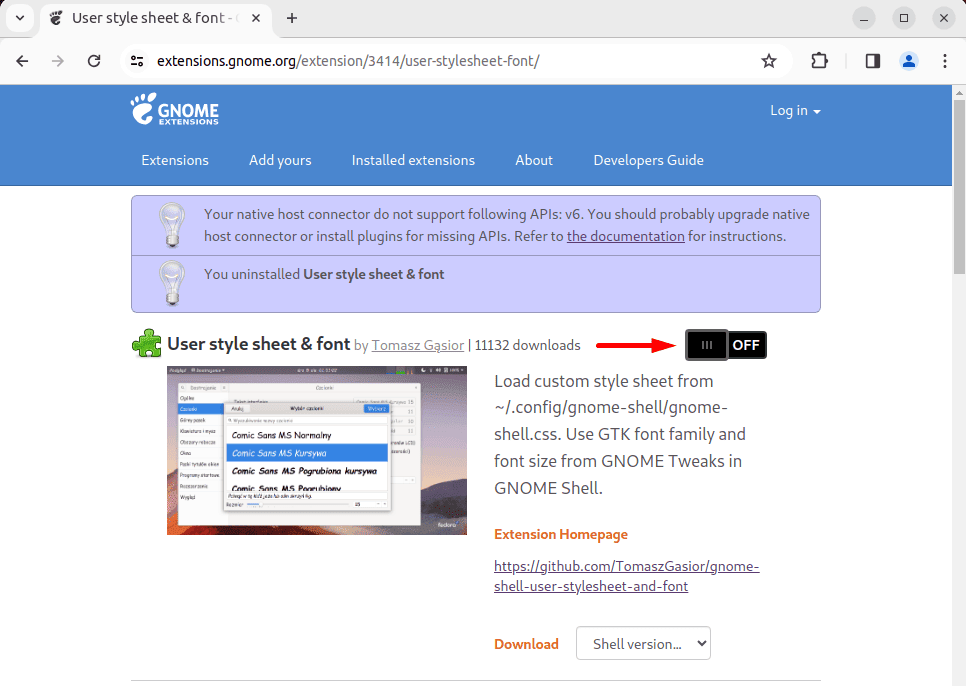
Then, we click on Install to start the installation of the User style sheet & font extension:
After a successful installation, the User style sheet & font extension automatically loads the font style and size from the gnome-shell.css file.
Let’s check the result:
Notably, the adjusted font and size reflect only on some GNOME components, such as the Activities menu and the top bar of the Desktop.
In this article, we learned different methods to change fonts and sizes of text in Linux using GUI tools.
We saw that the GNOME Tweaks tool and the dconf Editor apply system-wide font styles and sizes. However, the User style sheet & font extension only adjusts the font and size of some system components.
So, we can consider using the Tweaks tool or the dconf Editor as the recommendation for changing the font and adjusting the size of the complete GNOME interface with ease.