

Yes, we're now running our only Summer Sale. All Courses are 30% off until 20th July, 2026:
Setting up Autocompletion for Git Commands in Linux
Last updated: July 6, 2024
Learn through the super-clean Baeldung Pro experience:
>> Membership and Baeldung Pro.
No ads, dark-mode and 6 months free of IntelliJ Idea Ultimate to start with.
1. Introduction
Autocomplete is a handy tool and potentially a big-time saver. We press the Tab key, and we just saved ourselves time not typing a whole command. We tap the Tab key twice, the shell gives us suggestions. Git autocompletion not only completes commands and command options but also branch names and more.
In this tutorial, we’ll explore how to set up git autocompletion in Linux-based systems. We’ll also look into some questions that might arise around the process.
2. Git Completion
Git’s autocompletion feature is a contributed software, a third-party tool. Yet, the Git team keeps it within the general Git implementation for our convenience and even maintains it.
Specifically, the feature is called git completion. In fact, it’s a script that one can also get separately: git-completion.* or simply git-completion.
As it’s not a core feature, git completion isn’t always set up with the Git installation. However, package managers do install it. Some tools, like Z shell, even have their own autocompletion toolset for git.
Depending on the system and the way we installed Git, the git-completion file might already be on our system. Sometimes, even in more locations than one. For example, if we search git-completion.* on macOS, we’ll see multiple results:
$ sudo find / -name "git-completion.*"
/usr/local/etc/bash_completion.d/git-completion.bash
/usr/local/Cellar/git/2.43.0/etc/bash_completion.d/git-completion.bash
/usr/local/Cellar/git/2.43.0/share/git-core/contrib/completion/git-completion.tcsh
/usr/local/Cellar/git/2.43.0/share/zsh/site-functions/git-completion.bash
/usr/local/share/zsh/site-functions/git-completion.bash
/Library/Developer/CommandLineTools/usr/share/git-core/git-completion.tcsh
/Library/Developer/CommandLineTools/usr/share/git-core/git-completion.zsh
/Library/Developer/CommandLineTools/usr/share/git-core/git-completion.bash
On the other side, another system might not have the git-completion file.
3. Bash Setup
All we need to get Git autocompletion working on Bash is to source the script. For this, we can choose a git-completion script found on our system.
However, let’s assume we don’t have one. First, we download the script and save it in the user’s home directory:
$ curl https://raw.githubusercontent.com/git/git/master/contrib/completion/git-completion.bash -o ~/.git-completion.bash
This script is from the master branch. Thus, it can potentially be incompatible with our Git version. So, let’s replace the word master in the URL with our Git version:
$ curl https://raw.githubusercontent.com/git/git/v2.41.0/contrib/completion/git-completion.bash -o ~/.git-completion.bash
Here, v2.41.0 is the tag name for version 2.41.0.
Next, we source the script. Further, we might need to set up this sourcing, so that it happens every time Bash starts. Therefore, we add the sourcing code to the configuration file, the .bashrc file in the user’s home directory:
$ source ~/.git-completion.bash
On macOS, there’s no .bashrc. So, instead, we need to work with the .bash_profile file found in the same directory. However, some Unix systems such as macOS use Z shell as their default shell.
Furthermore, a slightly longer and safer version of this setup can check for the existence of the file before sourcing:
if [ -f ~/.git-completion.bash ]; then
  . ~/.git-completion.bash
else
  echo "WARNING: .git-completion.bash is missing"
fi
In case the file is missing, we print a warning log to not let the issue go unnoticed.
Longer configuration might not be everyone’s preference, though. So, we can do the setup in a much shorter way:
test -f ~/.git-completion.bash && . $_
Here, $_ takes the previous command’s last argument.
Once we make the changes, we can restart the shell session or manually source .bashrc:
$ source ~/.bashrc
Finally, let’s see if the setup worked. For instance, if we type git che, then press the Tab key twice, we should see command suggestions. Then, if we add ck and press the Tab key, the shell should complete it to git checkout. Similarly, we can check branch name completion and others.
4. Z Shell Setup
Z shell comes with its separate autocompletion functionality. So, out of the box, there should be autocompletion for git as part of that.
4.1. Native Autocomplete
If autocomplete isn’t working, we can load it in the .zshrc file:
$ autoload -Uz compinit && compinit
compinit is a script with a shell function that initializes autocompletion. autoload scans all paths inside fpath, the function lookup list, for paths starting with an underscore.
Moreover, Git autocompletion in the Z shell often comes with more powerful features. For example, suggestions have descriptions and we can navigate them with the Tab key right in the prompt.
4.2. git-completion.zsh
If, for any reason, we’re not happy with Z shell autocompletion, we can set up git completion for Z shell. In fact, there’s a Z shell script with setup instructions inside.
First, we need the git-completion.bash script and its path, since the Z shell script is merely a wrapper with functions. Then, we download the script for Z shell, name it _git, and place it inside a .zsh directory in the user’s home directory:
$ curl https://raw.githubusercontent.com/git/git/v2.41.0/contrib/completion/git-completion.zsh -o ~/.zsh/_git
Of course, we mkdir the .zsh directory in advance if it doesn’t exist:
$ mkdir ~/.zsh
Afterward, we update the .zshrc file:
zstyle ':completion:*:*:git:*' script ~/git-completion.bash
fpath=(~/.zsh $fpath)

autoload -Uz compinit && compinit
The first line specifies the location of the git-completion.bash script. Next, we update the fpath to include the .zsh directory. Finally, we load autocompletion.
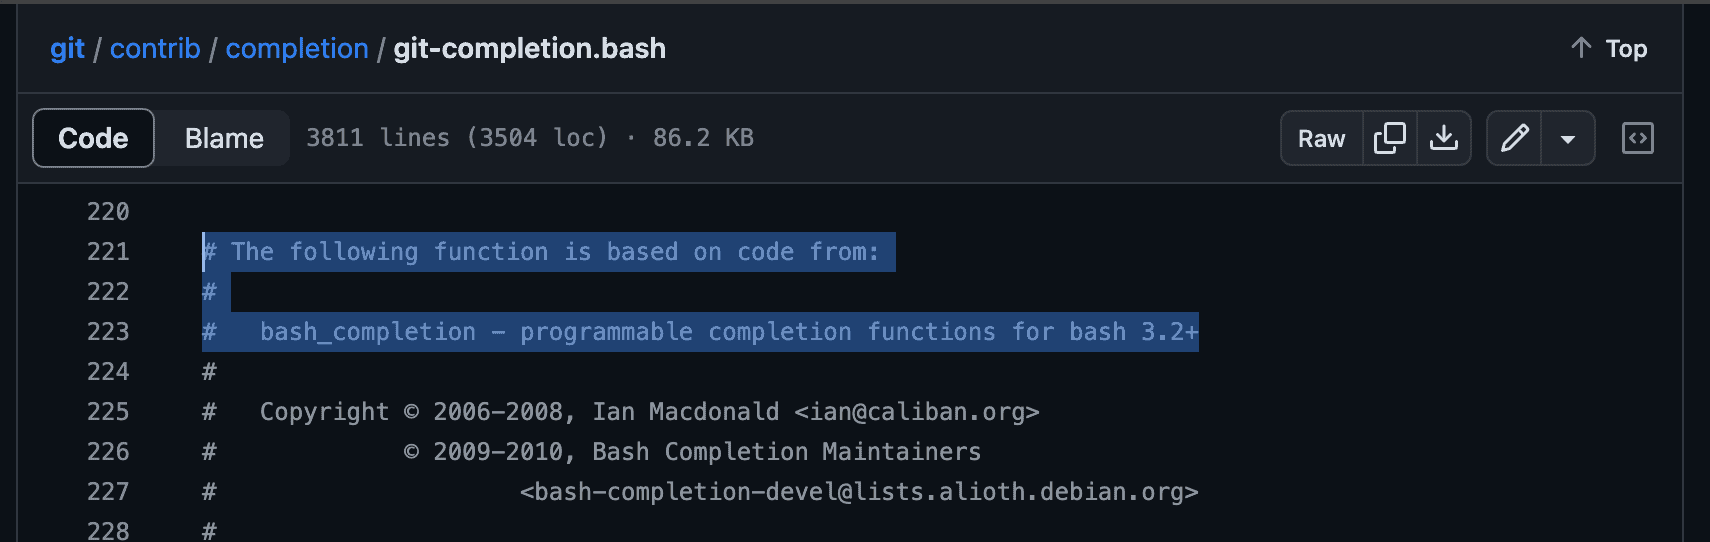
5. bash-completion
bash-completion is a collection of command line completions and helper functions. In fact, the git-completion.bash script is originally based on code that came with bash-completion:
It comes pre-installed on some Linux systems, such as Ubuntu. Still, we can install it via a package manager like apt:
$ sudo apt install bash-completion
Yet, it doesn’t come with git completion. However, when we install Git via a package manager, the package often loads the git-completion script to a respective bash-completion directory. So, if we have bash-completion set up in the .bashrc file, it automatically activates git-completion once its available:
if ! shopt -oq posix; then
  if [ -f /usr/share/bash-completion/bash_completion ]; then
    . /usr/share/bash-completion/bash_completion
  elif [ -f /etc/bash_completion ]; then
    . /etc/bash_completion
  fi
fi
Exactly where the git-completion script is depends on the system. For instance, it can be loaded to the /etc/bash_completion.d/ or /usr/share/bash-completion/completions/ directory under the name git.
6. Troubleshooting
Not much can go wrong with the git completion setup. In fact, we only source the script, so it doesn’t need execution permission. Nevertheless, let’s look at some issues we might run into.
A possible issue is a missing shell configuration file. Maybe we accidentally deleted it, or we have a freshly set up system without one. Regardless, we won’t be able to proceed unless we create the file:
$ touch ~/.bashrc
Similarly for Z shell:
$ touch ~/.zshrc
Another category of issues is malfunctioning or missing features. Although this can have many causes, the most obvious and common problem is an outdated or incompatible git-completion script. To fix this, we can try to download and use the script associated with our Git version.
We might run into similar issues using completion features offered by other tools as well like with Z Shell for example. In this case, we can try to switch to manually setting up git completion using the script from its Git repository.
7. Conclusion
In this article, we discussed what options we have regarding Git autocompletion.
Further, we saw how to perform the setup in Bash on Unix-based systems, including macOS. We’ve also looked at the bash-completion script and Z shell options.