


Learn through the super-clean Baeldung Pro experience:
>> Membership and Baeldung Pro.
No ads, dark-mode and 6 months free of IntelliJ Idea Ultimate to start with.
Learn through the super-clean Baeldung Pro experience:
>> Membership and Baeldung Pro.
No ads, dark-mode and 6 months free of IntelliJ Idea Ultimate to start with.
In this tutorial, we’ll learn how we can create a GIF animation out of PNG files from the Linux command line. For that purpose, we’ll first make use of the convert utility. We’ll create basic GIFs out of PNG files and see how to optimize the final output.
Afterward, we’ll use the famous FFmpeg utility to create a GIF animation with different optimization options.
ImageMagick is a collection of utilities we can use to create and manipulate raster images.
The ImageMagick’s convert utility is used to convert images among different image formats. Besides the primary use, we can also resize, crop, optimize, blur, draw and apply effects on images.
ImageMagick isn’t available out of the box on most Linux distributions. However, we can install it from our package repository under the package name imagemagick using a package manager.
We can easily create an animation out of a bunch of PNG files with the following syntax:
$ convert [OPTIONS] [GLOB_PATTERN] [OUTPUT_FILE]We can specify GLOB_PATTERN as *.png, assuming that the PNG files are in sequence:
static-image-01.png
static-image-02.png
static-image-03.png
static-image-04.png
...
static-image-n.png
Now, when our images are in sequence, let’s create the GIF animation:
$ convert -delay 10 -loop 0 *.png anim.gifLet’s break it down:
The -delay option expects time in centiseconds. A single centisecond is equal to 0.01 second. Therefore, 10 will be 100 milliseconds, and a -delay of 100 will be a second.
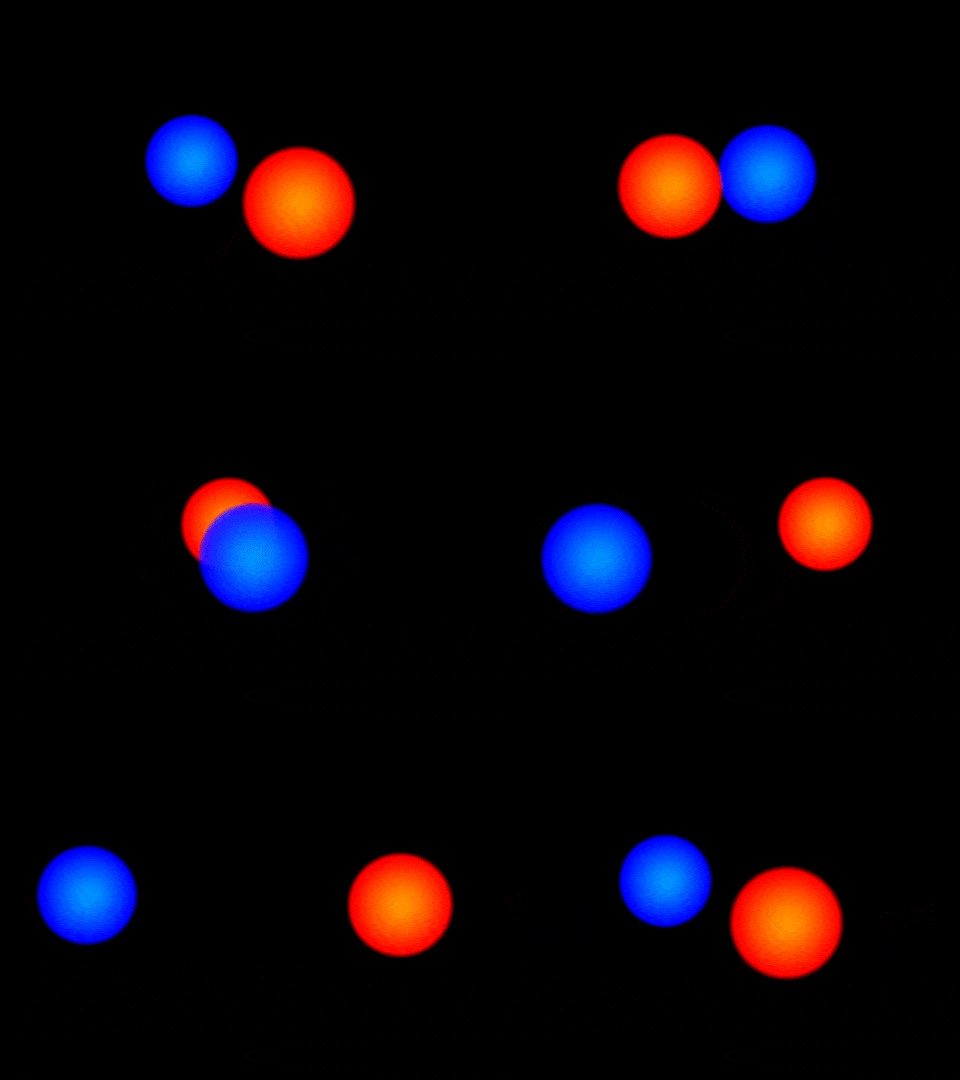
Here is our resulting GIF animation:
When we have PNG files that are in sequence and whose names aren’t zero-padded, our resulting GIF animation won’t be correct. For instance, suppose this is how our PNG files are named:
static-image-0.png
static-image-1.png
static-image-3.png
static-image-4.png
static-image-5.png
...
static-image-22.png
Then, our shell will interpret these filenames like:
static-image-1.png
static-image-10.png
static-image-11.png
...
static-image-19.png
static-image-2.png
...
For that reason, the frames in our resulting GIF will be out of place and will not animate as we expect. Fortunately, there are two solutions to this problem. The obvious solution would be to add leading zeroes to the filenames:
for a in [0-9]*.txt; do
    mv $a `printf %04d.%s ${a%.*} ${a##*.}`
done
Alternatively, we can correctly sort the filenames:
$ ls -1 | sort -n -t'-' -k3The second solution is neat because we can use command substitution to create the GIF animation while keeping our filenames intact:
$ convert -delay 10 -loop 0 $(ls -1 | sort -n -t'-' -k3) anim.gifDepending on the given PNG images, the file size of our resulting GIF might be large. Fortunately, there is another ImageMagick utility called mogrify, which we can use to optimize the GIF.
mogrify is similar to convert, but mogrify writes to the original image file.
Let’s check the size of our GIF file:
$ ls -lh anim.gif
-rw-r--r-- 1 hey hey 1.8M Aug  4 16:09 anim.gif
Now, let’s optimize it:
$ mogrify -layers optimize -fuzz 10% anim.gifDepending on the GIF file size, it might take a long time. With our image optimized, we can check its size:
$ -rw-r--r-- 1 hey hey 755K Aug 4 16:34 anim.gifFFmpeg is a powerful command-line tool used to manipulate and process multimedia files and streams.
FFmpeg doesn’t ship, by default, with most Linux distributions. In that case, we can install it from our package repository using the package name ffmpeg.
Once FFmpeg is installed, let’s verify it:
$ ffmpeg -v
ffmpeg version n5.0.1 Copyright (c) 2000-2022 the FFmpeg developers
built with gcc 12.1.0 (GCC)Like convert, we feed our input PNG files to FFmpeg, apply some options, and specify the output filename that ends with a .gif extension:
$ ffmpeg -framerate 60 -pattern_type glob -i '*.png' -r 30 anim.gifLet’s break it down:
We specified our output filename as anim.gif. FFmpeg figures out the target format from the extension.
The -r option that we used is an interesting one. It’s used to specify frames per second. However, we already have it specified in the -framerate option. The problem here is that image files don’t have framerates.
Therefore, using -framerate and -r, FFmpeg will interpret this as 60/30. Since 60/30 evaluates to 2, FFmpeg will pick an image every two images. This can save us some space if we need it. However, we don’t need to specify this option at all.
Alternatively, we can shorten the command:
$ ffmpeg -pattern_type glob -i "*.png" -r 60/30 out.gifBy default, FFmpeg is pretty good at optimizing our final output. Here’s the size of the GIF without the frames option:
$ ls -lh anim.gif
-rw-r--r-- 1 hey hey 907K Aug  5 00:56 anim.gif
With -r 60/30 option, the output is relatively tiny:
$ ls -lh anim.gif
-rw-r--r-- 1 hey hey 83K Aug  5 01:04 anim.gif
Alternatively, we can also apply a scale filter to reduce the size:
$ ffmpeg -pattern_type glob -i "*.png" -vf scale=512:-1 anim.gifThe -1 argument for height means that we want to keep our height proportional to the width of the GIF.
Let’s check the file size after running the command:
$ ls -lh anim.gif
-rw-r--r-- 1 hey hey 636K Aug  5 01:07 anim.gif
We can combine the scale video filter with the frame option to get even smaller GIFs.
In this article, we covered a couple of powerful command-line utilities to create GIFs out of PNG images. Apart from the basic usage, we also covered how to optimize these GIFs to save disk space.