

Yes, we're now running our only Summer Sale. All Courses are 30% off until 20th July, 2026:
Learn through the super-clean Baeldung Pro experience:
>> Membership and Baeldung Pro.
No ads, dark-mode and 6 months free of IntelliJ Idea Ultimate to start with.
1. Introduction
A font is a digital representation of text, packaged in a font file that specifies character shapes, styles, and essential metadata for accurate text rendering across platforms. In Linux, managing font files is critical for verifying appearance, enhancing customization, and supporting font development. While installed fonts are easy to access, previewing the font files before installation may require specific tools. Such tools usually enable us to evaluate appearance, compatibility, and readability, ensuring the right selection for design, development, or document formatting while avoiding unnecessary installations.
In this tutorial, we’ll learn how to view font files in Linux. In particular, we’ll set up an environment and test out different tools for the purpose. For the practical examples in this tutorial, we use Ubuntu.
2. Environment Setup
Before proceeding, let’s make sure we have a sample font file.
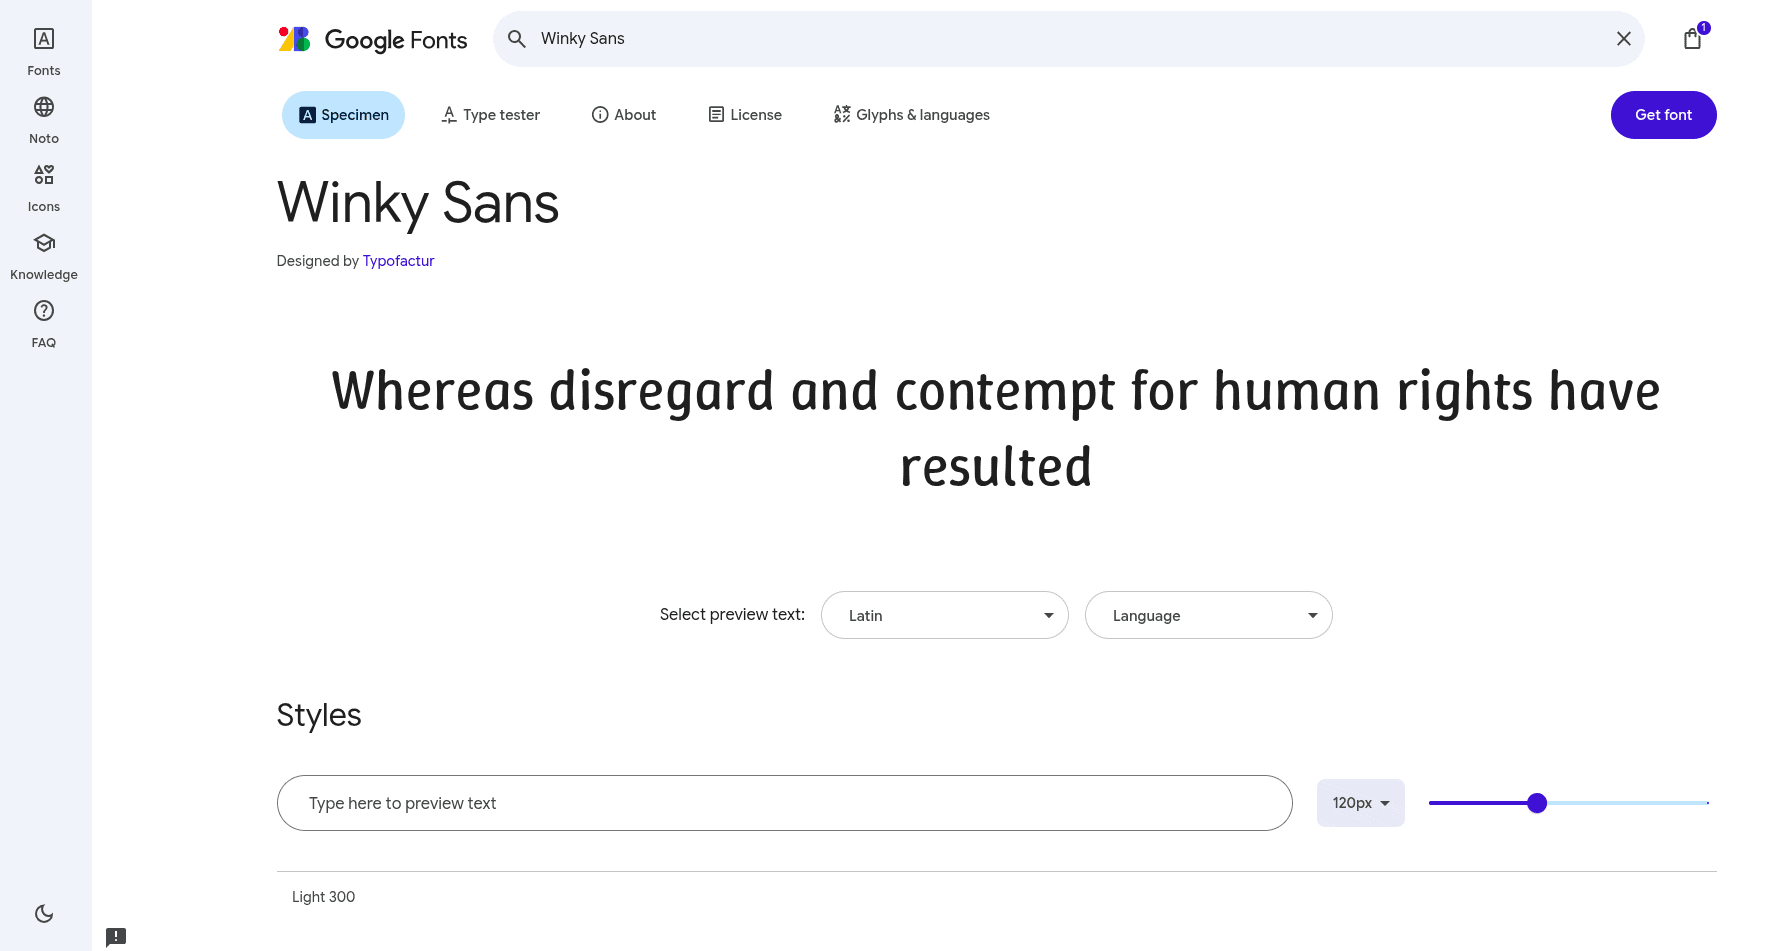
To begin with, we open the Google Fonts website and search for Winky Sans in the search bar. Then, we select the first font and click the Get font button in the top-right corner:
On the next screen, we select Download all to save the font file locally. This downloads a ZIP file containing the font files.
Let’s extract the font files in a separate directory named Winky_Sans_Font:
$ unzip Winky_Sans.zip -d Winky_Sans_FontThis command extracts all the files from the Winky_Sans.zip into the specified destination directory (-d), i.e., Winky_Sans_Font.
Thus, we have the font files inside the newly created Winky_Sans_Font directory.
3. Using GNOME Font Viewer
GNOME Font Viewer is a simple and useful application that visualizes fonts and font files installed or available on the system.
3.1. Installation
Let’s start by installing Gnome Font Viewer via a native package manager such as apt:
$ sudo apt install gnome-font-viewerAlternatively, the Gnome Font Viewer can also be installed with snap:
$ sudo snap install gnome-font-viewerNow, let’s verify the installation by running the command:
$ gnome-font-viewer --version
GNOME Fonts 41.0
The –version option shows the version of gnome-font-viewer currently installed on the system.
3.2. Viewing Font Files
At this point, we can view font files by simply providing the path of the font files to the gnome-font-viewer command:
$ gnome-font-viewer Winky_Sans_Font/WinkySans-VariableFont_wght.ttfThis command opens a window visualizing the font from the provided font file:

In addition, the Gnome Font Viewer provides the option to install the font on the system if it isn’t already installed, making it easier to manage and access fonts.
4. Using display (ImageMagick)
ImageMagick is a powerful software suite, primarily used for image manipulation. However, it provides utilities like display for viewing images. In addition to its other functions, the display command line tool can also be used for viewing font files.
4.1. Installation
We can use the display utility by installing ImageMagick:
$ sudo apt-get install imagemagickThis command installs the ImageMagick software.
Let’s check the installation of the display command in particular:
$ display --version
Version: ImageMagick 6.9.11-60 Q16 x86_64 2021-01-25 https://imagemagick.org
Copyright: (C) 1999-2021 ImageMagick Studio LLC
...
Thus, we verify a working installation of the display on the system.
4.2. Viewing Font Files
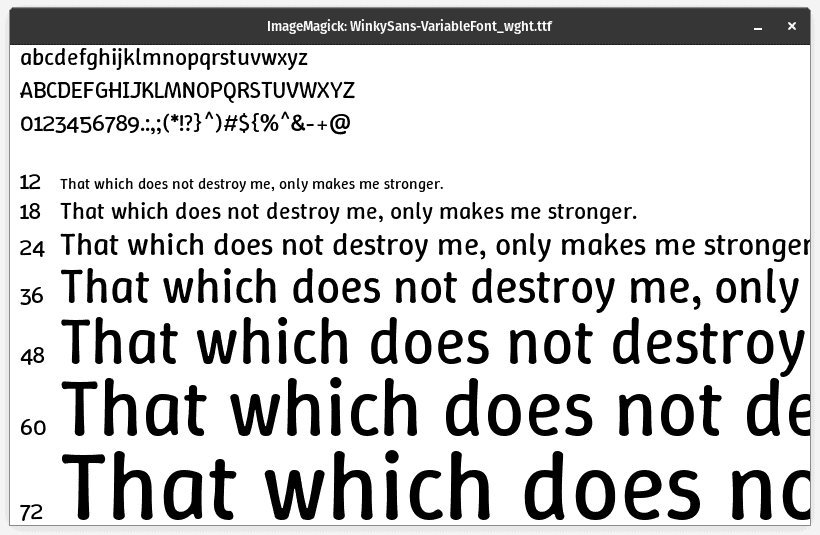
Let’s open a font file with the display utility:
$ display Winky_Sans_Font/WinkySans-VariableFont_wght.ttfLike before, this command opens a window to visualize the font:
Alternatively, we can use a subcommand to preview the font file:
$ magick display Winky_Sans_Font/WinkySans-VariableFont_wght.ttfBoth commands enable opening and previewing the font files using the display utility from ImageMagick.
5. Using Font Manager
Font Manager is a user-friendly tool for managing desktop fonts without needing command-line tools or manual configuration.
5.1. Installation
When using Ubuntu, we start by adding the Font Manager Staging PPA to the system’s package sources:
$ sudo add-apt-repository ppa:font-manager/stagingAfter that, we refresh the system package index to recognize new software from the added PPA, followed by installing Font Manager:
$ sudo apt-get update && sudo apt-get install font-managerNow, we can check the installed version of Font Manager:
$ font-manager --version
font-manager 0.8.9
As we can see, the version of Font Manager in this case is 0.8.9.
5.2. Viewing Font Files
We can open Font Manager either using the Applications menu or via the command line:
$ font-managerBy default, Font Manager shows all the fonts installed on the system:

We can add more fonts using the + button at the top left corner of the window. So, to select and view the downloaded font file, we click the + button, and then navigate to the Winky_Sans_Font directory. Font Manager installs the selected font and includes the specified font in the fonts list.
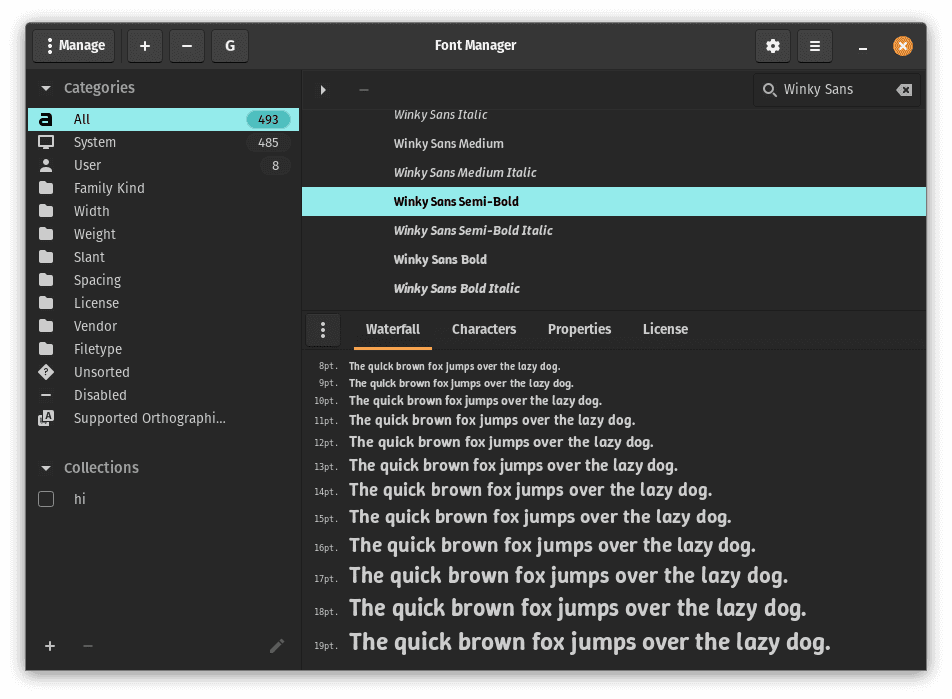
We can search for the fonts in the search bar in the top right corner of the window:
Of course, we can remove the fonts using the – button in the top left corner.
Furthermore, Google Fonts are directly viewable and installable by clicking the G button in the top left corner of the Font Manager window.
6. Using Opcion Font Viewer
Opcion Font Viewer is a free and open-source font viewer written in Java. Notably, the Opcion Font Viewer program needs Java installed on the system to run.
6.1. Installation
Let’s download the latest version of Opcion Font Viewer from the SourceForge repository. We can directly run this downloaded JAR file:
$ java -jar Opcion_v1.1.1.jarThis command opens the initial Opcion Font Viewer window:
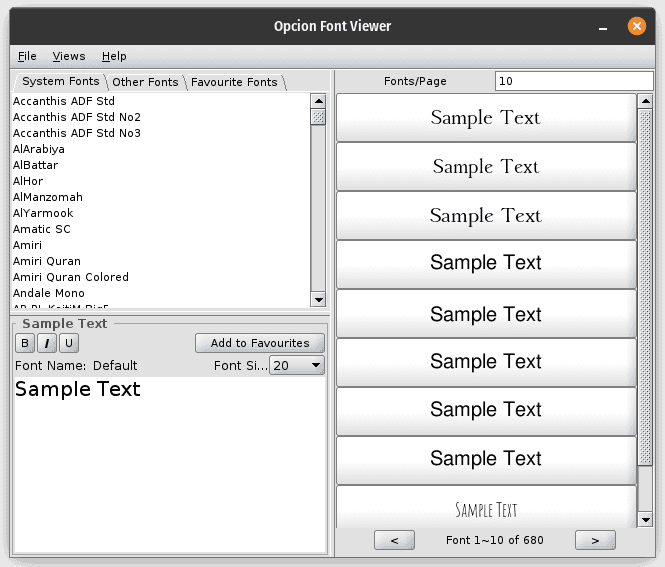
By default, the main window shows all the fonts installed on the system.
6.2. Viewing Font Files
Opicon Font Viewer allows users to browse through the system and view other font files.
Now, we click on the Other Fonts tab at the top of the window. Then, we click on the Browse button to navigate to the directory containing the font files:
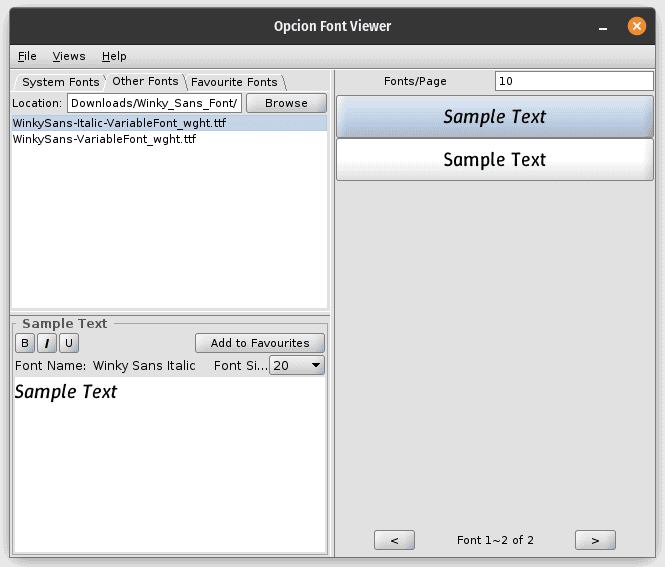
Furthermore, we can view the font files with text styles such as underlining, bold, and italic.
7. Using Fontmatrix
Fontmatrix is a font management application that helps to keep font collections in order.
7.1. Installation
To begin with, let’s start with the Fontmatrix installation via the local package manager:
$ sudo apt install fontmatrixOnce installed, we can open the Fontmatrix application either through the Applications menu or via the command line:
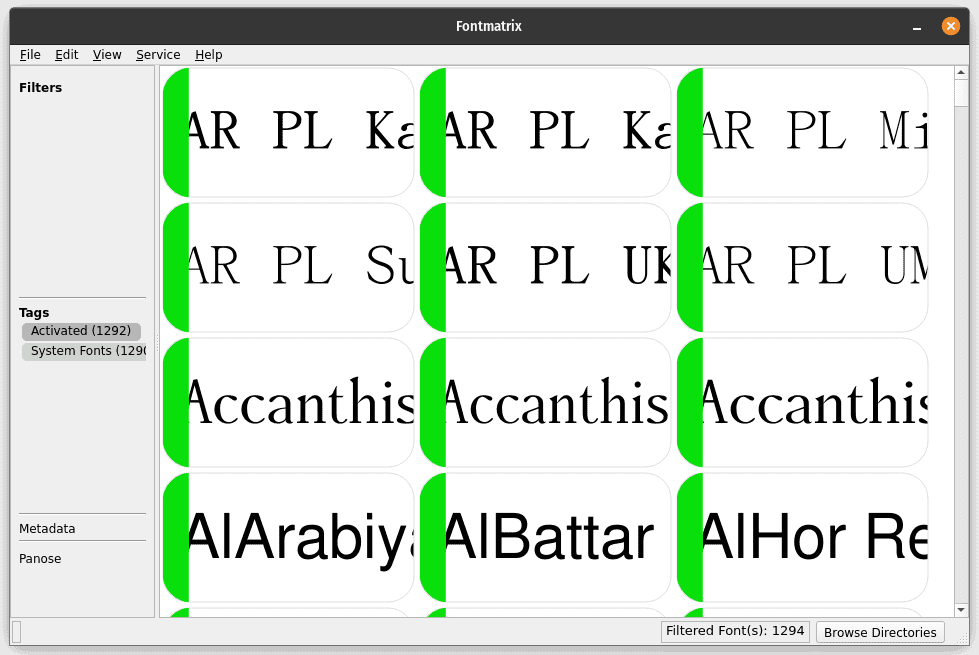
$ fontmatrixThis command opens the Fontmatrix application, showing the fonts installed on the system.
7.2. Viewing Font Files
Let’s see the default Fontmatrix window:
Here, we navigate to the Winky_Sans_Font directory by clicking on the Browse Directories button in the bottom right corner:
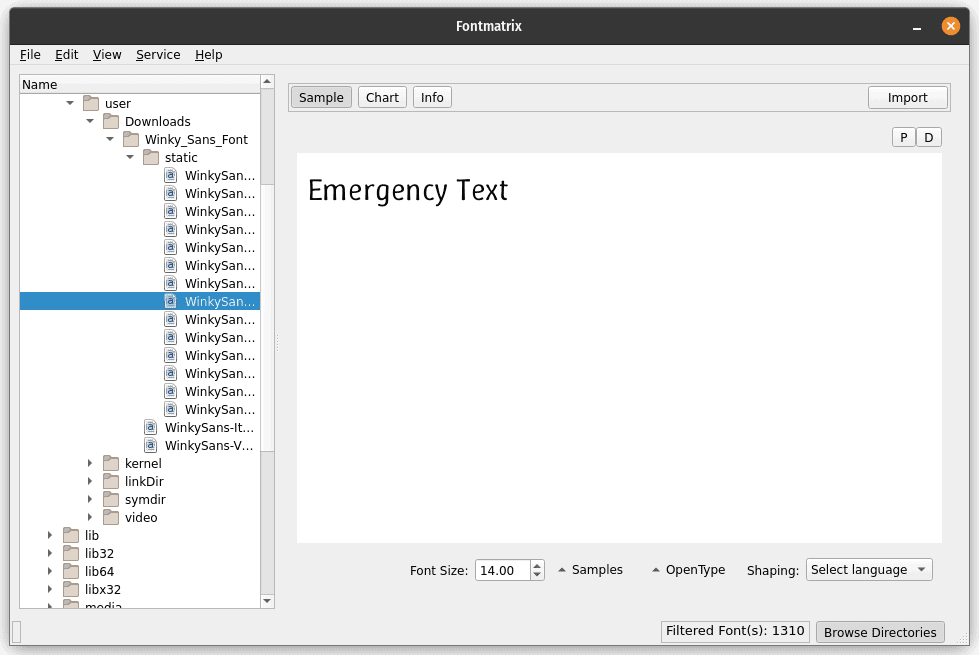
With Fontmatrix, we can adjust the font size, select different samples to display, and so on. Overall, the Fontmatrix application provides a simple GUI to manage and view font files in a user-friendly manner.
8. Conclusion
In this article, we learned different ways to view font files in Linux.
First, we downloaded a Winky Sans font file from the Google Fonts website. Then, we installed Gnome Font Viewer and viewed the downloaded font files. We also checked the usage of the display utility when viewing the font files. Furthermore, we used the Java-based application, Opcion Font Viewer, to view the font files. Finally, we installed and discussed the two GUI-based programs, Font Manager and Fontmatrix, for viewing the font files.