

Learn through the super-clean Baeldung Pro experience:
>> Membership and Baeldung Pro.
No ads, dark-mode and 6 months free of IntelliJ Idea Ultimate to start with.
Last updated: December 29, 2023
Learn through the super-clean Baeldung Pro experience:
>> Membership and Baeldung Pro.
No ads, dark-mode and 6 months free of IntelliJ Idea Ultimate to start with.
In Linux, there are different ways of converting a full-color image to black-and-white. For example, we can use a command-line utility such as ImageMagick or a graphical user interface such as the GNU Image Manipulation Program (GIMP).
In this tutorial, we’ll see how to convert a full-color image to black-and-white using these utilities.
ImageMagick is a set of command-line tools that we can use to carry out image processing. For this purpose, we’ll specifically use the convert tool.
Before we proceed, let’s install ImageMagick by using apt:
$ sudo apt-get install imagemagickThe command above works for Debian-based systems like Ubuntu. On the other hand, for Red Hat-based systems like CentOs or RHEL, we can use yum:
$ sudo yum install imagemagickNext, let’s proceed to the directory containing the image we want to convert. Here, we open the terminal and type:
$ convert input.jpg -monochrome output.jpgAbove, we save the resulting image in the same directory as the terminal’s current location. However, it’s possible to specify a different location for this output file.
Using the GNU Image Manipulation Program (GIMP) is another option available.
To begin, let’s install GIMP if it’s not already installed:
$ sudo apt-get install gimpIn the case of Red Hat systems, we can utilize yum:
$ sudo yum install gimpOnce it’s installed, we search for it in the applications menu and press Enter to open the program.
Next, we open our full-color image in GIMP:
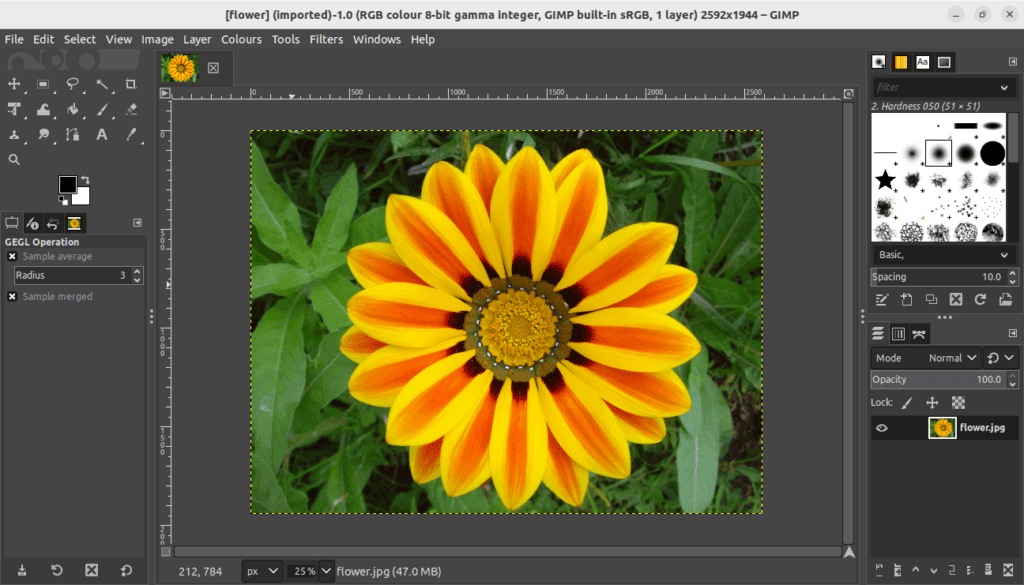
Above, we see the full-color image. So, to convert it to black-and-white, we need to click on the Colours menu and then select Threshold:
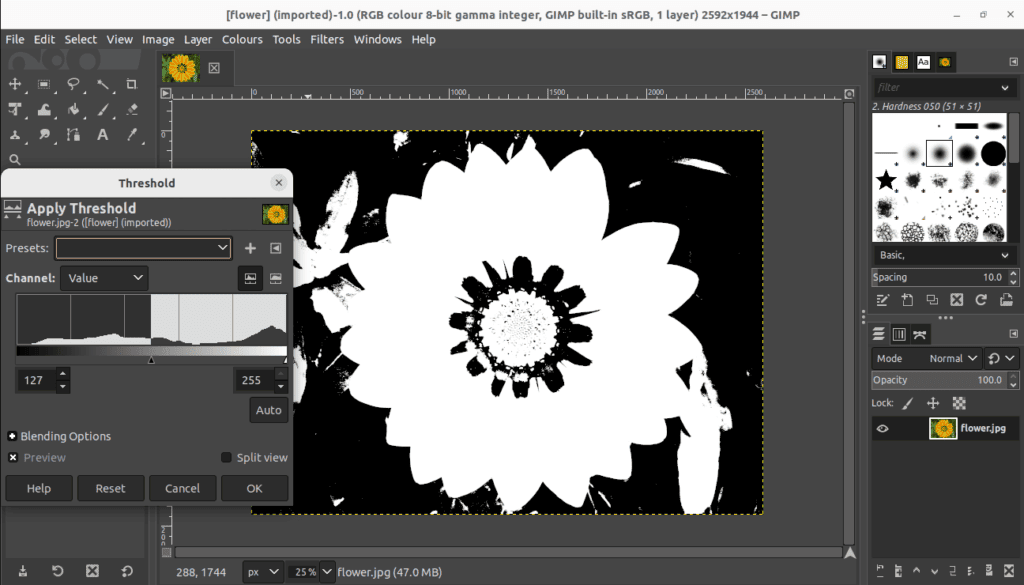
At this point, the Threshold dialog appears, providing us with the Channel slider. To explain, moving this slider to the left and right adjusts the threshold, a value that determines which pixels in the resulting image should be considered black and which should be considered white. Once we’re satisfied with the threshold, we can click OK.
Finally, we need to save the resulting image. To achieve this, we first go to the File menu and then select Export As. Next, we provide a new filename for our black-and-white image in order to preserve the original full-color image. Thereafter, we click Export, adjust any additional settings in the appearing prompt, and then click Export again to save the image.
In this article, we explored two tools for converting a full-color image to black-and-white. ImageMagick allows us to perform tasks from the command line. As a result, we can efficiently work on many image files by defining scripts or using loops. Meanwhile, GIMP allows us to observe the conversion visually.