

Mocking is an essential part of unit testing, and the Mockito library makes it easy to write clean and intuitive unit tests for your Java code.
Get started with mocking and improve your application tests using our Mockito guide:
Handling concurrency in an application can be a tricky process with many potential pitfalls. A solid grasp of the fundamentals will go a long way to help minimize these issues.
Get started with understanding multi-threaded applications with our Java Concurrency guide:
Spring 5 added support for reactive programming with the Spring WebFlux module, which has been improved upon ever since. Get started with the Reactor project basics and reactive programming in Spring Boot:
Since its introduction in Java 8, the Stream API has become a staple of Java development. The basic operations like iterating, filtering, mapping sequences of elements are deceptively simple to use.
But these can also be overused and fall into some common pitfalls.
To get a better understanding on how Streams work and how to combine them with other language features, check out our guide to Java Streams:
Explore Spring Boot 3 and Spring 6 in-depth through building a full REST API with the framework:
Yes, Spring Security can be complex, from the more advanced functionality within the Core to the deep OAuth support in the framework.
I built the security material as two full courses - Core and OAuth, to get practical with these more complex scenarios. We explore when and how to use each feature and code through it on the backing project.
You can explore the course here:
Spring Data JPA is a great way to handle the complexity of JPA with the powerful simplicity of Spring Boot.
Get started with Spring Data JPA through the guided reference course:
Refactor Java code safely — and automatically — with OpenRewrite.
Refactoring big codebases by hand is slow, risky, and easy to put off. That’s where OpenRewrite comes in. The open-source framework for large-scale, automated code transformations helps teams modernize safely and consistently.
Each month, the creators and maintainers of OpenRewrite at Moderne run live, hands-on training sessions — one for newcomers and one for experienced users. You’ll see how recipes work, how to apply them across projects, and how to modernize code with confidence.
Join the next session, bring your questions, and learn how to automate the kind of work that usually eats your sprint time.
1. Introduction
jMonkeyEngine is a modern, developer-friendly game engine that we can use to build games or other 3D applications in Java.
In this tutorial, we’ll examine jMonkeyEngine, learning what it is, what we can do with it, and how to use it.
2. Dependencies
Before using jMonkeyEngine, we need to include the latest version in our build, which is currently 3.7.0-stable.
There are two main ways that we can manage this. We can set up our build manually, adding the correct dependencies as needed. Alternatively, jMonkeyEngine offers an Initializer – like Spring Initializr – where we can answer a few questions and download a ready-made project.
In addition to these, jMonkeyEngine offers an SDK for working with our projects. This builds on top of NetBeans, adding extra tools and integrations to simplify development. However, we can use any other IDE if we wish.
2.1. The Initializer
The easiest way to get started is to use the provided Initializer webpage at https://jmonkeyengine.org/start/:

On this page, we need to fill out a few simple questions. The minimum we need to specify is:
- Application Name
- Platform – whether we are targeting desktop, Android, or VR
- Deployment – for desktop platforms, whether we want to support deploying to Windows, macOS, or Linux
We can then download a starter project that’s ready to use. This comes with a Gradle build setup, a main class for our application, and startup scripts for the selected platforms:
├── README.txt
├── build.gradle
├── gradle
│   └── wrapper
│       ├── gradle-wrapper.jar
│       └── gradle-wrapper.properties
├── gradlew
├── gradlew.bat
├── scripts
│   └── desktopDeployment
│       ├── BaeldungTesting.bat
│       ├── BaeldungTesting.command
│       └── BaeldungTesting.sh
├── settings.gradle
└── src
    └── main
        └── java
            └── com
                └── baeldung
                    └── jmonkeyengine
                        └── BaeldungTesting.java
Once downloaded, we can build our application using ./gradlew build, and execute it using ./gradlew run:

2.2. Manual Project Management
Alternatively, we can build our own project structure and add the dependencies ourselves. This gives us more control and allows us to use whatever build system we want.
To target desktop systems, we’ll need at least these dependencies:
<dependency>
    <groupId>org.jmonkeyengine</groupId>
    <artifactId>jme3-core</artifactId>
    <version>3.7.0-stable</version>
</dependency>
<dependency>
    <groupId>org.jmonkeyengine</groupId>
    <artifactId>jme3-desktop</artifactId>
    <version>3.7.0-stable</version>
</dependency>
<dependency>
    <groupId>org.jmonkeyengine</groupId>
    <artifactId>jme3-lwjgl3</artifactId>
    <version>3.7.0-stable</version>
</dependency>
When building our project this way, we also need to take care of starting it ourselves. This is simply a case of executing our appropriate main class. However, we must use the -XstartOnFirstThread JVM argument for jMonkeyEngine to function properly. If we forget it, there’s an error message to remind us.
At this point, we’re ready to start using jMonkeyEngine in our application.
3. Our First Application
Now that we have a jMonkeyEngine skeleton, we can build our first application.
Our application centers around a single class that extends the SimpleApplication class:
public class FirstApplication extends SimpleApplication {
    @Override
    public void simpleInitApp() {
    }
}
The only method we must override is the simpleInitApp() method. We’ll see its purpose later.
Once we’ve got our application class, we can start our program using it:
public static void main(String[] args) {
    FirstApplication app = new FirstApplication();
    app.start();
}
When we start our app, we can expect to see a blank screen. However, in reality, we get more than this:
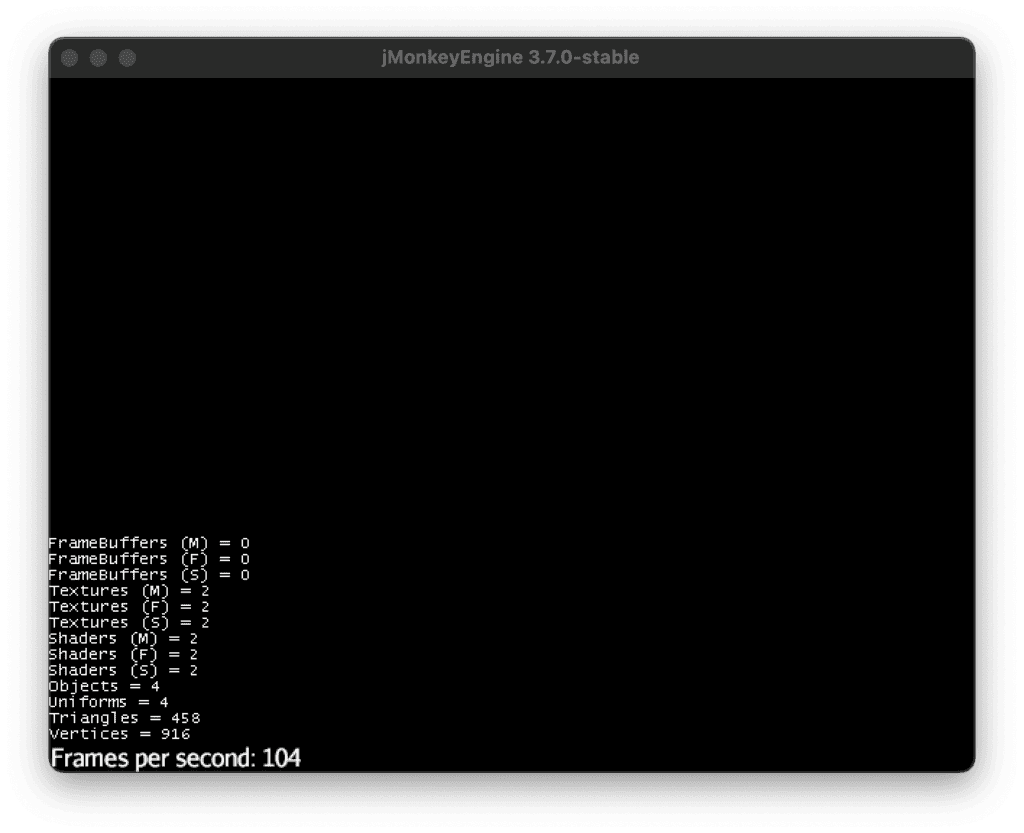
In addition to getting our blank screen, the SimpleApplication gives us:
- Debug information in the bottom corner
- A fly camera to explore the scene
- A default window title, size, and location
- An Esc hotkey for exiting
3.1. Default Behaviour
If we look at the default constructor for SimpleApplication then we’ll see this works using several different AppState instances:
public SimpleApplication() {
    this(new StatsAppState(), new FlyCamAppState(), new AudioListenerState(), new DebugKeysAppState(),
            new ConstantVerifierState());
}
These are classes that execute within the main loop of the application. Here we’re getting default instances of:
- StatsAppState – renders the debug stats in the bottom corner
- FlyCamAppState – allows the user to fly through the scene
- AudioListenerState – ensures that the position of the audio listener is updated to follow the camera
- DebugKeysAppState – sets up key mappings to print the camera position and buffer memory
- ConstantVerifierState – checks that some jMonkeyEngine constants aren’t being violated
The escape key handling is done separately.
We can instead pass in our own set of AppState instances. These can include any of these default ones if we wish, as well as custom ones:
public FirstApplication() {
    super(new StatsAppState());
}
3.2. Application Settings
When creating our application, we can also provide settings. These control several things, including the initial window size, location, and title.
We can override these settings using the setSettings() method on our application class:
AppSettings settings = new AppSettings(true);
setSettings(settings);
The true parameter to the AppSettings constructor causes all of the defaults to be loaded first. We can then override these as needed:
settings.setWidth(1024);
settings.setHeight(768);
settings.setCenterWindow(false);
settings.setWindowXPosition(0);
settings.setWindowYPosition(0);
settings.setTitle("Our First Application");
This places our window in the top-left corner of the screen, sets its size to 1024×768, and updates the title.
4. Rendering Geometry
Once we’ve got our application window, we want to render something in it.
We can create our initial geometry to render in the simpleInitApp() method. This executes after our application starts when the entire engine is fully initialized. As such, it’s the perfect place to initialize our scene.
To render geometry into our scene, we first create a mesh to render. jMonkeyEngine provides some standard meshes we can use – such as Box, Sphere, Torus, and many others.
We instantiate these like other Java classes:
Box mesh = new Box(1, 2, 3);This creates a box of length 1 along the x-axis, 2 along the y-axis, and 3 along the z-axis.
However, our mesh can be any shape we want, including more complex models that we load from files instead of simply using standard shapes.
We next wrap our mesh in a Geometry instance. This defines how the mesh will be rendered:
Geometry geometry = new Geometry("Box", mesh);At a minimum, we assign a material to our geometry. Otherwise, jMonkeyEngine won’t render it correctly:
Material material = new Material(assetManager, "Common/MatDefs/Misc/Unshaded.j3md");
material.setColor("Color", ColorRGBA.Red);
geometry.setMaterial(material);
This creates an entirely unshaded material, using a default definition from the jme3-core dependency, and sets its color to red. These materials can be as simple or detailed as we need for our scene.
Once we’ve created our Geometry then we add it to our scene. The application provides a rootNode instance that is the root of our scene, and we can add the geometry directly to this:
rootNode.attachChild(geometry);At this point, launching our application shows a red rectangle in the middle of the screen:
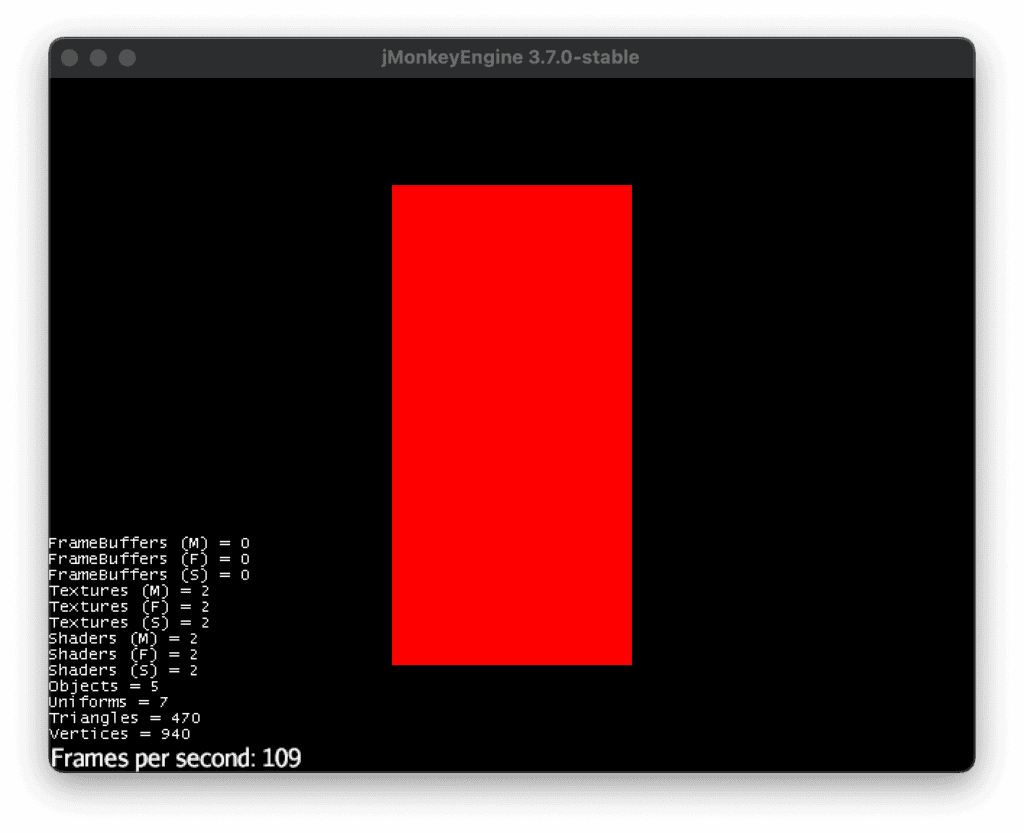
In reality, this is our red box, but because we’re seeing it directly on one face then a rectangle is all we see.
4.1. Transforming Geometry
So far we’ve just added our geometry to the root of the scene. This means it hasn’t been transformed at all. However, typically we’d want to translate, rotate, and scale our geometry instead.
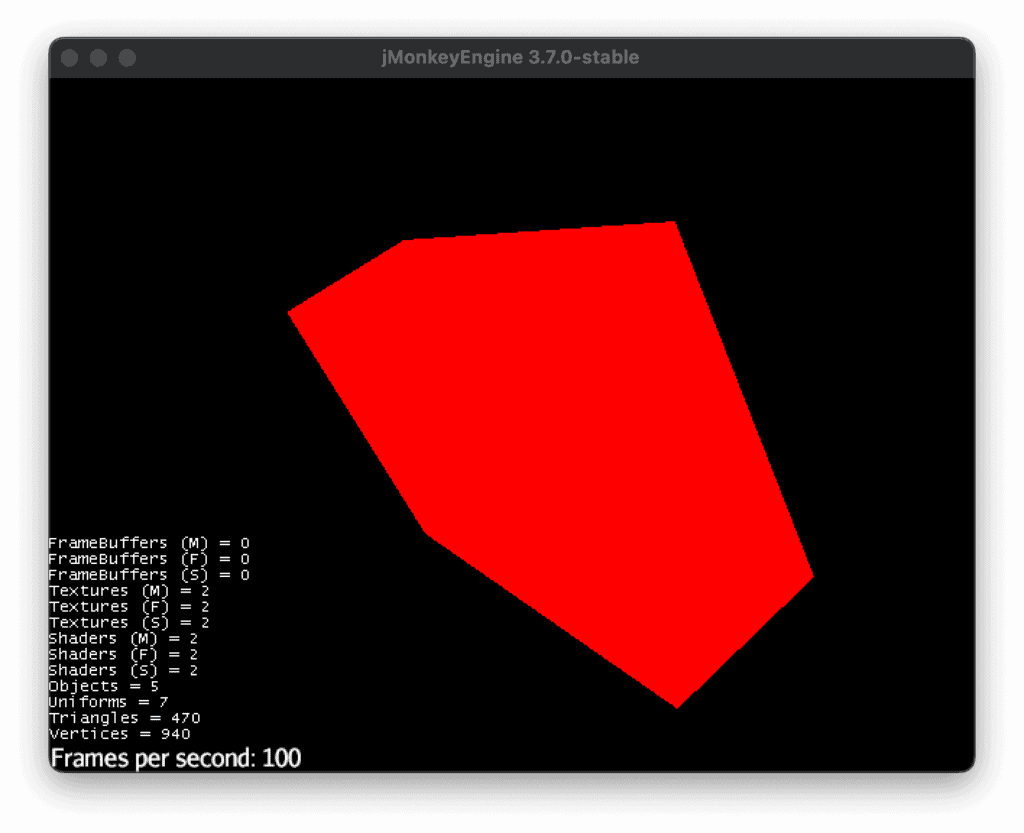
We do this by creating a Node instance that can have our transformations attached to it:
Node rotation = new Node("rotation");
rotation.rotate(0.2f, 0.4f, 0.6f);

rotation.attachChild(geometry);
rootNode.attachChild(rotation);
This rotates our geometry by 0.2 radians around the x-axis, 0.4 radians around the y-axis, and 0.6 radians around the z-axis.
Rendering this we can now see that our shape is a box and not a rectangle:
When building our scene, we can build an entire tree of Node instances that each have appropriate transformations attached to them. When doing this, the transformation applies to the entire tree of nodes under each one.
5. Update Loop
As well as using the simpleInitApp() method to initialize our application, we can use the simpleUpdate() method to perform application updates:
@Override
public void simpleUpdate(float timePerFrame) {
}
This runs once for every rendered frame. timePerFrame is the amount of time, in seconds, since the last frame.
Within this method we access our scene, as well as make updates to it:
@Override
public void simpleUpdate(float timePerFrame) {
    Spatial rotation = rootNode.getChild("rotation");
    rotation.rotate(0, timePerFrame, 0);
}
Here we’re accessing our “rotation” node by the name we gave it at creation, and updating the rotation based on the frame time. This then causes our box to spin around on its axis:
We can do whatever updates we need to in this loop, whether to our geometry or anything else that needs updating every frame.
6. Handling User Input
In addition to our scene running in a fixed way, we can react to user input. This means any form of input device supported – keyboard, mouse, game controller, and so on.
jMonkeyEngine provides access to an InputManager to control this. This allows us to react to any form of user input.
The first thing we need to do is to register our desired inputs against well-known names:
inputManager.addMapping("Rotate", new KeyTrigger(KeyInput.KEY_SPACE));
inputManager.addMapping("Left", new KeyTrigger(KeyInput.KEY_J));
inputManager.addMapping("Right", new KeyTrigger(KeyInput.KEY_K));
This allows us to change the input or even have multiple different input bindings while keeping the same internal name.
Once we’ve done this, we can bind these to appropriate input listeners:
inputManager.addListener(actionListener, "Rotate");
inputManager.addListener(analogListener, "Left", "Right");
Here, we’re registering two different types of listeners.
An ActionListener reacts to discrete actions – such as a single key press:
ActionListener actionListener = new ActionListener() {
    @Override
    public void onAction(String name, boolean isPressed, float tpf) {
        if (name.equals("Rotate") && !isPressed) {
            rotationEnabled = !rotationEnabled;
        }
    }
};
Here, the “Rotate” action – bound to the space key – toggles scene rotation when the key is released.
An AnalogListener reacts to ongoing actions – such as holding down a key:
AnalogListener analogListener = new AnalogListener() {
    @Override
    public void onAnalog(String name, float value, float tpf) {
        if (name.equals("Left")) {
            rotation.rotate(0, -tpf, 0);
        } else if (name.equals("Right")) {
            rotation.rotate(0, tpf, 0);
        }
    }
};
Here, the “Left” and “Right” actions – bound to the J and K keys – rotate the scene in the appropriate direction when held down.
7. Conclusion
This was a quick introduction to jMonkeyEngine. There’s a lot more that we can do with this library. Next time you want to explore writing games in Java, why not give it a try?


