

Mocking is an essential part of unit testing, and the Mockito library makes it easy to write clean and intuitive unit tests for your Java code.
Get started with mocking and improve your application tests using our Mockito guide:
Handling concurrency in an application can be a tricky process with many potential pitfalls. A solid grasp of the fundamentals will go a long way to help minimize these issues.
Get started with understanding multi-threaded applications with our Java Concurrency guide:
Spring 5 added support for reactive programming with the Spring WebFlux module, which has been improved upon ever since. Get started with the Reactor project basics and reactive programming in Spring Boot:
Since its introduction in Java 8, the Stream API has become a staple of Java development. The basic operations like iterating, filtering, mapping sequences of elements are deceptively simple to use.
But these can also be overused and fall into some common pitfalls.
To get a better understanding on how Streams work and how to combine them with other language features, check out our guide to Java Streams:
Explore Spring Boot 3 and Spring 6 in-depth through building a full REST API with the framework:
Yes, Spring Security can be complex, from the more advanced functionality within the Core to the deep OAuth support in the framework.
I built the security material as two full courses - Core and OAuth, to get practical with these more complex scenarios. We explore when and how to use each feature and code through it on the backing project.
You can explore the course here:
Spring Data JPA is a great way to handle the complexity of JPA with the powerful simplicity of Spring Boot.
Get started with Spring Data JPA through the guided reference course:
Refactor Java code safely — and automatically — with OpenRewrite.
Refactoring big codebases by hand is slow, risky, and easy to put off. That’s where OpenRewrite comes in. The open-source framework for large-scale, automated code transformations helps teams modernize safely and consistently.
Each month, the creators and maintainers of OpenRewrite at Moderne run live, hands-on training sessions — one for newcomers and one for experienced users. You’ll see how recipes work, how to apply them across projects, and how to modernize code with confidence.
Join the next session, bring your questions, and learn how to automate the kind of work that usually eats your sprint time.
Yes, we're now running our only Summer Sale. All Courses are 30% off until 20th July, 2026:
Yes, we're now running our only Summer Sale. All Courses are 30% off until 20th July, 2026:
1. Overview
Payara Server is a well-known application server in the Java ecosystem. Like GlassFish and Apache TomEE, it allows us to deploy Jakarta EE applications and make them available for users.
In this tutorial, we’ll see the steps required to download and install Payara on a local machine. Also, we’ll deploy a simple Jakarta EE application to verify that the server is running correctly.
2. Payara Server
Payara server is a fork of GlassFish server and is aimed at building and running enterprise Java applications. It’s a full Jakarta EE-compliant application server, supporting technologies such as EJB, WebSocket, JPA, and more. In addition, Payara server can be used to run MicroProfile applications.
Moving on, Payara provides a Community Edition of the server that’s suitable for developing, testing, and deploying Jakarta EE applications. Furthermore, the Community Edition is available in two distributions – the Full Profile, which includes the complete Jakarta EE platform, and the Web Profile, which offers a light-weight runtime with a reduced feature set.
3. Downloading and Installing Payara
First, let’s download the latest Payara Server Community Edition (Full Profile) from the official Payara download page.
Once the download is complete, let’s extract the ZIP archive to our preferred directory. The extracted ZIP archive contains the following directories:

At this point, Payara Server is installed on our machine.
Moving on, Payara Server is bundled with a command-line administration tool called asadmin. The command-line tool allows us to start and stop a server, manage domains, deploy applications, and perform various administrative tasks.
In Payara Server, a domain is an independent runtime with its own resources, configuration, and applications. By default, Payara creates a domain named domain1, which is used when no other domain is specified.
To start the server, let’s navigate to the bin directory and run the start-domain subcommand:
$ ./asadmin start-domain domain1The command above starts up the server. If we didn’t specify the domain name, Payara automatically starts the default domain1.
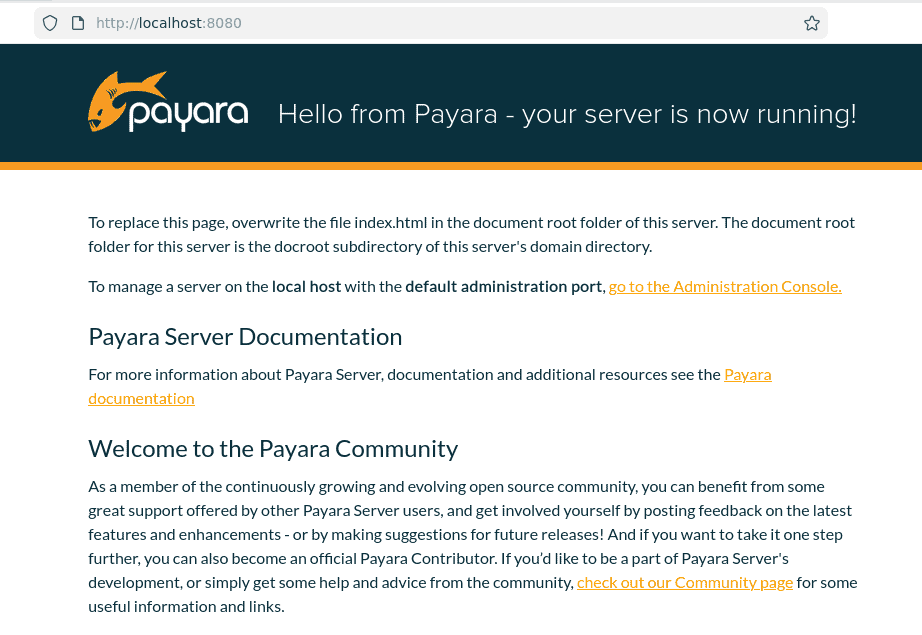
Next, we can verify if the server is running by visiting http://localhost:8080/, which displays a welcome message from Payara:
Additionally, we can access the admin console using the following URL: http://localhost:4848.
Next, let’s stop the server using the stop-domain subcommand:
$ ./asadmin stop-domain domain1The command above stops the server.
Finally, we can restart the domain using this command:
$ ./asadmin restart-domain domain1We can create a new domain using the create-domain subcommand:
$ ./asadmin create-domain NAME_OF_THE_DOMAINThe command above creates a new domain with the specified name, and we can start the created domain using the start-domain subcommand.
Now that we’ve started the server, let’s deploy a simple Java servlet.
4. Simple Hello Payara Servlet
To further test the server, let’s create a simple Jakarta EE application that displays “Hello Payara” in a web browser.
First, let’s add the jakarta.servlet-api dependency to our pom.xml :
<dependency>
    <groupId>jakarta.servlet</groupId>
    <artifactId>jakarta.servlet-api</artifactId>
    <version>6.1.0</version>
    <scope>provided</scope>
</dependency>
The jakarta.servlet-api dependency provides classes to write a Jakarta servlet. Also, we mark the scope as provided. This means the servlet API is already supplied by the application server at runtime and shouldn’t be packaged into the generated WAR file.
Also, let’s instruct Maven to package the application as a WAR file instead of the default JAR:
<packaging>war</packaging>Next, let’s create a simple servlet class:
@WebServlet(name = "HelloPayara", urlPatterns = { "/hello" })
public class HelloPayara extends HttpServlet {

    protected void processRequest(HttpServletRequest request, HttpServletResponse response) throws ServletException, IOException {
        response.setContentType("text/html;charset=UTF-8");

        try (PrintWriter out = response.getWriter()) {
            out.printf("""
                <html>
                   <head> <title> Payara Server </title> </head>
                   <body> <h2> Hello Payara </h2> </body>
                </html>
                """);
        }
    }

    @Override
    protected void doGet(HttpServletRequest request, HttpServletResponse response) throws ServletException, IOException {
        processRequest(request, response);
    }
}
In the code above, we define a servlet that responds with a simple HTML page when a GET request is made to the /hello endpoint.
Finally, let’s package the application into a WAR file by running the following Maven package command:
$ mvn clean packageThe command above creates a WAR file in the target directory.
5. Deploying the Sample Application
Payara Server provides multiple options for deploying applications. We can use the Admin Console or deploy applications directly using the asadmin command.
5.1. Deploying Using the asadmin Command
Let’s deploy our sample application using the asadmin command.
First, we must ensure the server is running. If necessary, we can start or restart the server as described earlier.
Next, let’s change to the bin directory of the extracted Payara installation. Then, let’s run the following command to deploy the application:
$ ./asadmin deploy /PATH_TO_THE_WAR_FILE/target/jakarta-1.0-SNAPSHOT.warIn the command above, we use the deploy subcommand along with the path to the WAR file to deploy the application to the server.
Once the deployment is successful, we can access the application by opening our web browser and navigating to http://localhost:8080/jakarta-1.0-SNAPSHOT/hello.
5.2. Deploying Using the Admin Console
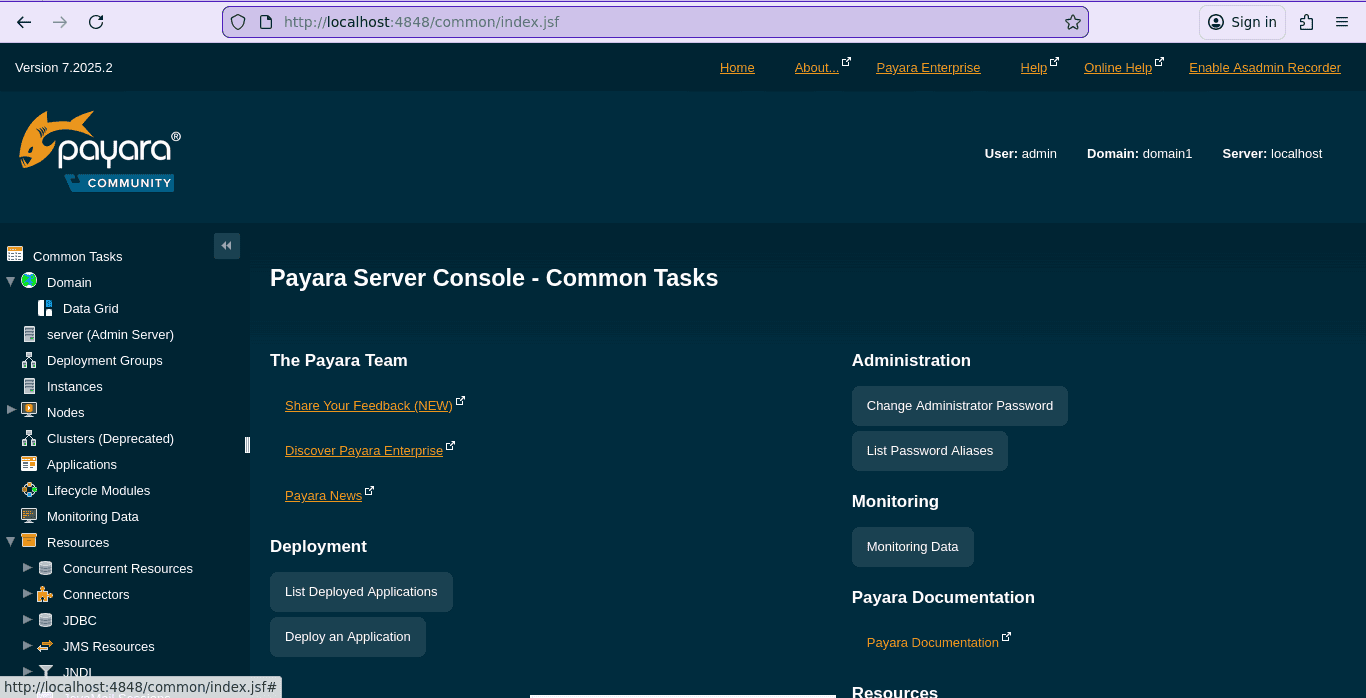
Alternatively, we can also deploy the application using the Admin Console. Let’s open our web browser and navigate to http://localhost:4848. The default domain doesn’t require a password to access the Admin Console.
Here’s the Admin Console landing page:
Next, let’s click the Applications in the sidebar to view and manage deployed applications:
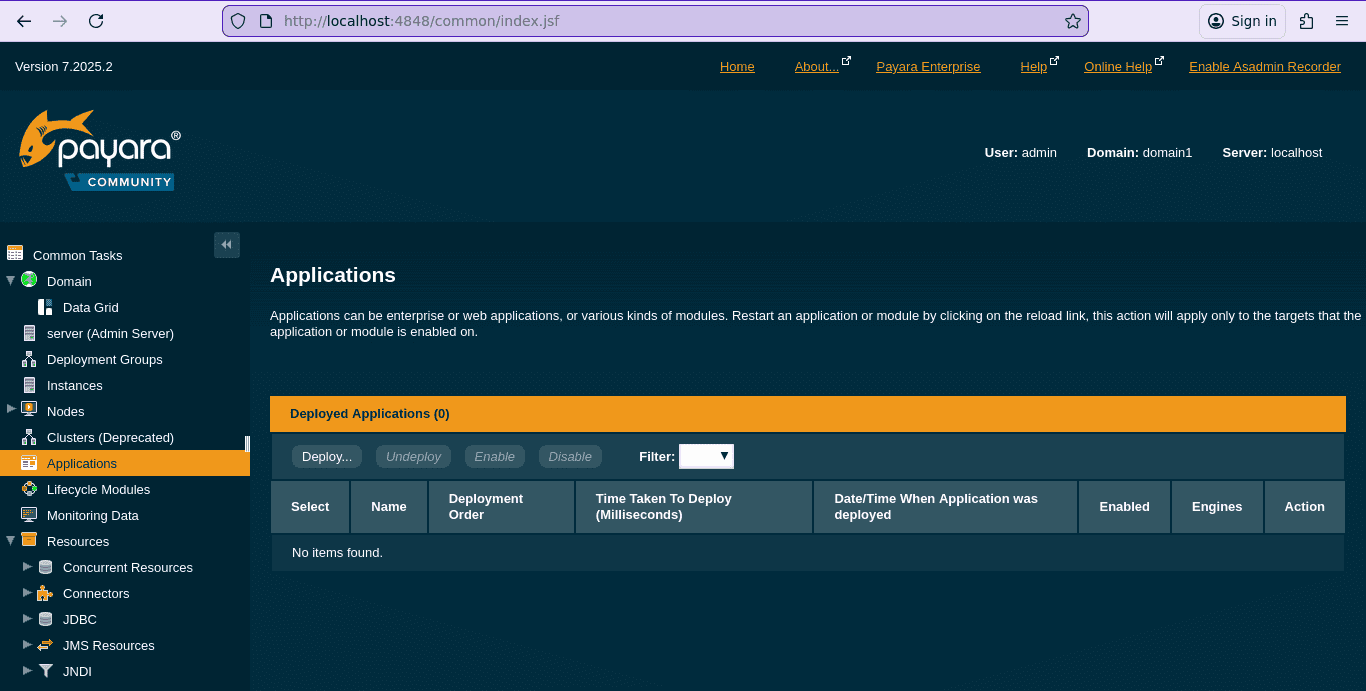
At this point, there are no applications deployed. Let’s click the Deploy button to upload our WAR file:
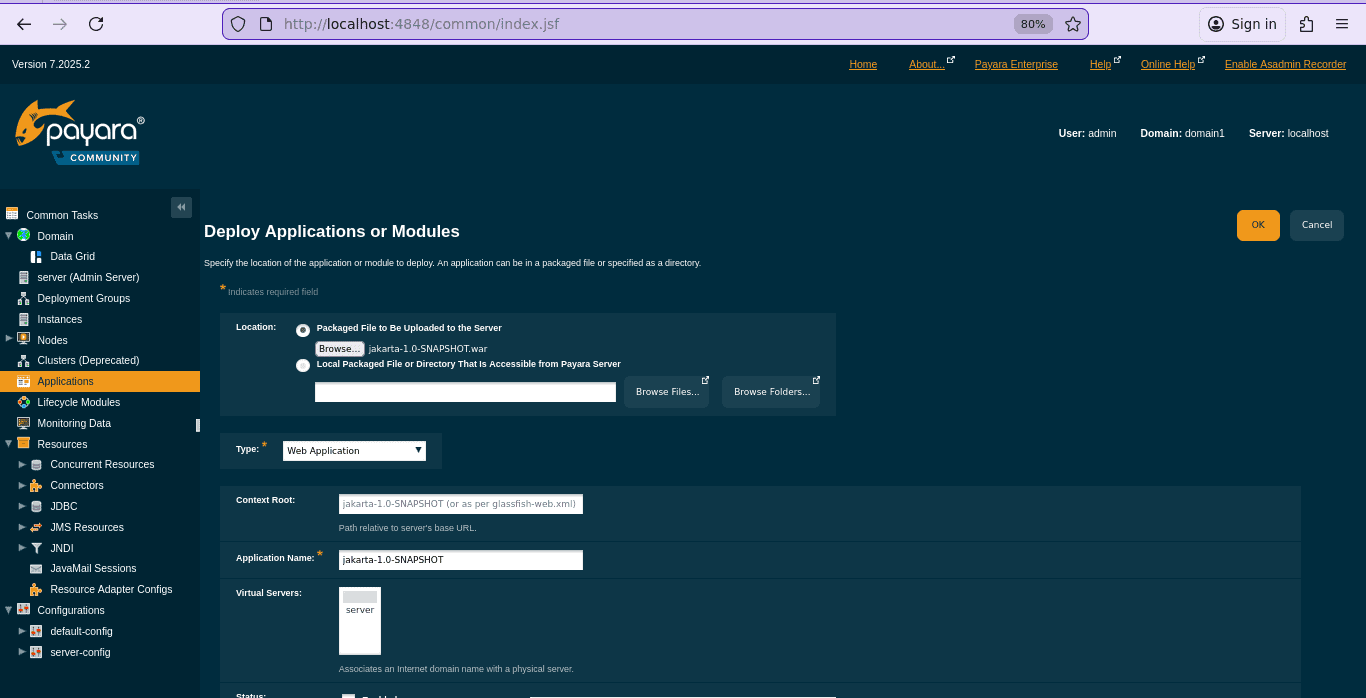
On the deployment page, let’s select the Packaged File to be Uploaded to the Server option and browse our local directory to locate the WAR file and upload it. Finally, let’s click the OK button to start the deployment process.
Once the deployment is complete, we’re redirected back to the Applications page:
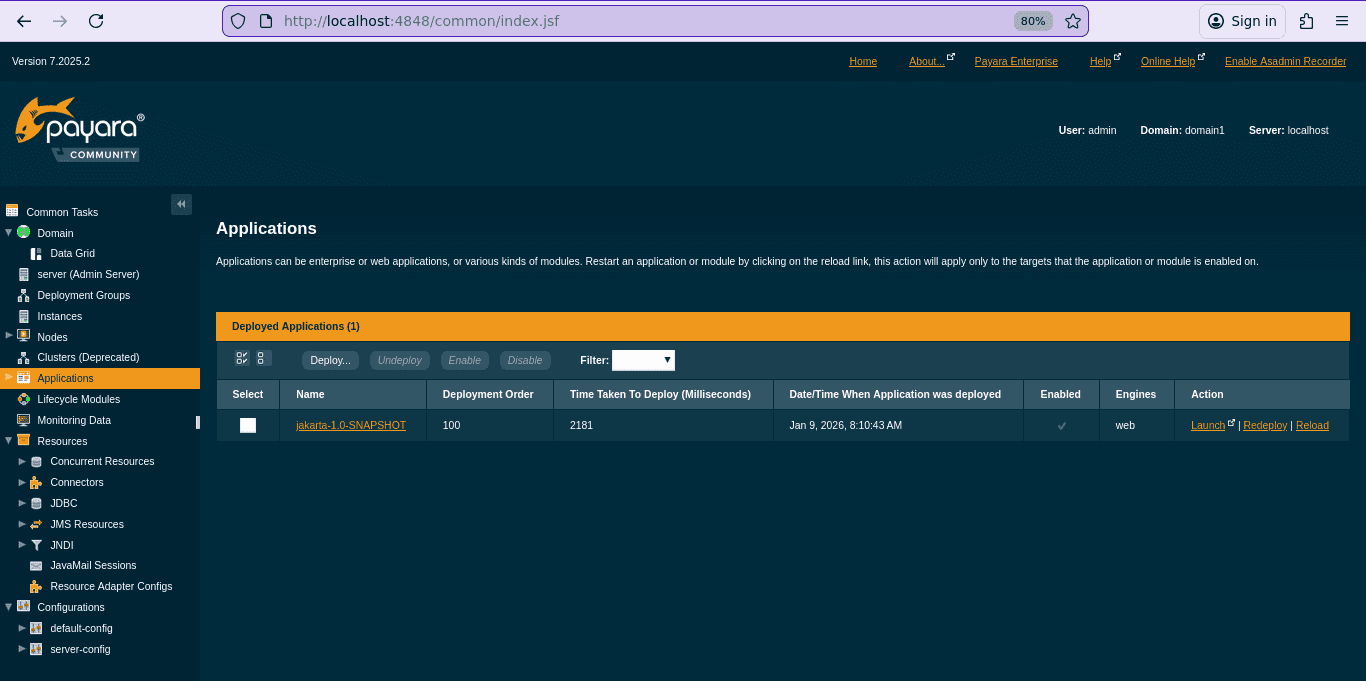
In the image above, we can see that our application has been successfully deployed and is now listed under the deployed applications. We can verify this by navigating to http://localhost:8080/jakarta-1.0-SNAPSHOT/hello:

The page above confirms that the application was deployed successfully.
6. When to Use Payara Server
Payara Server is well-suited for teams building MicroProfile or Jakarta EE applications that require a mature, standards-compliant runtime. Compared to lighter alternatives such as Apache Tomcat, Payara provides a full application server with built-in enterprise features like JDBC connection pooling, JPA support, and RESTful web services, reducing the need for additional external libraries.
However, there are trade-offs to consider. The Payara Enterprise edition requires a paid subscription, and as a full application server, Payara generally has a larger memory footprint than lightweight alternatives such as Tomcat or Jetty. Additionally, if an application only requires basic Servlet functionality, using Payara may be unnecessary overhead.
7. Conclusion
In this article, we learned how to download, install, and start Payara Server on a local machine. We also saw how to deploy a simple Jakarta EE application by writing a basic servlet and deploying it on Payara Server.


