

Learn through the super-clean Baeldung Pro experience:
>> Membership and Baeldung Pro.
No ads, dark-mode and 6 months free of IntelliJ Idea Ultimate to start with.
Learn through the super-clean Baeldung Pro experience:
>> Membership and Baeldung Pro.
No ads, dark-mode and 6 months free of IntelliJ Idea Ultimate to start with.
Jenkins is an automation server that supports hundreds of pipeline plugins for implementing CI and CD workflows. Usually, Jenkins runs as a standalone application, but it can also be deployed as a servlet in different Java servlet containers.
In this tutorial, we’ll upgrade the Jenkins server using the jenkins.war file.
The jenkins.war Jenkins WAR file is a Java web archive file that contains all of the files and resources needed to run the Jenkins continuous integration and delivery platform. This includes Jenkins core code as well as all plugins and dependencies. The Jenkins WAR file is used in all types of Jenkins installations, regardless of the distribution method.
Therefore, updating via the Jenkins WAR file is a simple and effective way to upgrade Jenkins in any environment.
Before we move forward, let’s check the current Jenkins version from the dashboard:
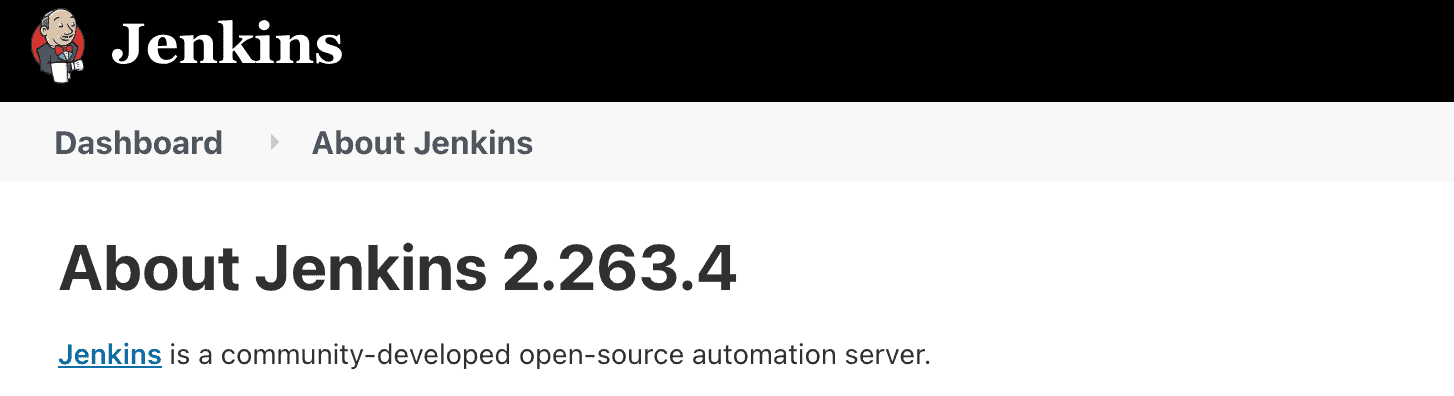
As we can see in the image above, Jenkins is currently running version 2.263.4.
In order to upgrade to the latest Jenkins version, we need to first download the latest WAR file. We can download the latest Jenkins WAR file using the wget command:
$ wget https://updates.jenkins-ci.org/latest/jenkins.warThe above command will download the latest Jenkins WAR file. Alternatively, we can download any Jenkins version from the global repository. Let’s download version 2.375.1 of Jenkins:
$ wget https://updates.jenkins-ci.org/download/war/2.375.1/jenkins.warNotably, when Jenkins is installed using yum or apt, we can simply run the upgrade command to get the latest version. In case the latest version isn’t available in the native Linux repo, we can still download the WAR file using the wget command.
To update the Jenkins WAR, we need to locate its executable file. The Jenkins server’s default path can vary depending on the operating system. Commonly, /usr/share/jenkins/ and /usr/lib/jenkins/ are locations of the Jenkins server home. Furthermore, if the WAR file isn’t located in these directories, we’ll need to follow these steps to get the actual directory:
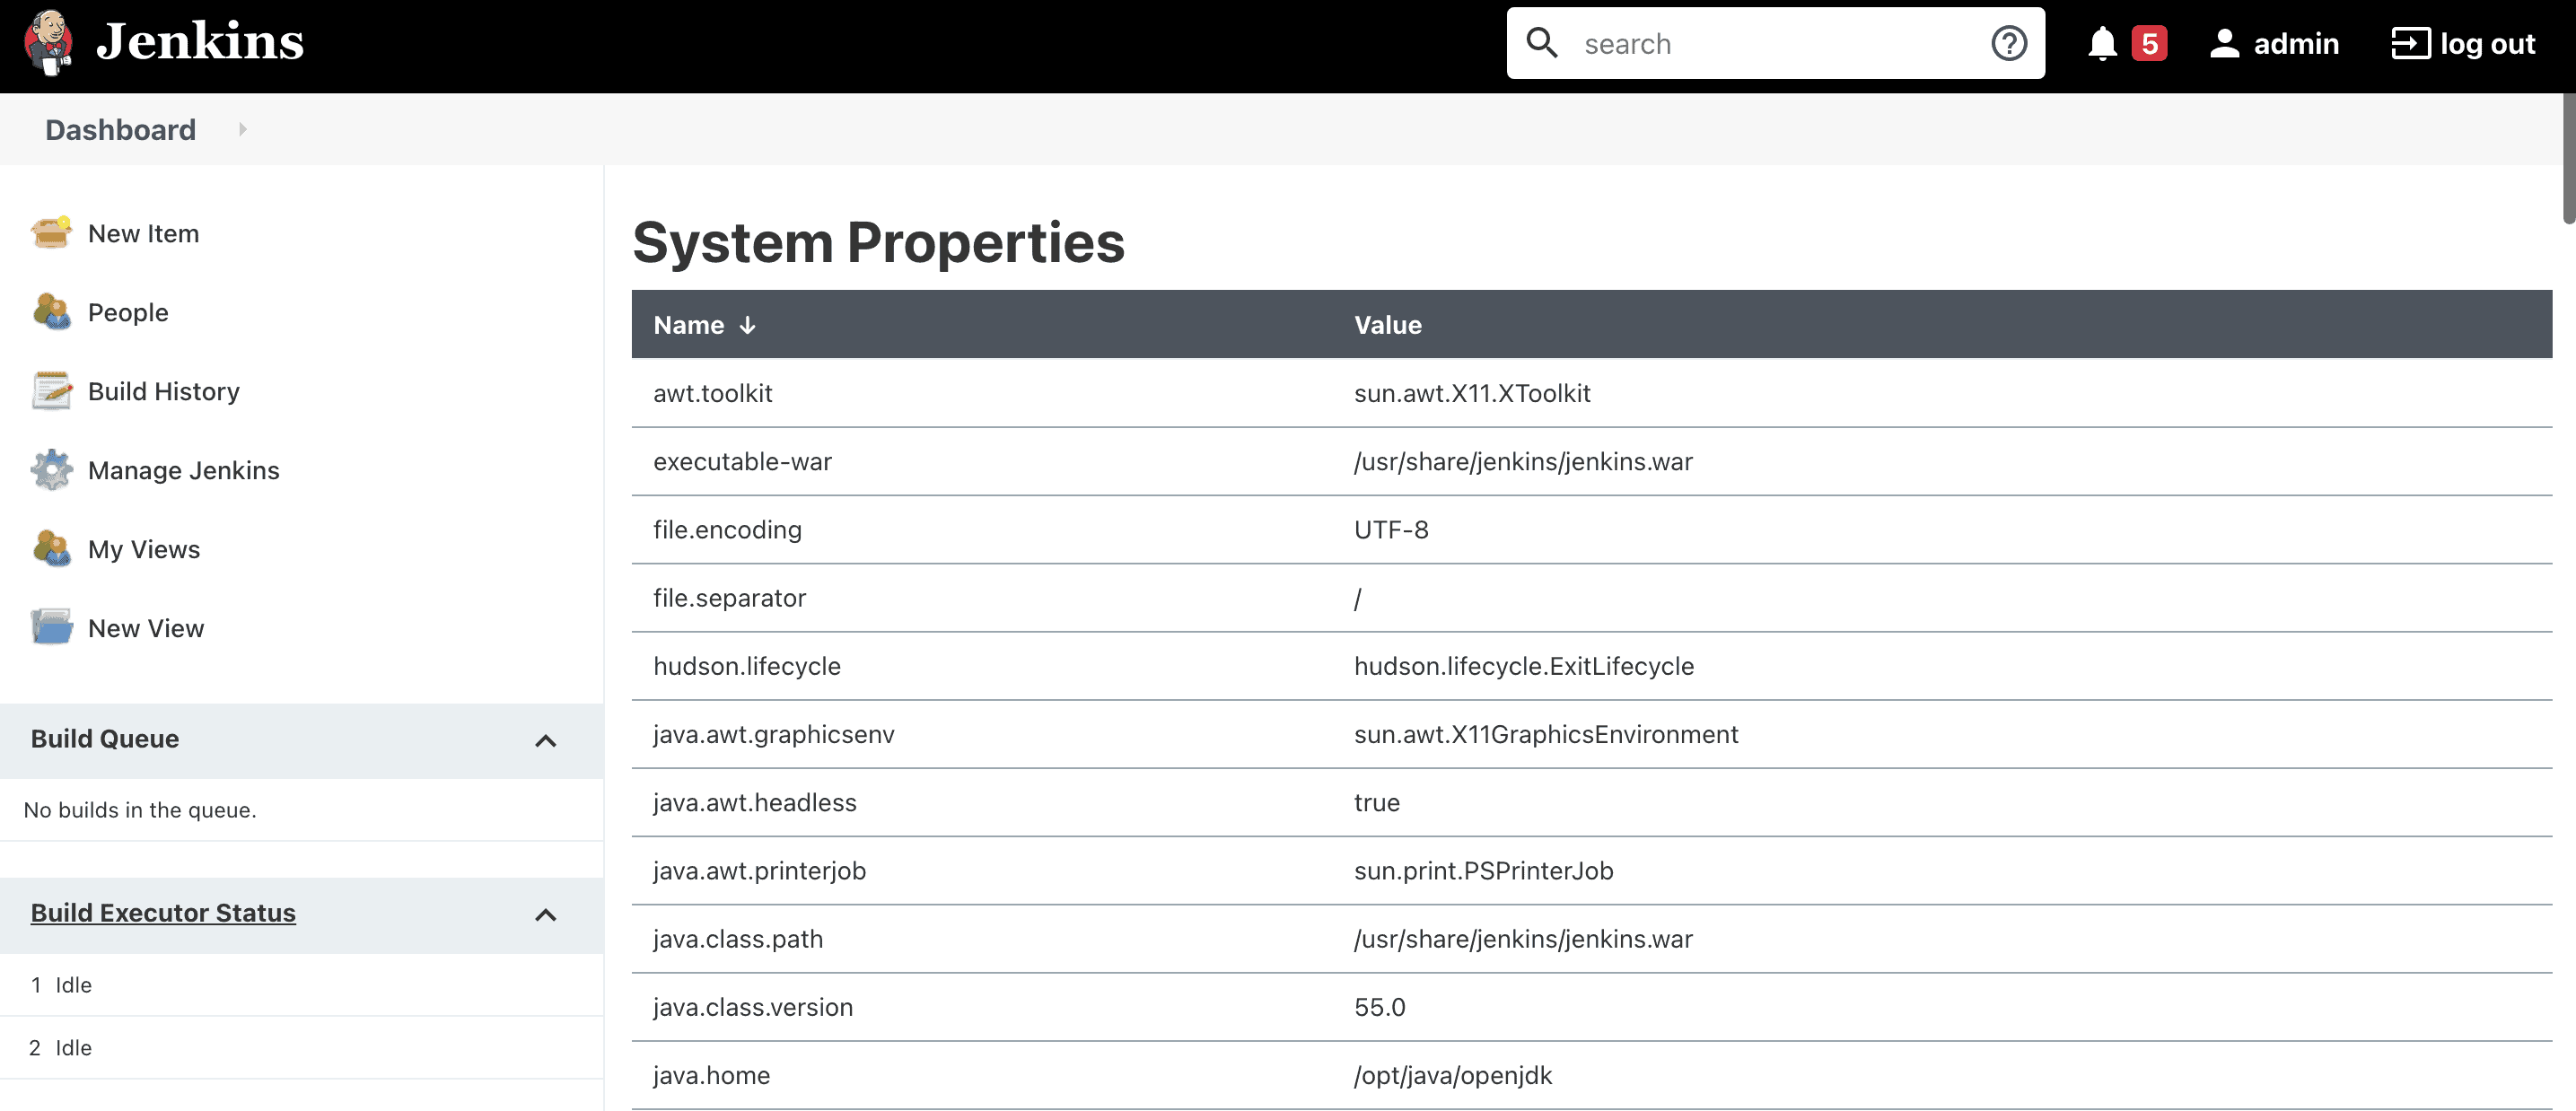
In the image above, we can see the location of the Jenkins WAR file in the executable-war property. Before we upgrade the Jenkins server, let’s stop the server to ensure a smooth upgrade process:
$ sudo systemctl stop jenkinsOnce the server is stopped, we can move the new jenkins.war to the /usr/share/jenkins/ directory. Before moving the jenkins.war file, we need to change its permissions:
$ cd /download
$ chown root:root jenkins.war
$ chmod 644 jenkins.war
Now, we move the jenkins.war file to the directory from executable-war:
$ sudo mv /download/jenkins.war /usr/share/jenkins/In order to see the changes, we need to start the Jenkins server:
$ sudo systemctl start jenkinsLet’s look at the command to check the status of the Jenkins server:
$ systemctl status jenkins
● jenkins.service - Jenkins Continuous Integration Server
   Loaded: loaded (/usr/lib/systemd/system/jenkins.service; enabled; vendor preset: disabled)
   Active: active (running) since Sun 2022-12-04 07:38:00 UTC; 2s ago
Here, in the output of the above command, we can see that the server is up and running.
Till now, we’ve completed all steps necessary to update the Jenkins server. But we usually also need to perform some tasks to ensure data compatibility with the new version.
The Jenkins server is up and running. Let’s now verify the version from the Jenkins dashboard:
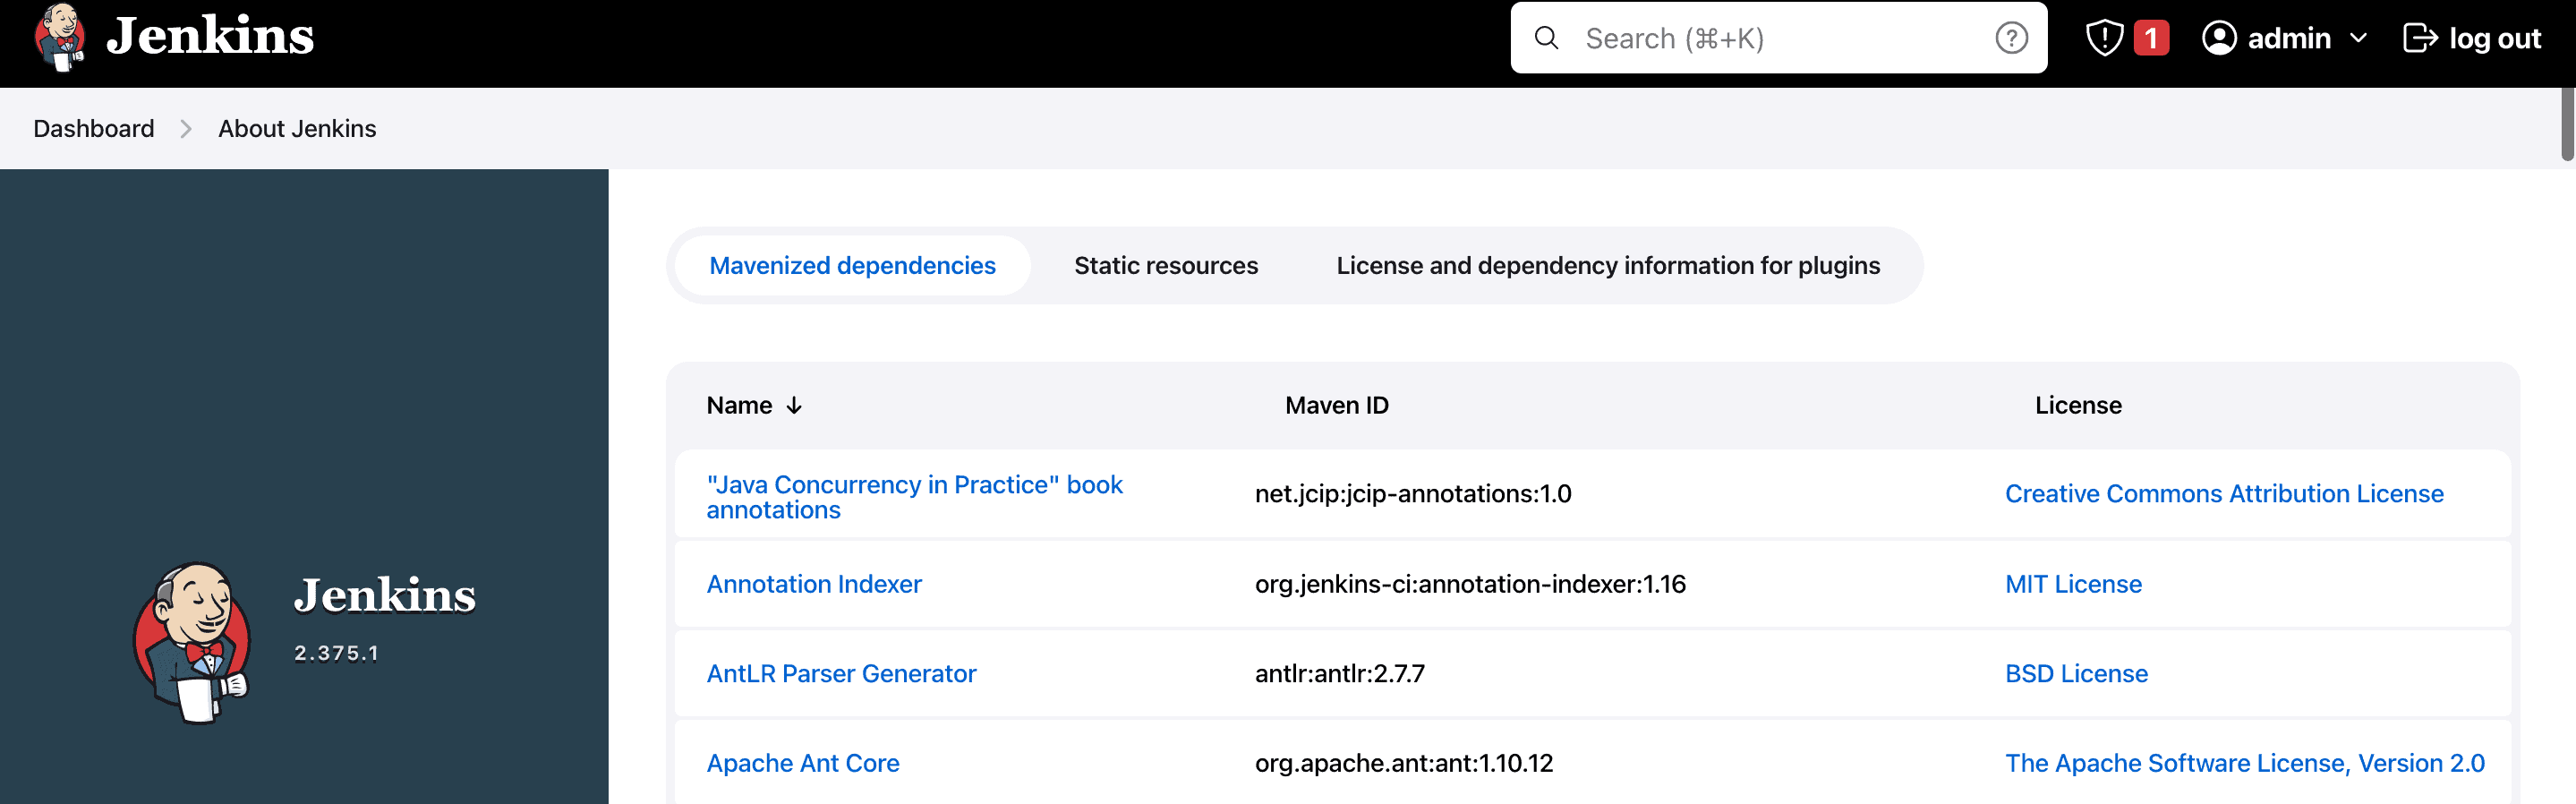
The upgraded Jenkins version can be seen at the bottom right corner of the Jenkins UI.
Plugins are probably the most crucial part of the Jenkins pipeline. In fact, each job uses a plugin for its execution to check the available updates for installed plugins:
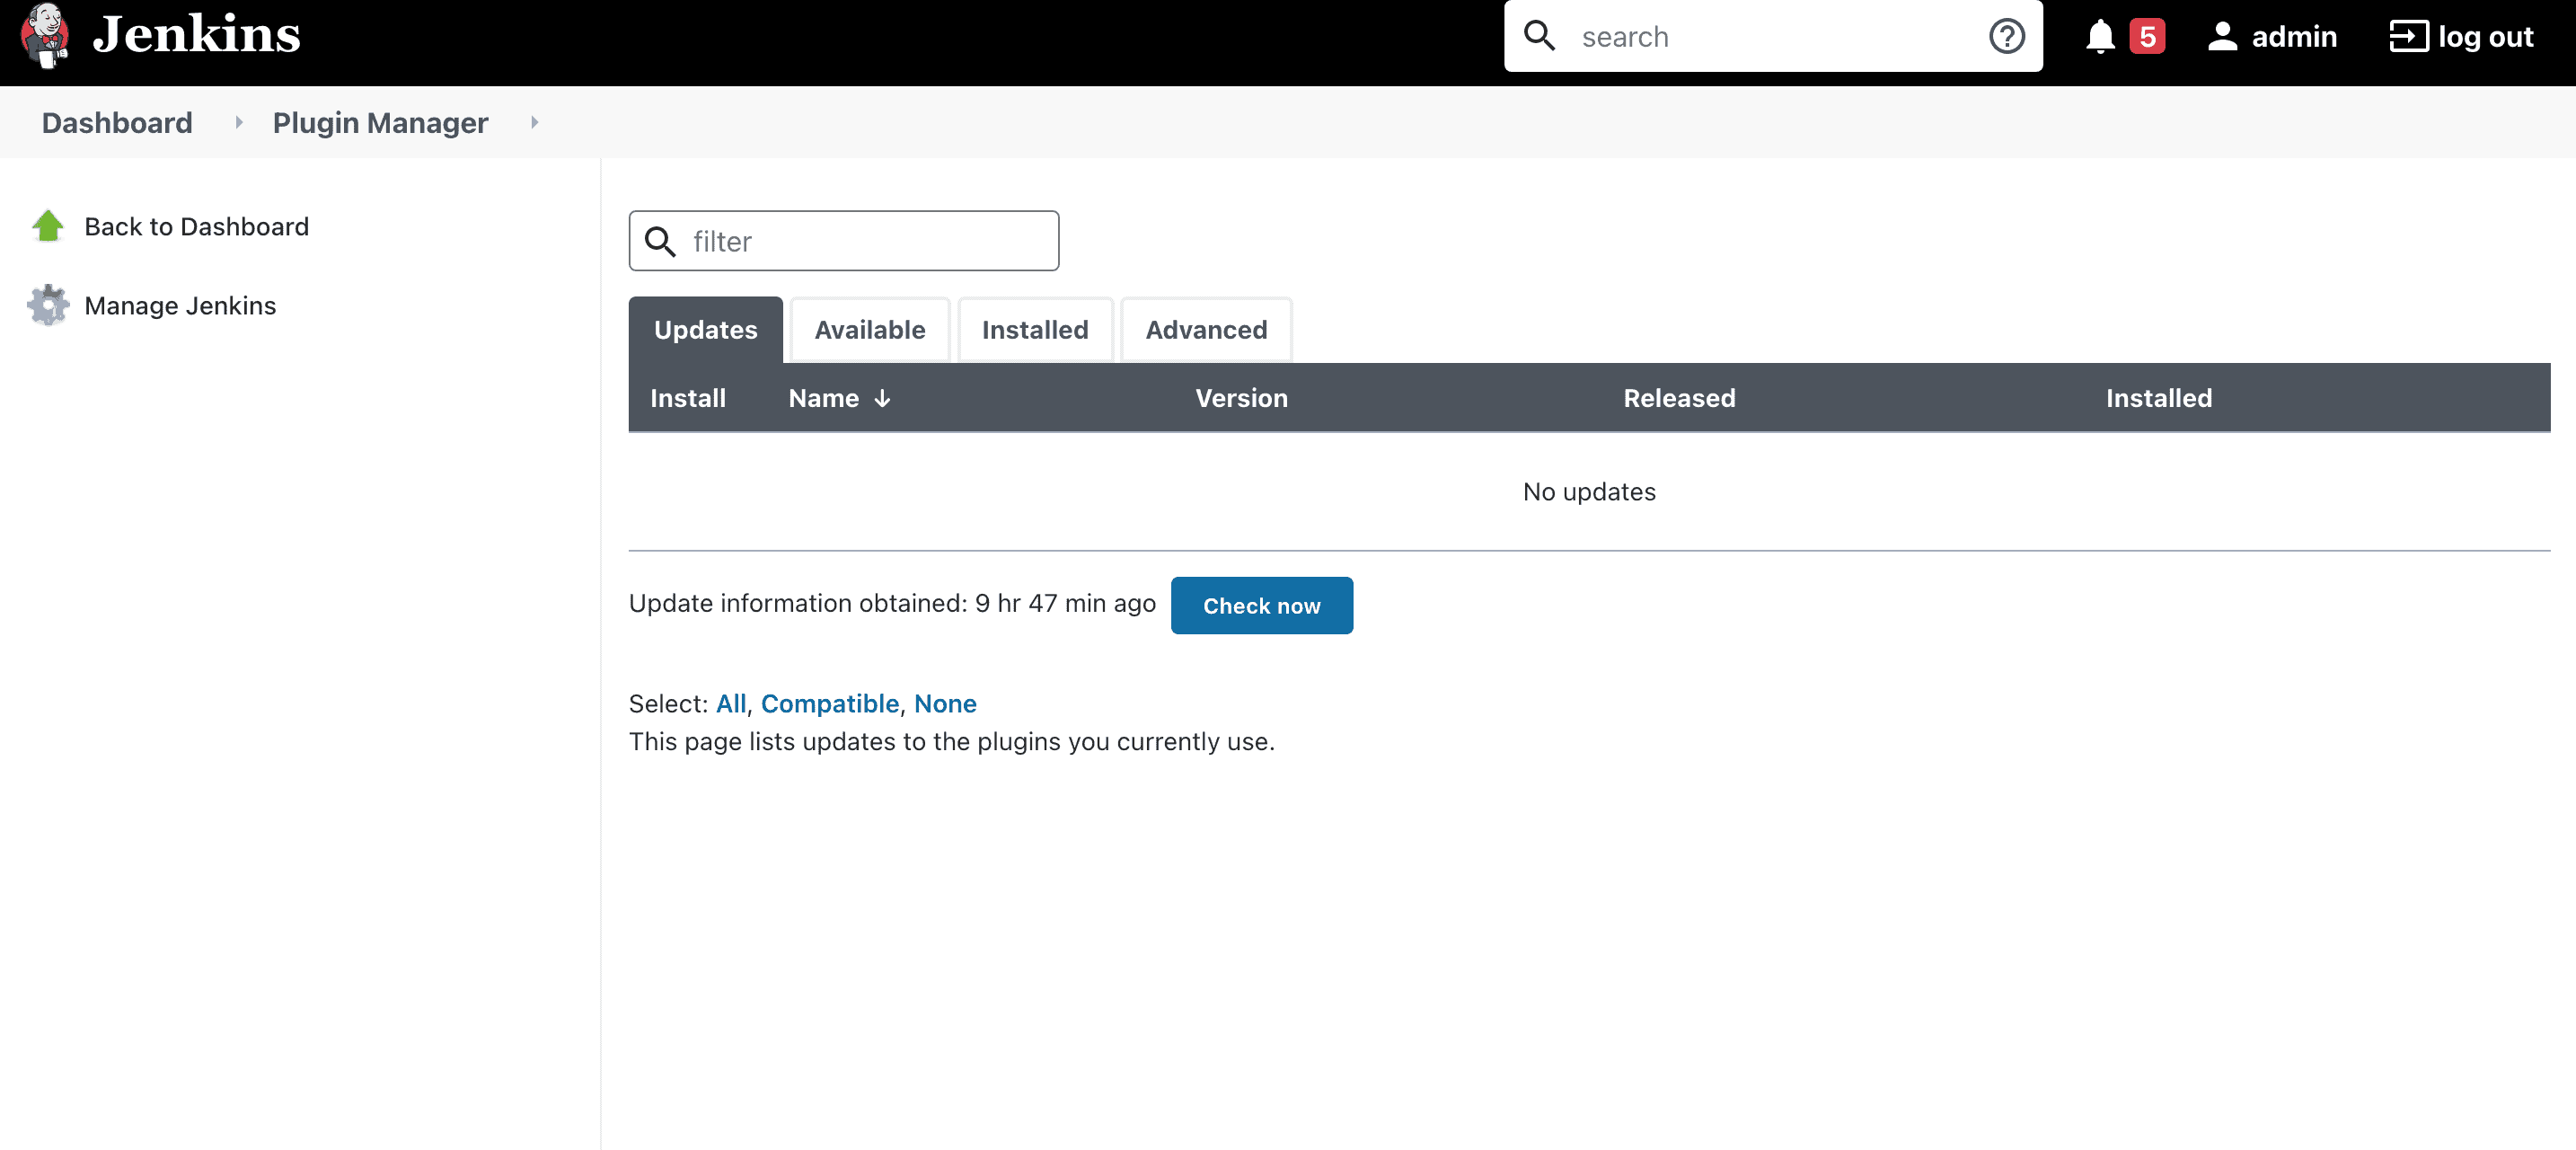
The above image shows that there is no need to update any plugins.
After upgrading Jenkins, we may encounter data compatibility issues with the new version. Therefore, to ensure that our data is in the correct format, we should update it to the updated format. Furthermore, to check the data version update, follow these steps:

The above image shows that our new version isn’t compatible with the old version. However, we can fix the problem by clicking the Manage button.
In this article, the Jenkins server is being upgraded from version 2.263.4 to 2.375.1 using a WAR file. First, we downloaded the latest WAR file for the new version of Jenkins. After that, we deployed it to the Jenkins server by replacing the existing version.