

Yes, we're now running our only Summer Sale. All Courses are 30% off until 20th July, 2026:
Learn through the super-clean Baeldung Pro experience:
>> Membership and Baeldung Pro.
No ads, dark-mode and 6 months free of IntelliJ Idea Ultimate to start with.
1. Introduction
Video editing is a pivotal skill and requires robust video editing tools. Subsequently, the open-source community has flourished in this area, so we have powerful video editors for the Linux system.
In this tutorial, we’ll explore video editing in Ubuntu using different tools.
First, we’ll look into OpenShot, which caters to beginners and professionals for video editing. Next, we’ll discuss several non-linear video editors, i.e., flexible, non-destructive editors, enabling users to manipulate video clips out of sequence on a timeline. After that, we’ll cover Blender, which is a 3D creation suite that includes a video editor. Lastly, we’ll discuss VidCutter for trimming and joining videos.
2. OpenShot Video Editor
Openshot is an open-source video editing software. It provides a relatively easy and user-friendly interface. Notably, Openshot comes with a variety of functions and features that are suitable for both beginners and more advanced video editors.
2.1. Installing OpenShot
Since it may not be available by default on Ubuntu, we install OpenShot using the apt utility.
First, we add the openshot repository:
$ sudo add-apt-repository ppa:openshot.developers/ppaAfter that, we update the machine using the update command with the APT package manager:
$ sudo apt updateLastly, we install the openshot video editor by using the install command:
$ sudo apt install openshot-qt python3-openshotHere, we install the OpenShot video editor openshot-qt as well as the Python binding for OpenShot.
2.2. Importing Videos in OpenShot
Once the installation is complete, we can open the OpenShot application. One way to do that is via the terminal:
$ openshot-qtAlternatively, we can click on the Activities panel, type openshot in the search bar, and hit the Return key:
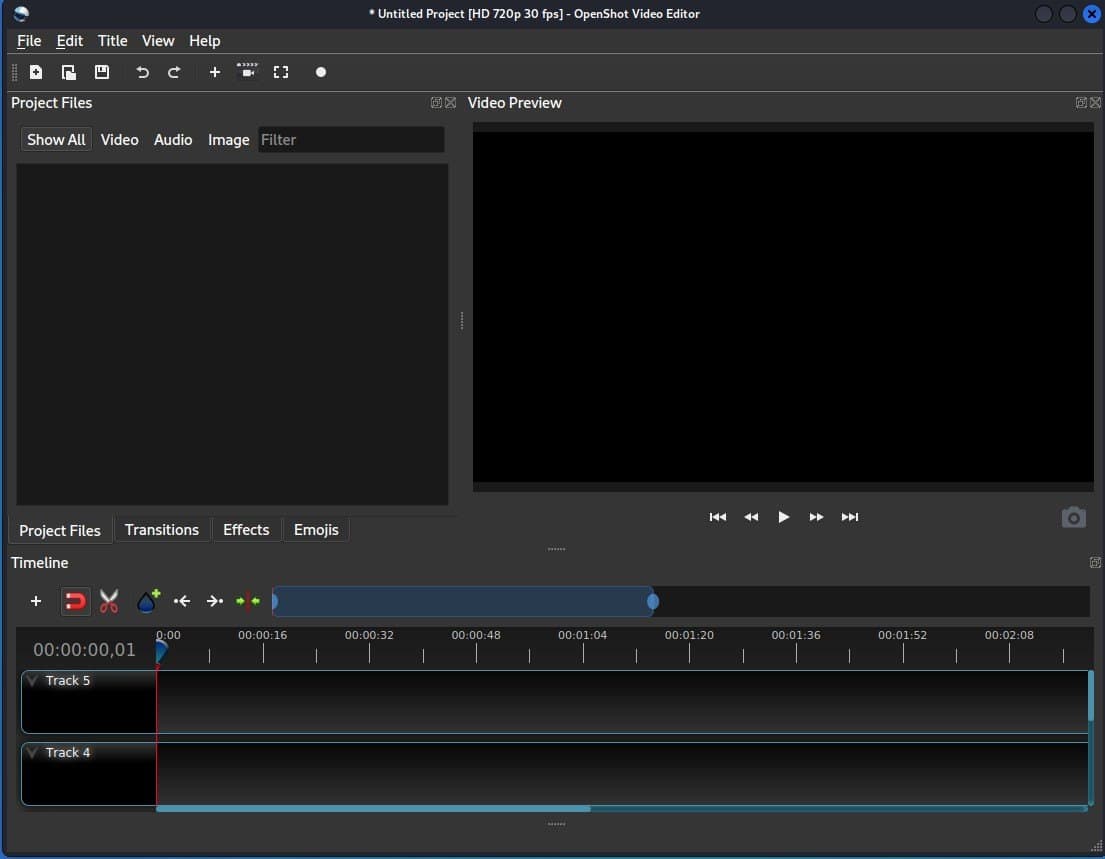
Following that, we import a video in OpenShot by clicking the + icon on the toolbar below the menu bar. After clicking the plus icon, we get a file picker to select our desired file:

Similarly, we can right-click the Project Files area to import a sample file.
Alternatively, we can drag-and-drop a sample file into the Project Files area, and start editing it.
2.3. Features
OpenShot application is a widely used video editing tool known for its various features including:
- intuitive timeline
- cross-platform compatibility
- support for various media formats
In addition, it features drag-and-drop functionality, video effects, transitions, keyframe animation, title editing, and audio manipulation.
3. Kdenlive
Kdenlive is an open-source non-linear video editing software. In other words, it enables us to edit video clips without altering the original file. Additionally, it’s part of the KDE (K Desktop Environment) suite of applications and is known for its user-friendly interface.
While Kdenlive was developed around KDE, it’s a cross-platform application. This means it can be used on various desktop environments of different operating systems, including Windows, GNOME, XFCE, and macOS.
3.1. Installing Kdenlive
Kdenlive isn’t always included in the default software set on Linux, so we might need to install it manually.
To begin with, we add the kdenlive repository to the APT package manager:
$ sudo add-apt-repository ppa:kdenlive/kdenlive-stableAfter that, we update the machine using the update command with apt-get:
$ sudo apt-get updateLastly, when the system is updated, we install kdenlive:
$ sudo apt-get install kdenliveWe can check the kdenlive version using the –version flag.
3.2. Importing Media Clips in Kdenlive
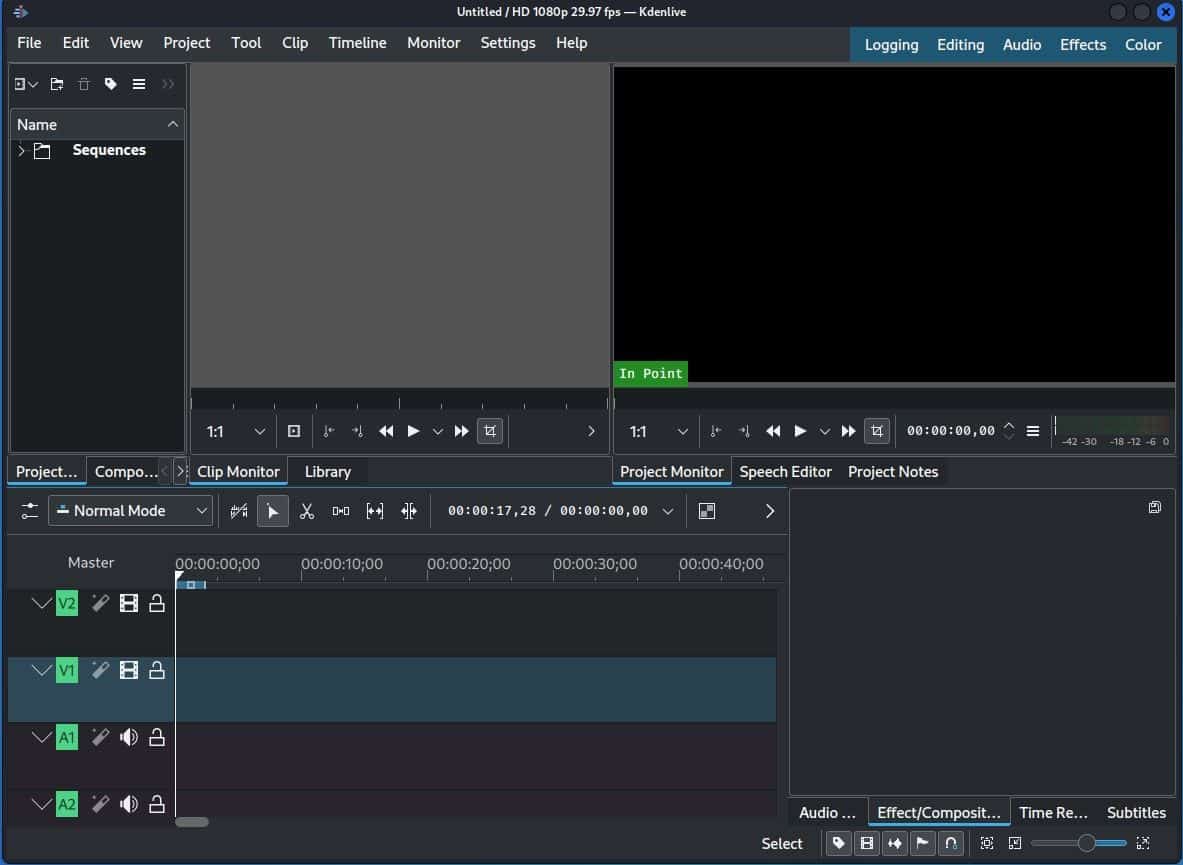
Once the installation is complete, we’ll initiate our work by opening the Kdenlive application:
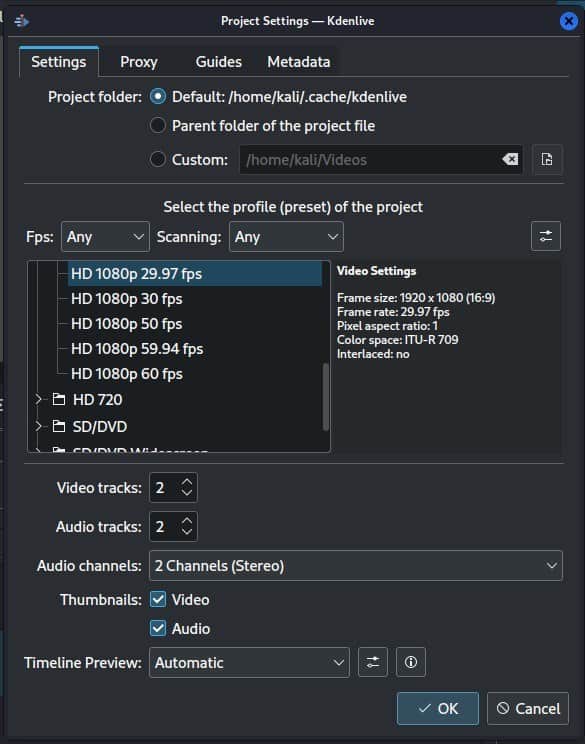
Let’s create a project by locating the menu bar, and clicking File, then New Project. After that, we can go to the project settings option and specify what properties we want to target.
We can also add a custom directory by selecting the Custom option. When all the settings are complete, we click OK:
Once we kickstart the project, we can import media clips. To import a media clip, we follow two steps:
- click the small arrow icon below the File menu, a drop-down box appears
- select Add Clip
After that, we can import any desired video.
3.3. Features
Kdenlive features include proxy editing and project management, catering to diverse tasks like video editing, content creation, and multimedia projects. Popular among Linux users, it offers free and accessible editing with integration into other open-source tools.
To sum up, Kdenlive is a versatile video editor with multiple track editing, transitions, audio manipulation, and keyframe animation.
4. Avidemux
Avidemux is an open-source lightweight and user-friendly non-linear video editing tool, suitable for basic editing tasks such as filtering, audio editing, format conversion, subtitle support, and processing needs. While not as feature-rich as professional software, it serves its purpose effectively.
4.1. Installing Avidemux using Flatpak
For Avidemux, let’s use the Flatpak application.
The Flatpak package isn’t available by default on most Linux distributions. Therefore, we’ll install flatpak using the apt command:
$ sudo apt install flatpackNext, let’s update the system:
$ sudo apt updateAfter that, we use the flatpak command to install Avidemux:
$ flatpak install flathub org.avidemux.AvidemuxAt this point, we should have Avidemux available.
4.2. Importing Videos in Avidemux
To access the Avidemux video editor, we type Avidemux in the search bar in the Activities panel and hit Return key.
Once Avidemux is open, we import a video to edit. To import the video in Avidemux, we click the menu bar and then click File:
Alternatively, we can also import files by using the drag-and-drop feature. In addition, we can add multiple files by going to File > Append.
Following that, we navigate to the directory where the video file is stored.
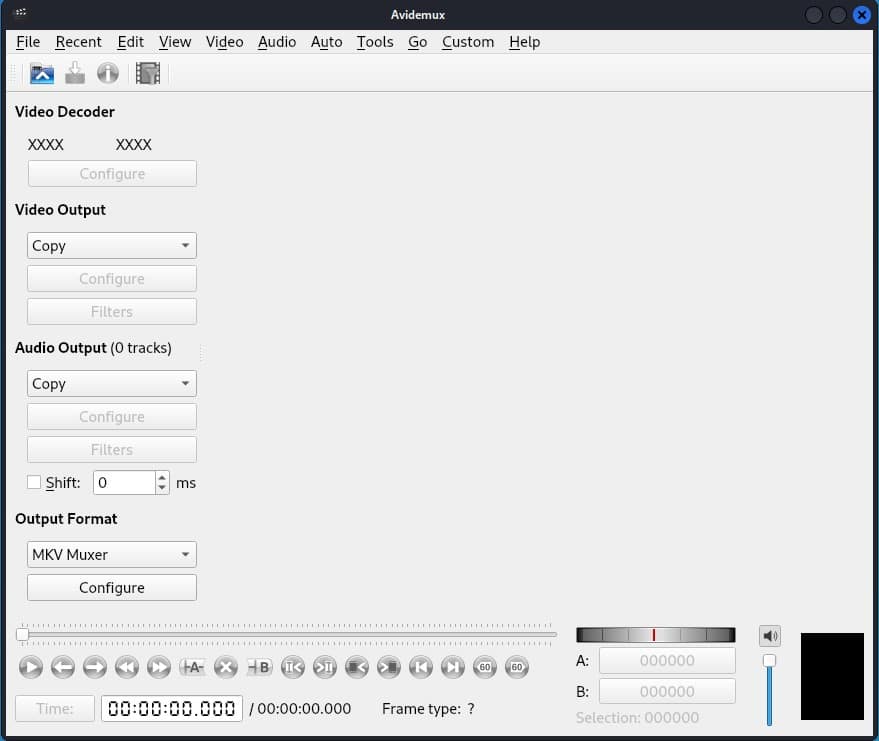
Subsequently, when the video file is imported, we have an interface with various options to edit the videos:
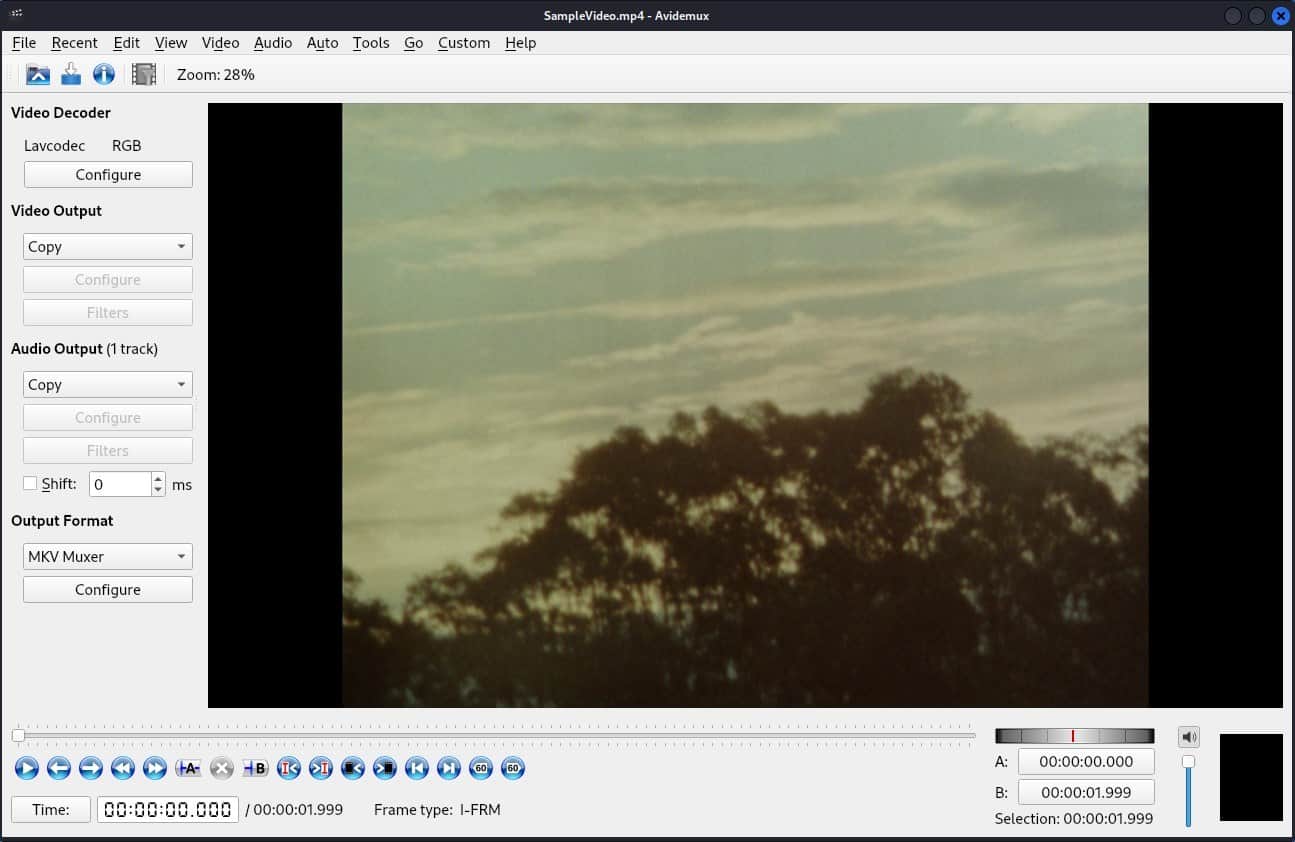
Although perhaps basic, the main screen after importing a video is relatively self-explanatory.
4.3. Features
Avidemux is ideal for basic tasks:
- cutting
- trimming
- format conversion
- quality enhancement
- subtitle integration
In summary, Avidemux is a straightforward choice for a user-friendly non-linear video editing software supporting batch processing and scripting for advanced users.
5. Shotcut
Shotcut is an open-source, cross-platform non-linear video editing software. In addition, Shotcut is known for its user-friendly interface and wide range of features, making it a suitable choice for beginners and more experienced video editors.
5.1. Installing Shotcut
To begin with, we install shotcut using the apt command:
$ sudo apt install shotcutAfter the installation is finished, we launch the application.
5.2. Editing a Video in Shotcut
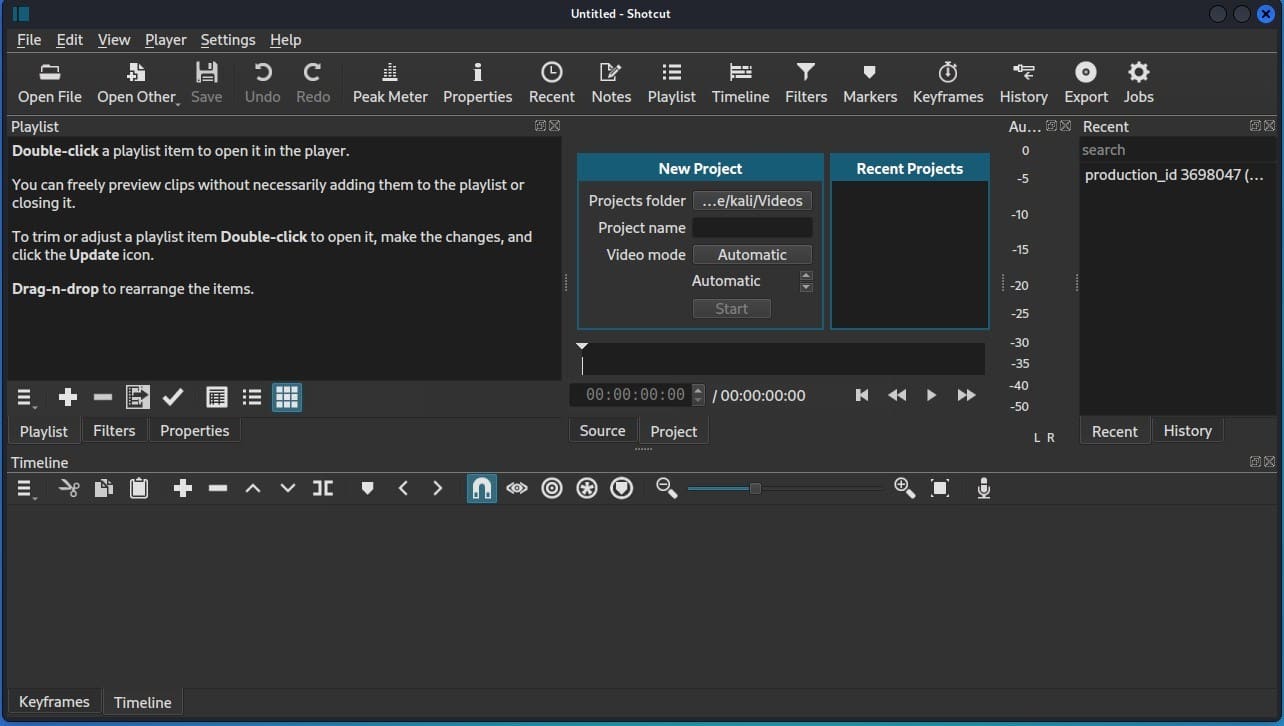
Next, let’s create a new project by going to the New Project slide and then selecting the destination path.
Next, we assign a name to this new project.
After that, we have an option to select a video mode according to our needs. However, we can leave it in the automatic mode. Lastly, we click the Start button to create a project file:
Hence, after initiating the project, we can import the video file by selecting the Open File option in the upper toolbar. This opens a window where we can navigate to and choose a video file.
However, we can also add a video file using the drag-and-drop functionality.
Once the video file is added to the Shotcut project, we can begin working on it:
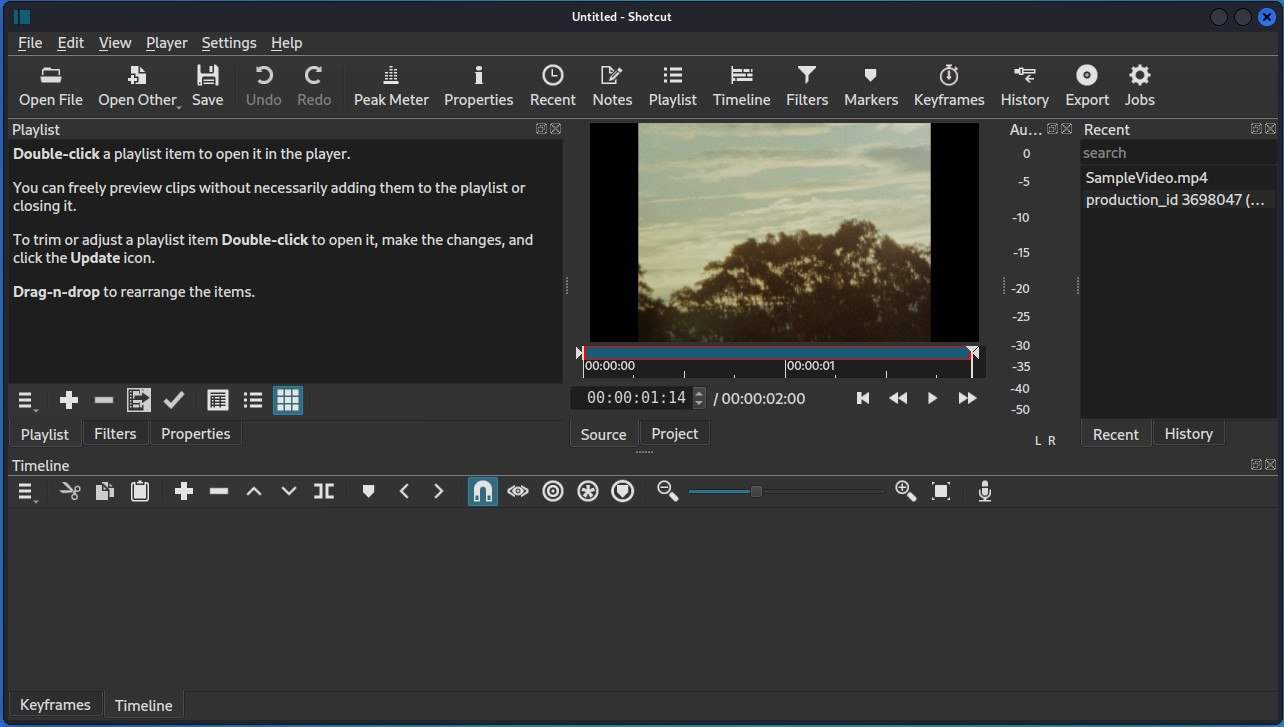
Here, we can apply additional features and functionalities according to our specifications.
5.3. Features
Shotcut offers a number of features unavailable in more basic editors:
- timeline
- cut-copy-paste tools
- keyframes
- chroma-keying
- filters
- effects
Additionally, it offers transition effects, export choices, and compatibility with 4K and GPU processing.
All in all, Shotcut is a free video editor with a user-friendly interface, supporting diverse video and audio formats. This makes it a suitable choice for novice and advanced video users.
6. Olive Video Editor
Olive Video Editor is a free and open-source non-linear video editing software. It’s devised to be a powerful and easy-to-use video editing tool. Furthermore, Olive supports a variety of video and audio formats, making it a versatile choice for various multimedia projects.
6.1. Installing Olive Video Editor
To install Olive Video Editor, we can again use the flatpak package manager:
$ flatpak install flathub org.olivevideoeditor.OliveAt this point, we wait for the installation to complete.
6.2. Importing a Video in Olive Video Editor
Once the installation is complete, we’ll launch the video editor from the Activities panel:
Now, we’ll import a sample video in the Olive video editor by right-clicking in the Project panel.
Upon selecting import, a directory picker pops up. From there, we can load a source file, and click Open.
Alternatively, we can also import a sample file by dragging it into the Project area:

Subsequently, after importing the sample file into the Olive video editor, we can perform various tasks and apply distinct features, functionalities, and filters according to our requirements.
6.3. Features
Olive Video Editor is ideal for both beginners and experienced editors. It enables multi-track editing and project export in various formats, making it suitable for content creation, education, personal projects, and community collaboration.
To conclude, Olive Video Editor is a free and open-source non-linear video editing software with a user-friendly interface.
7. Blender
Blender is a versatile open-source 3D creation suite with a powerful video editor as one of its many features. The video editor in Blender is a part of the larger Blender software and provides users with a comprehensive set of tools for video editing, compositing, and animation.
7.1. Installing Blender
Blender usually isn’t pre-installed in Linux, so we can do that using flatpak:
$ flatpak install flathub org.blender.BlenderThe above command installs Blender from the Flathub repository.
7.2. Editing Videos in Blender
Once the installation is complete, we’ll open the Blender application:
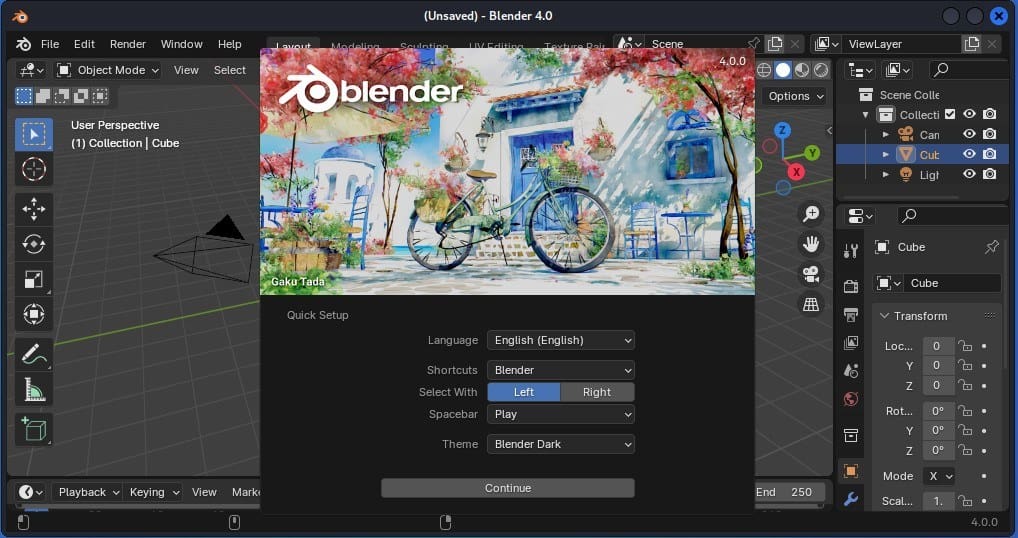
Next, we might have to click the Continue button. After that, we get another prompt showing us different options for editing.
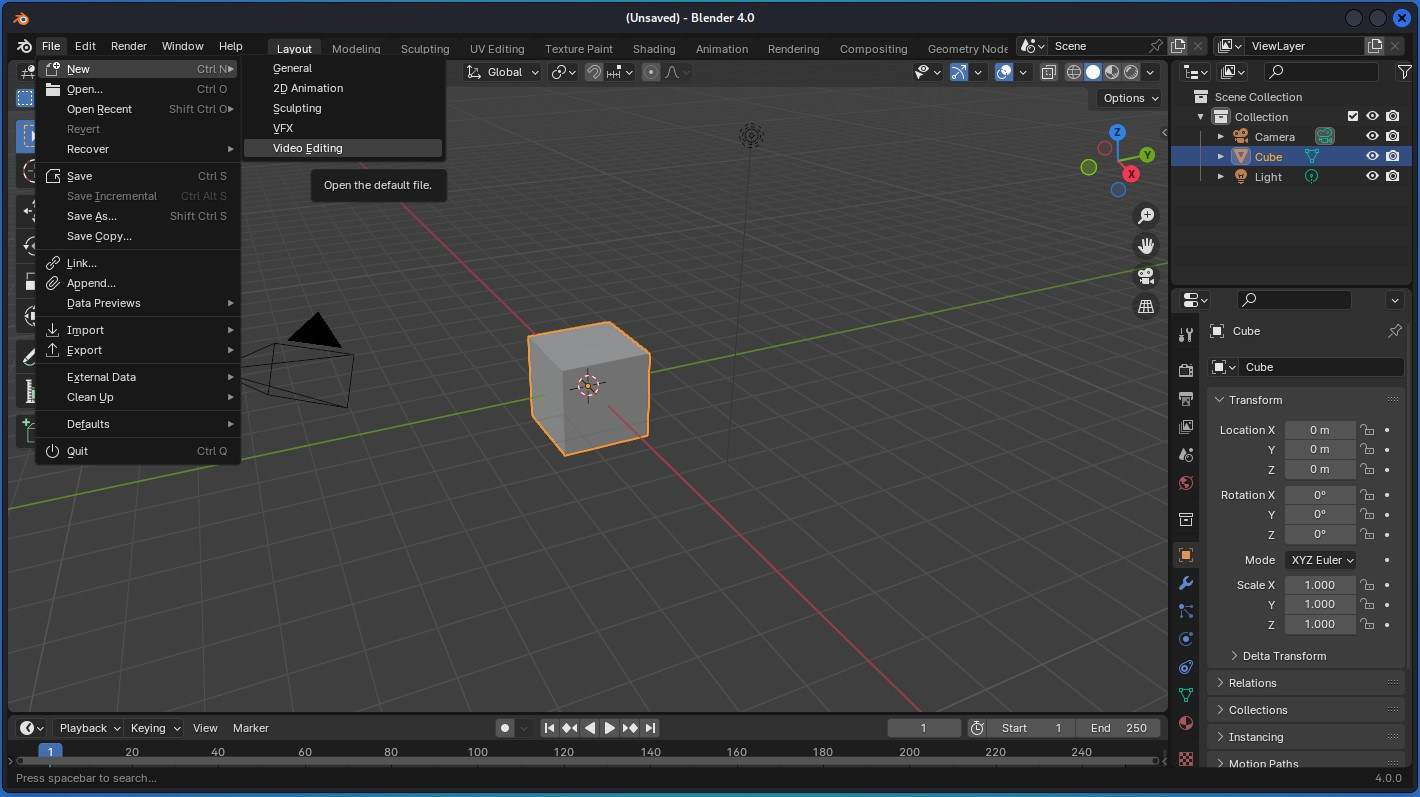
In the event that the prompt doesn’t appear on the console, we can navigate to the menu bar and click on the File option. Following that, a drop-down box appears, and from there, we click on the New option.
After clicking the New option, a variety of editing options are presented. Here, we specifically choose the video editing option.
After selecting the video editing option, we get an interface to edit videos:
After that, we import a file that we want to edit.
Alternatively, we can also drag a file in the Preview slide area.
7.3. Features
Blender’s video editing functionalities provide users with a powerful solution for video editing with many features:
- Video Sequence Editor (VSE)
- multi-track editing
- transitions and effects
- rendering options
The combination of advanced tools and the open-source nature of Blender makes it a suitable choice for video editors.
In conclusion, we can use Blender for video editing, visual effects, animation, and various other features. Also, it’s suitable for users of all skill levels, as it provides a comprehensive environment for creating and editing videos.
8. VidCutter
VidCutter is a straightforward video editor designed for cutting and joining video files. Simplicity is key here.
8.1. Installing VidCutter
Since it may not be available by default in Linux, we install it using the Flatpak packages:
$ flatpak install flathub com.ozmartians.VidCutterBy using this command, we install VidCutter from the Flathub Package manager.
8.2. Importing a File in VidCutter
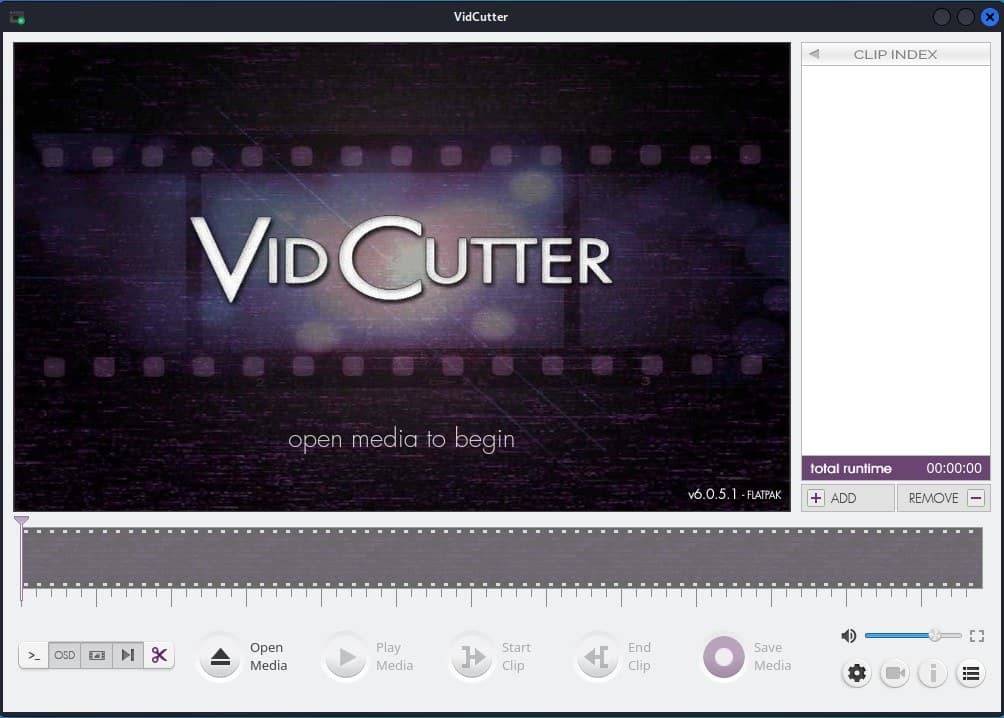
Once the installation is complete, we’ll launch VidCutter from the Activities panel:
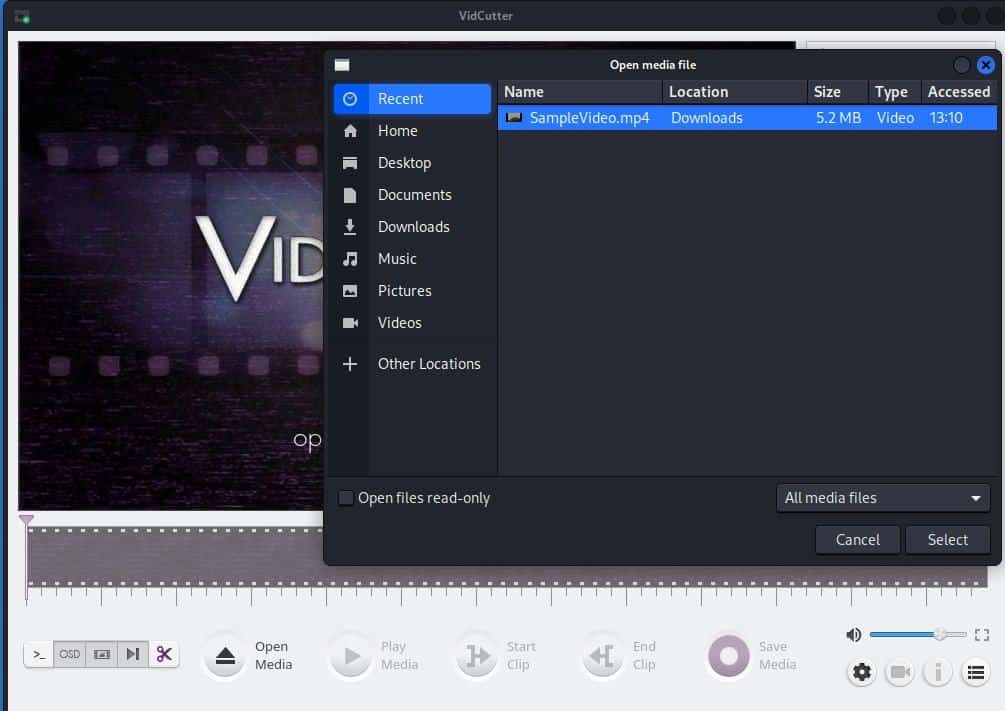
Now, we can import the video file into the Vidcutter video editor. To import the video file, we access the Open Media option from the bottom toolbar. Subsequently, let’s navigate within the directory and choose a desired file.
After that, we click the Select button which is located in the bottom right. Alternatively, we can also use the drag-and-drop functionality to import files:
Eventually, after importing a video file, we can start editing the video.
8.3. Features
VidCutter’s minimalistic interface enables users to effortlessly cut and merge videos without the complexity of a full-fledged video editor. Additionally, VidCutter supports a variety of popular video formats, making it a handy tool for basic video editing.
To summarize, VidCutter is a user-friendly, cross-platform video editing software focused on simplicity. It supports cutting, trimming, and merging video clips, supports various formats, and provides real-time previews.
9. Conclusion
In this article, we explored various video editors in Linux.
We began by examining Openshot, a versatile editor accommodating users ranging from beginners to advanced video editors.
Following that, we explored the features of Kdenlive, Avidemux, Shotcut, and Olive video editors. We also delved into Blender, a comprehensive open-source 3D creation suite.
Finally, we looked at VidCutter, a user-friendly tool specifically designed for straightforward video trimming and joining.