

Learn through the super-clean Baeldung Pro experience:
>> Membership and Baeldung Pro.
No ads, dark-mode and 6 months free of IntelliJ Idea Ultimate to start with.
Last updated: March 18, 2024
Learn through the super-clean Baeldung Pro experience:
>> Membership and Baeldung Pro.
No ads, dark-mode and 6 months free of IntelliJ Idea Ultimate to start with.
Using the command line for a very long time can be very tedious if we use the vanilla Bash shell. There are certain features that are either disabled by default or not available at all. For instance, there’s no syntax highlight, which provides instant feedback to avoid typing incorrect commands. Additionally, features like auto-completions, suggestions, and Vi mode for the command line are hugely productive.
In this tutorial, we’ll discuss how to add autocompletion, suggestions, and syntax highlighting to Bash and Zsh. For that, we’ll use the ble.sh script and the Oh My Bash distribution that contains plugins and autocompletion features for Bash. Then, we’ll look at the compatible alternative to Bash, the interactive Z shell. We’ll review a few plugins that we can add to enable Zsh autocompletion and syntax highlighting.
Finally, we’ll set up a custom configuration for using Vi mode in Zsh.
Bash, by default, is very limited when used in interactive mode. Its lack of syntax highlighting and convenient keybindings makes it very time-consuming. Apart from that, Bash uses Emacs keybinding, which we can’t easily change.
For that reason, we’ll take a look at a couple of frameworks that can make using Bash in interactive mode helpful and easier.
Blesh or ble.sh is a command-line editor for the Bash shell. It entirely replaces the default GNU Readline. It provides features similar to the fish shell, which includes syntax highlighting, suggestions, and Vi mode.
We’ll need to build ble.sh by cloning the repository. So, let’s make sure the following dependencies are installed on the system:
We can simply install it using a package manager like apt on Debian-derivatives:
$ sudo apt install git make gawkThen, we’ll clone the repository:
$ git clone --recursive --depth 1 --shallow-submodules https://github.com/akinomyoga/ble.sh.gitNow, we can build ble.sh with make and install it to the ~/.local directory:
$ make -C ble.sh install PREFIX=~/.localOnce ble.sh is installed, we’ll need to source it every time we open the command line. Instead, let’s add the command to the ~/.bashrc file:
$ echo 'source ~/.local/share/blesh/ble.sh' >> ~/.bashrcAfter the installation, we can readily use the script by simply opening the terminal. Upon typing a command, we can notice how the color changes based on the given commands:
As we can see, ble.sh highlights the top-level command to indicate whether it’s correct or incorrect. Apart from that, we can also see a pretty tab completion list that we can navigate using the arrow keys.
Additionally, it also outputs the exit status of the previous command. Moreover, we can also use the Vi mode.
Oh My Bash is a Bash framework that provides features like auto-completions, plugins for command-line tools, and theming.
We can install Oh My Bash by downloading and running the installation script:
$ bash -c "$(curl -fsSL https://raw.githubusercontent.com/ohmybash/oh-my-bash/master/tools/install.sh)"Once installed, we can restart the terminal, and we should notice that the command prompt has changed:
By default, there are a few plugins enabled, such as git and bashmark. We can add more plugins by extending the plugins array in ~/.bashrc:
...
plugins=(
git
bashmark
golang
npm
aws
)
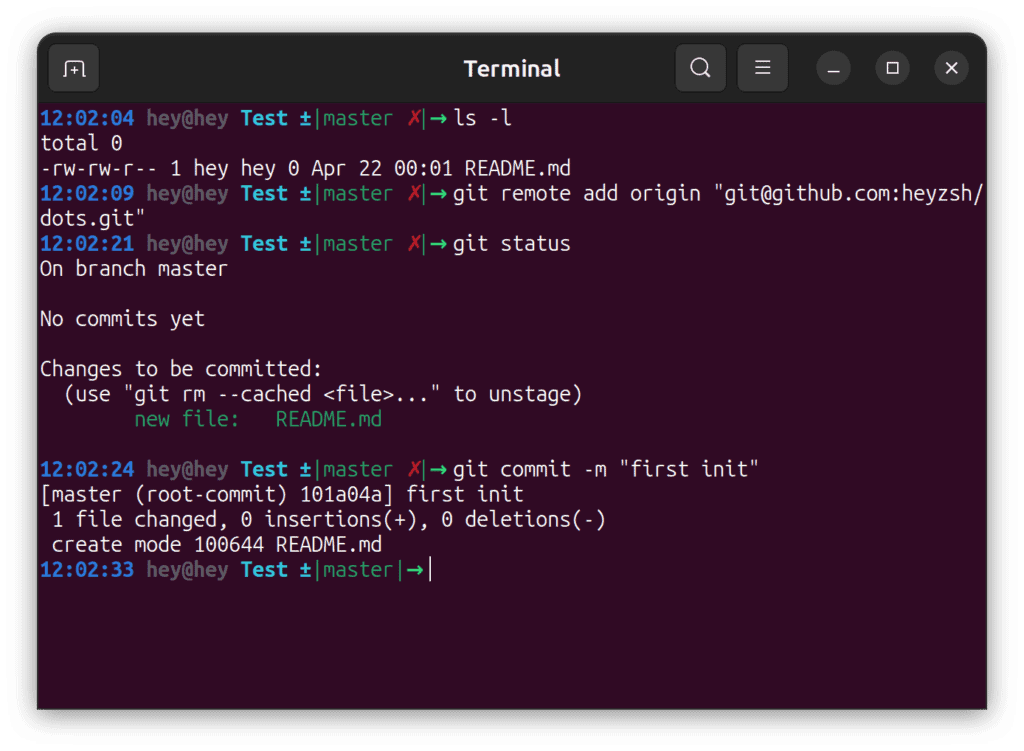
...These plugins add enhancements and cosmetics to the command prompt to provide feedback. For instance, when we are in a Git directory, the prompt indicates the current branch and uncommitted changes:
In the same way, we can also add completions for the available commands by extending the completions array:
...
completions=(
  git
  go
  npm
  awscli
  ssh
)
...
Moreover, we can uninstall Oh My Bash by running uninstall_oh_my_bash and restarting the terminal:
$ uninstall_oh_my_bashZsh is an alternative shell to Bash. It extends the Bash shell by providing extra features and enhancements as well as features from other shells such as Ksh and tcsh. There are a lot of features built-in to Zsh. However, we can extend it through external Zsh plugins if we wish.
Zsh isn’t installed by default, so we can install it using a package manager like apt:
$ sudo apt install zshOnce installed, we’ll need to make it our default interactive shell. We can do so by using chsh:
$ sudo chsh -s /bin/zsh $USERThe command changes the default shell for $USER to /bin/zsh. We can now restart our terminal and test it out:
$ echo $0
zshThere are a plethora of plugins available for Zsh that makes interactive command-line usage easier. We can easily add styling, feedback, and productivity plugins by simply sourcing the appropriate plugin files.
For instance, we can use the fast-syntax-highlighting plugin by simply cloning the repository:
$ git clone --depth 1 https://github.com/zdharma-continuum/fast-syntax-highlighting ~/.local/shareNow, we can source the fast-syntax-highlighting.plugin.zsh file inside the directory:
$ source ~/.local/share/fast-syntax-highlighting/fast-syntax-highlighting.plugin.zshAs soon as we source the file, we should notice that the colors of the commands change dynamically:
We’ll have to source the plugin every time we open the terminal. For that reason, we can add the line to the ~/.zshrc file, where we can put all the configurations for Zsh. Therefore, when we invoke zsh interactively, it will source the ~/.zshrc file automatically:
$ echo "source $HOME/.local/share/fast-syntax-highlighting/fast-syntax-highlighting.plugin.zsh" >> ~/.zshrcWe can take the plugin installation process a step further by using zap-zsh. zap-zsh is a lightweight Zsh plugin manager that we can use to install and plug Zsh plugins.
Let’s install zap-zsh by downloading and running its installation script:
$ zsh <(curl -s https://raw.githubusercontent.com/zap-zsh/zap/master/install.zsh) --branch release-v1Once we run the command, zap-zsh will install some predefined plugins:
⚡ Zap installed zsh-autosuggestions
⚡ Zap installed supercharge
⚡ Zap installed zap-prompt
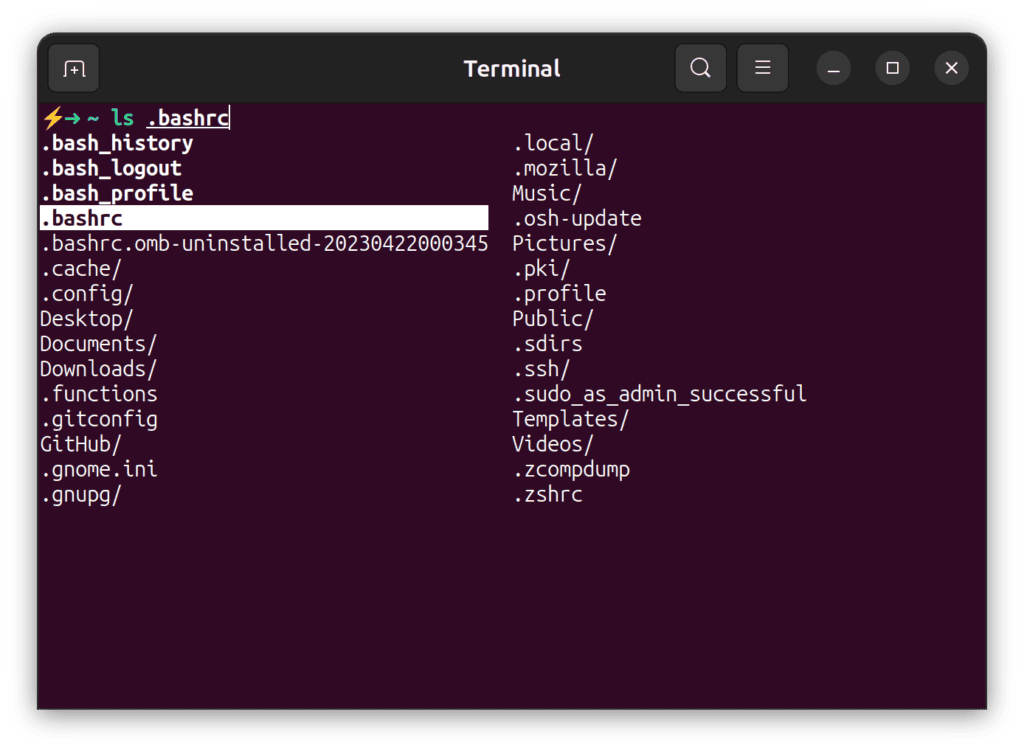
⚡ Zap installed zsh-syntax-highlightingAs we can see, it includes the plugins for autosuggestions, the supercharge productivity plugin, a custom prompt, and syntax highlighting.:
We can install additional plugins by simply “zapping” the plugin GitHub repository into the .zshrc file:
...
plug "zsh-users/zsh-autosuggestions"
plug "zap-zsh/supercharge"
plug "zap-zsh/zap-prompt"
plug "zsh-users/zsh-syntax-highlighting"

# abbr plugin for expanding aliases
plug "olets/zsh-abbr"
The plugin names are in the form of “github_user/plugin_repository“. In this case, we added the zsh-abbr plugin by the user olets. Once we plug the required plugins, all we need to do is restart the terminal, and we should be able to use the plugins without additional setup.
Zsh also supports Vi mode out of the box. However, we need to enable and set it up correctly in the .zshrc file. We can simply copy-paste this snippet into the .zshrc file and reload the terminal:
...
# vi mode
bindkey -v
export KEYTIMEOUT=1

# Use vim keys in tab complete menu:
bindkey -M menuselect 'h' vi-backward-char
bindkey -M menuselect 'k' vi-up-line-or-history
bindkey -M menuselect 'l' vi-forward-char
bindkey -M menuselect 'j' vi-down-line-or-history
bindkey -v '^?' backward-delete-char

# Change cursor shape for different vi modes.
function zle-keymap-select () {
    case $KEYMAP in
        vicmd) echo -ne '\e[1 q';;      # block
        viins|main) echo -ne '\e[5 q';; # beam
    esac
}
zle -N zle-keymap-select
zle-line-init() {
    zle -K viins # initiate `vi insert` as keymap (can be removed if `bindkey -V` has been set elsewhere)
    echo -ne "\e[5 q"
}
zle -N zle-line-init
echo -ne '\e[5 q' # Use beam shape cursor on startup.
preexec() { echo -ne '\e[5 q' ;} # Use beam shape cursor for each new prompt.
What this configuration does is enable Vi mode in Zsh and bind the Vim keys to the completion menu. Additionally, it also configures the cursor shape for different Vi modes. For instance, it uses the block cursor in normal mode and a beam cursor in insert mode:
In this article, we learned how we can enhance Bash and Zsh. We discussed a couple of frameworks for Bash that aid in productive, interactive usage of the shell. Additionally, we also saw how we can install Zsh plugins and configure Zsh for a very simple Vi mode.