

Learn through the super-clean Baeldung Pro experience:
>> Membership and Baeldung Pro.
No ads, dark-mode and 6 months free of IntelliJ Idea Ultimate to start with.
Last updated: June 13, 2025
Learn through the super-clean Baeldung Pro experience:
>> Membership and Baeldung Pro.
No ads, dark-mode and 6 months free of IntelliJ Idea Ultimate to start with.
Linux offers different open-source project management tools for teams and individuals looking to streamline their workflows. From task tracking to collaboration features, document management to issue tracking, the tools we look at play a crucial role in enhancing productivity and efficiency during different project processes.
In this tutorial, we’ll look at project management tools specifically designed for Linux environments.
Let’s explore some of the popular open-source project management tools available for Linux users and how they can benefit developers and project teams.
ProjectLibre is a free and open-source project management tool intended ultimately as a standalone replacement for Microsoft Project. It has been downloaded millions of times worldwide and supports more than 100 languages.
Since it’s written in the Java programming language, ProjectLibre supports any machine with a fully functioning Java Virtual Machine (JVM). Further, ProjectLibre is certified to run on Linux, macOS, and Microsoft Windows.
ProjectLibre has a number of key features:
Now, let’s see how to install ProjectLibre on Linux.
ProjectLibre is available in the native repositories of different Linux distros. However, we install it from the fairly universal Snap Store.
When it comes to snap, we need to ensure we have snapd set up and enabled to install ProjectLibre. snapd is available via most Linux local package managers.
Once snapd is installed, let’s continue with the installation of ProjectLibre:
$ sudo snap install projectlibreAlternatively, we can visit their official website and download an installer compatible with the current distro.
To use ProjectLibre, we search the Applications menu or type projectlibre as a command in the terminal to launch it:
$ projectlibreThen, we should see the landing window with a smaller dialogue box with options to create or open a project:
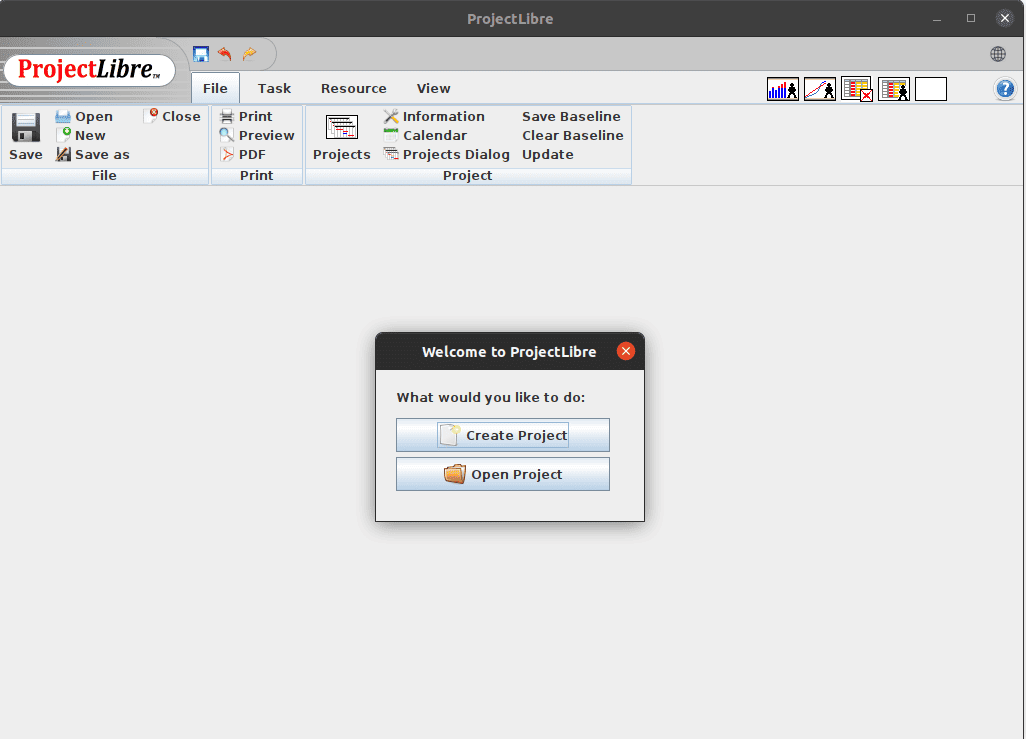
In case we have existing Microsoft Project files, we have the option of importing them using the Open Project option. However, we can also create a new project and explore some of the features that ProjectLibre offers.
Once we click the Create Project button, we get another dialogue box with fields that add extra information about the new project such as the name, manager, start date, and notes.
For this example, let’s create a project called Test Project:
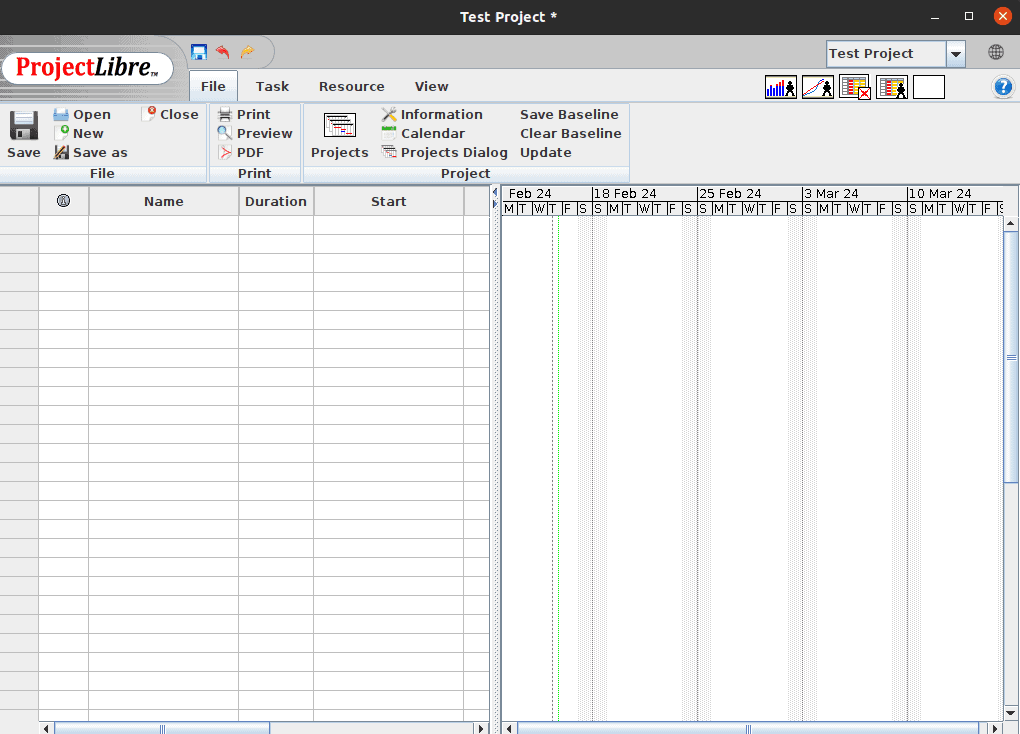
Then, we proceed with adding tasks on the left side of this window. On the right side of this window, we see the project’s Gantt chart, which is useful in visualizing task dependencies and due dates:
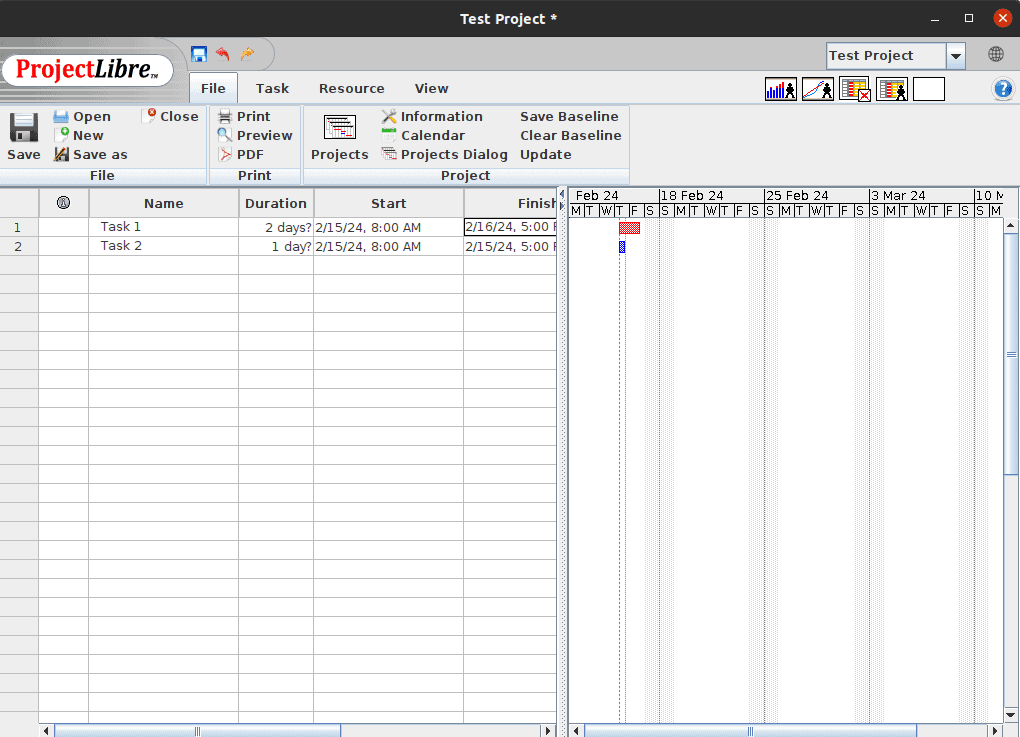
By default, each task has six columns, but we can add or remove rows by right-clicking on the table head row.
For example, let’s view how many hours it takes to complete a task by right-clicking on the duration column, and then inserting a column called Work:

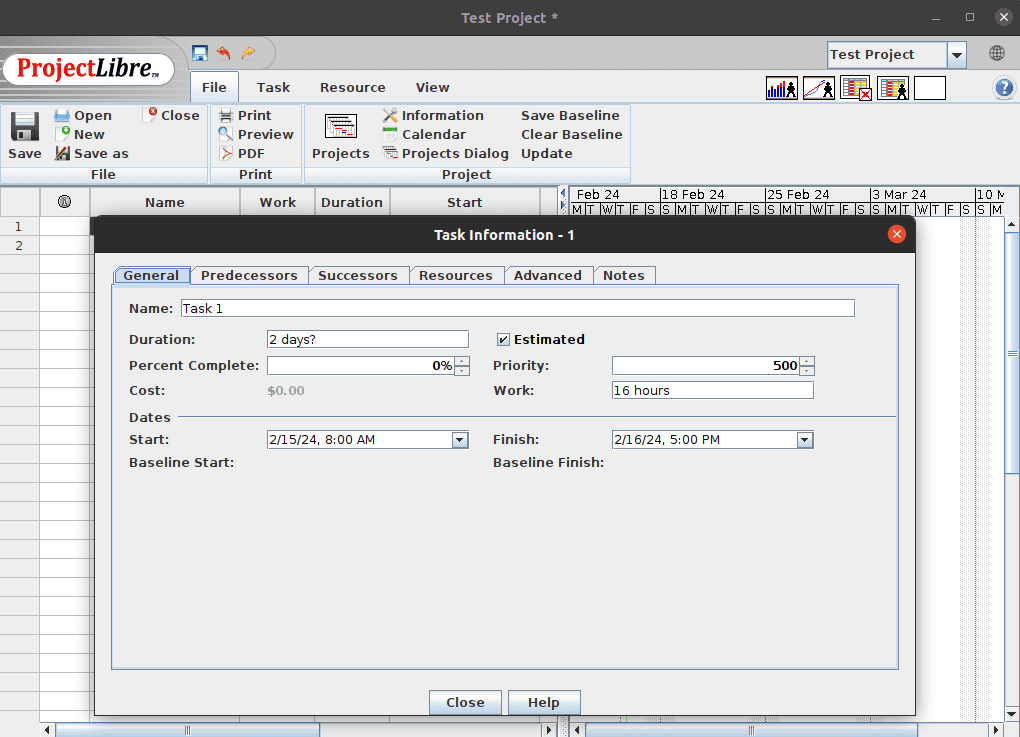
Additionally, we can view and modify additional information about a specific task by double-clicking on the task name:
We also have different options available on the top section of the main window. These options control different functions such as importing projects, changing the charts displayed, printing, and many more.
GanttProject is another open-source project management software for efficient project planning, tracking, and management.
GanttProject offers many features:
As usual, we begin by installing GanttProject on different Linux distros.
Before we install GanttProject, we need to ensure that we have Java Runtime installed from the local package manager.
Next, we proceed to the official website and download the package compatible with our Linux distro:
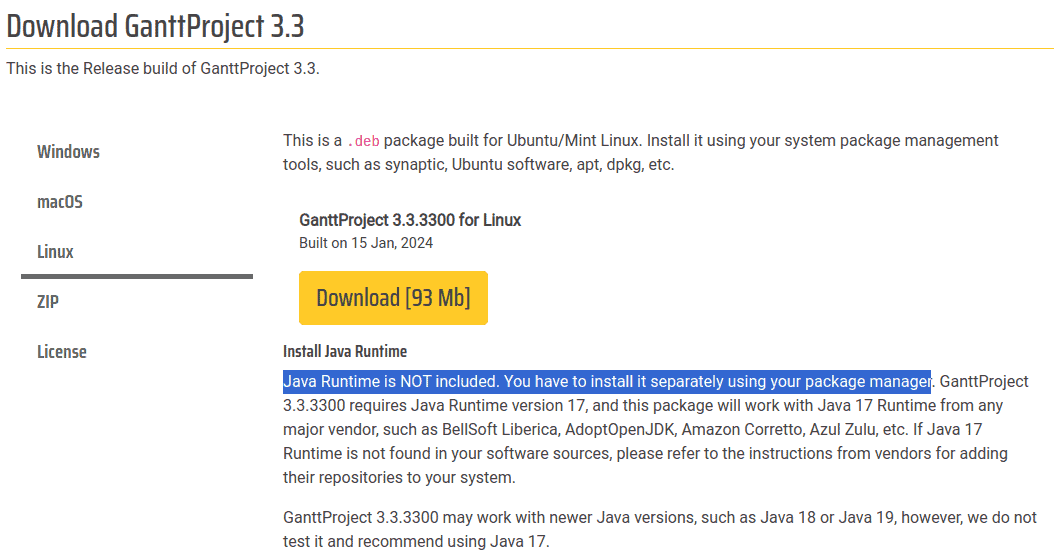
The Linux option on the website offers a .deb package built for Ubuntu or Mint Linux.
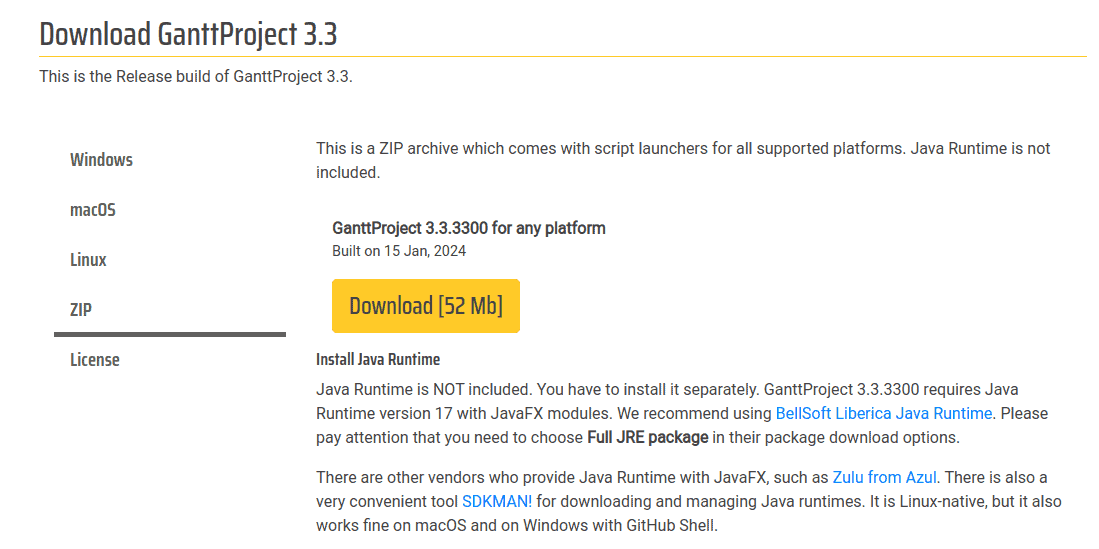
However, clicking on the ZIP option on the left side downloads a ZIP archive which comes with scripts that support installation on other distros such as Fedora or Arch Linux:
After installation, let’s look at some basic usage of GanttProject.
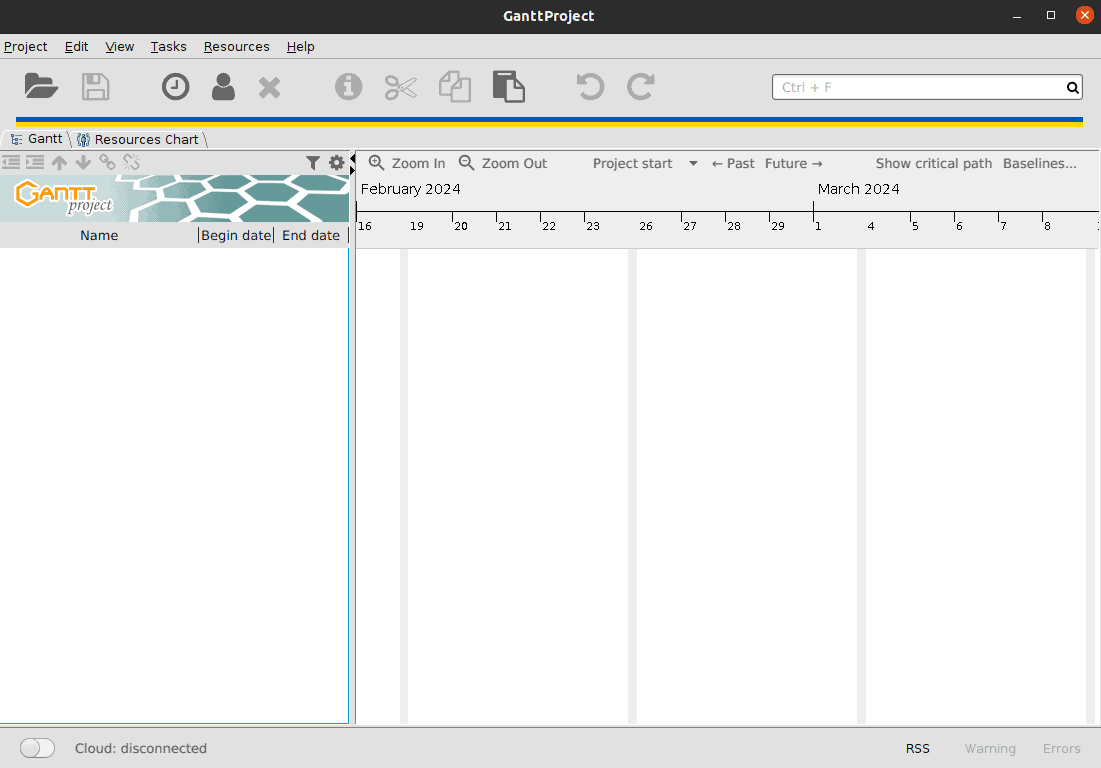
To launch GanttProject, we search for it in the Applications menu. Alternatively, invoking the ganttproject command will launch it from the terminal:
$ ganttprojectWe should see the main window with different options and icons:
Now, let’s click on the Project option in the top navbar to create or import an existing project. Within the import window, there are configurable options such as the project name, organization, web link, and description:
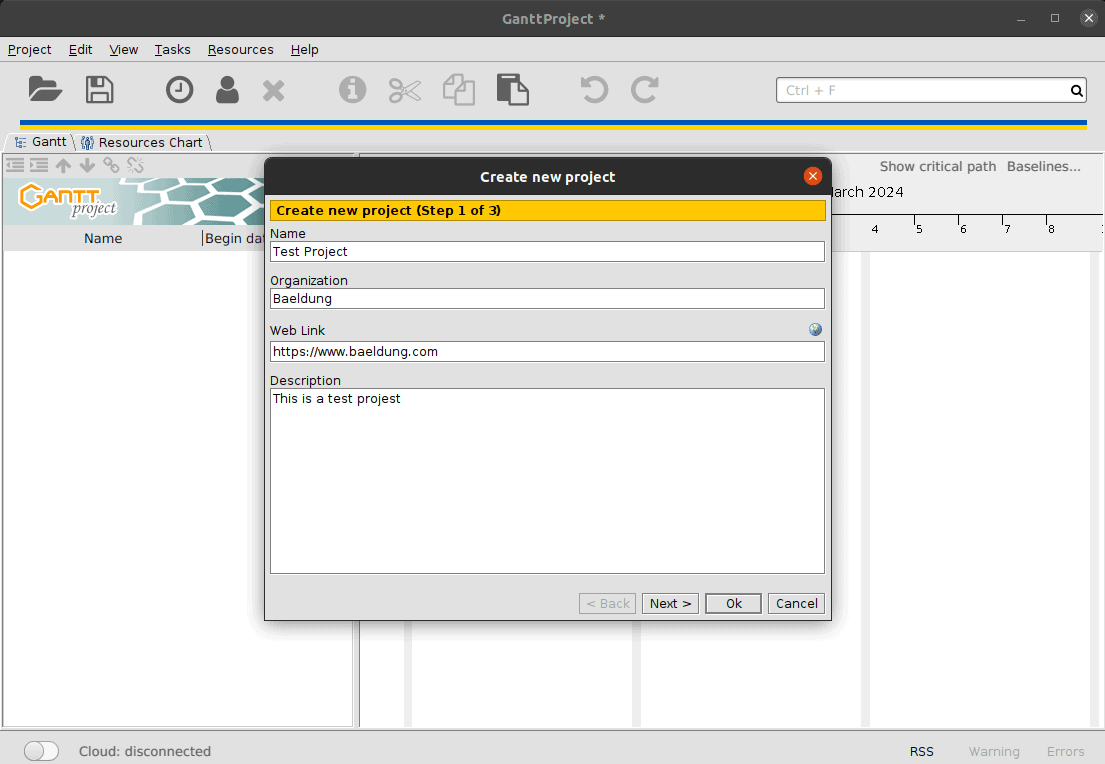
Moreover, clicking on the Next button gives us access to more settings about the project before creating it.
We can also click on the Tasks option in the top navbar to add different tasks:
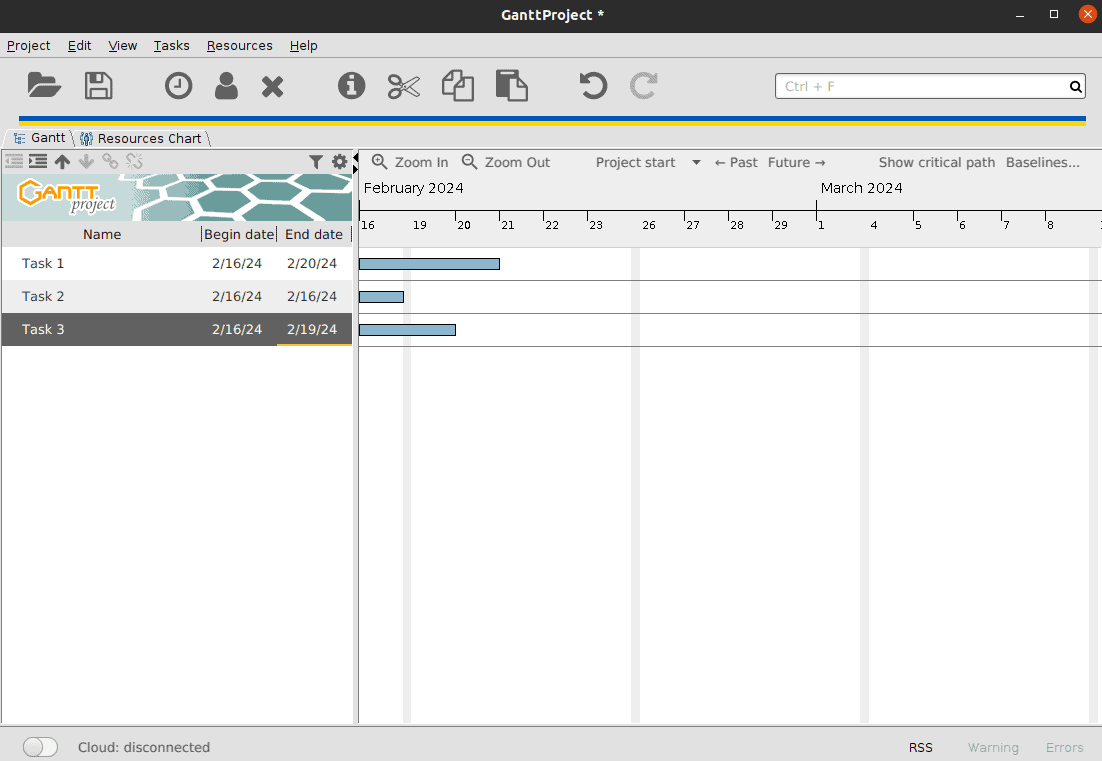
We’ve added three different tasks with varying periods. In general, on the left side, we have the task list, while the right side shows the Gantt chart. Moreover, clicking on the clock icon autostarts a new task.
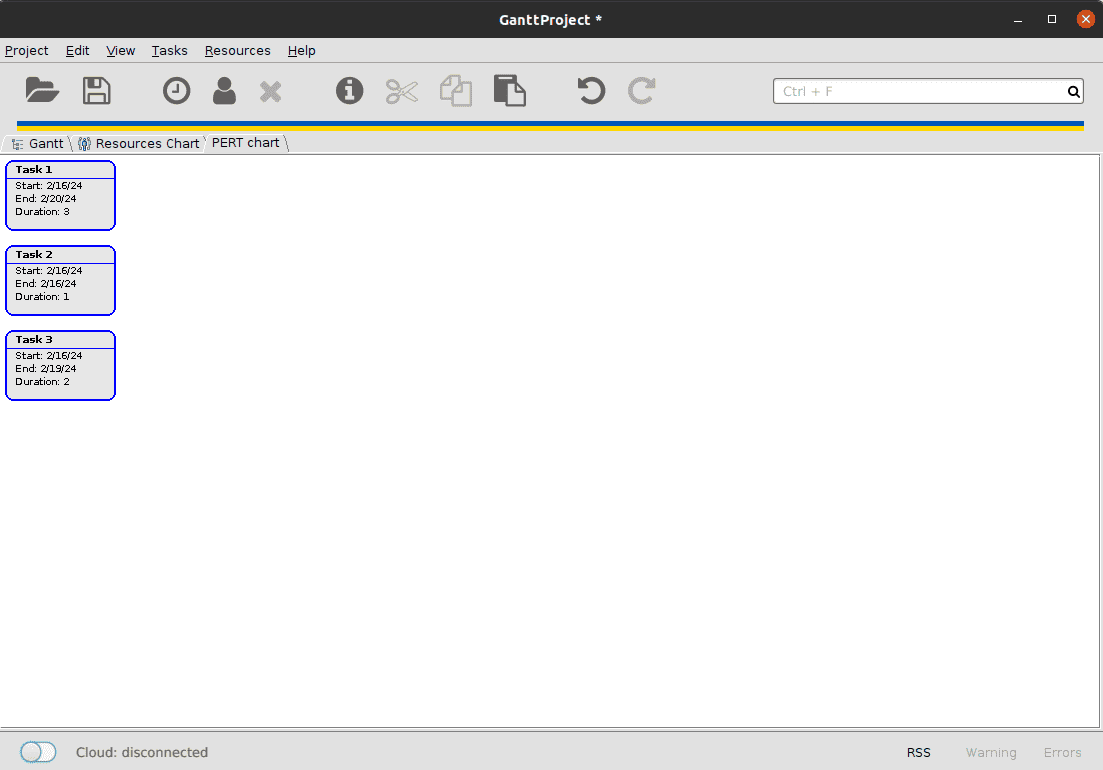
Finally, to view PERT charts for each task, let’s click the View option in the top navbar and select the PERT chart option in the dropdown:
GanttProject also offers a cloud option that can be accessed by toggling the radio button at the bottom left corner of the main window and then setting up some configurations.
GNOME Planner is an open-source productivity tool designed to streamline collaboration, project management, and organization within teams.
In addition, it offers a robust platform combining task management, note-taking, and project planning elements to enhance workflow efficiency.
Let’s look at some of the main features of GNOME Planner:
GNOME Planner is available in Linux and Windows.
Now, we turn to installing GNOME Planner on Linux.
GNOME Planner is supported by different Linux distros including Debian, Arch Linux, and Fedora.
To install it on Debian, we use the APT package manager:
$ sudo apt install plannerFor Arch Linux, we can use YAY:
$ yay -S plannerFinally, on Fedora Linux, we leverage DNF:
$ sudo dnf install plannerLet’s launch and use GNOME Planner to create some tasks.
We can find and run GNOME Planner from the Applications menu. Alternatively, we have the option of using the planner command to launch it from the terminal.
This opens up the main window with a section on each side:
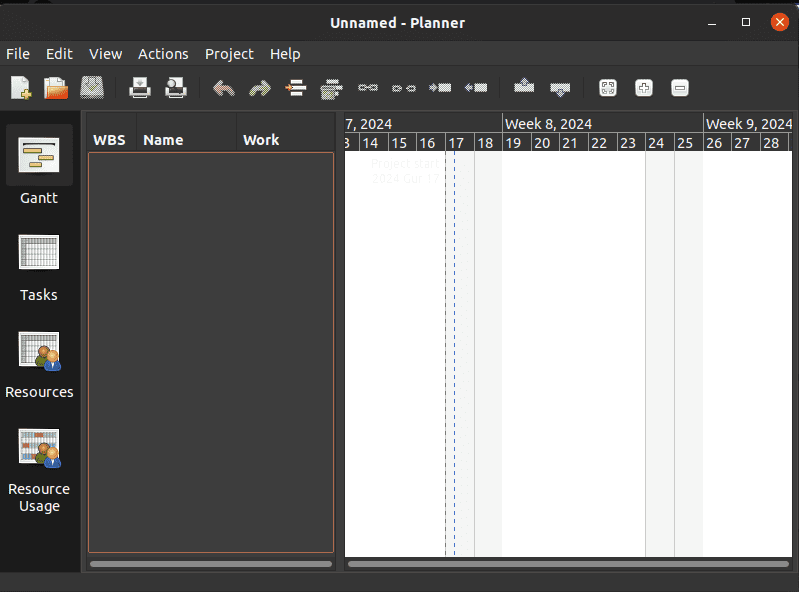
We click on the File option in the top navbar to access features such as creating a new project, importing existing projects, and exporting among others.
On the other hand, clicking on the Actions option in the top navbar inserts a new task. Further, double-clicking on the task name provides access to the task properties:
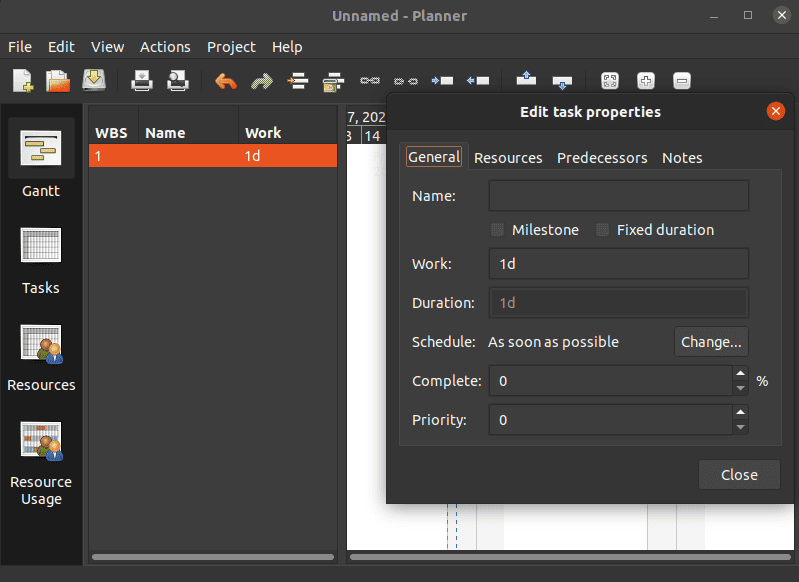
We can change the task name and the duration, set priority levels, add notes, and more.
Let’s add some tasks. After that, we’ll see them in the Gantt chart on the right side by default:
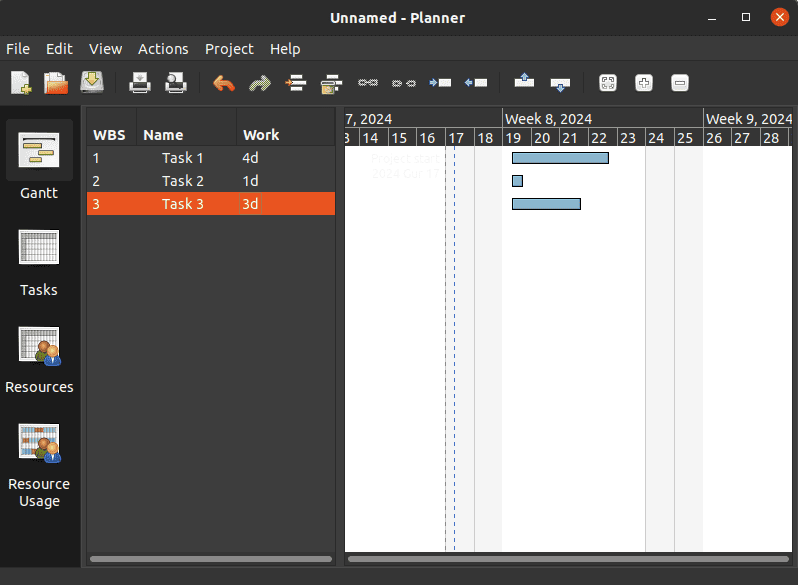
Moreover, the icons on the left side control toggling between the different views available.
Finally, we can click and drag task duration bars in the Gantt chart to set the start of tasks after the completion of another task.
For example, let’s drag the Task 1 bar to the start of the Task 3 bar:
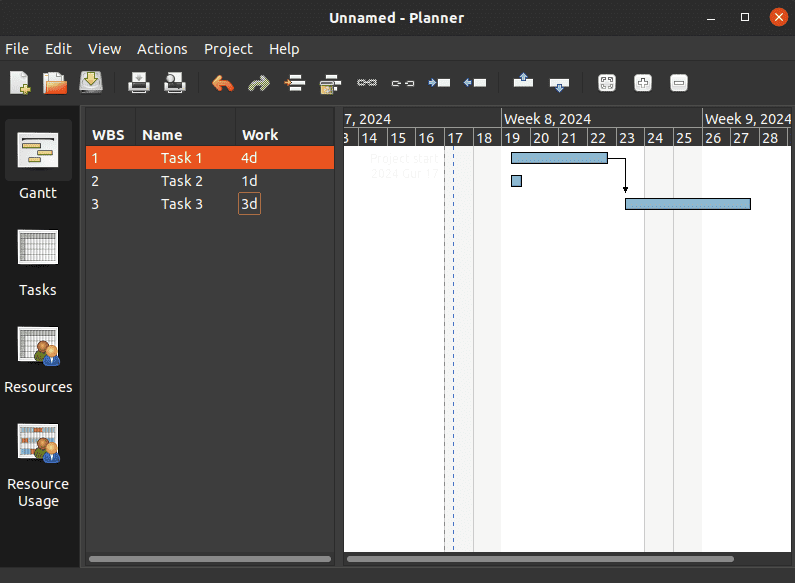
Now, Task 3 starts after the end of Task 1.
In this article, we’ve explored different open-source project management tools available for Linux.
Each tool is supported by a variety of Linux distros, and some tools even offer Web-based versions. In addition to creating tasks, we can link them and set priorities as well as completion levels for each.