

Yes, we're now running our only Summer Sale. All Courses are 30% off until 20th July, 2026:
Learn through the super-clean Baeldung Pro experience:
>> Membership and Baeldung Pro.
No ads, dark-mode and 6 months free of IntelliJ Idea Ultimate to start with.
1. Overview
Nowadays, with the advent of fast internet technologies, DVDs (Digital Video Discs) are gradually fading away. However, they aren’t dead yet because they’re still used in domains like forensics, medical, and educational fields. Additionally, they’re also used in areas where internet connectivity is limited.
In this article, we’ll learn how to play DVD movies in Linux. First, we’ll explore the structure of a typical DVD movie. Then, we’ll dive into how to play and control a DVD using mpv.
Finally, we’ll create a simple launcher for quick play.
2. Structure of DVD Movies
A DVD uses the UDF (Universal Disk Format) file system standard so that it can be used across different operating systems and devices.
In addition, a DVD movie disc follows a standard structure. It specifies how to store audio, video, and other data, thereby providing a consistent way for media players to load and play movies.
A DVD movie disc contains two primary directories: VIDEO_TS and AUDIO_TS. The “TS” postfix stands for Transport Stream. Therefore, VIDEO_TS contains video files. Similarly, the AUDIO_TS directory contains audio files. However, this directory is entirely optional and might be empty if the video files contain embedded audio.
Moreover, the VIDEO_TS folder includes VOB (Video Object) files that contain the actual video content. Additionally, it also contains IFO (Information) files that include playback information. Occasionally, it also contains BUP (Backup) files for the IFO files:
⦿ DVD
├── ⦿ AUDIO_TS
└── ⦿ VIDEO_TS
    ├── ⦿ VIDEO_TS.BUP
    ├── ⦿ VIDEO_TS.IFO
    └── ⦿ VIDEO_TS.VOB
We should keep in mind that this is the most common way to organize a DVD movie. However, we might come across DVD movies that are structured a bit differently and potentially contain more files.
3. Playing DVD Movies in Linux
In Linux, we have a plethora of media players, each with its own superpowers. However, mpv stands out from the rest.
mpv is an extremely powerful media player that can play almost any media format. It comes with a basic GUI and sane defaults.
In addition, it’s very customizable with Lua. So, we can do things like add a custom seek bar with thumb previews that are generated on the fly.
We can install it from the package repository:
# Debian and derivatives
$ sudo apt install -y mpv

# Fedora and derivatives
$ sudo dnf install -y mpv

# openSUSE
$ sudo zypper install --non-interactive mpv

# Arch and derivatives
$ sudo pacman -S --noconfirm mpv
Now, let’s verify it:
$ mpv --version
mpv 0.35.1 Copyright ©️ 2000-2023 mpv/MPlayer/mplayer2 projects
3.1. Playing the Main Channel
If there is a DVD drive attached to the machine, then we can simply insert the DVD. After a moment, we can launch mpv to play the main channel:
$ mpv dvd://dvd:// is the location identifier for mpv. Once mpv parses it, it accesses the DVD drive and plays its content from the main channel.
What’s the main channel? Well, the main channel on a DVD is the main title. For instance, a DVD movie can also contain bonus features like additional titles. However, the main channel will refer to the movie itself.
What if we have multiple loaded DVDs? In that case, we simply specify the DVD device:
$ mpv --dvd-device=/dev/sr0 dvd://It selects the first optical disc drive. We can specify other optical drives but we replace sr0 with the appropriate device name.
Notably, it works only if the DVD follows the standard structure.
3.2. Specifying a Path
In addition, we can also specify the path to the VIDEO_TS folder. For example, if we have a loaded DVD or multiple DVDs, then we can simply use the path to the mounted disc(s):
$ mpv /media/baeldung/*/VIDEO_TSIt searches for the VIDEO_TS directory inside the specified mount points. Next, it plays them in the order of discovery.
3.3. Playing All Channels
We can also play the additional or secondary content on the disc as well. For instance, if there are bonus audio files, then we can simply play them all by specifying the optical drive:
$ mpv /dev/sr0It plays all the contents, including the secondary channels and menus. However, we should know that the playback quality depends on the structure of the DVD.
An alternative to this approach would be to navigate the VIDEO_TS directory and play the files that we need manually:
$ mpv /media/baeldung/DVD-ROM/VIDEO_TS/VTS_04_1.VOB3.4. Controls and Hotkeys
mpv comes with a minimal yet usable user interface. It allows for seeking the content, control volume, load subtitles, and more:
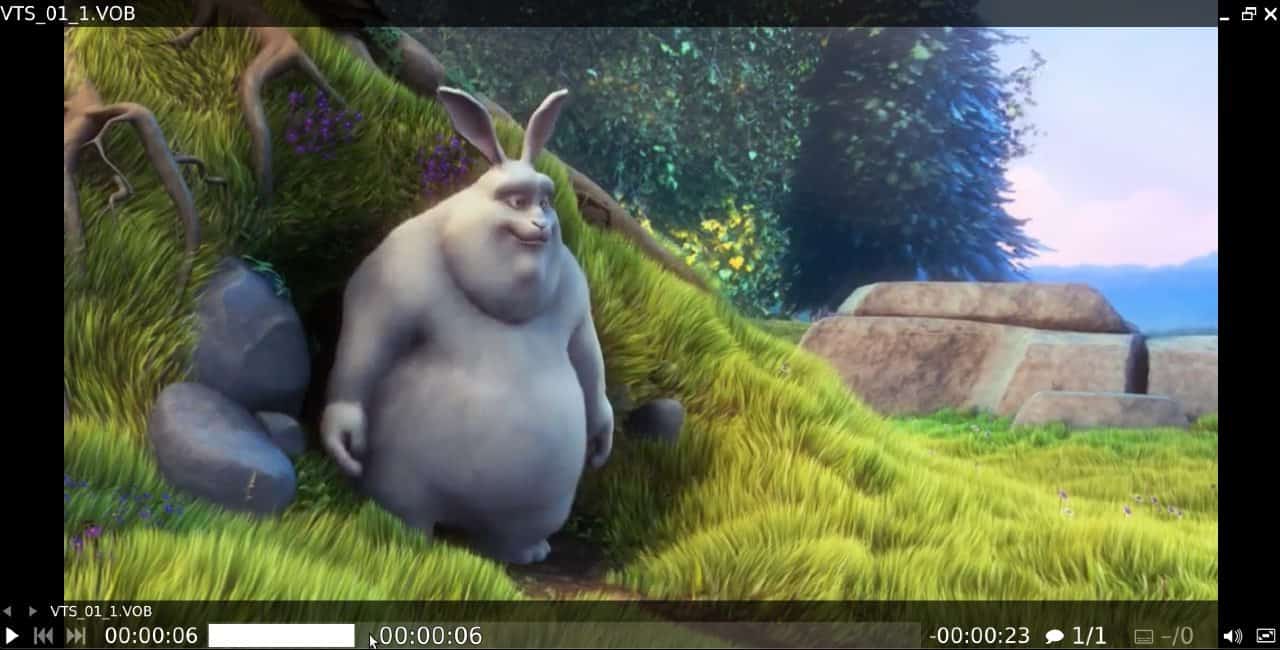
Additionally, it comes with default hotkeys:
- < and > to play the previous and next chapter
- PAUSE or Space to pause or resume
- Left and Right arrow keys to seek 10 seconds forward or backward
- Up and Down arrow keys to seek 60 seconds forward or backward
- # to cycle through audio streams
- * to raise the volume
- / to lower the volume
- [ and ] to control the playback speed
- L to toggle file loop
- f to toggle fullscreen
- A to cycle through available DVD angles
3.5. Subtitles
If the channel includes subtitle tracks, then they’re played automatically. In contrast, we can toggle subtitles with the V hotkey.
In addition, if there are multiple subtitles, then we simply cycle through them with the j and J hotkey.
4. Creating a .desktop Shortcut
We can create a simple .desktop entry file to quickly play the inserted DVD from the application menu. For that, we’ll create a play-dvd.desktop file in ~/.local/share/applications directory:
[Desktop Entry]
Categories=AudioVideo;Audio;Video;Player;TV;
Exec=mpv dvd://
Icon=~/Pictures/mpv.png
MimeType=
Name=Play DVD in mpv
StartupNotify=true
Terminal=false
Type=Application
We can change the icon path accordingly. The next step involves updating the database:
$ sudo update-desktop-database5. Conclusion
In this tutorial, we discussed how to play a DVD in Linux. We use mpv to quickly play DVD movies from the CLI. In addition, we also talked about the playback control provided by mpv.
Finally, we created a simple launcher to quickly play DVD movies from the application menu.