Learn through the super-clean Baeldung Pro experience:
>> Membership and Baeldung Pro.
No ads, dark-mode and 6 months free of IntelliJ Idea Ultimate to start with.
Learn through the super-clean Baeldung Pro experience:
>> Membership and Baeldung Pro.
No ads, dark-mode and 6 months free of IntelliJ Idea Ultimate to start with.
When dealing with multimedia, we encounter various file formats that serve different purposes each with advantages and disadvantages. For example, we may encounter the OGV and MP4 video formats when dealing with video files. OGV is a popular open-source format for video files, while MP4 is a widely used format compatible with multiple devices and platforms. So, there are times when we may need to convert an OGV file to MP4 due to compatibility issues, storage optimization, or editing requirements.
In this tutorial, we’ll learn how to convert an OGV file to MP4 in Linux. In particular, we’ll utilize the ffmpeg command-line tool, VLC, and WinFF to accomplish this task.
Before we begin, we need to understand the formats involved.
OGV is a container format that contains video streams compressed with Theora codec and audio streams compressed with Vorbis codec. We mainly use it to stream and share video content on the web. However, we may run into compatibility issues when playing the OGV files on various devices and platforms.
On the other hand, MP4 or MPEG-4 is a widely supported multimedia container format. It’s used to share videos across different platforms because it’s compatible with multiple devices, operating systems, and media players.
FFmpeg is a command-line tool that enables us to work with audio, video, and other multimedia files. Furthermore, it allows us to perform various tasks such as audio/video conversion, transcoding, and streaming.
We need to ensure we have ffmpeg installed on our system:
$ ffmpeg
ffmpeg version 4.4.2-0ubuntu0.22.04.1 Copyright (c) 2000-2021 the FFmpeg developers
If not, we’ll go ahead and install it. On Ubuntu/Debian-based distributions, we use apt:
$ sudo apt install ffmpegMeanwhile, on Fedora, we’ll use dnf:
$ sudo dnf install ffmpegFinally, on Arch Linux, we’ll use pacman:
$ sudo pacman -S ffmpegOnce ffmpeg is installed, we’ll navigate to the directory containing the OGV file:
$ cd VideosHere, we’ll use ffmpeg to convert the OGV file to MP4:
$ ffmpeg -i anime.ogv -c:v libx264 -crf 23 -c:a aac -strict -2 anime.mp4Let’s take a look at each part of the command:
Above, we use ffmpeg to convert the anime.ogv file to an MP4 file format named anime.mp4. To explain, we compress the anime.ogv file using the libx264 video codec with a moderate quality setting. Then, we compress the audio using the aac codec, and save it as anime.mp4.
VLC is a free and open-source multimedia player that can play various multimedia files, including audio and video formats, as well as streaming protocols. Here, we’ll use it to convert an OGV file format to an MP4 format.
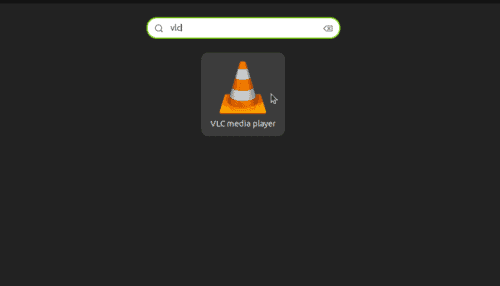
To begin, we’ll launch it from the applications menu:
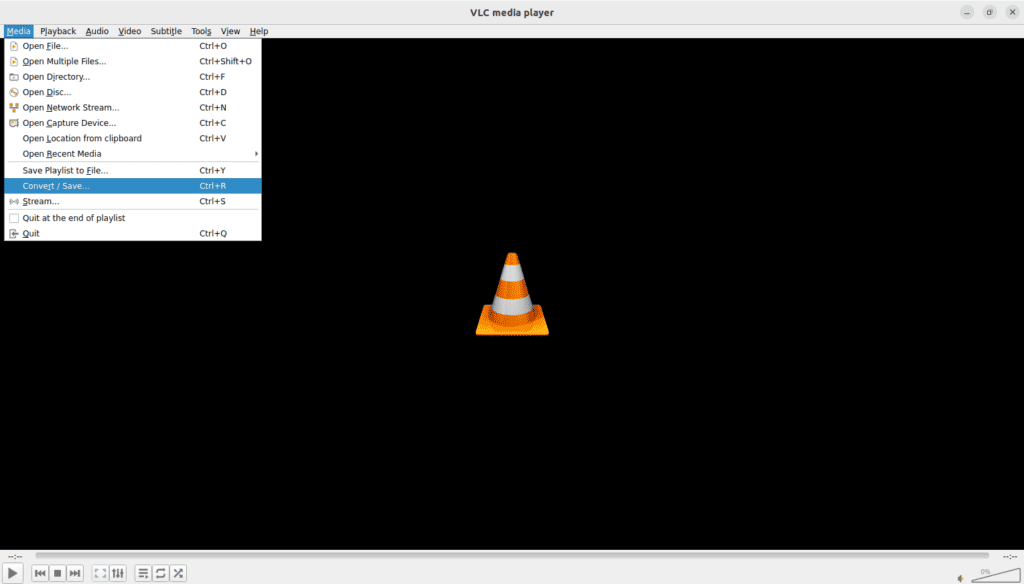
Next, we’ll navigate to the top-left corner of the VLC window and click the Media menu. From the dropdown menu, we’ll select Convert/Save:
As a result, an Open Media window opens:
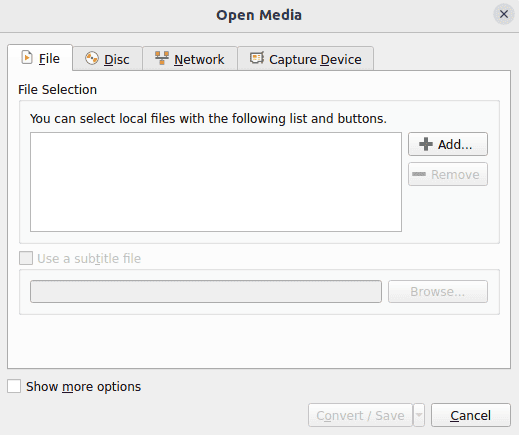
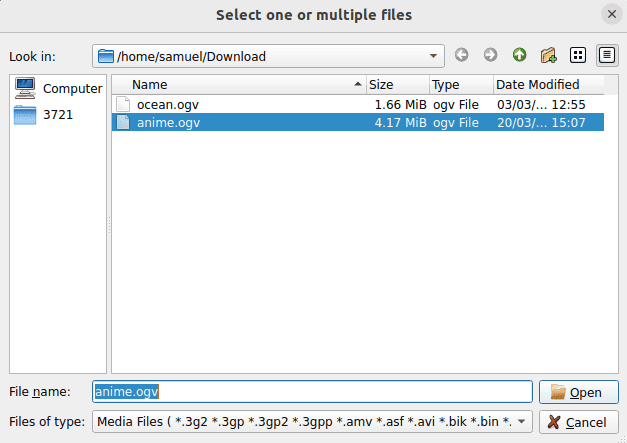
To add the file, we’ll click on the Add button and navigate to the location of the OGV file. Then, we’ll select the OGV file we want to convert and click on the open button:
After adding the OGV file, let’s click the Convert/Save button, which in turn opens the Convert dialog box:
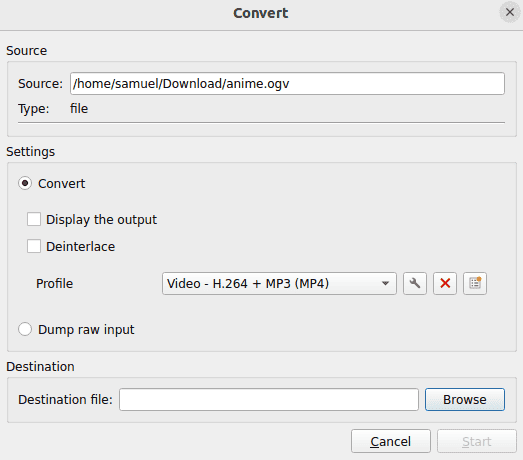
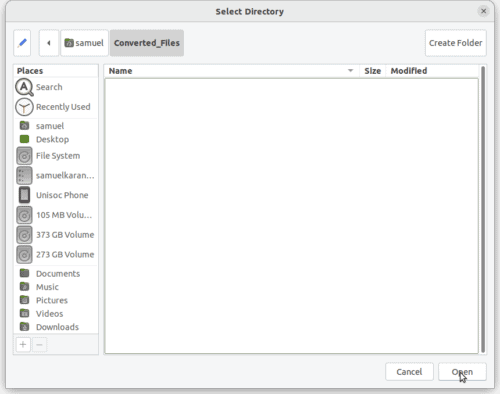
Here, we’ll choose the desired output format and destination directory. First, we’ll click the dropdown menu next to Profile and select Video – H.264 + MP3 (MP4) as the desired output format. Then, we’ll click the Browse button next to the Destination File field to select where to save the converted MP4 file. Finally, we’ll enter a name for the output file and click the Save button:
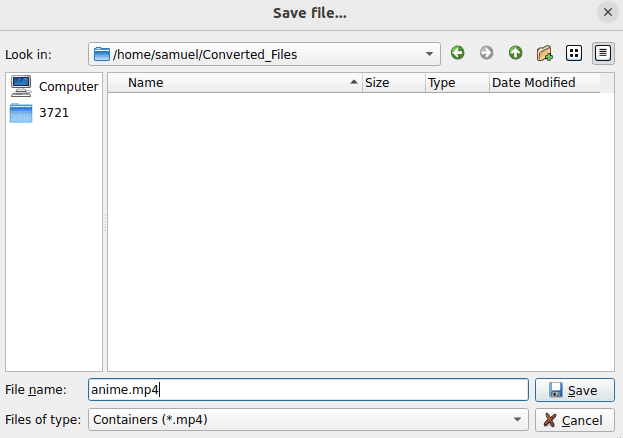
Above, we choose Converted_Files as the destination directory and anime.mp4 as the output file name.
With all the settings configured, we’ll click on the Start button to start the conversion process:

Once the conversion is done, VLC will display a notification. To verify the file was converted to MP4, we’ll navigate to the destination directory and play it using VLC or any other media player.
WinFF is a simple graphical interface that enables us to convert between various video and audio formats.
We’ll start by installing WinFF on Debian-based systems using apt:
$ sudo apt install winffFor Fedora, we’ll use dnf:
$ sudo dnf install winffOn CentOs, we’ll use yum:
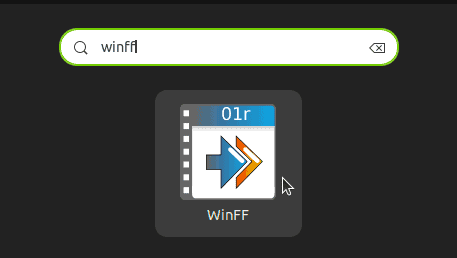
$ sudo yum install winffOnce installed, we’ll launch it from the applications menu:
Next, we’ll click the Add button to select the Ogv file we want to convert. We’ll navigate to the location of our Ogv file, select it, and click open.
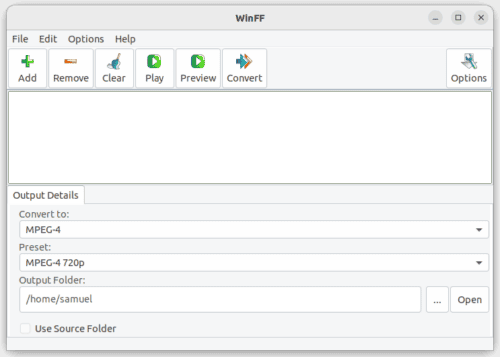
Once we add the file, we’ll click the dropdown menu labeled Convert to and select MPEG-4 as our output format. This ensures the OGV file converts to MP4:

Next, let’s specify the directory to save the converted MP4 file. We’ll do this by clicking the Browse button next to the Output Folder field and selecting the desired destination directory:
Here, we select Converted_Files as the destination directory. Once we select the output format and the destination directory, we’ll start the conversion process. We’ll do this by clicking the Convert button:

WinFF displays the conversion progress in the log window. This conversion process may take some time, depending on the size and duration of the video. Once the conversion is complete, we’ll find the converted file in the specified destination directory. To ensure the conversion was successful, we’ll verify the file by playing the video file using VLC or any other multimedia player.
In this article, we discussed how to convert an OGV file to MP4 in Linux. We achieved this using the FFmpeg command-line tool, VLC, and WinFF, a simple GUI program.