

Learn through the super-clean Baeldung Pro experience:
>> Membership and Baeldung Pro.
No ads, dark-mode and 6 months free of IntelliJ Idea Ultimate to start with.
Learn through the super-clean Baeldung Pro experience:
>> Membership and Baeldung Pro.
No ads, dark-mode and 6 months free of IntelliJ Idea Ultimate to start with.
Audio normalization is a process that adjusts the volume or loudness of an audio track to a standardized level, thereby reducing the need to manually adjust the volume when listening to a sequence of audio files.
In this tutorial, we’ll explore various utilities to normalize audio files. First, we’ll use several command-line tools for the purpose and then use Audacity as a GUI alternative.
rgain3 is a Python tool that lets us apply ReplayGain adjustments to audio files. ReplayGain is a set of standard algorithms that normalizes the loudness of audio tracks, thereby providing a consistent playback volume.
In addition, ReplayGain is supported by most media software and devices.
Prior to installing rgain3, we should first install the required dependencies:
$ apt install \
     gir1.2-gstreamer-1.0 \
     gstreamer1.0-plugins-base \
     gstreamer1.0-plugins-good \
     gstreamer1.0-plugins-bad \
     gstreamer1.0-plugins-ugly \
     python3 \
     python3-gi \
     python3-pip
Next, we install rgain3 using pip:
$ pip install --user rgain3We should keep in mind that on some Linux machines the pip binary is pip3.
Once rgain3 is installed, let’s verify it:
$ ~/.local/bin/replaygain
Usage: replaygain [options] AUDIO_FILE [AUDIO_FILE ...]
For our example, we’ll use a simple MP3 audio:
$ ~/.local/bin/replaygain --show sample.mp3
sample.mp3
  <No Replay Gain information>
Now, we simply normalize the file in place:
$ ~/.local/bin/replaygain sample.mp3
sample.mp3
  Reference loudness 89 dB
  Track gain 0.35 dB
  Track peak 0.43869019
  Album gain 0.35 dB
  Album peak 0.43869019
Similarly, we can specify track files in a single command, and the tool applies the required effects to the track.
Like rgain3, Normalize lets us adjust the loudness of audio files to make them consistent in terms of loudness. It supports OGG, WAV, and MP3 files.
It’s available in most official package repositories. So, we can install it through a package manager using its canonical name normalize-audio:
$ sudo apt install -y normalize-audioUpon installing, we get three binaries:
Let’s normalize an OGG file:
$ normalize-ogg sample.ogg
Decoding sample.ogg...
Running normalize...
Re-encoding sample.ogg...
Apart from that, it also supports batch processing. So, we could normalize a bunch of audio files:
$ normalize-ogg *.oggmp3gain is another utility that can normalize MP3 tracks.
We can install it from the official package repository using its canonical name, mp3gain:
$ sudo apt install -y mp3gainOnce installed, we simply specify the MP3 file(s) that we want to normalize:
$ mp3gain -r sample.mp3
sample.mp3
Recommended "Track" dB change: 0.340000
Recommended "Track" mp3 gain change: 0
Max PCM sample at current gain: 14375.488281
Max mp3 global gain field: 255
Min mp3 global gain field: 134
Recommended "Album" dB change for all files: 0.340000
The -r switch applies track gain to the specified file. In contrast, we can also specify album gain with -a:
$ mp3gain -a sample.mp3SoX (Sound eXchange) is a CLI utility that lets us convert audio files as well as process them.
We can install SoX from the official package repository using its canonical name, sox:
$ sudo apt install -y soxOnce installed, let’s verify it:
$ sox --version
sox:      SoX v14.4.2
By default, sox has no support for MP3 files. So, we need to add it manually by installing the required libraries:
$ sudo apt install -y libsox-fmt-mp3Similarly, we install all the libraries through the libsox-fmt-all meta package:
$ sudo apt install -y libsox-fmt-allAfter installation, we can simply normalize the audio tracks:
$ sox --norm sample.mp3 sample-norm.mp3Audacity is an audio editing software that allows us to create, record, edit, and manipulate audio files. It’s one of the go-to tools for producers for post-processing audio files.
It’s available on most official package repositories as audacity:
$ sudo apt install -y audacityOnce it’s installed, we launch it from the application menu or from the command line:
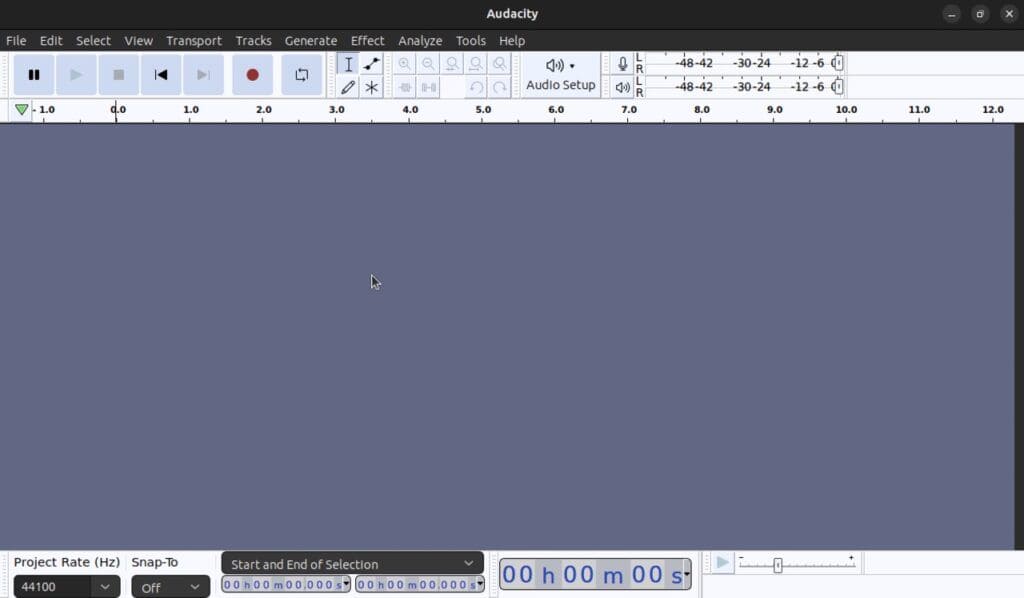
$ audacityOnce launched, we’ll be presented with the main view:
Now, we open the audio file by going to File → Open and selecting the file that we need to normalize.
Once the file has loaded, we select the entire track by pressing Ctrl+A. Alternatively, we can also select part of the audio by clicking and dragging the cursor.
After the track has loaded, we head over to Effects → Volume and Compression → Normalize…:
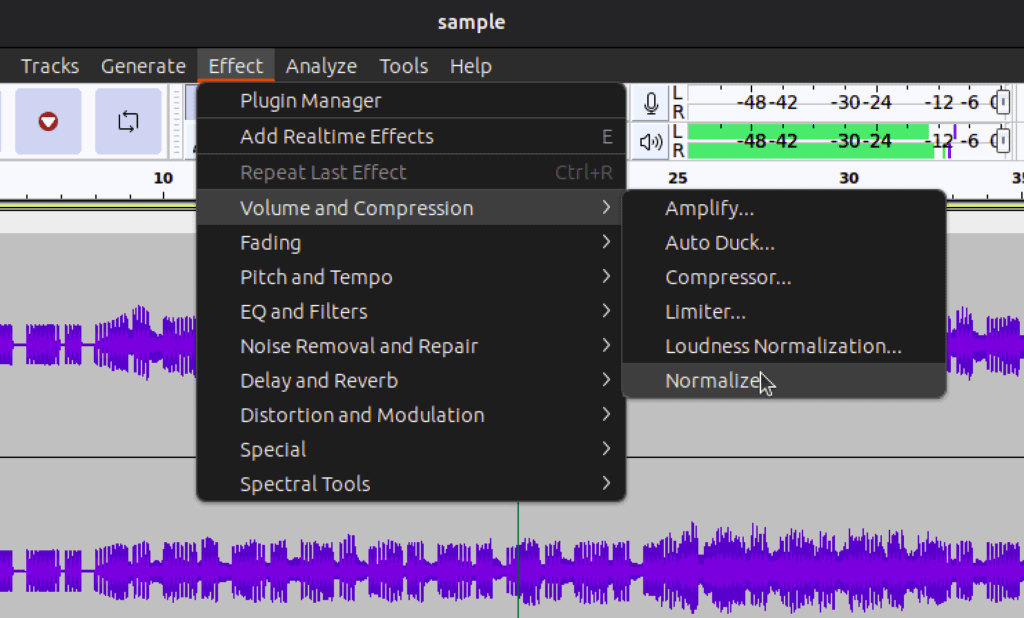
Once we select the effect, it opens a dialog box where we can adjust the settings appropriately:

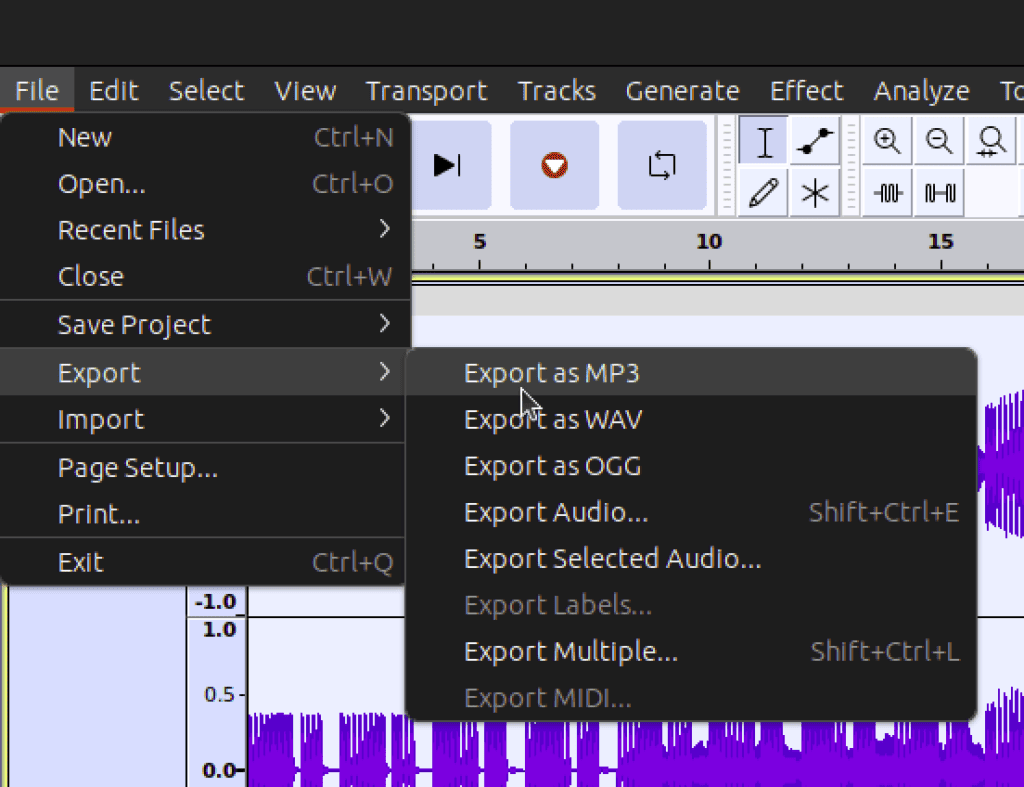
Afterward, we press Apply to normalize the track. Next, we simply export the track by going to File → Export and selecting the format from the menu:
Now, we select the destination and adjust the output format settings:
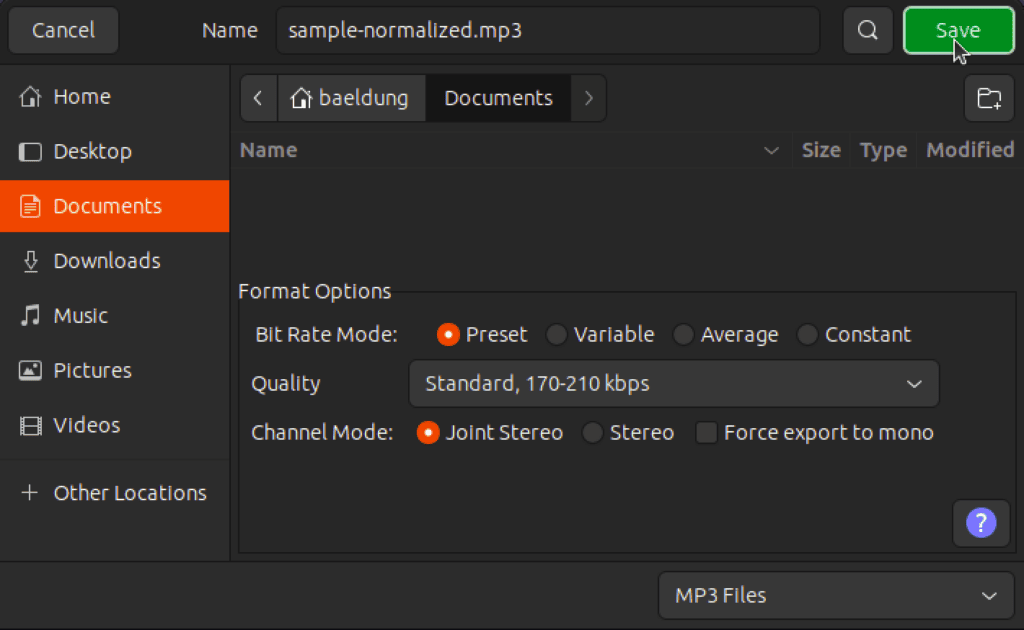
Lastly, we simply press Save to write the file to the disk.
In this article, we learned how to normalize audio tracks in Linux. For that purpose, we made use of various command-line utilities like rgain3, Normalize, and sox.
Finally, we looked at Audacity to normalize audio tracks through the use of a GUI.