

Learn through the super-clean Baeldung Pro experience:
>> Membership and Baeldung Pro.
No ads, dark-mode and 6 months free of IntelliJ Idea Ultimate to start with.
Learn through the super-clean Baeldung Pro experience:
>> Membership and Baeldung Pro.
No ads, dark-mode and 6 months free of IntelliJ Idea Ultimate to start with.
Often, we need a convenient and accessible way to manage and run shell scripts using the graphical user interface (GUI) in a GNOME desktop environment. For this, the first method that comes to our mind is to use Nautilus, the default file manager. However, it doesn’t provide a direct option to execute script files. Still, we can add or trigger this functionality to Nautilus with the help of different solutions.
In this tutorial, we’ll check out methods for executing scripts in Nautilus on a Ubuntu 22.04 GNOME desktop.
Specifically, we look at the chmod command, the Properties settings, the Preferences settings, and Terminal emulator integration.
Nautilus is the default file manager for the GNOME desktop environment in Linux. Specifically, we can use it to create, manage, navigate, and interact with files and directories.
However, Nautilus doesn’t offer us a built-in option to execute scripts by double-clicking or right-clicking in the usual way. Specifically, for security reasons, it restricts the scripts running from the file manager to prevent unintentional execution of the potentially harmful code on our system.
For demonstration, let’s create a script file and try to execute it using Nautilus on the system.
To do so, we bring up the Activities menu, type Text Editor, and open it:

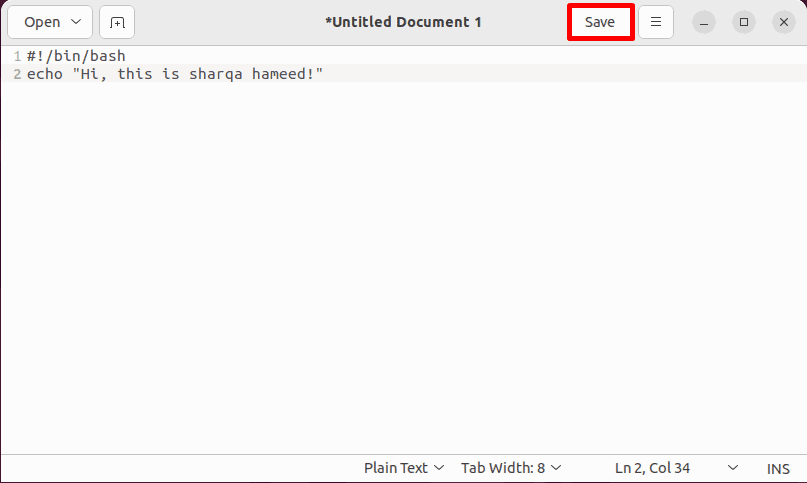
Then, we add some code to the script file:
#!/bin/bash
echo "Hi, this is sharqa hameed!"
After adding the code to the script, we click on the Save button:
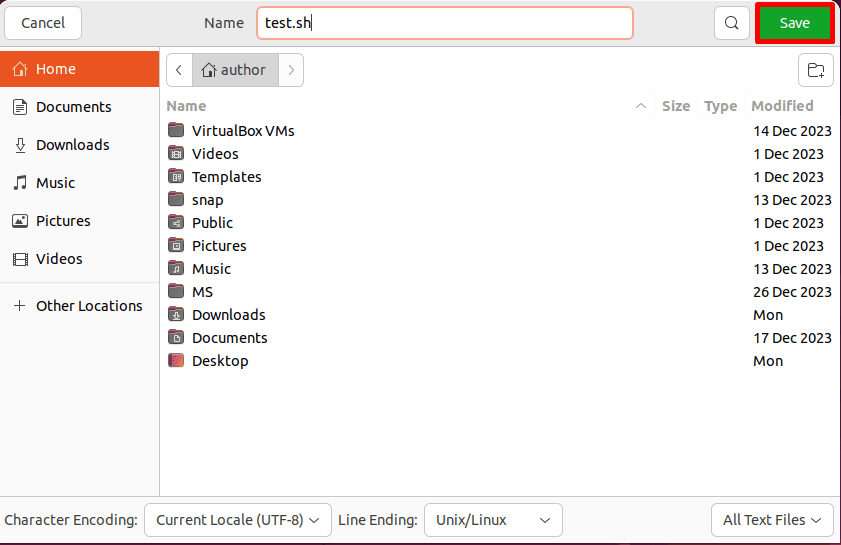
Next, we browse to the destination directory, specify the script Name as test.sh, and click Save:
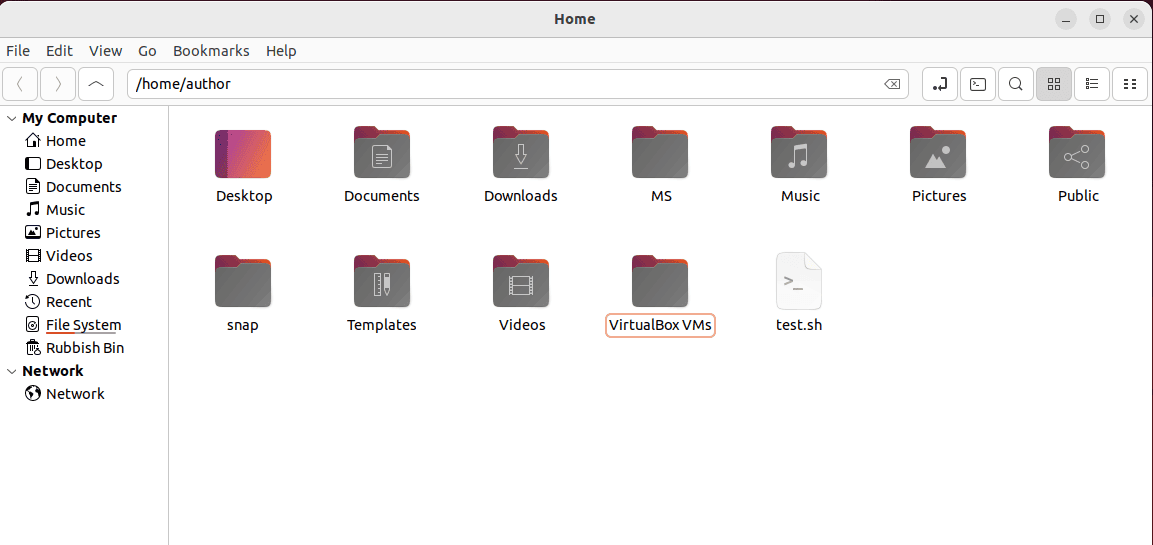
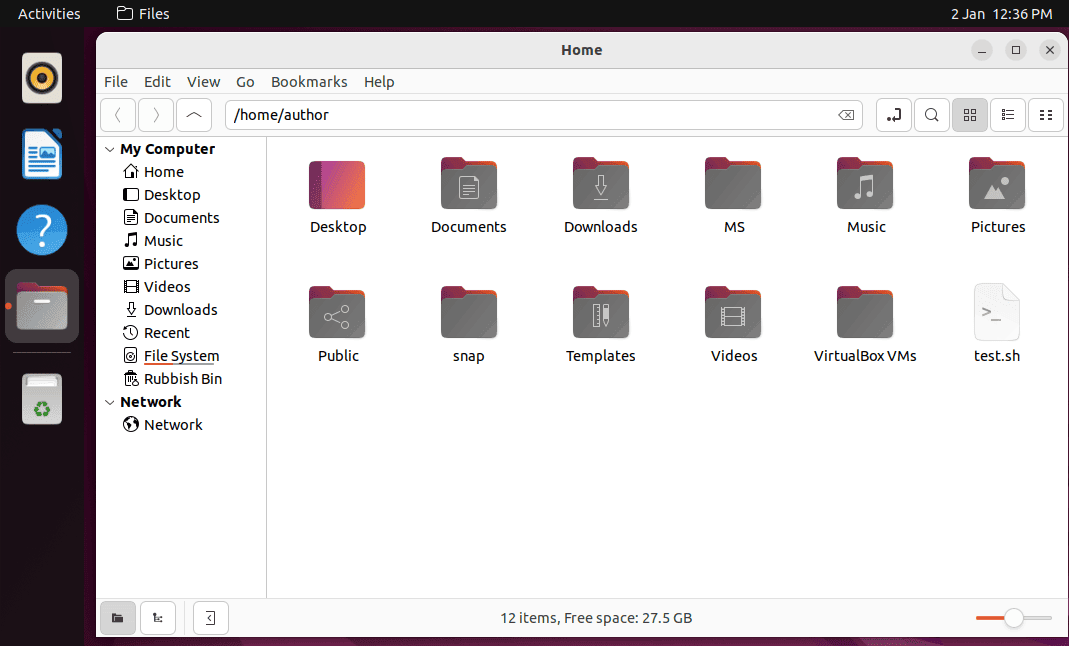
Consequently, our /home/author directory now contains the test.sh script:
Now, we double-click on the test.sh script to execute it:
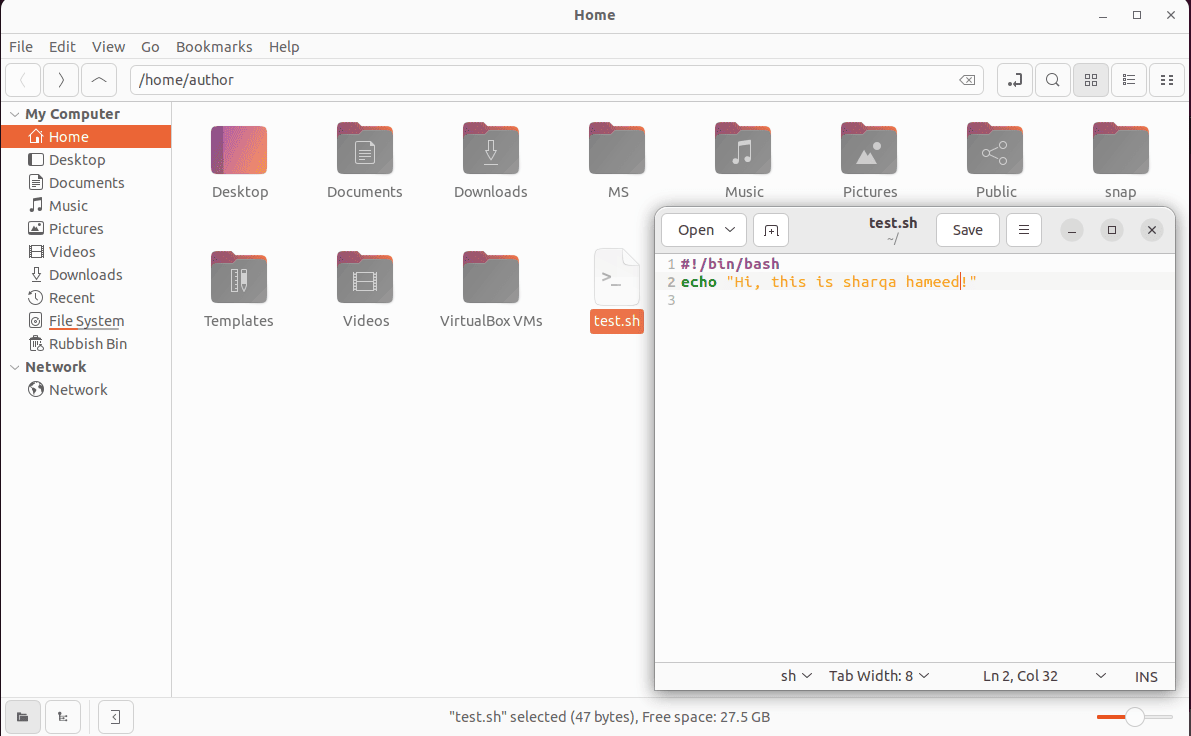
As expected, Nautilus doesn’t execute the tesh.sh script and instead opens it in the Text Editor for editing. Let’s see how we might be able to work around this limitation.
In Linux, the chmod command is used to modify the file access permissions. It enables us to control who can read, write, or execute a file on our system. Additionally, we can use the chmod command to grant execution permission to a script.
For instance, let’s run the chmod command in our terminal to grant execute permission to the test.sh script:
$ sudo chmod +x test.shHere, we perform a permissions change:
After executing the command, we switch back to Nautilus and double-click on test.sh to execute it:
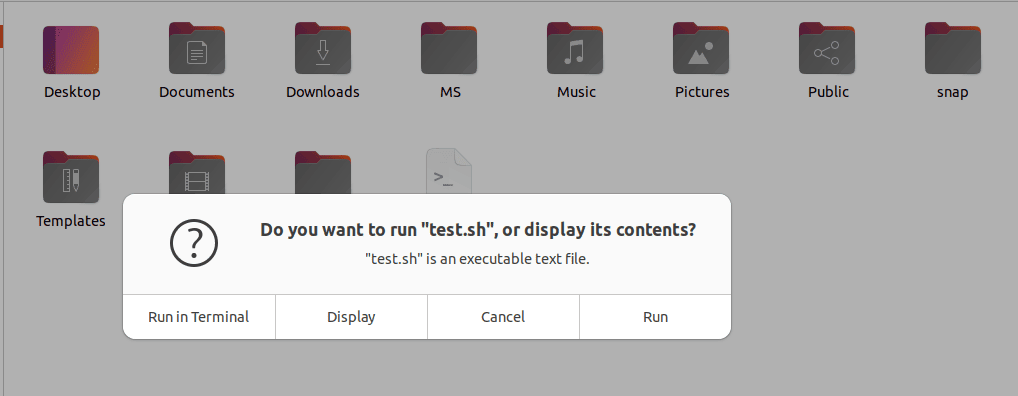
As a result, we can now execute the script directly in Nautilus with the Run option or in the terminal with the Run in Terminal option. Notably, although this is commonly the default, Nautilus requires a setting to enable the behavior, which we’ll discuss later.
We can also make the script executable in Nautilus using the Properties dialog. This method is a great choice if we prefer to use a GUI for setting the file access permissions on the system.
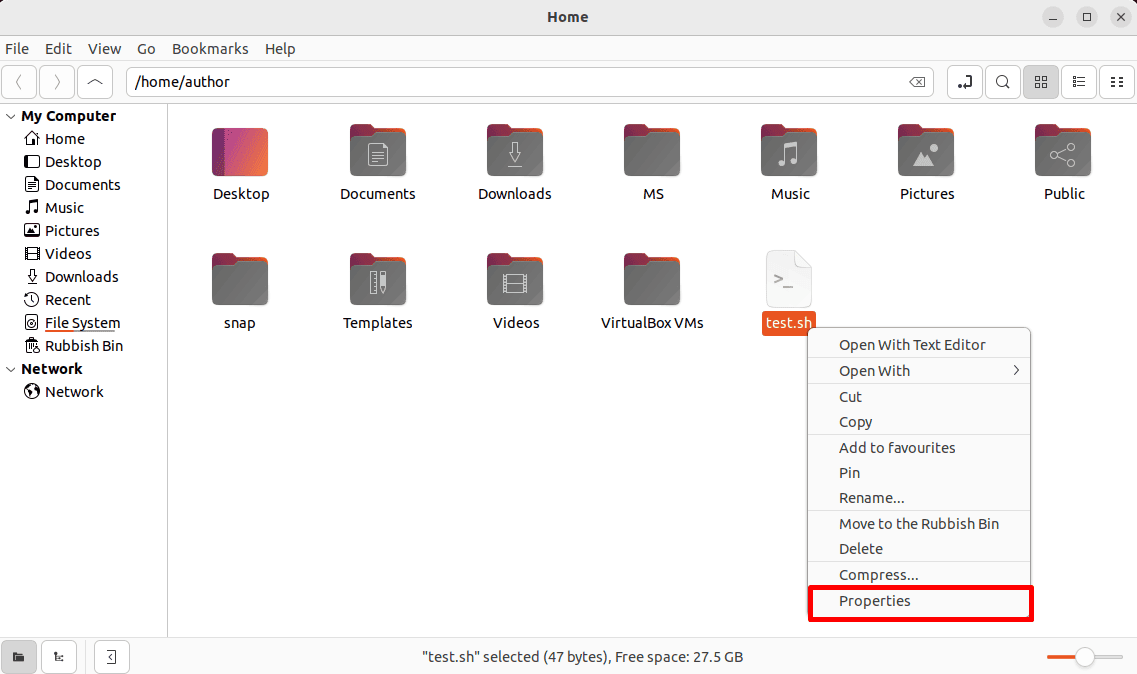
To do so, we navigate to the directory where test.sh is saved, double-click on it, and select the Properties settings from the context menu:
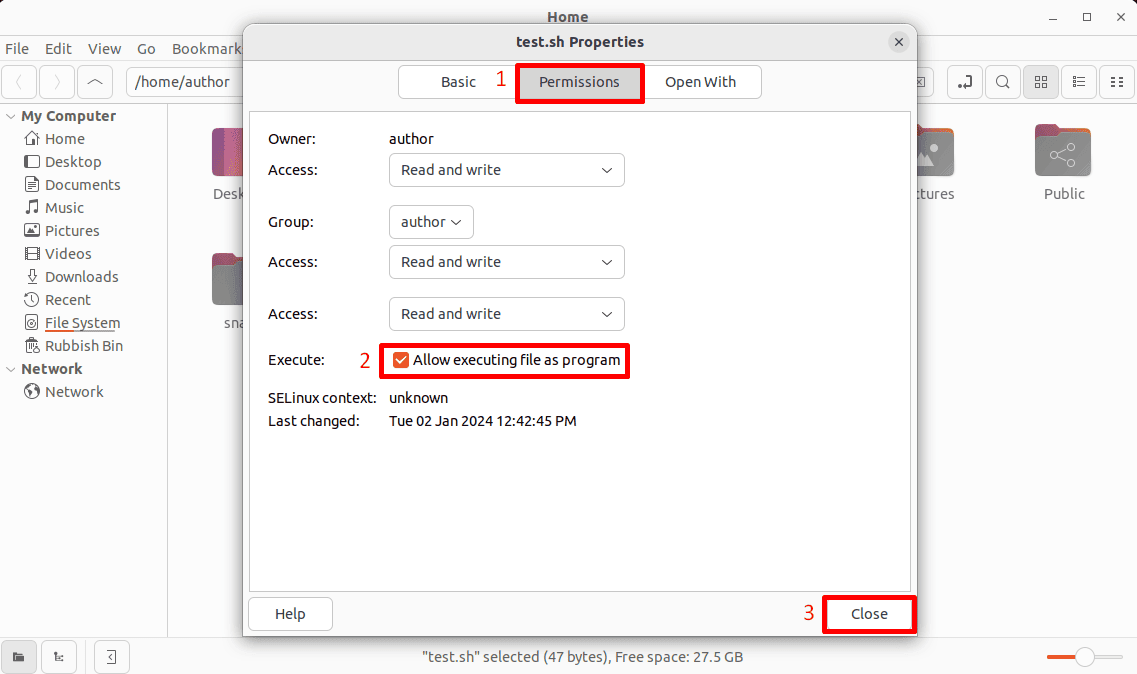
Then, we go to the Permissions tab of the test.sh Properties window, mark the Allow executing file as a program checkbox, and click Close:
Let’s check the result:
Thus, we can now run the test.sh script using Nautilus on our Linux system with the same options that chmod unlocked. Also like the chmod method, we might have to edit the Nautilus preferences to trigger this behavior.
Nautilus enables us to configure different aspects of its behavior using the application’s Preferences dialog. Moreover, we can use these settings to adjust the functionality of Nautilus according to our workflow.
In this case, we configure the Preferences settings of Nautilus to enable script execution.
To do so, first, we launch Nautilus on our system:
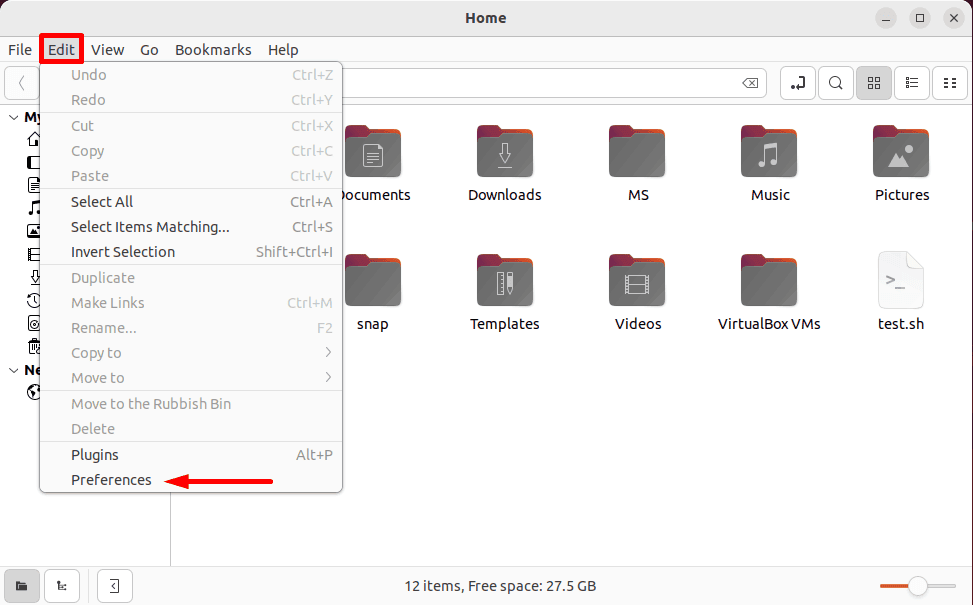
Then, we click on the Edit option of the menu bar and select Preferences from the drop-down menu:
Now, we go to the Behaviour settings, mark the Ask each time radio button under the Executable Text Files section, and press X to apply the changes:
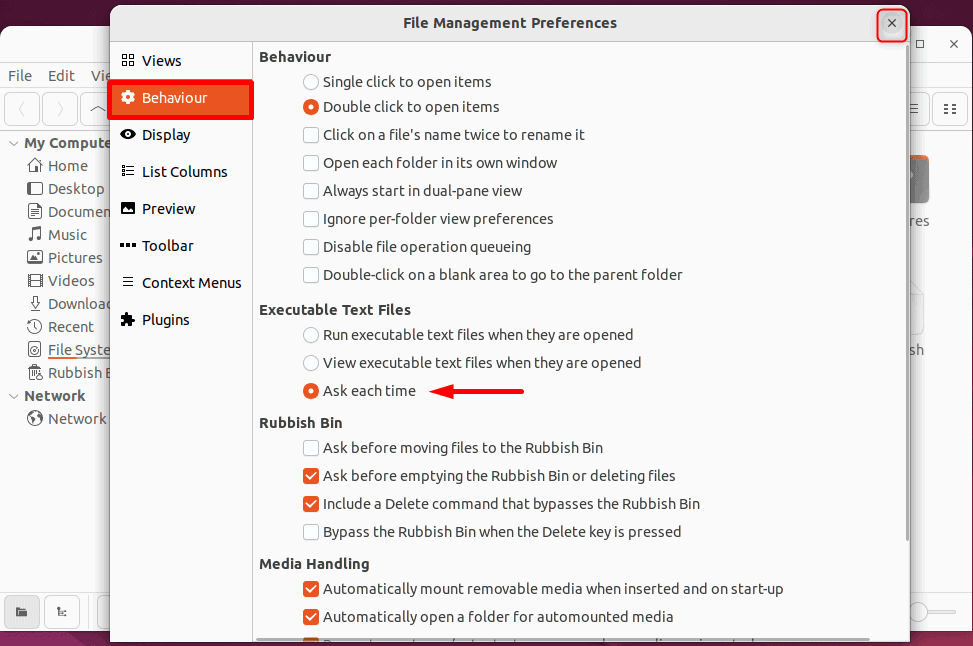
Of course, we can select any of the other options as well.
Let’s check the result:

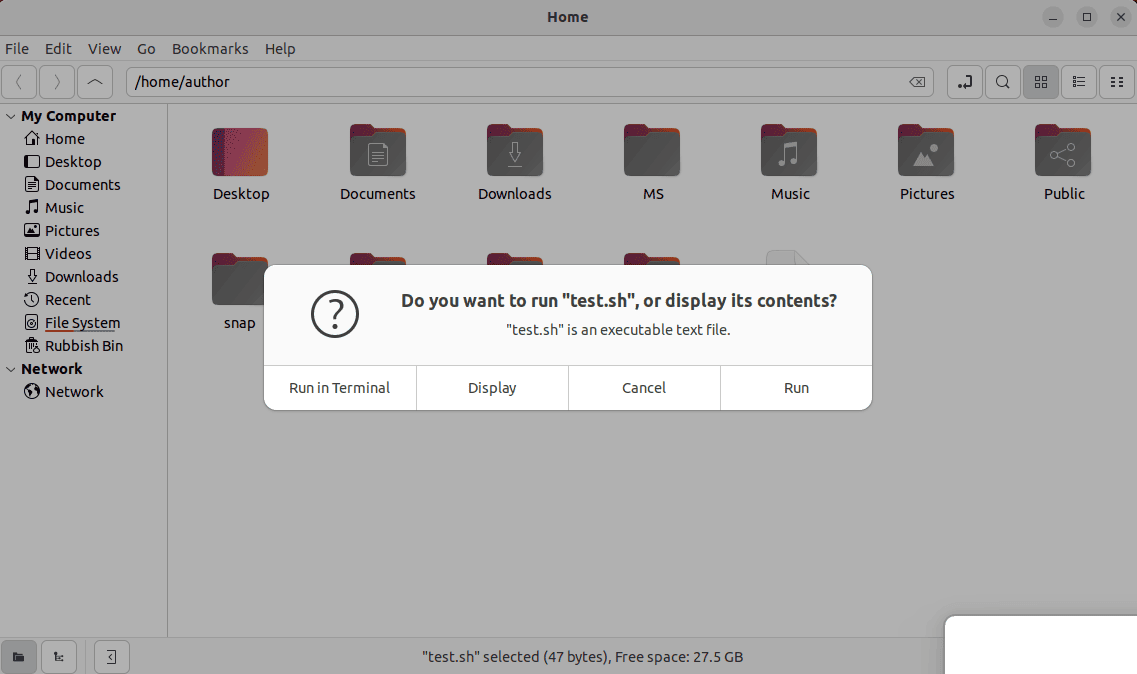
Consequently, when we double-click the test.sh script file, Nautilus allows us to run it or display its content as per the requirements.
Terminal emulator integration refers to the process of executing scripts within a terminal environment through the GUI. It enables us to run scripts and interact with the terminal-like interface.
To do so, we can create a Desktop entry or .desktop file for integrating the terminal emulator functionality with the script execution. Moreover, with this approach, we can run a script using its launcher in Nautilus and view the output in the terminal.
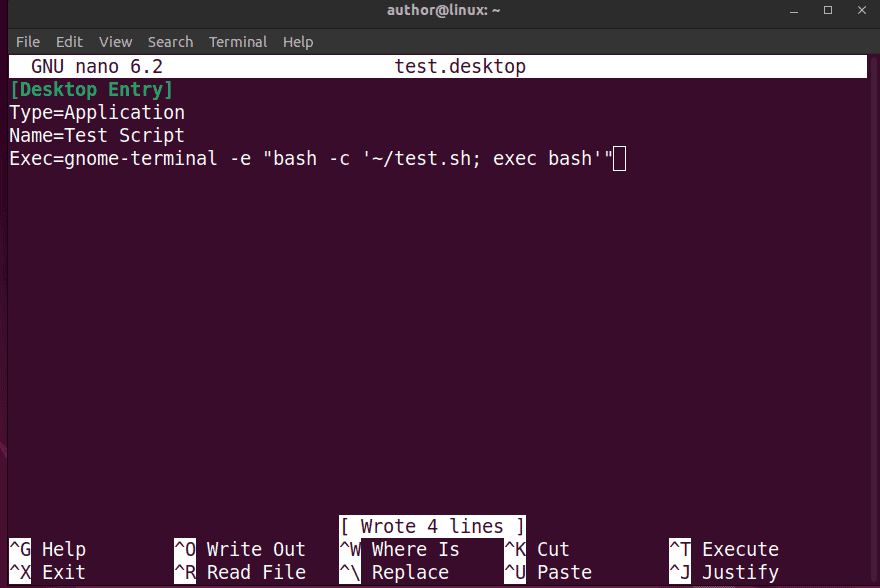
So, let’s create a Desktop entry file named test.desktop for the test.sh script using the nano editor:
$ sudo nano test.desktopThen, we add the code to the Desktop entry file:
[Desktop Entry]
Type=Application
Name=Test Script
Exec=gnome-terminal -e "bash -c '~/test.sh; exec bash'"
Let’s break down the script above:
After adding the code, we press CTRL+O and Return to save the test.desktop file and CTRL+X to exit the nano editor:
Consequently, we can now see the Test Script executable launcher in the same directory.
Now, we double-click on the Test Script launcher to see the result:
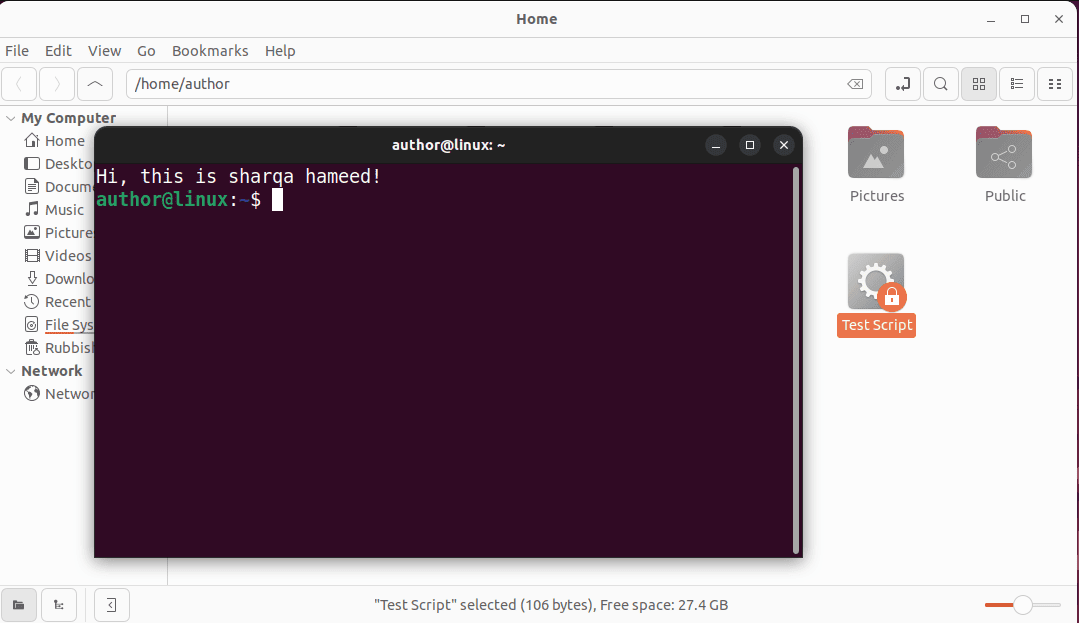
Thus, we successfully execute the script and view its output in the terminal, leaving a Bash session open for further interaction.
In this article, we explored several methods to execute scripts in Nautilus within the GNOME desktop environment.
Particularly, we can use the chmod command or the Properties settings of the file to make the script executable. Next, we can check, verify, and change the Preferences settings of Nautilus to enable us to execute the script using the GUI. Furthermore, the Terminal emulator integration approach creates a .desktop file for the script, displays its output, and leaves a new Bash session after execution.
Ultimately, we can select any of these methods based on our preferences for using the command line or GUI.