

Yes, we're now running our only Summer Sale. All Courses are 30% off until 20th July, 2026:
Learn through the super-clean Baeldung Pro experience:
>> Membership and Baeldung Pro.
No ads, dark-mode and 6 months free of IntelliJ Idea Ultimate to start with.
1. Overview
On high-resolution screens, the GRUB (GRand Unified Bootloader) menu looks very small compared to low-resolution screens. Fortunately, we can customize the boot menu to make it more accessible for users with visual impairments or those who need larger text.
In this tutorial, we’ll learn how to adjust the font size of the GRUB menu. We’ll go through different steps, such as picking the right font, converting the font to GRUB-compatible format, and updating the GRUB config.
We’ll also explore how to adjust the resolution of the GRUB menu to quickly enlarge the fonts without having to configure the fonts manually.
2. Changing GRUB Font
We can change the GRUB font in several easy steps. In this section, we’ll explore how to customize the font used in the GRUB bootloader.
2.1. Pick the Right Typeface
When choosing a typeface, it’s essential to pick one that is readable and compatible with GRUB. Usually, it’s recommended to use monospaced fonts for the GRUB menu because they have consistent width that helps with alignment.
Some of the popular monospace typefaces include:
Moreover, we should also consider picking a typeface that supports a wide range of characters. It would help us render uncommon characters that would otherwise be rendered as tofu blocks.
Therefore, we’ll go with DejaVu Sans Mono for our example because it supports a wider range of characters.
2.2. Convert Font to GRUB Format
First of all, we’ll need to download the DejaVu Sans typeface. By default, it’s available on Ubuntu, but we can download it from its official website. Once it’s downloaded, let’s extract the archive:
$ tar -xvf dejavu-fonts-ttf-2.37.tar.bz2The archive contains different fonts, but we’re mainly interested in DejaVu Sans Mono (DejaVuSansMono.ttf). We’ll convert this to the PF2 format because GRUB has specific requirements for the font format it can use.
For that purpose, we can use the grub-mkfont utility. We can use grub-mkfont to generate GRUB-compatible fonts from TrueType fonts files.
Let’s use grub-mkfont to generate PF2 font out of DejaVuSansMono.ttf:
$ sudo grub-mkfont -s 24 -o /boot/grub/dejavu-sans-mono.pf2 dejavu-fonts-ttf-2.37/ttf/DejaVuSansMono.ttfLet’s break it down:
- -s specifies the size of the font to be generated
- -o sets the output filename
Once the command executes successfully, we’ll get the dejavu-sans-mono.pf2 font file in the /boot/grub directory:
$ ls -l /boo/grub/*.pf2
-rw-r--r-- 1 root root  209064 Jul 12 18:32 /boot/grub/dejavu-sans-mono.pf2
-rw-r--r-- 1 root root 2392304 Jul 11 17:23 /boot/grub/unicode.pf2
In addition to our generated font, there is also unicode.pf2. It’s the default font file used by GRUB.
2.3. Change the Font in GRUB Config
Before making changes to the GRUB file, let’s create a backup first of the old GRUB config:
$ sudo cp /etc/default/grub /etc/default/grub.bakNow, we’ll need to update the GRUB config to include our custom font file:
$ echo "GRUB_FONT=/boot/grub/dejavu-sans-mono.pf2" | sudo tee -a /etc/default/grub
GRUB_FONT=/boot/grub/dejavu-sans-mono.pf2
This command specifies the font file using the GRUB_FONT option and appends it to the GRUB config.
2.4. Updating GRUB Config
This is the last step. We’ll now need to re-generate the GRUB config file for our changes to take effect:
$ sudo grub-mkconfig -o /boot/grub/grub.cfg
Sourcing file /etc/default/grub.d/init-select.cfg'
Generating grub configuration file ...
Found linux image: /boot/vmlinuz-6.2.0-20-generic
Found initrd image: /boot/initrd.img-6.2.0-20-generic
Found memtest86+x64 image: /boot/memtest86+x64.bin
...
done
Alternatively, for EFI, we can specify the required directory:
$ sudo grub-mkconfig -o /boot/efi/EFI/{distro}/grub.cfgHere, we should replace {distro} with the codename for our distribution. For instance, on RHEL, we can replace it with “redhat“.
2.5. Test
We’re now ready to test out our new config. So, let’s reboot the system and notice the new changes:
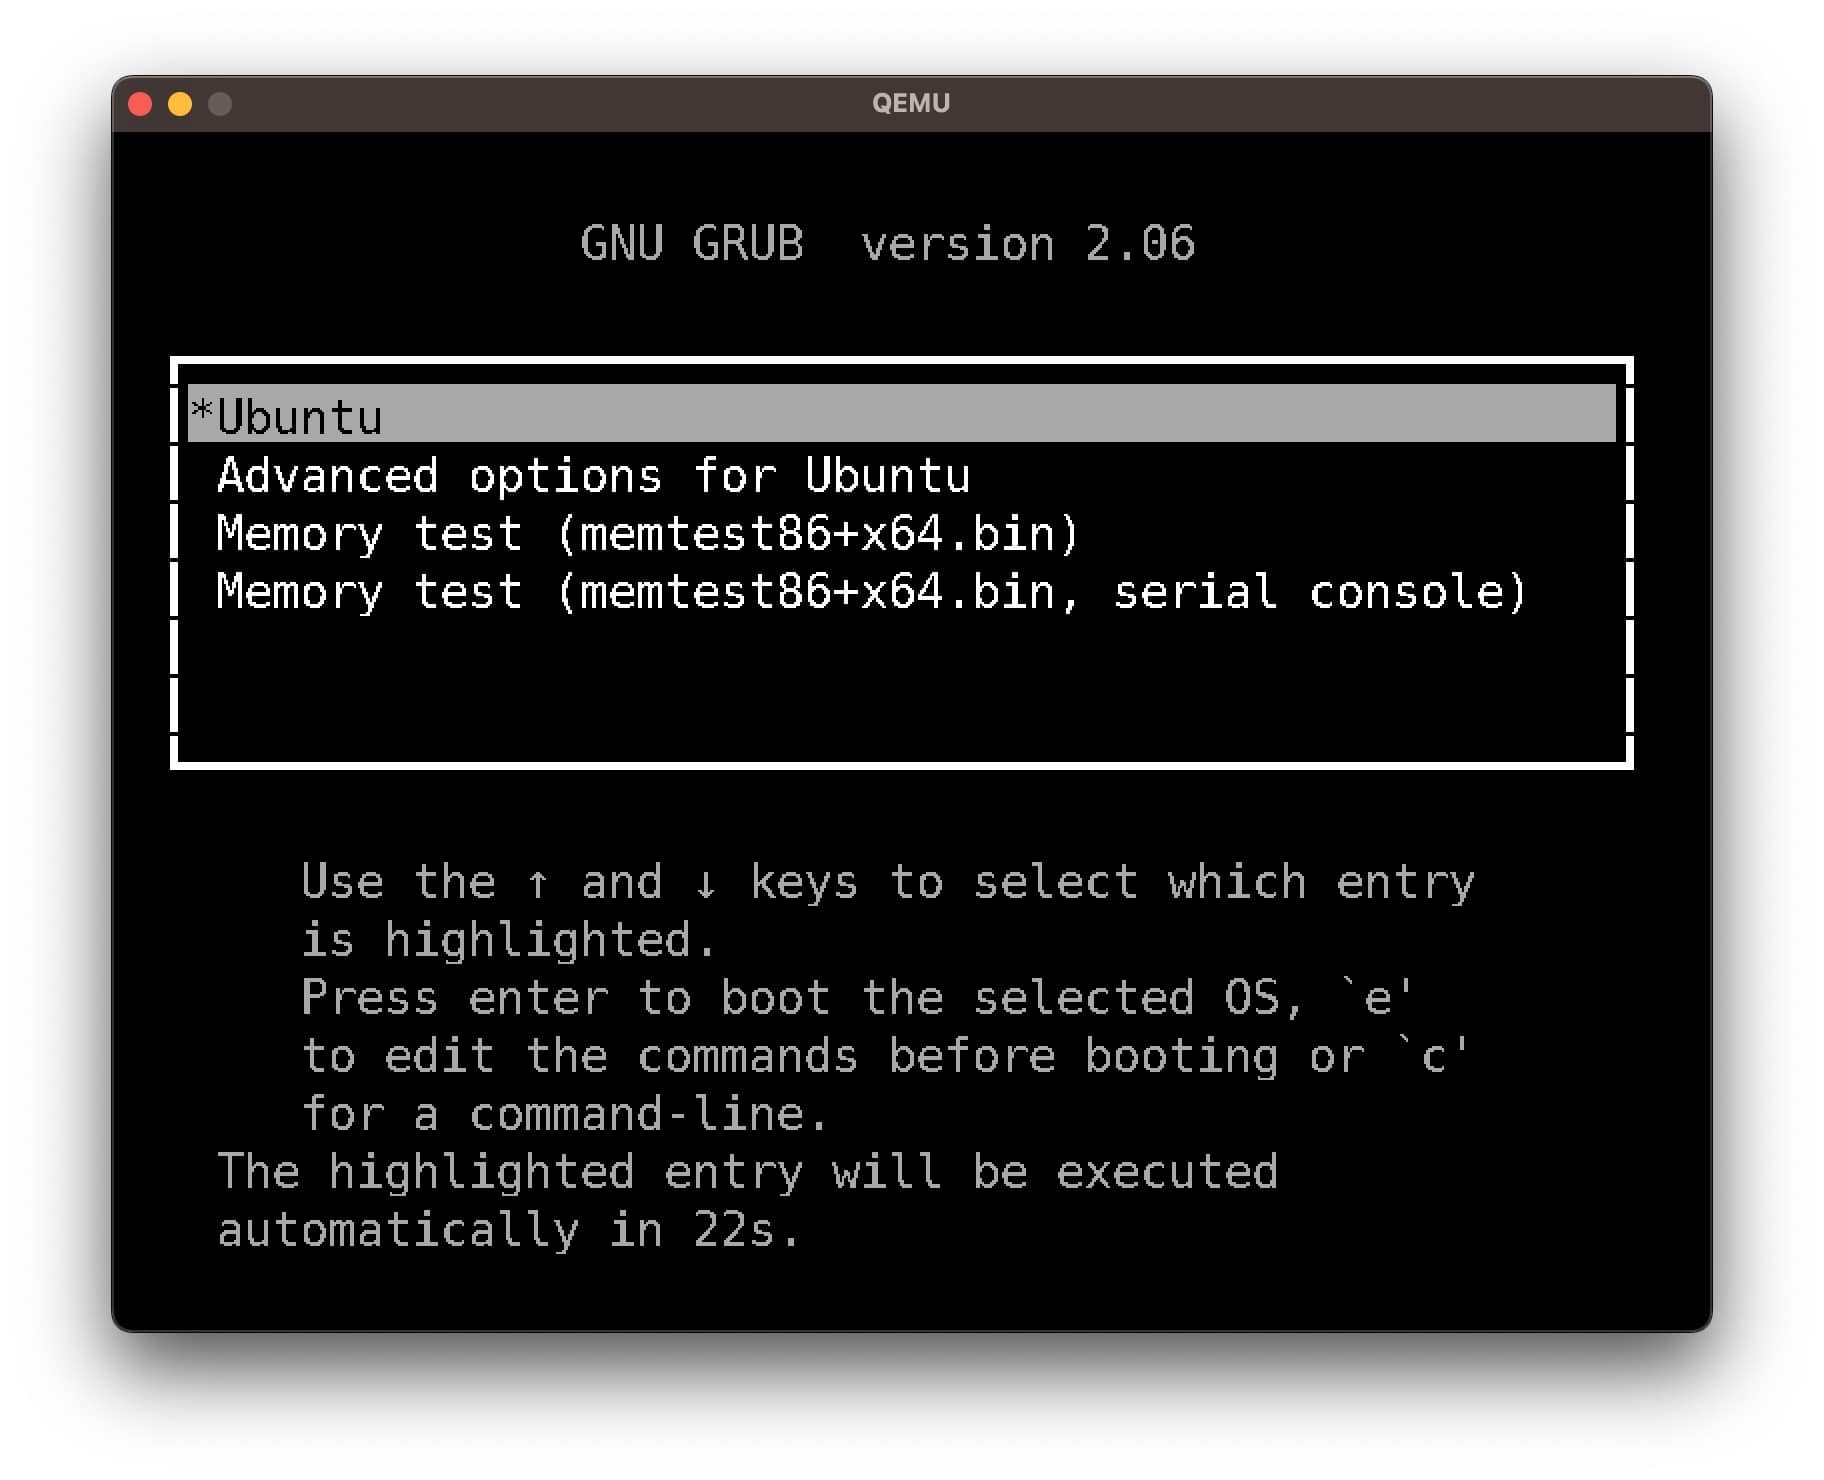 As we can see, the font looks much bigger and more readable. Moreover, if the font is still small, we can play around with the size option while generating the font to find the best fit for our screen.
3. Adjusting GRUB Resolution
The display resolution influences the font size in the GRUB menu. For instance, higher resolutions will make the text look smaller. Therefore, we should consider the display resolution when configuring the font size in GRUB for optimal readability.
We can change the resolution of the GRUB menu by modifying the GRUB_GFXMODE option in the grub config. By default, it will be commented out and set to 640×480. Let’s uncomment it:
$ sudo sed -i '/#GRUB_GFXMODE=640x480/s/^#//' /etc/default/grubLet’s not forget to remove our custom font from the GRUB config:
$ sudo sed -i '/GRUB_FONT/s/^/#/' /etc/default/grubNow, let’s update the config:
$ sudo grub-mkconfig -o /boot/grub/grub.cfgNow, let’s test it out: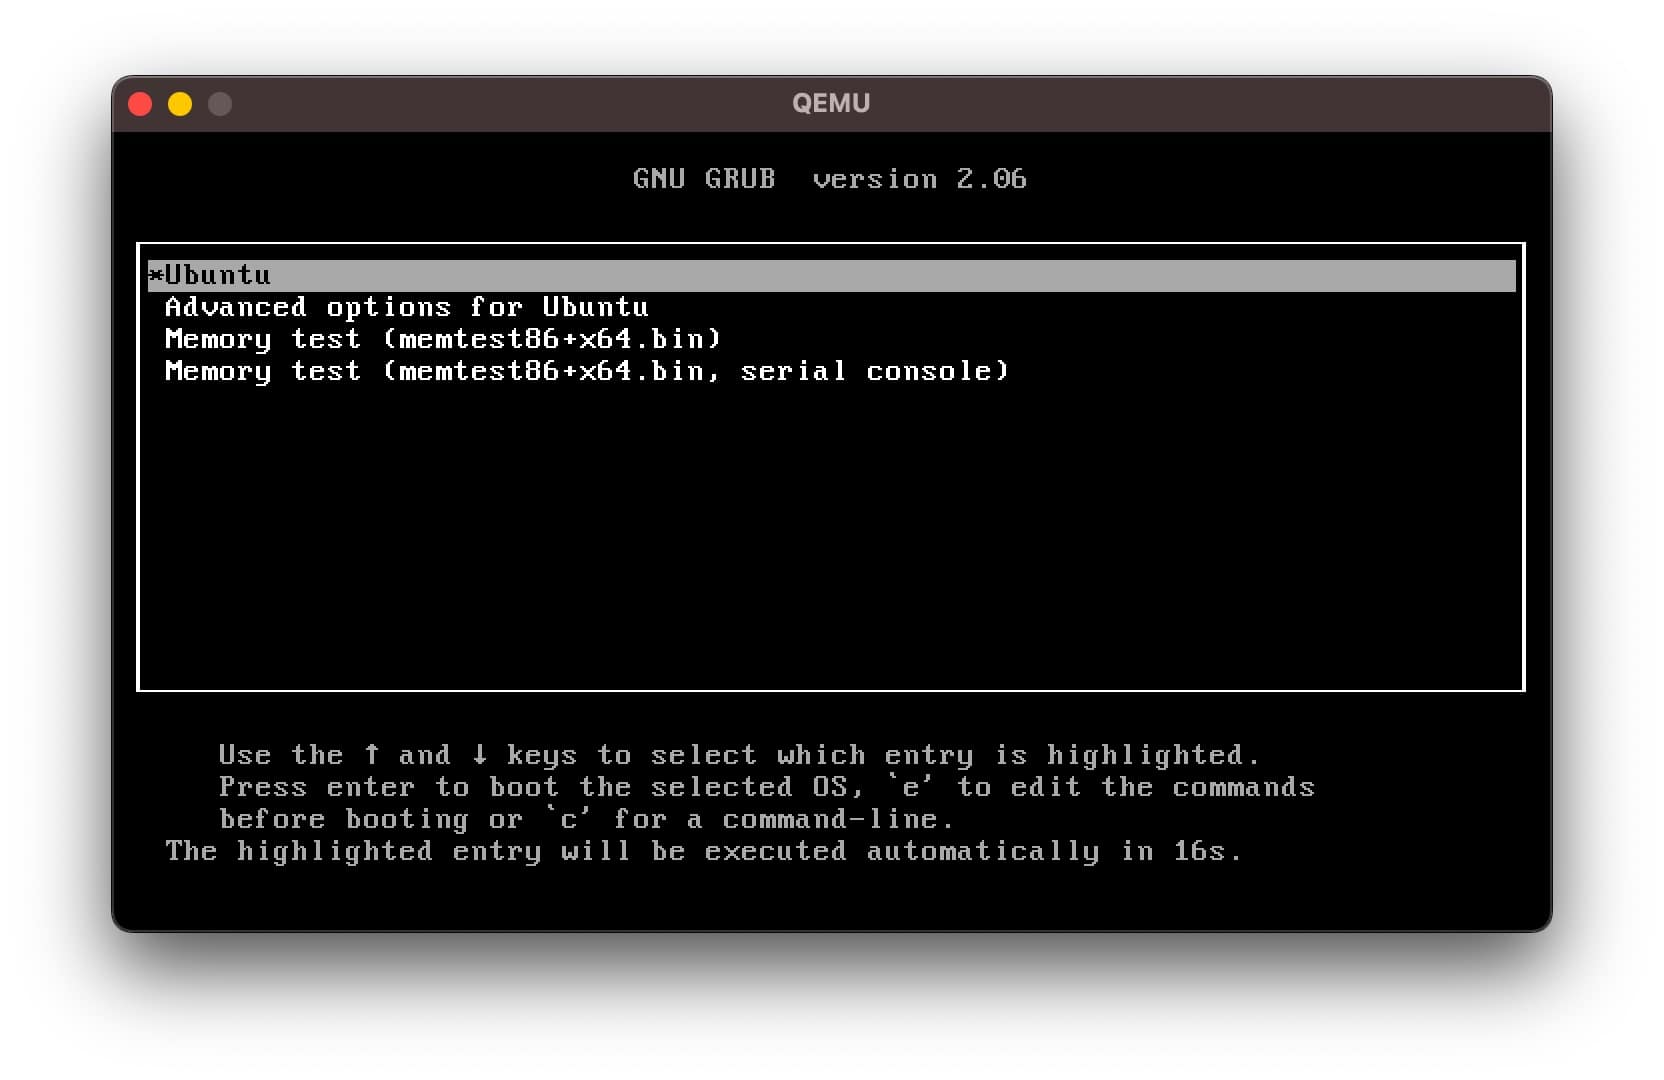 Similarly, if we increased the resolution, then the resulting font will look a lot smaller.
4. Conclusion
In this article, we learned how to change the font of the GRUB menu. We explored how to generate a custom font for the GRUB menu according to our requirements.
Finally, we saw how we could quickly change the resolution of the GRUB menu to effectively increase the overall text size.