

Learn through the super-clean Baeldung Pro experience:
>> Membership and Baeldung Pro.
No ads, dark-mode and 6 months free of IntelliJ Idea Ultimate to start with.
Learn through the super-clean Baeldung Pro experience:
>> Membership and Baeldung Pro.
No ads, dark-mode and 6 months free of IntelliJ Idea Ultimate to start with.
While other operating systems provide in-built tools to handle PDF editing, Linux doesn’t have any standard tool for that purpose. However, there’s a wide range of open-source tools at our disposal that can manipulate PDF documents. In this article, we’ll learn how to fill and sign PDF documents in Linux. First, we’ll cover the handy Xournal++ program to edit our PDF documents. Afterward, we’ll cover Mozilla Firefox and LibreOffice Draw as additional alternatives.
Xournal++ is a complete rewrite of the original Xournal program. It is primarily a note-taking and sketching application. However, it can also handle PDF files. Therefore, we can fill PDF forms and add signatures to our PDF files using its simple user interface. On most distributions, it is available in the official package repositories. So, we can use a package manager such as apt to install it using its canonical name, xournalpp:
$ sudo apt install xournalpp -yOnce installed, we can find a desktop entry for Xournal++ in the Applications Menu:  Once we fire it up, we’ll be presented with the main view:
 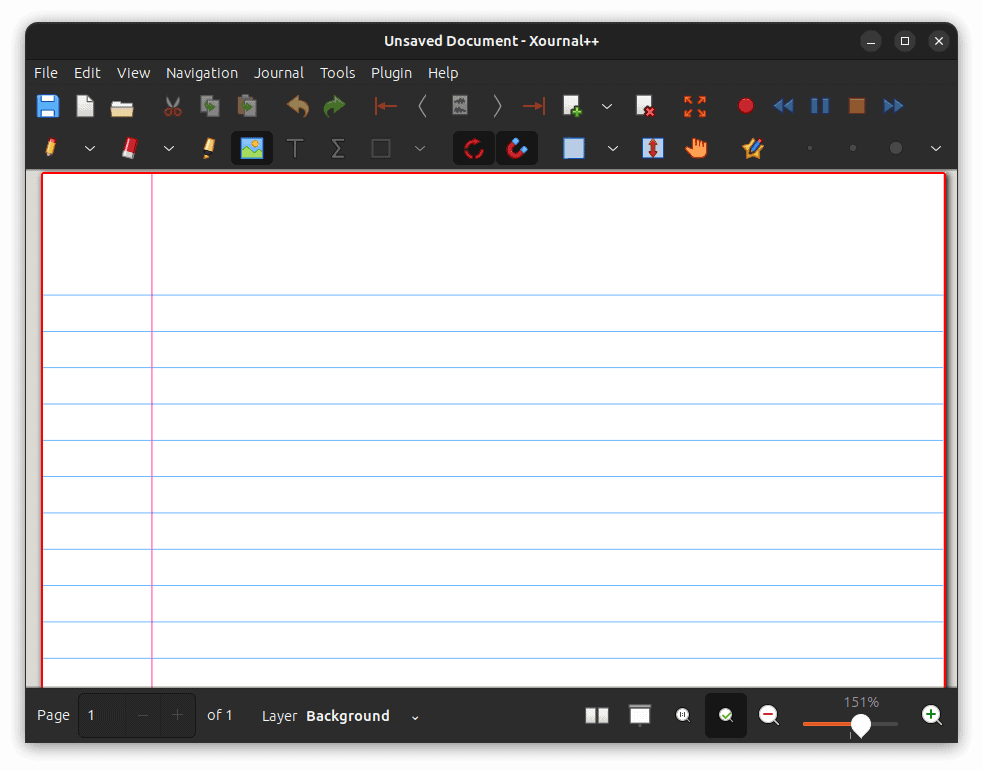 Now, let’s open our required PDF file by going to File → Annotate PDF. This opens the file picker where we’ll select our PDF file:
 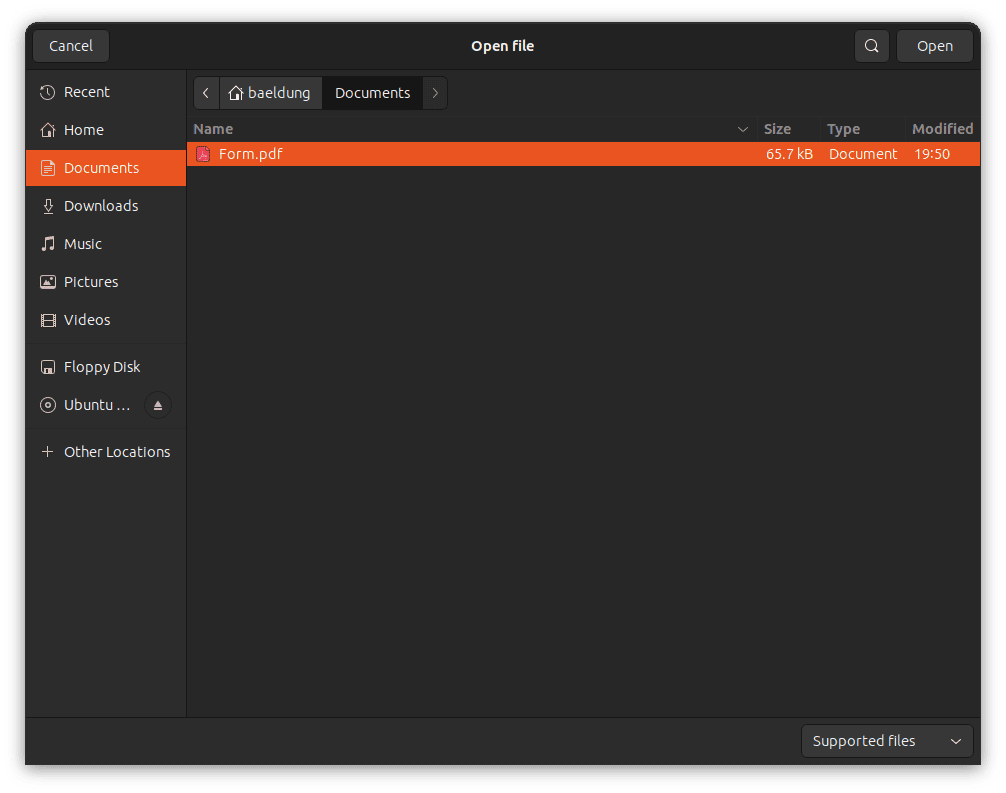 Once we select our file, Xournal++ will display it in the main view:
 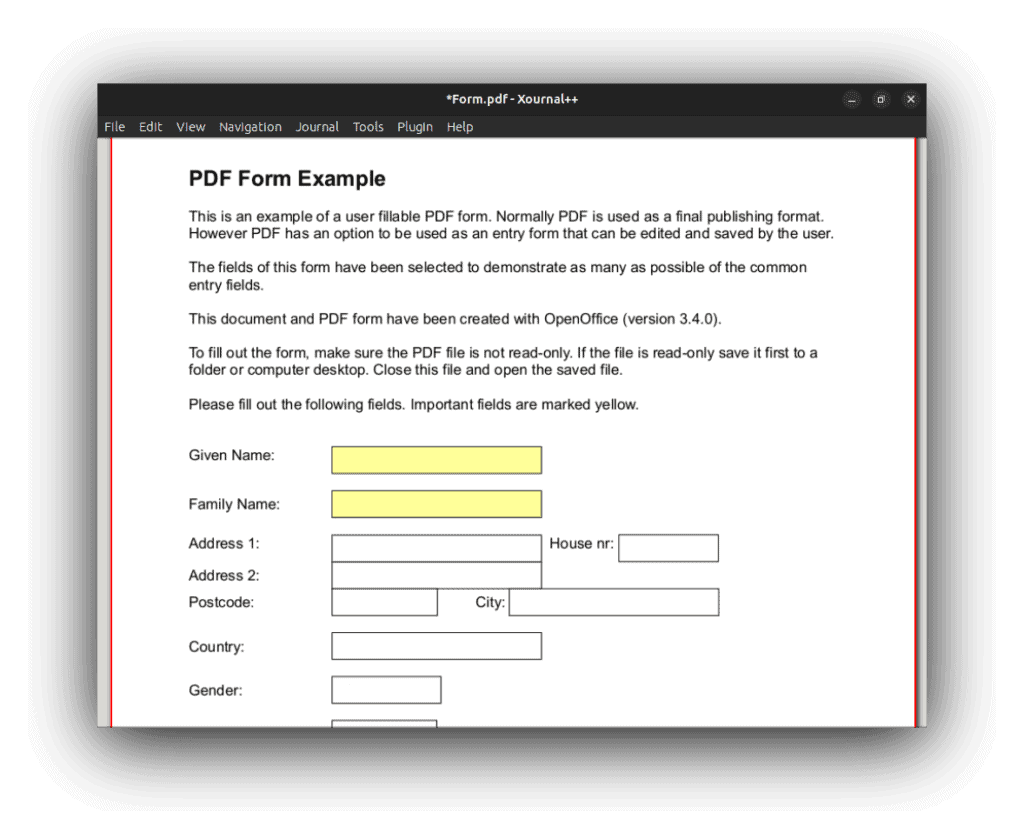 Next, we’ll use the “Text” tool to add text to the form fields. Head over to Tools → Text to select the text annotation tool. Alternatively, we can also press Ctrl+Shift+T:
 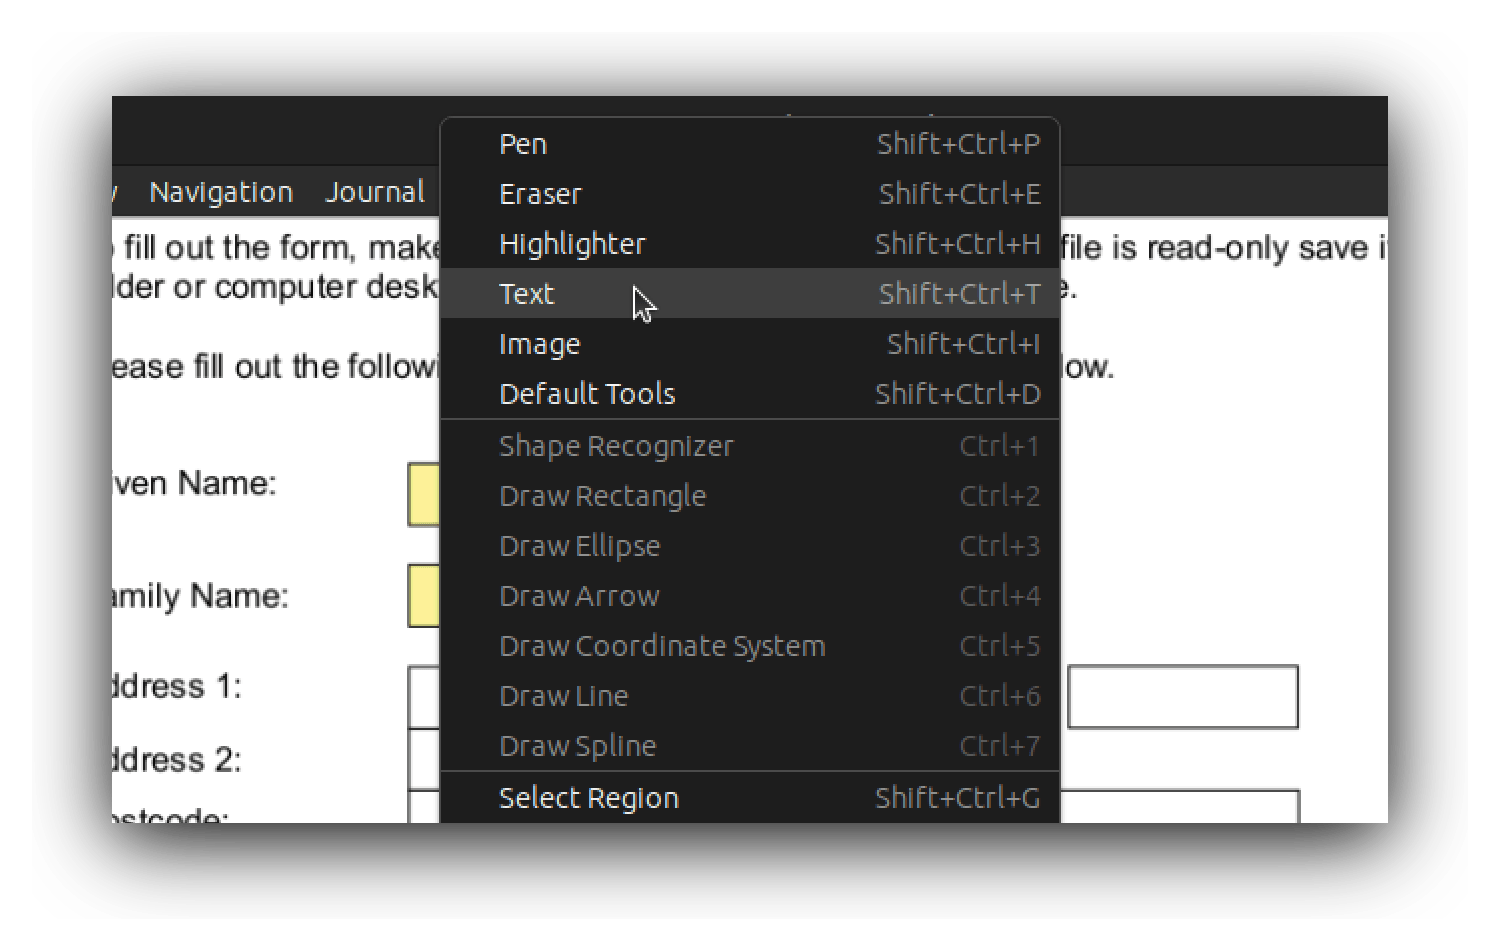 Let’s fill in the input fields on the form. To enter text in a field, we simply click the area in which we want to start typing and then input our text. Let’s do this for all the required fields:
 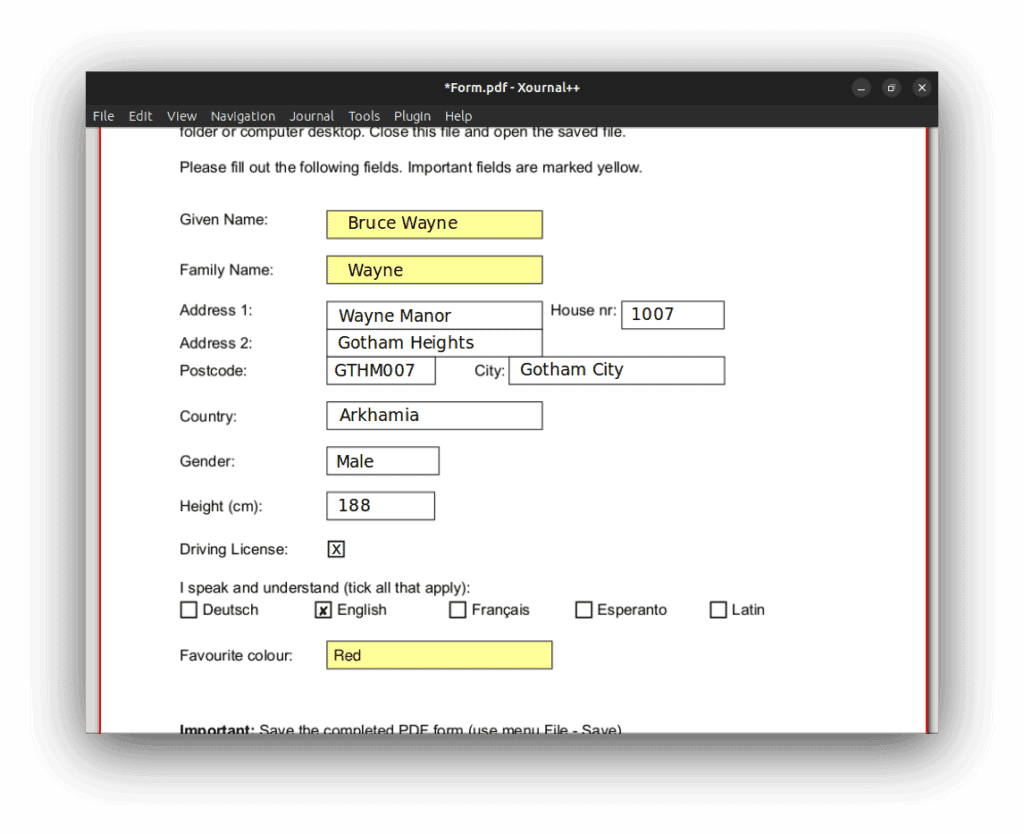 Now that we’ve filled out the form, we need to add a signature. We can achieve this by simply inserting our signature image. Let’s navigate to Tool → Image to begin the process:
 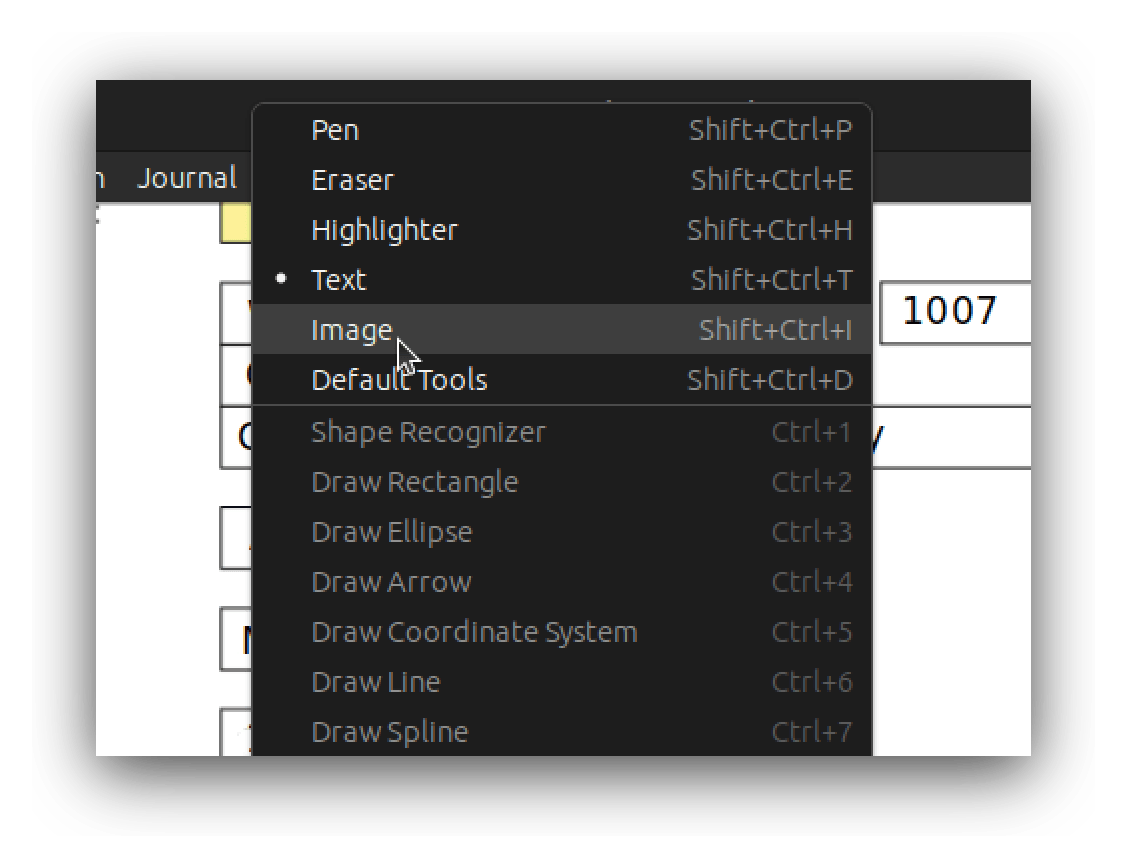 Once we click Image from the dropdown menu, we can now put our cursor on the area in the PDF, where we want to add the signature. Upon clicking, it displays an image picker, where we’ll select the image from the disk. After choosing our signature image, it will place the signature inside the PDF file:
 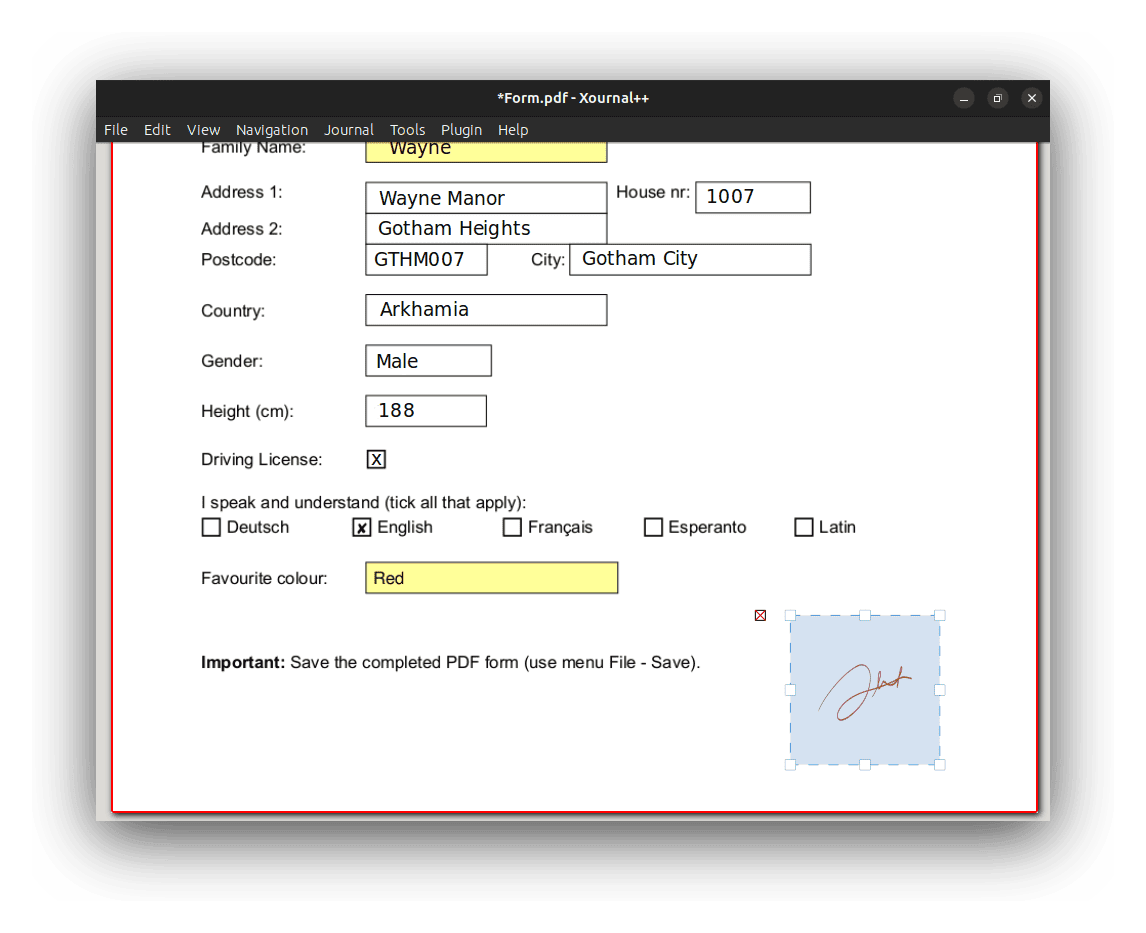 We’re now able to resize and position the image inside the PDF. Once the is set, we can simply click anywhere else in the PDF. And that’s about it! We now have a signed PDF form:
 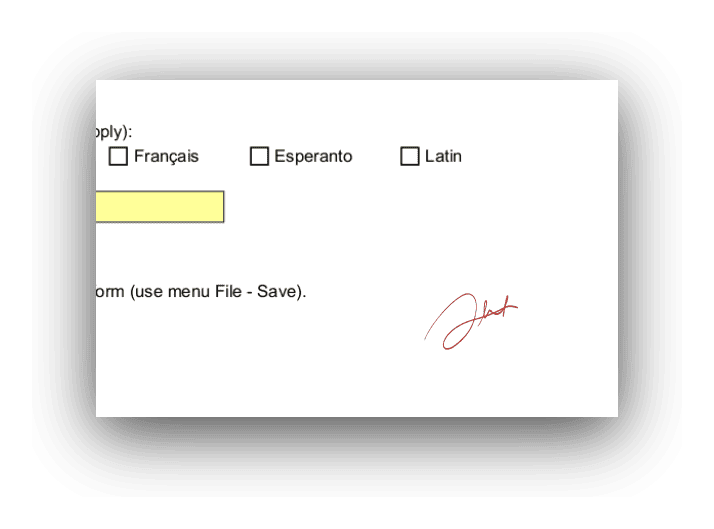 As a final step, we’ll now export our PDF file by selecting File → Export as PDF:
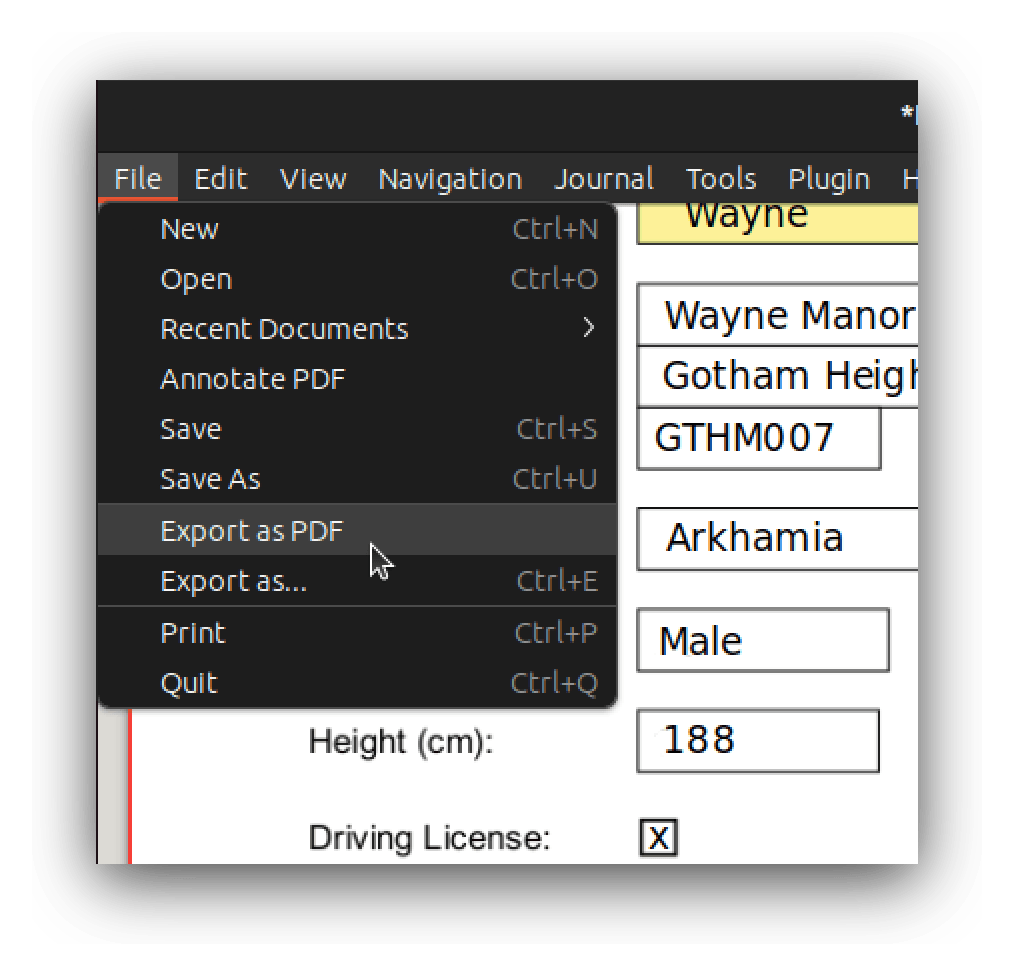
Mozilla Firefox is a popular open-source web browser that focuses on security and efficiency. It’s one of the most used browsers on the Linux desktop. Firefox comes with a built-in PDF rendering engine that provides basic tools for annotating and printing. In addition, it’s also capable of editing PDF files that contain forms. One productivity feature of Firefox is that it recognizes form widgets inside PDF files. Therefore, we can simply click on the form elements, and it will let us fill the form as if we’re using web forms: 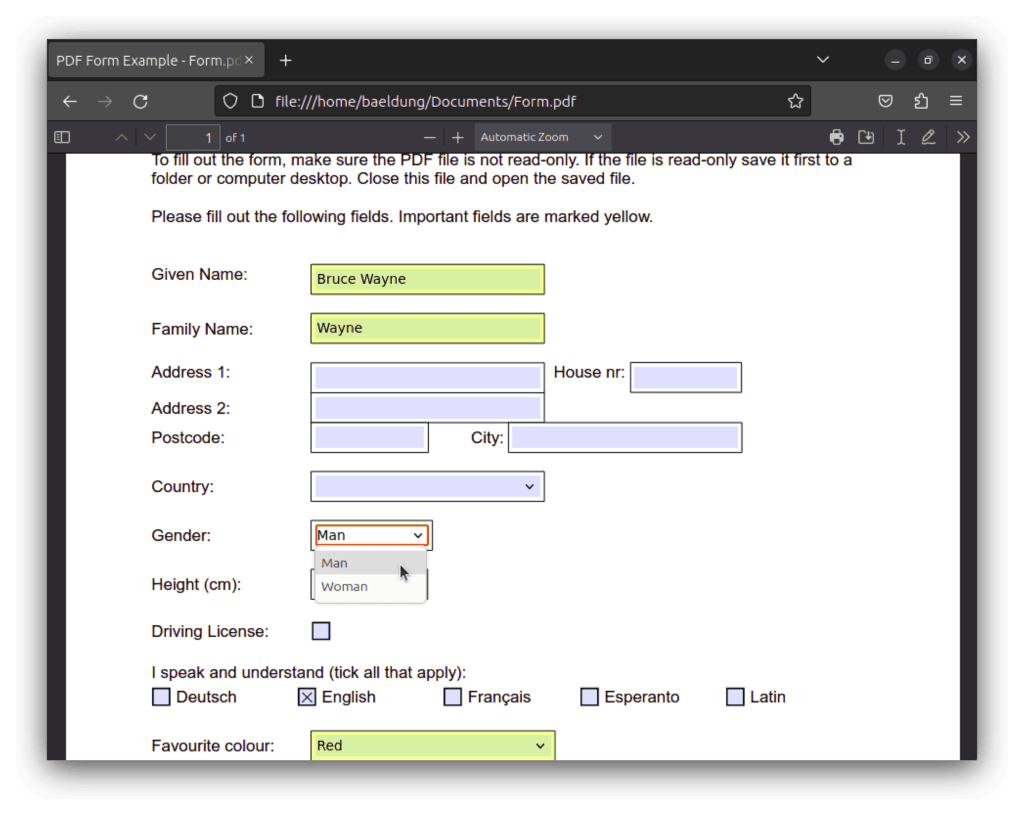 As we can see, it recognizes not only the input boxes but also the drop-down menus. The checkboxes are interactive as well. Once we’ve filled out the form, we can export it as PDF using the print feature located at the top right of the PDF viewer toolbar. Upon clicking the print icon, it will display various export options:
 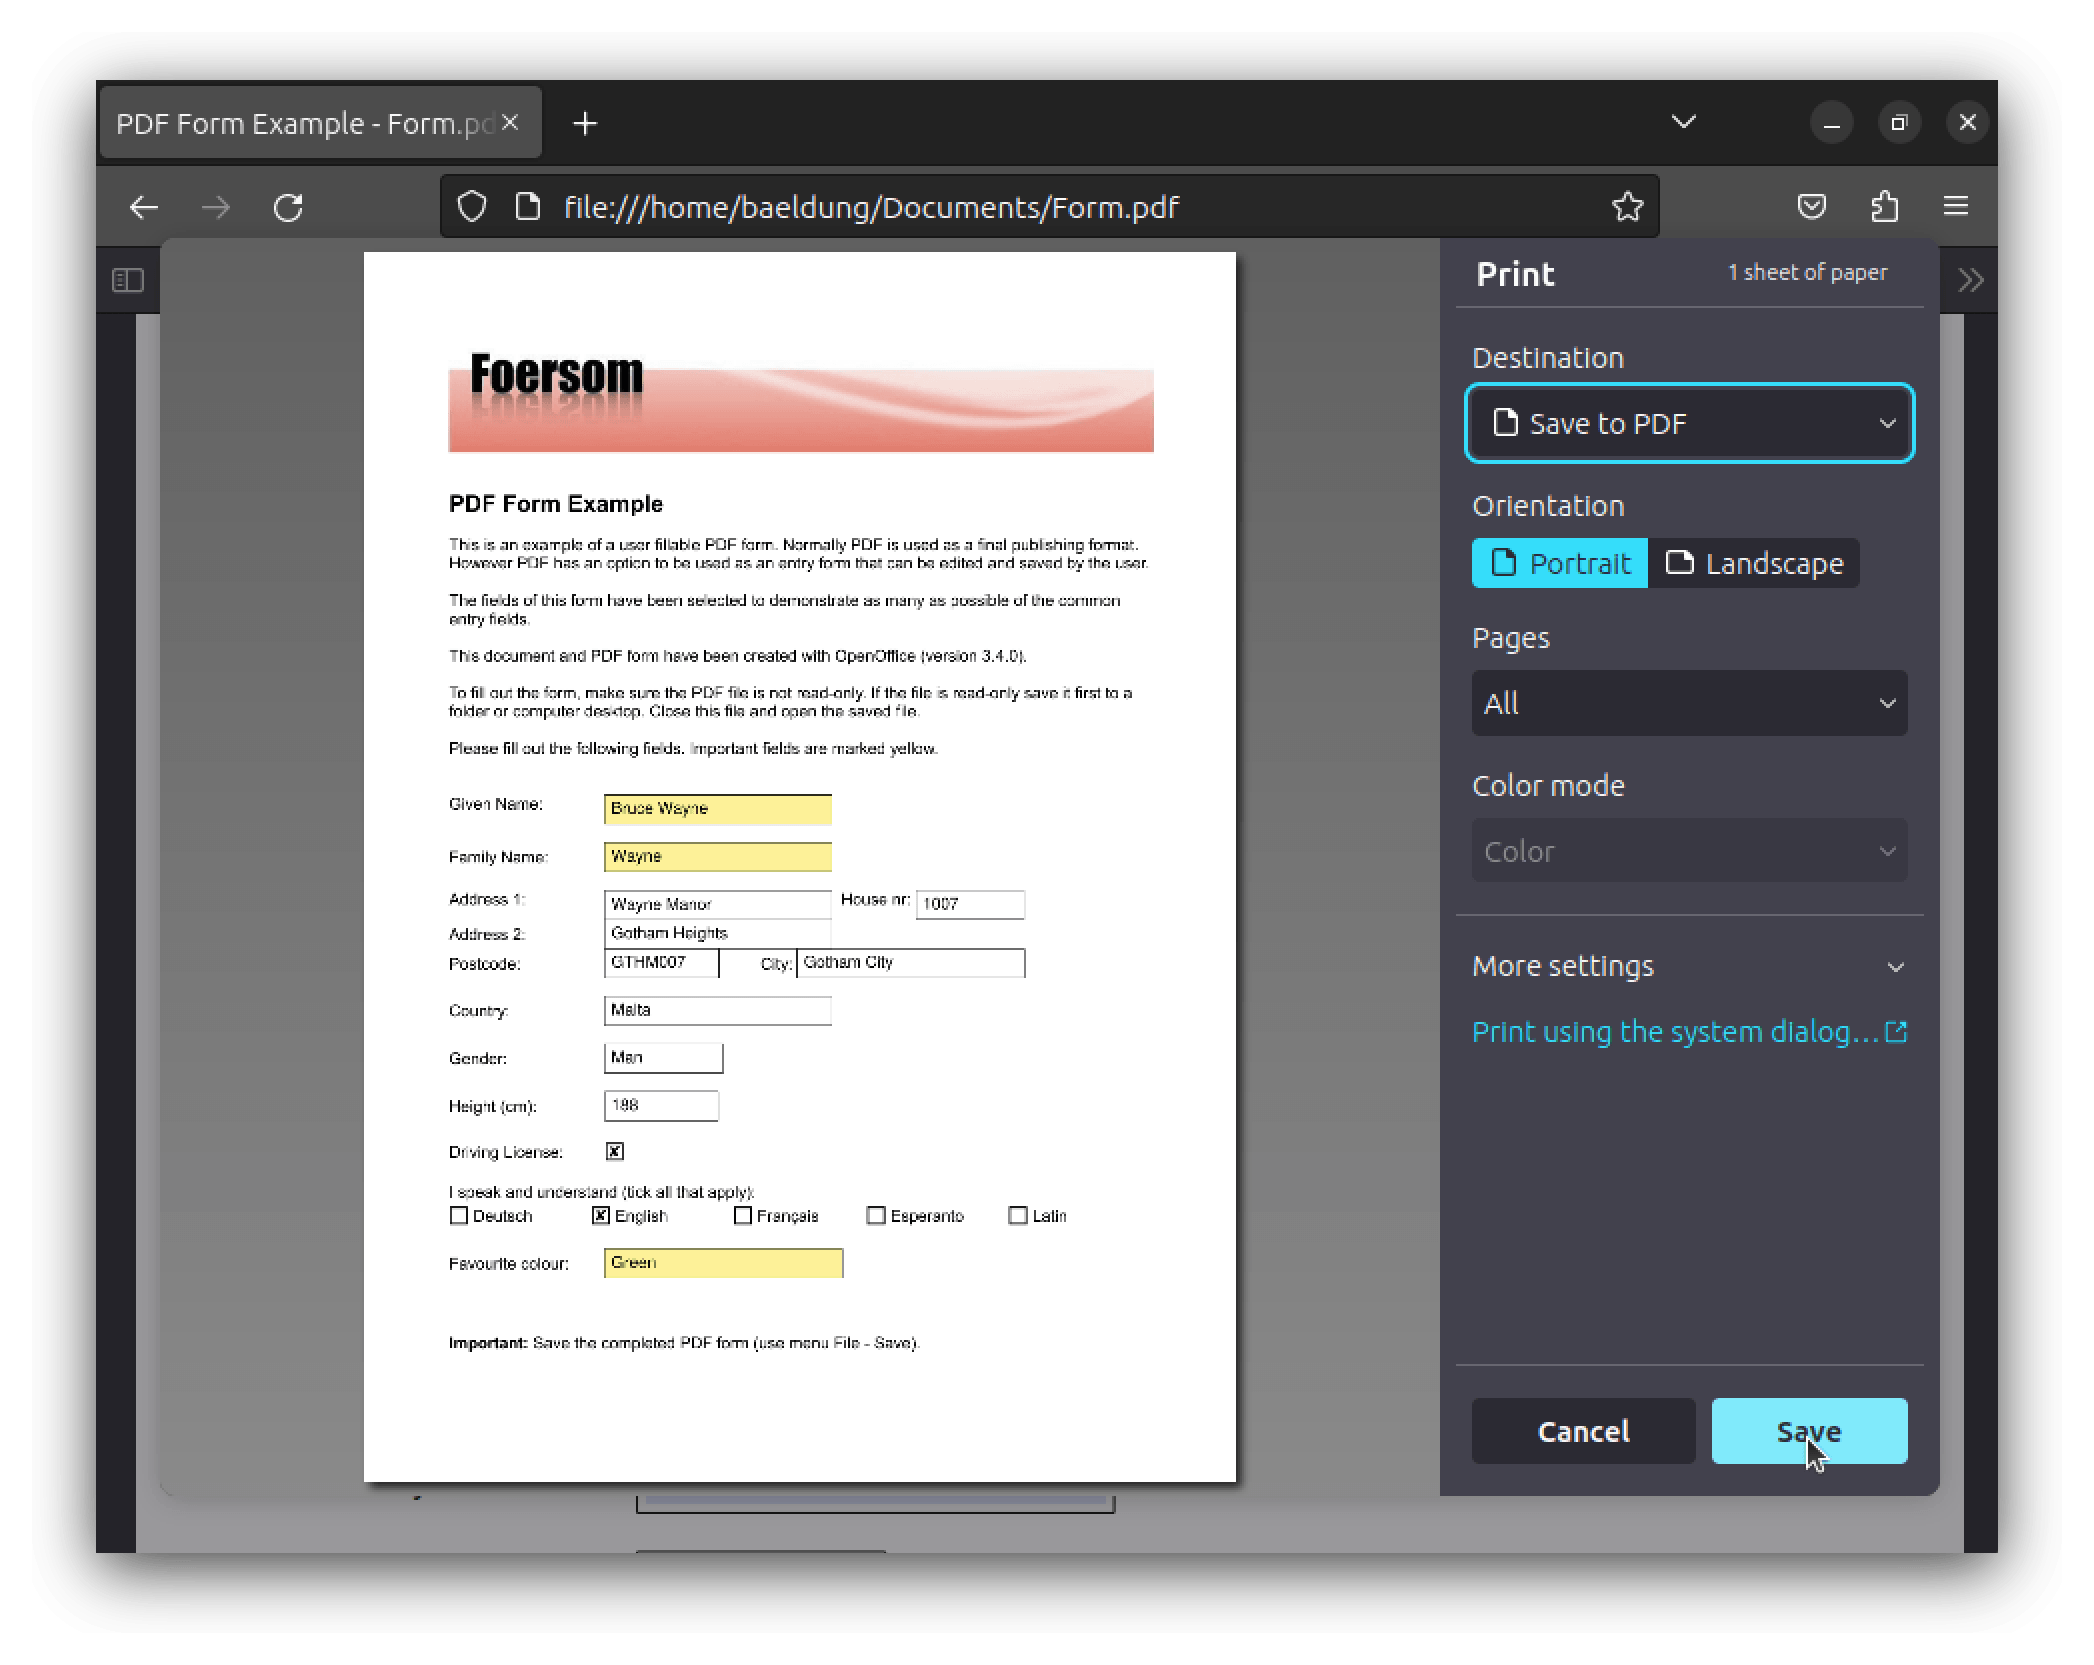 Once we click “Save”, Firefox will write the PDF file to the disk with our changes embedded in it. Mind that Firefox doesn’t support inserting images into PDF documents as of version 114. However, we can anticipate more of these features for the Mozilla PDF engine in the future.
LibreOffice Draw is a part of the popular open-source LibreOffice suite. It’s mainly used for vector graphics editing. However, it also has the ability to edit and annotate PDF files. Some distributions come with LibreOffice preinstalled. However, we can install it from the official package repository if needed:
$ sudo apt install libreoffice libreoffice-draw -yAs usual, we can now launch Draw and open the PDF file: 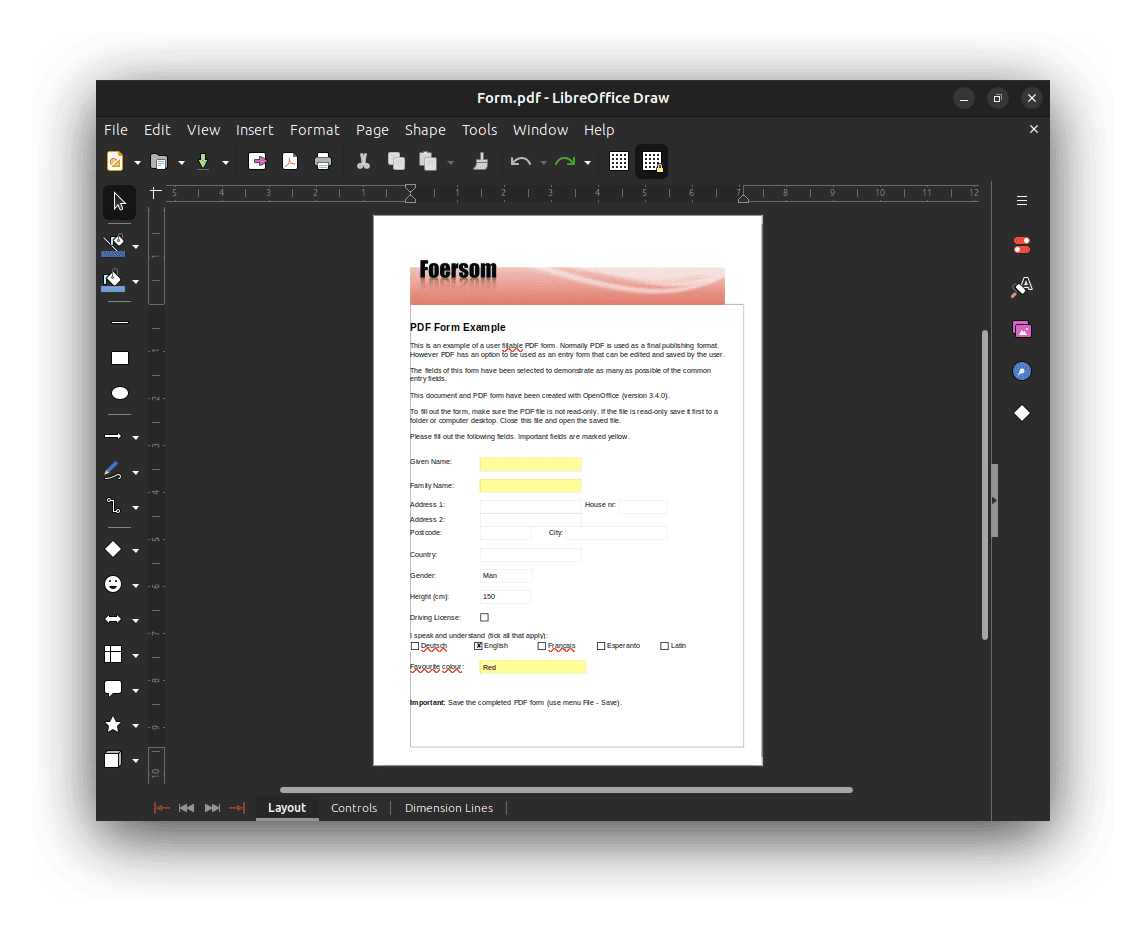 The elements inside the PDF will be rendered as different independent components, such as text elements, images, layout containers, and so on. We can edit these elements directly. For our use case, let’s add text by selecting Insert → Text and draw an input box where we enter the text inside it:
 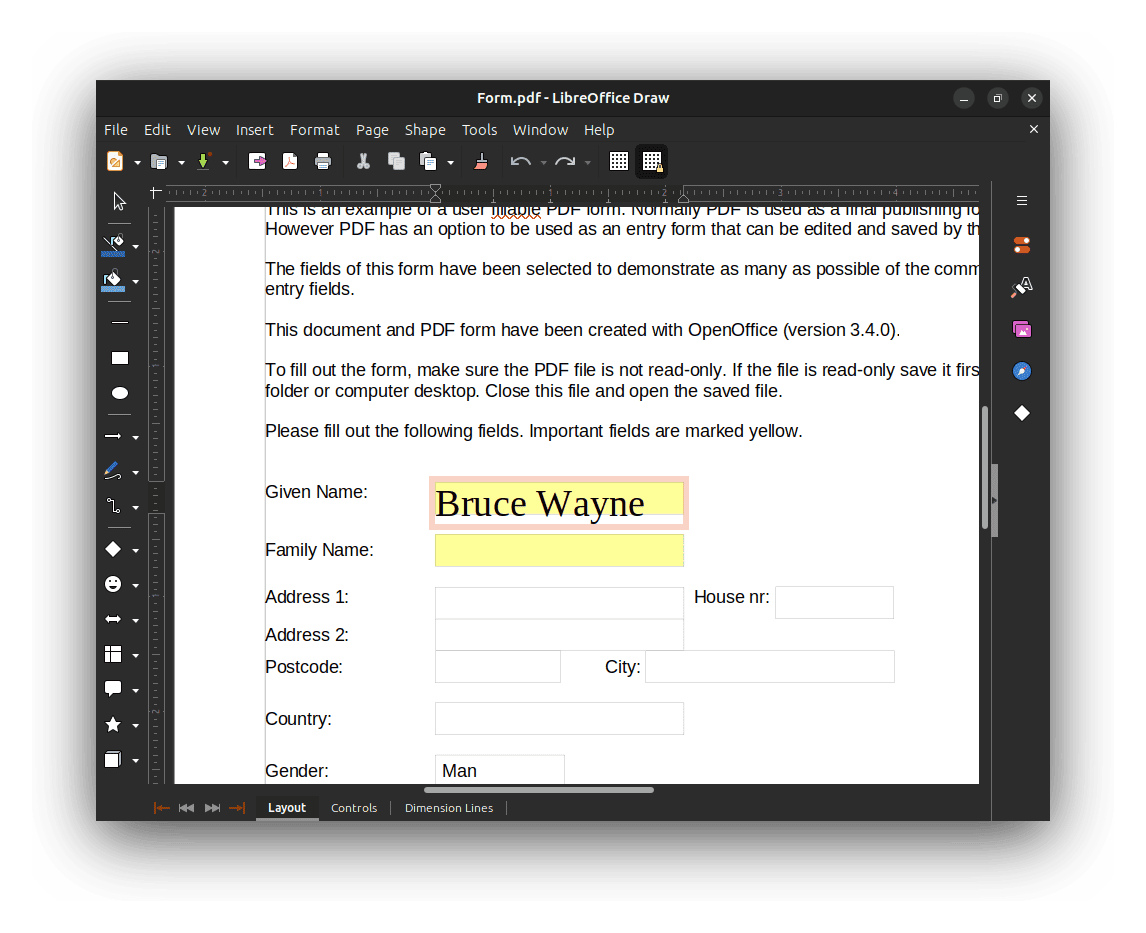 As we can see, the text is way bigger than we need it to be. Therefore, we can decrease its size via Format → Text → Decrease Size:
 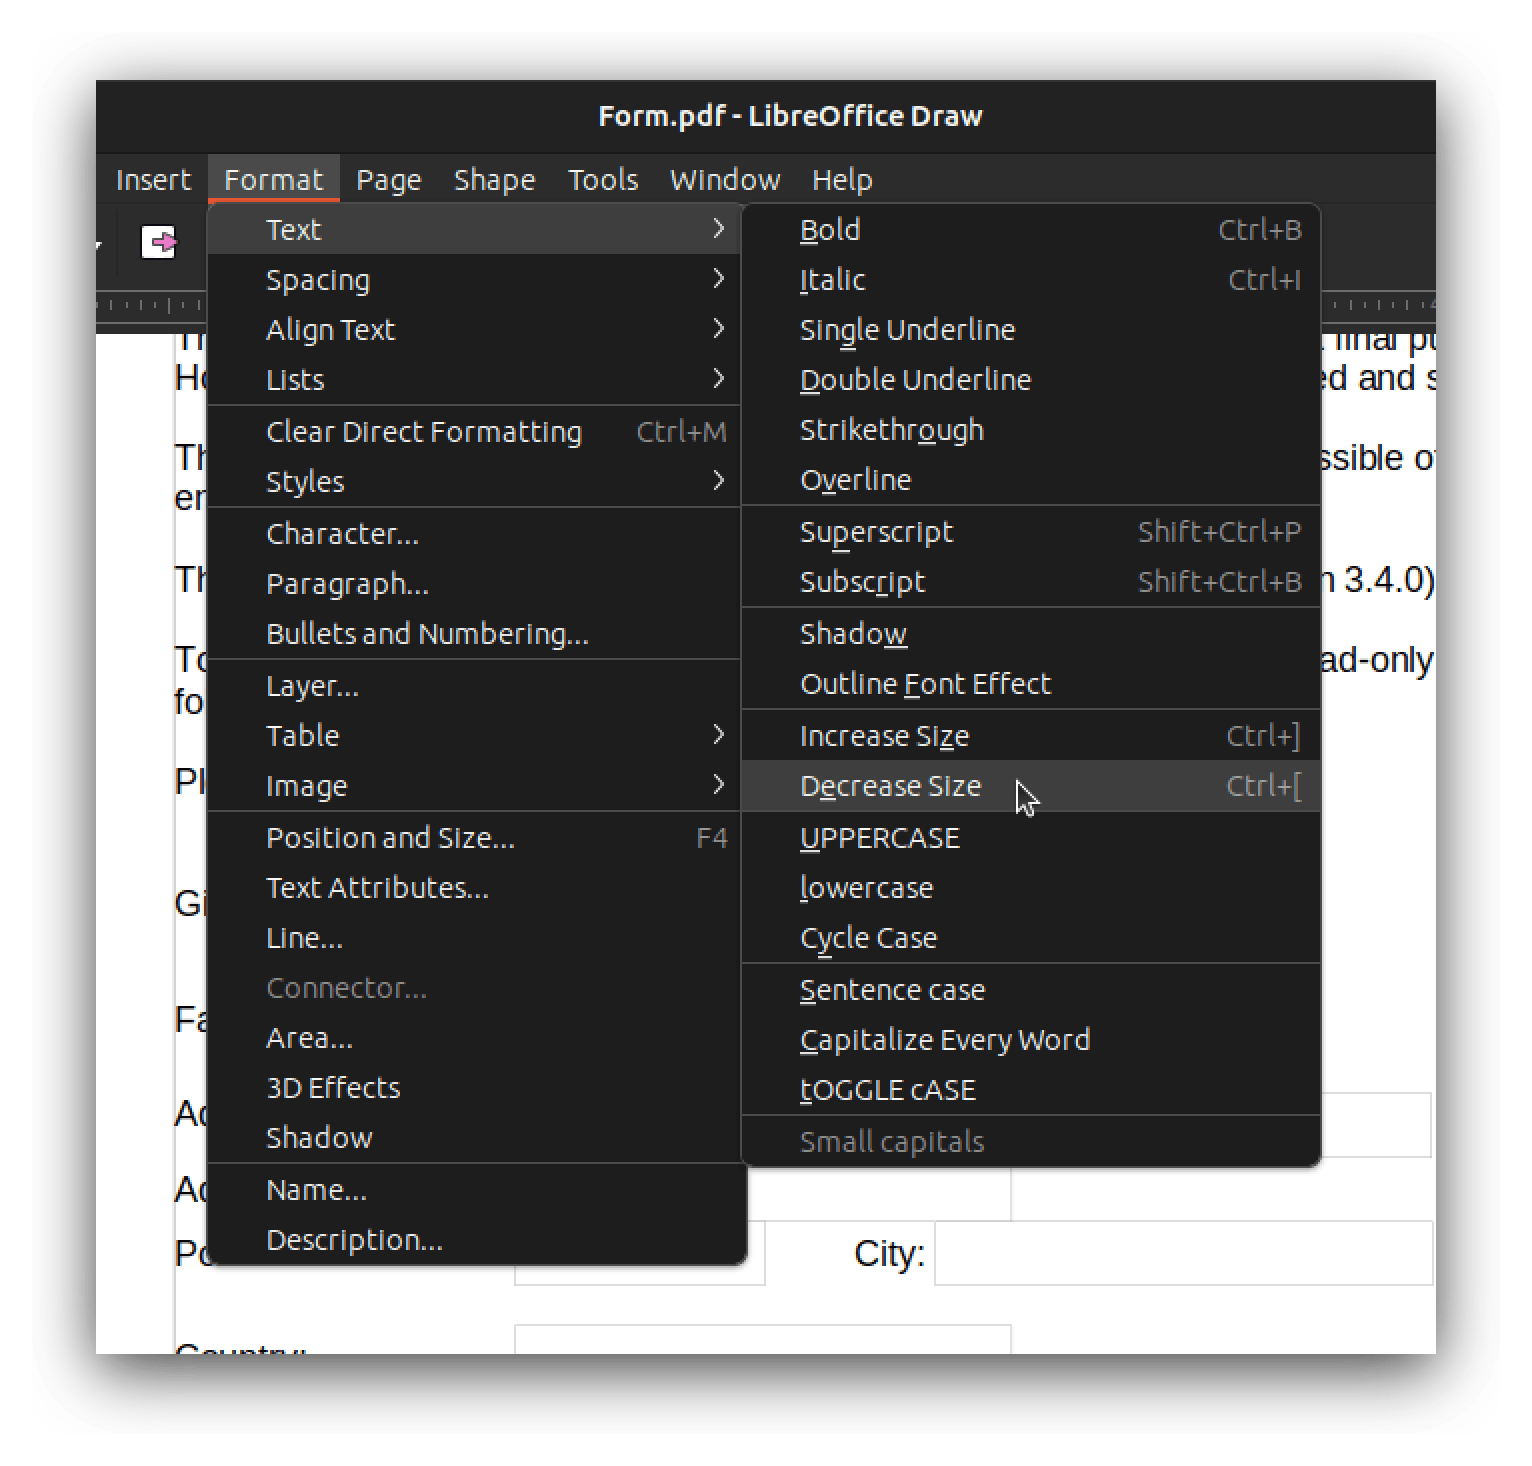 Alternatively, we could also select the entered text and press Ctrl+[ keys:
 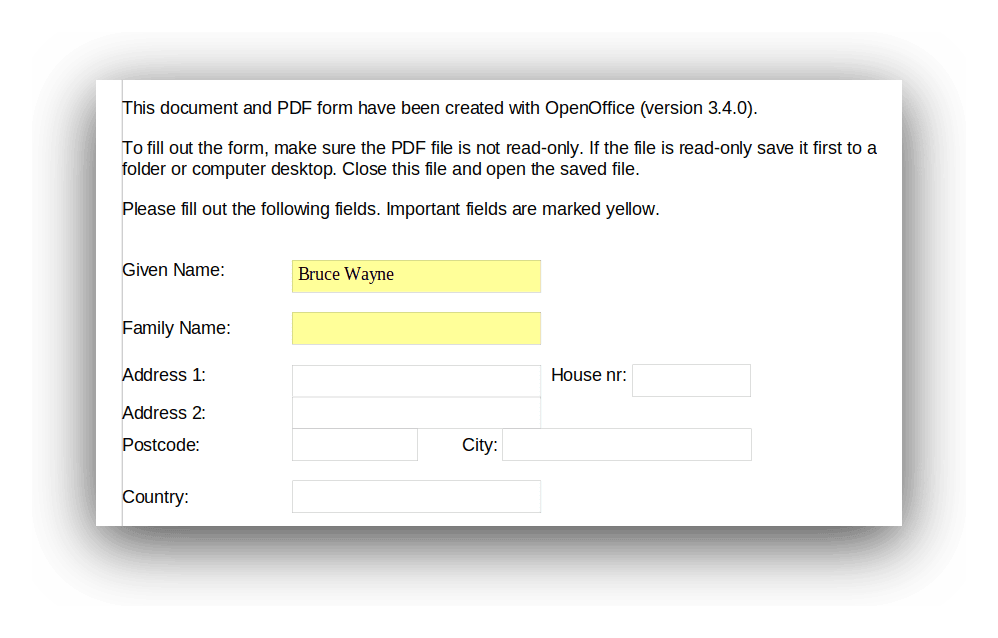 We can repeat this process for the other fields. Once complete, let’s insert our signature image by selecting Insert → Image:
 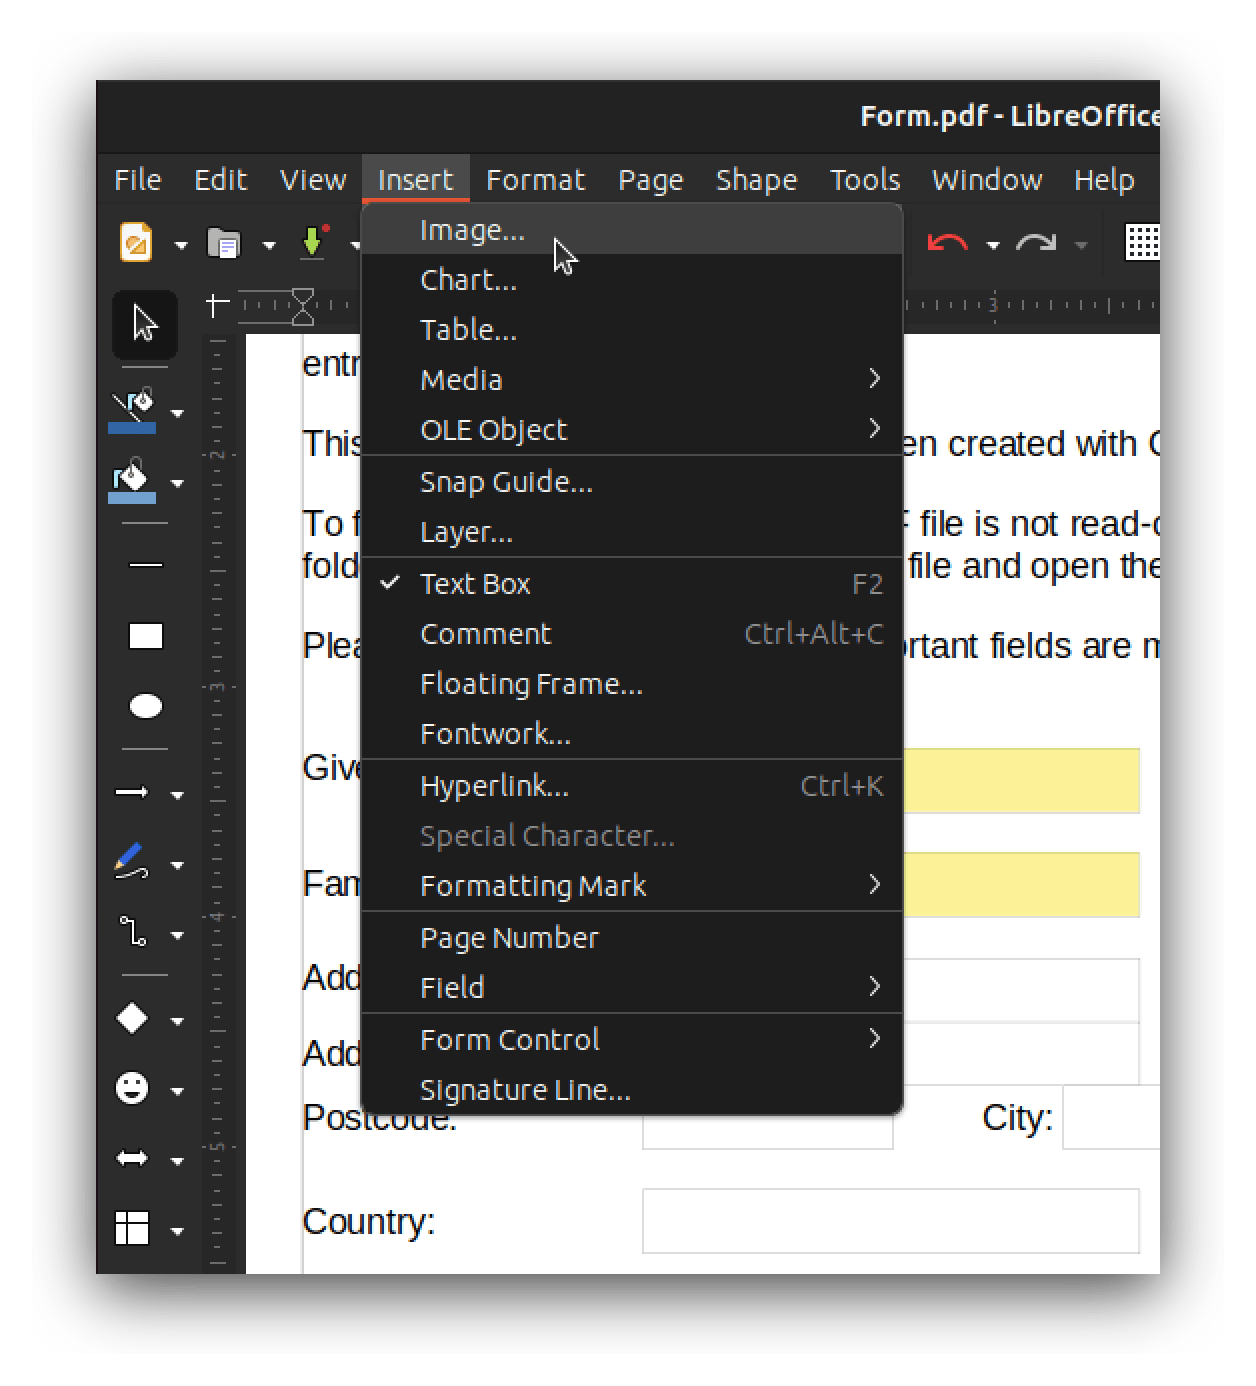 After we’ve selected and inserted our signature image, we can resize and position it inside the PDF as needed:
 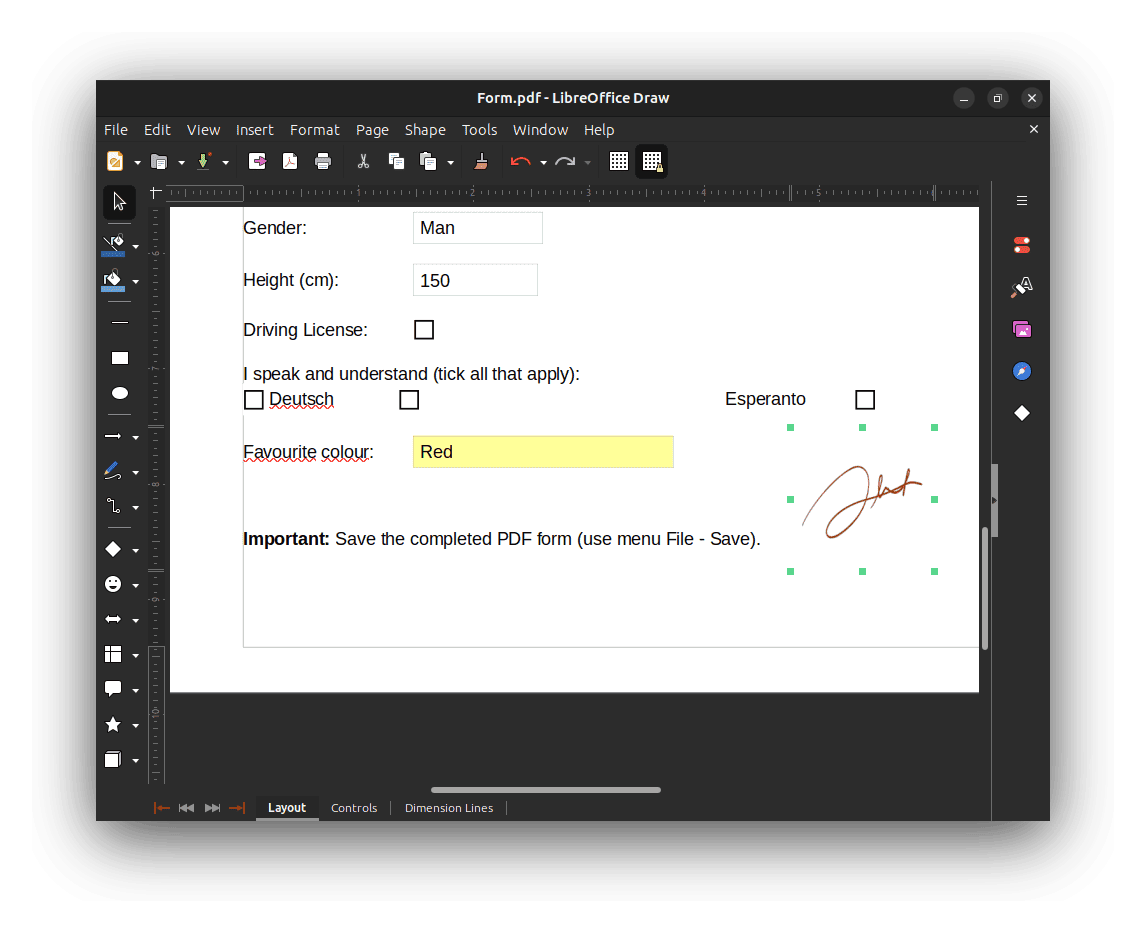 Finally, once the form is complete, we can now export our file back as a PDF:
 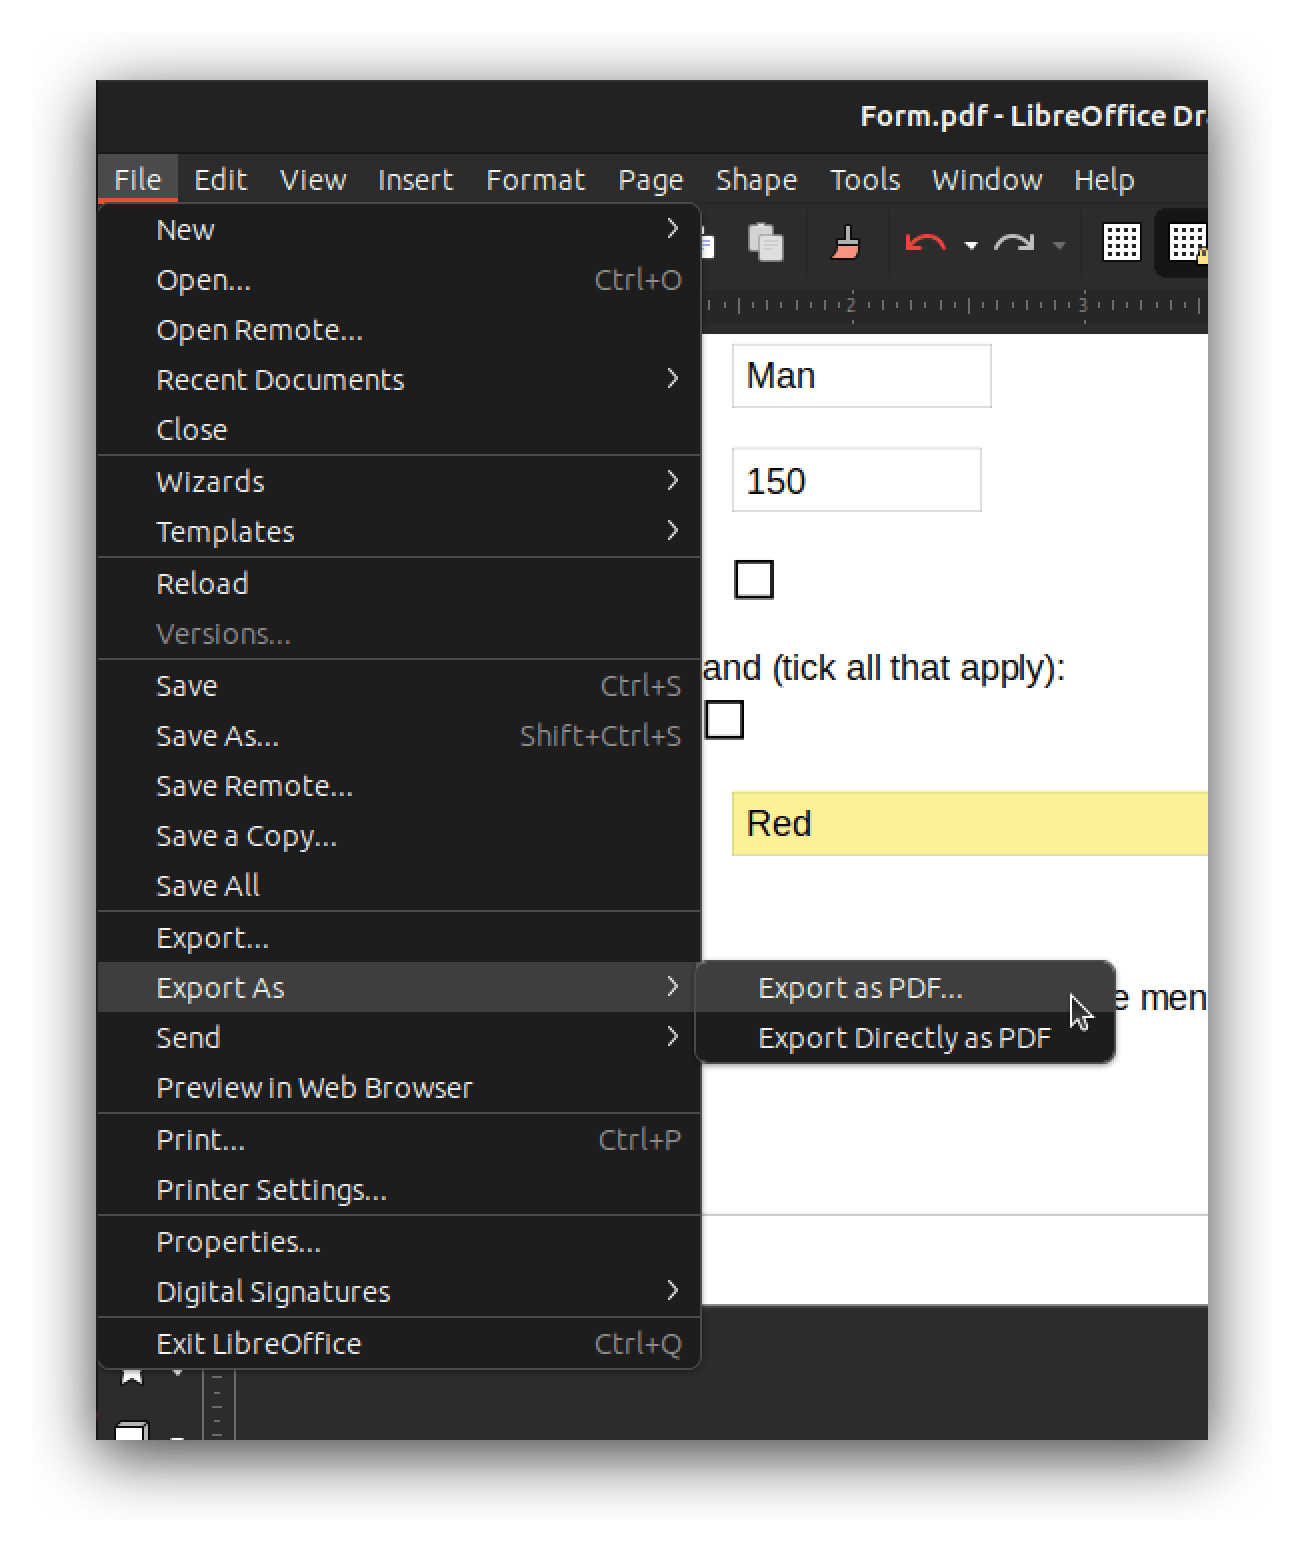 That’s it! In addition, we can also do a number of other operations like redacting portions of the PDF, rewriting text, and adding shapes.
In this article, we learned how to fill PDF forms and add a signature image to our PDF files. We explored three different programs for that purpose: Xournal++, Firefox, and LibreOffice Draw.