

Learn through the super-clean Baeldung Pro experience:
>> Membership and Baeldung Pro.
No ads, dark-mode and 6 months free of IntelliJ Idea Ultimate to start with.
Last updated: March 18, 2024
Learn through the super-clean Baeldung Pro experience:
>> Membership and Baeldung Pro.
No ads, dark-mode and 6 months free of IntelliJ Idea Ultimate to start with.
In this tutorial, we will look at some approaches for taking screenshots of a website from the command line. A typical use case is taking automated screenshots in remote environments without a GUI and only accessible via ssh.
We’ll be using an updated Ubuntu Server 20.04 LTS for all the approaches.
Headless browsers provide automated control of a web page in an environment without GUI.
Firefox provides a -screenshot flag that allows us to take full-page website screenshots:
$ firefox -headless -screenshot myscreenshot.png https://www.baeldung.com/We can specify the size of the window. For instance, we may want to test the responsiveness of the layout on a smartphone. If we don’t specify the size, the default width of 1366px is used.
Let’s get only the visible portion of the screen:
$ firefox -headless -screenshot myscreenshot.png -window-size 360,640 https://www.baeldung.com/We can also specify only the window’s width to get the entire page:
$ firefox -headless -screenshot myscreenshot.png -window-size 360 https://www.baeldung.com/Firefox is quite verbose, but it does save screenshots correctly even if we get messages like these:
user@Ubuntu-LTS:—$ firefox -headless -screenshot myscreenshot.png https://www.baeldung.com/
*** You are running in headless mode.
[GFX1-]: glxtest: libGL.so.1 missing
[GFX1-]: glxtest: libEGL missing
user@Ubuntu-LTS:—$ firefox -headless -screenshot myscreenshot.png -window-size 360,640 https://www.baeldung.com/
*** You are running in headless mode.
[GFX1-]: glxtest: libGL.so.1 missing
[GFX1-]: glxtest: libEGL missing

###!!! [Parent][MessageChannel] Error: (msgtype=0x390078,name=PContent::Msg_DestroyBrowsingContextGroup) Closed channel: cannot send/recv

user@Ubuntu-LTS:—$ firefox -headless -screenshot myscreenshot.png -window-size 360 https://www.baeldung.com/
*** You are running in headless mode.
[GFX1-]: glxtest: libGL.so.1 missing
[GFX1-]: glxtest: libEGL missing

###!!! [Parent][MessageChannel] Error: (msgtype=0x390078,name=PContent::Msg_DestroyBrowsingContextGroup) Closed channel: cannot send/recv
We can inspect the other available command-line parameters with firefox –help.
Sometimes, we want to take screenshots of a site the way it appears the first time a user opens it.
To keep cache and cookies clean, we can use the -private-window flag:
$ firefox -headless -private-window -screenshot myscreenshot.png https://www.baeldung.com/In other cases, we may want to take screenshots after the user has done some essential interaction with the site. For example, after the user has accepted cookies or logged in. Or, we may want to take screenshots with a Firefox extension active, e.g., one to block advertisements.
First, let’s suppose we take a screenshot by connecting to a remote server that does not provide a GUI, using:
$ firefox -headless -screenshot myscreenshot.png -window-size 360,640 https://www.baeldung.com/Without having interacted with the site, we get:
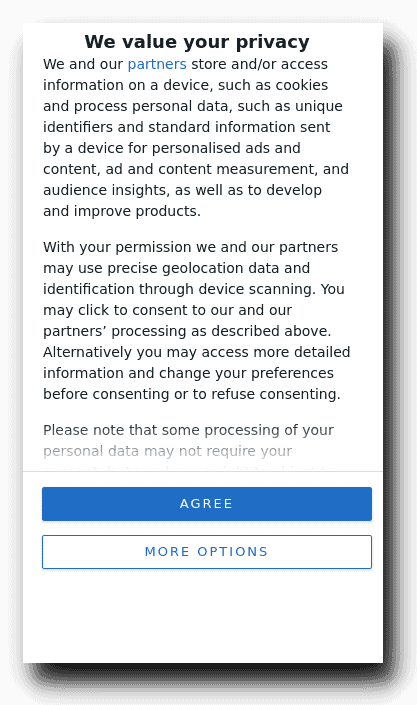
So, we need to open the remote Firefox to accept cookies. To this end, we would use ssh with the -Y and -C flags. Let’s replace x.x.x.x with the domain of our remote server or its IP address:
$ ssh -Y -C [email protected]Here, the -Y option enables trusted X11 forwarding. The -C option boosts performance by using compression.
Next, let’s open Firefox with the -no-remote flag:
# firefox -no-remoteThanks to X11 forwarding, the remote Firefox runs its GUI in our local environment. So, we can accept cookies, then close Firefox, and try again to take a screenshot:
# firefox -headless -screenshot myscreenshot.png -window-size 360,640 https://www.baeldung.com/And, here is the result:

The captured image will always be in PNG format, regardless of the file extension.
Currently, it’s not possible to take screenshots with multiple instances of Firefox at a time due to bug 1693011.
Sometimes, Firefox can hang taking screenshots after X11 forwarding with ssh -Y. We can resolve this by connecting again without the -Y flag.
We can also use Chrome (or Chromium, the open-source equivalent of Chrome) to take screenshots of a website.
If logged as root, we must add the –no-sandbox flag. Without this flag, Chrome doesn’t start.
But, disabling the sandbox makes our systems more vulnerable to exploits via webpages, so Google doesn’t recommend it. In other words, Google strongly discourages us from using Chrome as root, so we won’t.
For that reason, if we are logged in as root, it’s better to add a new standard user and run the following commands with this user’s privileges:
# adduser browser
# sudo -i -u browser
The -u flag specifies the target user. The -i flag means “simulate initial login,” it runs the shell specified by the target user’s password database entry as a login shell. This means that the shell will read login-specific resource files such as .profile, .bash_profile, or .login.
Let’s take a desktop screenshot in the browser user’s home directory. The default size is 800×600 pixels.
Just like in Firefox, we have to use the headless mode, with the -headless flag:
$ google-chrome --headless --screenshot="myscreenshot.png" https://www.baeldung.com/Unfortunately, the following image is the result:
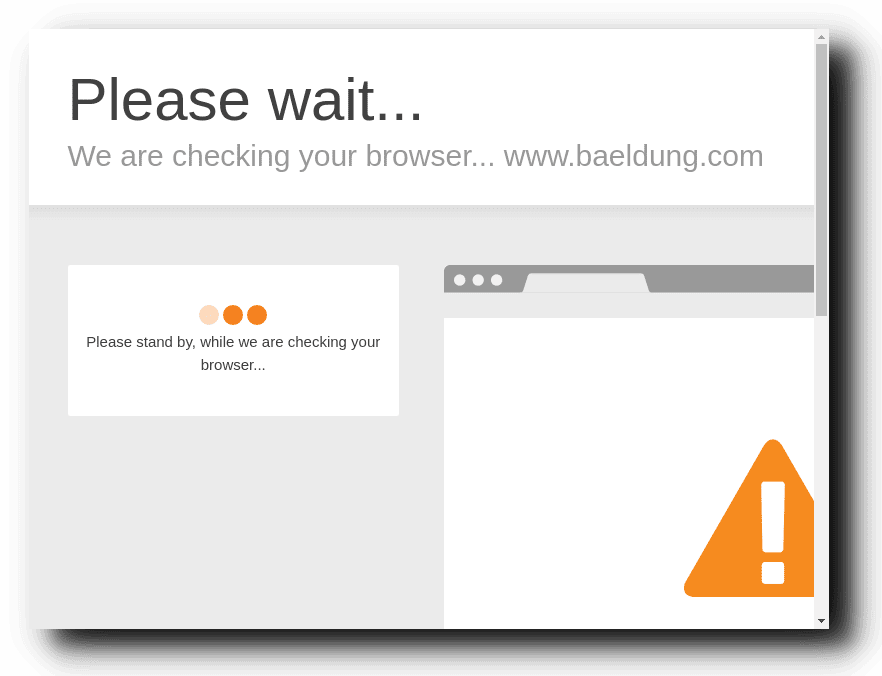
Previously, the same website did not give us this access problem with Firefox. The site may adopt some strategy to recognize some headless browsers and block them.
In this case, we can try to add a delay, but Chrome’s documentation (available with google-chrome –help) doesn’t list any command-line flags for this purpose. That’s why we are going to use Puppeteer.
Puppeteer is a Node library that provides a high-level API to control Chrome or Chromium.
By default, it runs headless and allows us to do automation. During the installation, it downloads a recent version of Chromium that is guaranteed to work with the API:
$ npm i puppeteerTo work with Puppeteer, we need some JavaScript code. Let’s create the myScreenshot.js file:
const puppeteer = require('puppeteer');

function timeout(ms) {
    return new Promise(resolve => setTimeout(resolve, ms));
};

(async() => {
    const browser = await puppeteer.launch();
    const page = await browser.newPage();
    await page.setViewport({width: 800, height: 600})
    await page.goto('https://www.baeldung.com/');
    await timeout(5000)
    await page.screenshot({path: 'myscreenshot.png'});
    browser.close();
})();
In a nutshell, this script loads the puppeteer module, making it accessible in the puppeteer variable. Next, it defines a timeout function to get a delay.
Then, it asynchronously launches the browser with a window of the specified size, opens the given URL, waits 5 seconds, and finally captures the screenshot, and closes the browser.
For detailed information, we can consult the Puppeteer API.
Let’s try it out:
$ node myScreenshot.jsAgain, the result is not what we desire. Adding a delay led to an additional hurdle – the requirement to pass a captcha:
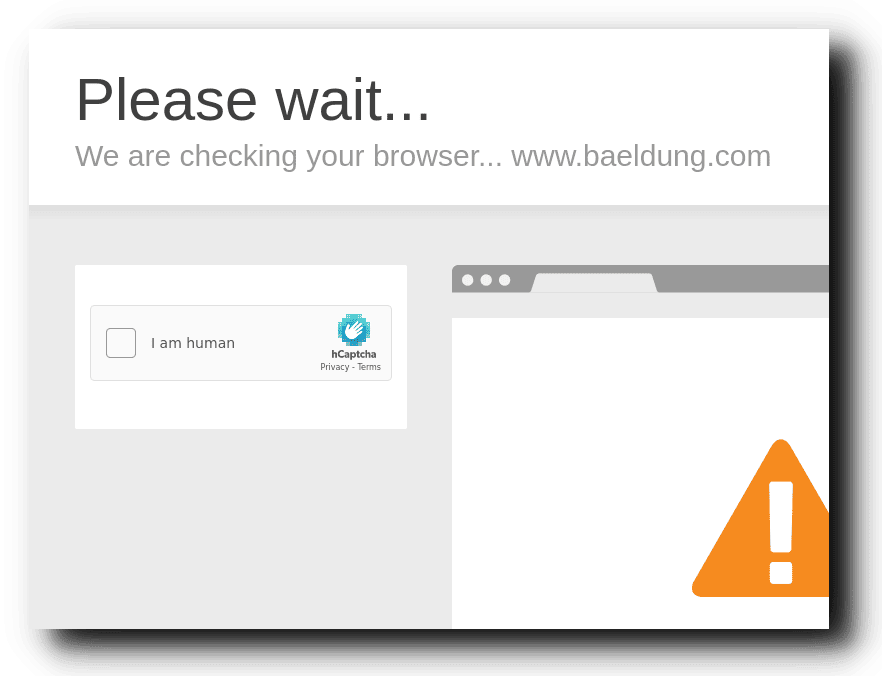
So, in the case of this website, a delay doesn’t circumvent the detection of a headless browser. We have to use a more elaborate strategy.
It’s probably impossible to prevent all ways to detect headless Chromium, but we can try our best thanks to puppeteer-extra-plugin-stealth, a plugin to avoid detection:
$ npm install puppeteer-extra puppeteer-extra-plugin-stealthLet’s change myScreenshot.js to make it use the stealth plugin. First, let’s load the suitable module with all evasion techniques:
// puppeteer-extra is a drop-in replacement for puppeteer,
// it augments the installed puppeteer with plugin functionality
const puppeteer = require('puppeteer-extra');

// add stealth plugin and use defaults (all evasion techniques)
const StealthPlugin = require('puppeteer-extra-plugin-stealth')
puppeteer.use(StealthPlugin())
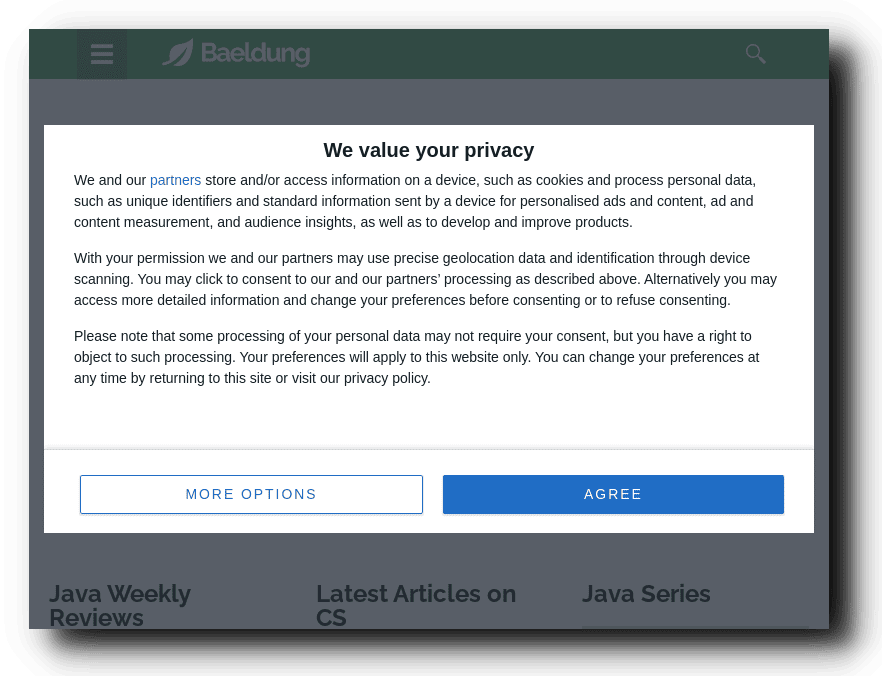
The remaining code is almost the same: we only need to remove the timeout function and the line of code that calls it.
Here’s the result:
We can use X11 forwarding, as we saw for Firefox, to open the browser and accept cookies. However, we need three extra commands to copy the .Xauthority file and set proper permissions. This file is necessary for X11 forwarding as a normal user:
$ ssh -Y -C [email protected]
# cp /root/.Xauthority /home/browser/
# chown browser:browser /home/browser/.Xauthority
# chmod 0600 /home/browser/.Xauthority
# sudo -i -u browser
That’s not all. We can’t open Chrome or Chromium directly. Instead, we have to use Puppeteer.
We thus disable the headless mode and save the session data in the user_data folder:
const puppeteer = require('puppeteer-extra');
const pluginStealth = require('puppeteer-extra-plugin-stealth')();
puppeteer.use(pluginStealth);

(async() => {
    const browser = await puppeteer.launch({headless:false, userDataDir: "./user_data"});
    const page = await browser.newPage();
    await page.setViewport({width: 360, height: 640});
    await page.goto('https://www.baeldung.com/');
    // await page.screenshot({path: 'myscreenshot.png'});
    // browser.close();
})();
Now, we can launch the Chromium GUI to accept cookies:
$ node myScreenshot.jsAfter that, in the user’s home, we have the directory user_data. Let’s edit the code again to take a screenshot after loading the just saved session:
const puppeteer = require('puppeteer-extra');
const pluginStealth = require('puppeteer-extra-plugin-stealth')();
puppeteer.use(pluginStealth);

(async() => {
    const browser = await puppeteer.launch({headless:true, userDataDir: "./user_data"});
    const page = await browser.newPage();
    await page.setViewport({width: 360, height: 640});
    await page.goto('https://www.baeldung.com/');
    await page.screenshot({path: 'myscreenshot.png'});
    browser.close();
})();
Let’s execute it:
$ node myScreenshot.jsAnd, here’s the result:
To get a full-page screenshot, we can edit the line:
await page.screenshot({path: 'myscreenshot.png', fullPage: true});In this article, we have seen how to use Firefox and Chrome to take screenshots from the command line. There are also other tools, but these two browsers, being constantly updated, guarantee us a correct rendering of the pages, as users will see them.
We have faced non-trivial cases where we needed to store the session and bypass the protections against automated tools. Puppeteer, in particular, provides us with excellent control.