

Learn through the super-clean Baeldung Pro experience:
>> Membership and Baeldung Pro.
No ads, dark-mode and 6 months free of IntelliJ Idea Ultimate to start with.
Learn through the super-clean Baeldung Pro experience:
>> Membership and Baeldung Pro.
No ads, dark-mode and 6 months free of IntelliJ Idea Ultimate to start with.
Linux provides a variety of tools that we can use to create a chat between machines on the local network.
In this tutorial, we’re going to cover two of these tools that are simple to setup and use: netcat and talk.
netcat is a command-line tool that provides a lot of network functions. It can read and write data over the network, test connectivity to servers, create TCP and UDP listeners, and a lot more.
Let’s now see how we can use it to create a simple chat over the network.
First, we need to have two Linux machines connected to the same network. Let’s call them M1 and M2.
We need to install netcat on both machines:
$ apt-get install netcatnetcat is available for almost every Linux distribution, so we can use our package manager to install it.
Now on M1, let’s create our chat server:
$ nc -v -l 50000
Listening on 0.0.0.0 50000
The nc command is a shorthand for netcat, so here the -l option creates a listener on port 50000, and the -v option makes the output verbose. Therefore we’re now listening on port 50000 on our machine and waiting for connections.
Before we connect to this listener, let’s check the IP address of M1 in another terminal window, so we can use it for the connection:
$ ifconfig
eth0: flags=4163<UP,BROADCAST,RUNNING,MULTICAST>  mtu 1450
        inet 192.2.109.12  netmask 255.255.255.0  broadcast 192.2.109.255
        ether 02:42:c0:02:6d:0c  txqueuelen 0  (Ethernet)
        RX packets 2289  bytes 250005 (250.0 KB)
        RX errors 0  dropped 0  overruns 0  frame 0
        TX packets 2060  bytes 454087 (454.0 KB)
        TX errors 0  dropped 0 overruns 0  carrier 0  collisions 0
So here, the M1 machine IP address is 192.2.109.12.
Let’s now connect to the listener from M2:
$ nc -v 192.2.109.12 50000
Connection to 192.2.109.12 50000 port [tcp/*] succeeded!
Here we used the nc command from M2 to connect to the IP of M1 192.2.109.12 on the listener port 50000, and we can see that the connection succeeded.
If we check our M1 machine now, we’ll see some information about the connection:
Listening on 0.0.0.0 50000
Connection received on 192.2.109.3 49898
Here on M1, the output shows that there’s a connection from 192.2.109.3, which is the IP of M2, and it is using random port 49898.
Let’s now send some messages from M2:
$ nc -v 192.2.109.12 50000
Connection to 192.2.109.12 50000 port [tcp/*] succeeded!
Greetings from Bealdung
This is a simple Chat app
We are using netcat to send and receive messages
Here we simply used our terminal to type the messages from M2, let’s now check our M1 machine:
Listening on 0.0.0.0 50000
Connection received on 192.2.109.3 49898
Greetings from Bealdung
This is a simple Chat app
We are using netcat to send and receive messages
We can see here our messages in the terminal output for the M1 machine.
Similarly, we can reply from the M1 machine within the same conversation:
Listening on 0.0.0.0 50000
Connection received on 192.2.109.3 49898
Greetings from Bealdung
This is a simple Chat app
We are using netcat to send and receive messages
Hello Baeldung
This is a reply from the chat server
Now let’s check our M2 machine again:
$ nc -v 192.2.109.12 50000
Connection to 192.2.109.12 50000 port [tcp/*] succeeded!
Greetings from Bealdung
This is a simple Chat app
We are using netcat to send and receive messages
Hello Baeldung
This is a reply from the chat serverWe can see our reply appears on the M2 machine, so we’ve now created an interactive chat.
Although using netcat is a very simple option, it is not very reliable or visually appealing. So let’s now check a better option for this task which is using talk.
talk is a Linux utility that provides interactive chat features between users on the same or on different machines. It allows users to communicate in real-time through the terminal by sending and receiving messages to each other.
Let’s check this with an example.
Similar to netcat, we’ll need 2 Linux machines connected on the same network, then we need to install talk on each of them:
$ apt-get install talk
$ apt-get install talkd
Here we installed talk and talkd. talkd is a daemon that listens for connections initiated from talk and notifies the user about the conversation.
Now in order to start a conversation, we need to know the IP of the target machine and the user we’ll talk to. So let’s check this on one of our machines:
$ ifconfig
eth0: flags=4163<UP,BROADCAST,RUNNING,MULTICAST>  mtu 1450
        inet 192.9.97.10  netmask 255.255.255.0  broadcast 192.9.97.255
        ether 02:42:c0:09:61:0a  txqueuelen 0  (Ethernet)
        RX packets 2042  bytes 227568 (227.5 KB)
        RX errors 0  dropped 0  overruns 0  frame 0
        TX packets 1875  bytes 442704 (442.7 KB)
        TX errors 0  dropped 0 overruns 0  carrier 0  collisions 0
Here our target machine, let’s call it M1, has an IP address of 192.9.97.10. Let’s now check the user we have:
$ whoami
bob
Using the whoami command, we can see that our user is bob.
Now on the other machine, let’s call it M2, we’ll initiate a conversation with M1 using the talk command:
$ talk [email protected]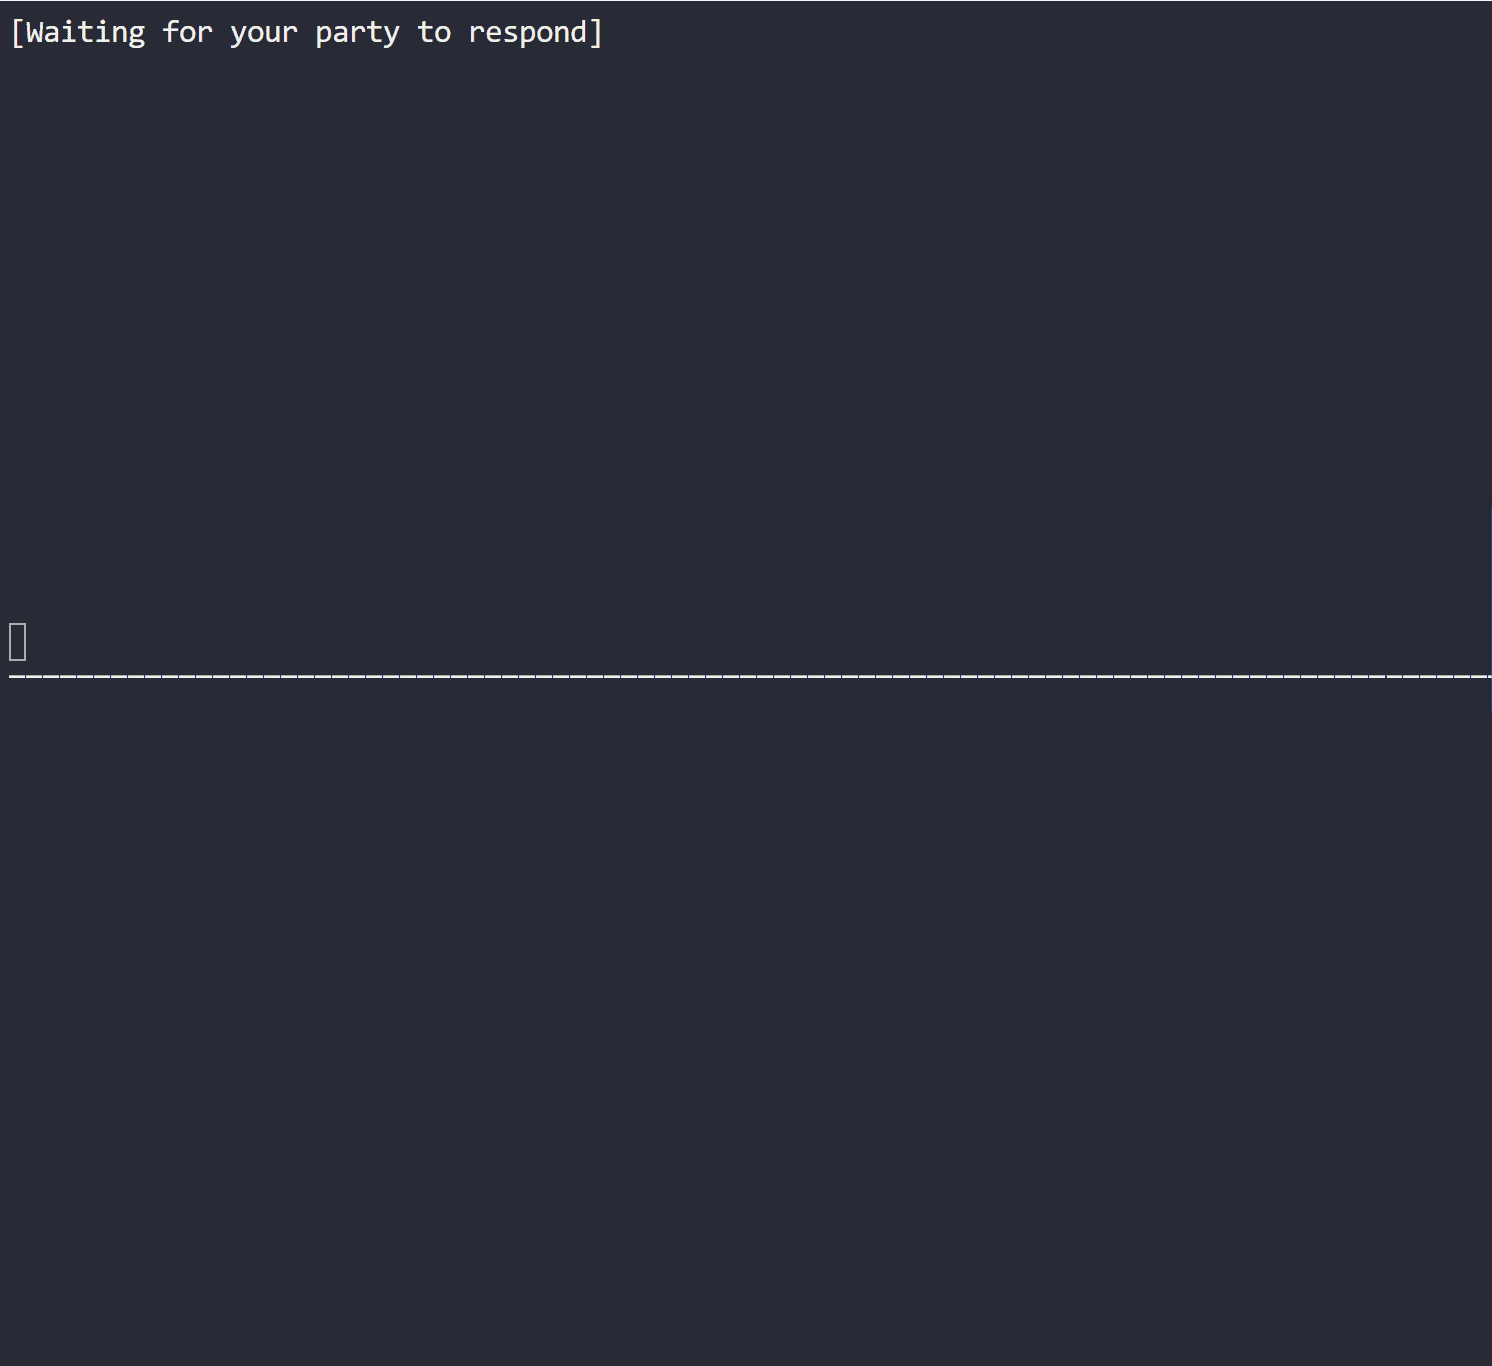
So here we get a screen with 2 windows for the send and receive of the messages. We can see that we’re still waiting for the target user to accept the conversation.
So let’s check our other M1 machine now:
Message from Talk_Daemon@node02 at 6:23 ...
talk: connection requested by [email protected].
talk: respond with:  talk [email protected]
Here we can see a notification for the conversation, if we want to accept and start the conversation, we need to use the talk command also with the destination machine 192.9.97.8 and user Alice:
$ talk [email protected]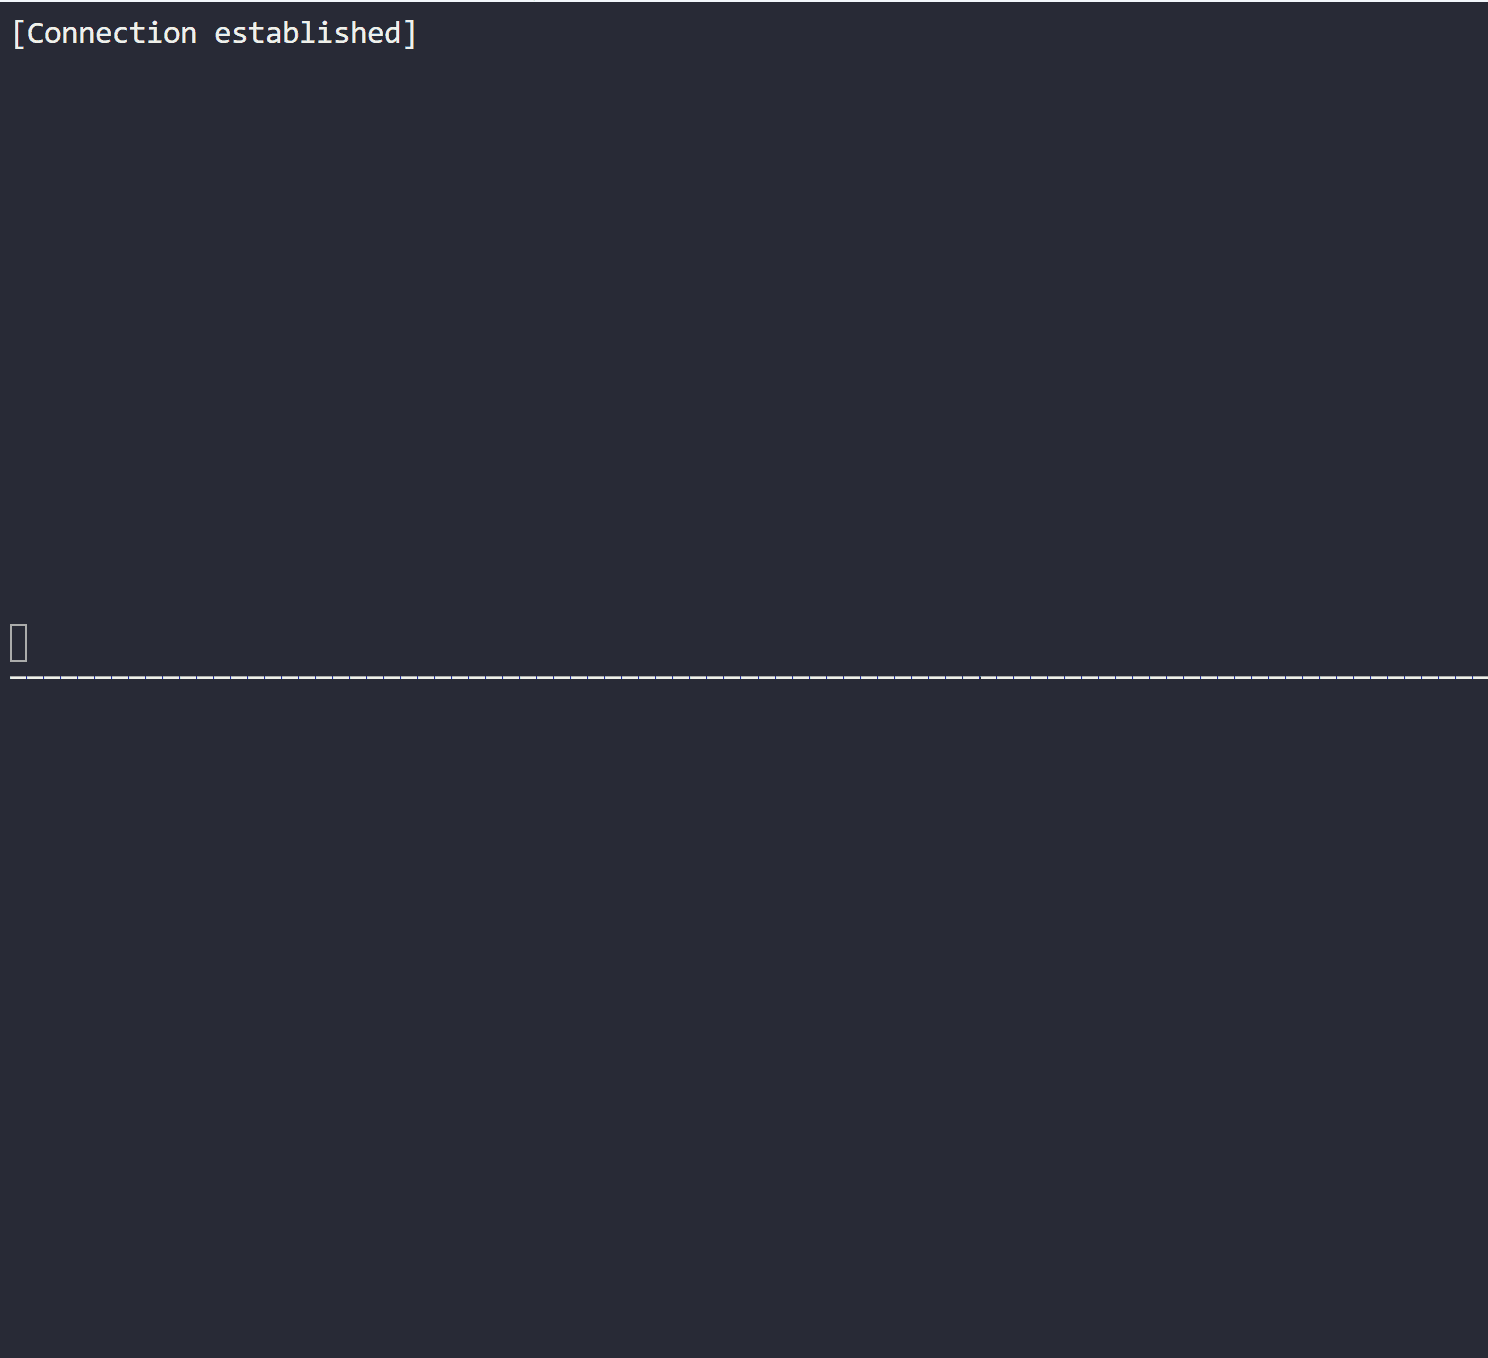
So now the connection is established, let’s try to send a message from M1 to M2:
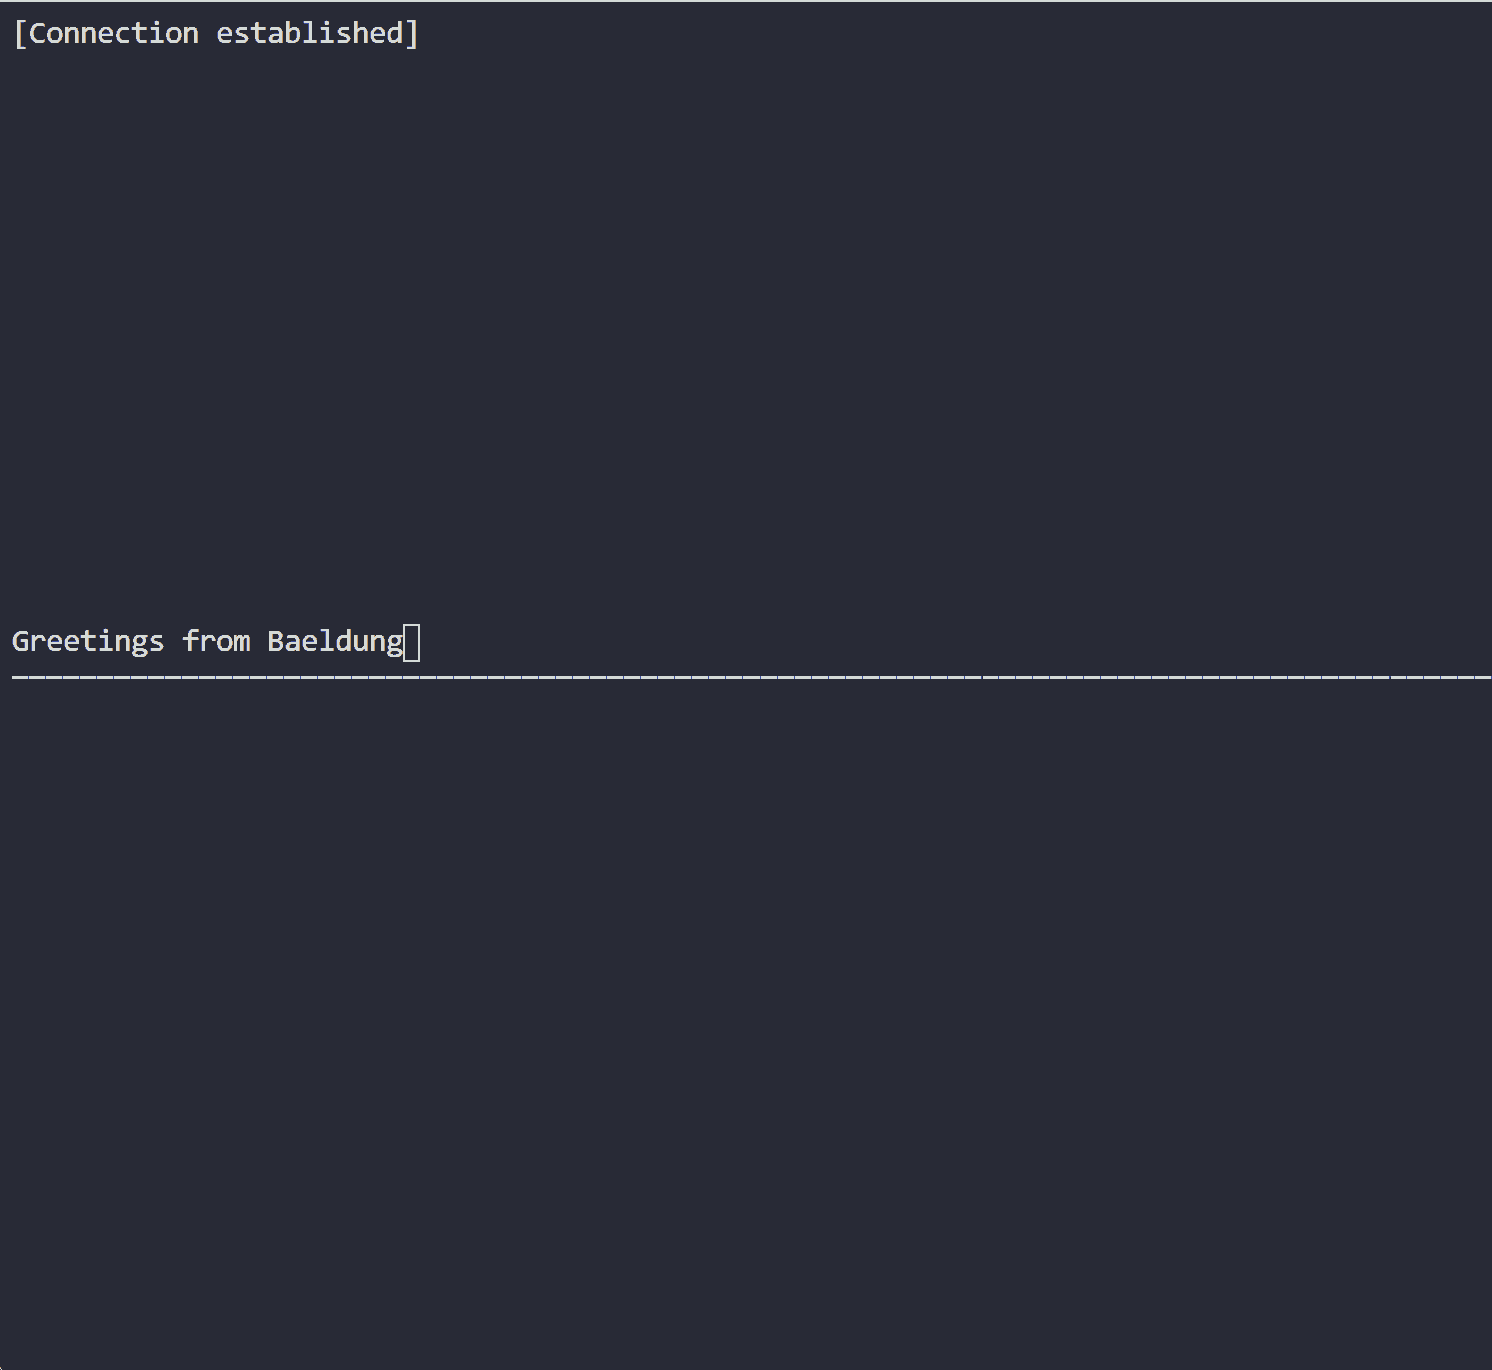
If we check the M2 machine now we’ll see that the message appears in the receiving window:
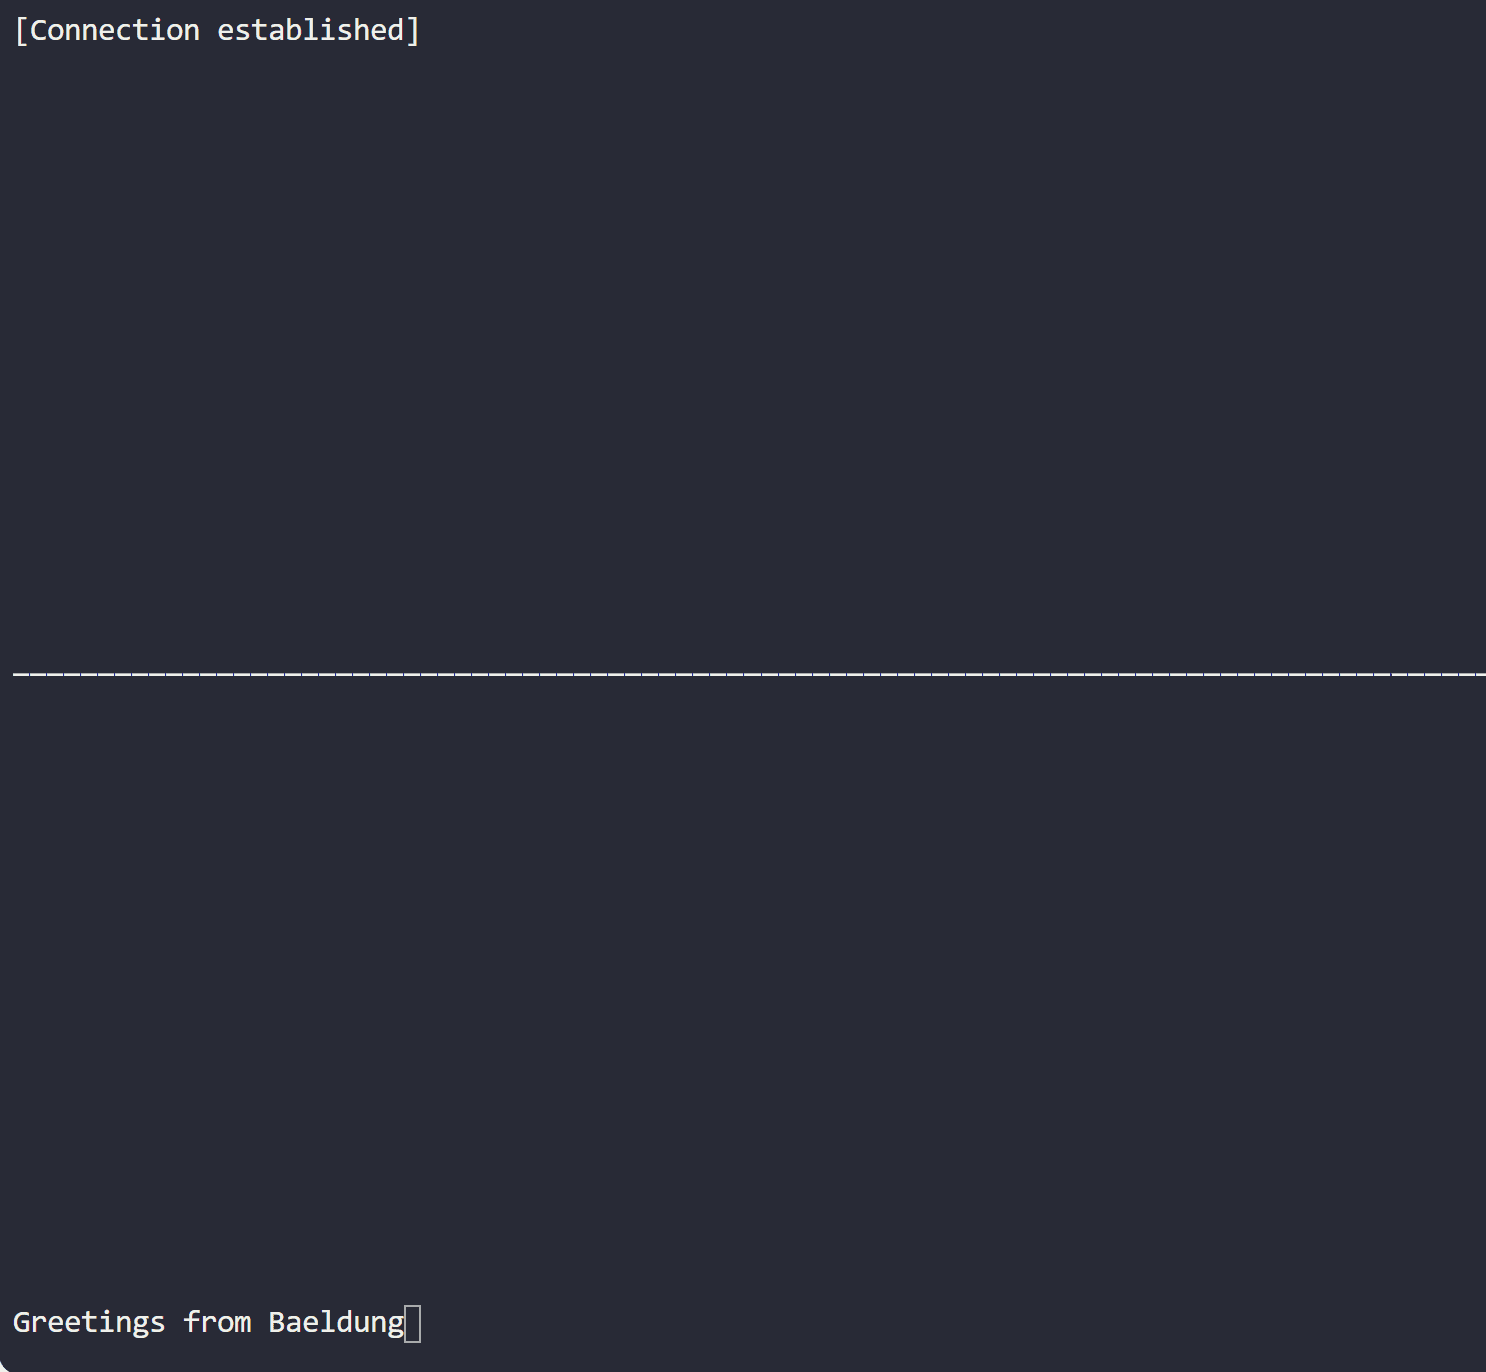
So this confirms that the conversation is working fine and the users can send and receive messages.
In this article, we’ve discussed how to create a simple Linux chat over the network using netcat and talk.
netcat is a command-line tool that interacts with the TCP/IP network and provides a set of networking features for users. We can use netcat to create a listener on a specific port and connect to it over the network. Then we can send and receive messages from the terminal on this connection.
talk, on the other hand, is a Linux utility that provides interactive real-time chat between users. We can use talk to initiate a conversation with a specific user on a target machine on the network. The user can then accept the invitation, and we start sending and receiving messages.