

Yes, we're now running our only Summer Sale. All Courses are 30% off until 20th July, 2026:
Learn through the super-clean Baeldung Pro experience:
>> Membership and Baeldung Pro.
No ads, dark-mode and 6 months free of IntelliJ Idea Ultimate to start with.
1. Introduction
Audio and Video Converters are indispensable tools for enhancing multimedia flexibility on Linux. Additionally, such tools provide diverse options for seamless format conversion, catering to casual users and professionals. Whether for seasoned Linux users or those just venturing into the open-source landscape, these converters offer versatility in handling various formats.
In this tutorial, we’ll explore notable converters, their usage, and features on Linux.
Firstly, we’ll look into FFmpeg, a free open-source command-line multimedia converter. Transitioning to user-friendly interfaces, we’ll look at HandBrake, Avidemux, Ciano, and VLC. Lastly, we’ll understand the capabilities of Shutter Encoder.
2. FFmpeg
FFmpeg is a versatile and powerful multimedia tool, renowned for its command-line capabilities. Also, FFmpeg excels in handling various audio and video formats, making it the preferred choice for users seeking efficient and flexible media conversion.
2.1. Installation
Since it may not be available by default on Linux, we install FFmpeg using the apt utility.
First, let’s update repository information on the machine using the update command with the APT package manager:
$ sudo apt updateAfter that, we install the FFmpeg using the install subcommand:
$ sudo apt install ffmpegLastly, we confirm the installation by checking the version:
$ ffmpeg -version

ffmpeg version 6.1.1-1 Copyright (c) 2000-2023 the FFmpeg developers
built with gcc 13 (Debian 13.2.0-9)
...
The output verifies a successful installation of FFmpeg on the system. Furthermore, the displayed information provides details about the installed version of FFmpeg (version 6.1.1-1).
Once the installation is complete, let’s start using FFmpeg for multimedia conversion.
2.2. Video Conversion to Different Format
Notably, the FFmpeg command-line interface offers a plethora of options for manipulating audio and video files.
First, we use FFmpeg to convert a video from one format to another:
$ ffmpeg -i input.mp4 -c:v libx264 -c:a aac output.mp4
Here, we instruct ffmpeg to take an input file named input.mp4 and convert it to an output file named output.mp4 using the H.264 video codec (libx264) for video and AAC codec for audio.
2.3. Extract Audio From Video
Also, let’s extract audio from a video file:
$ ffmpeg -i input.mp4 -vn -acodec pcm_s16le -ar 44100 -ac 2 output.wav
In this case, we extract the audio from input.mp4 and save it as a wav file named outtput.wav. Furthermore, we specify a sample rate of 44.1kHz and 2 audio channels.
2.4. Video Resize and Cropping
Further, let’s also use the FFmpeg to resize a video:
$ ffmpeg -i input.mp4 -vf "scale=640:480" output_resized.mp4
This command resizes the video to a width of 640 pixels and a height of 480 pixels.
Similarly, let’s crop a video to a specific area:
$ ffmpeg -i input.mp4 -vf "crop=480:360:100:50" output_cropped.mp4
This command crop the video to a width of 480 pixels and a height of 360 pixels, starting at coordinates (100, 50).
2.5. Merging Audio and Video
Lastly, let’s merge a video file with a separate audio file:
$ ffmpeg -i input_video.mp4 -i input_audio.mp3 -c:v copy -c:a aac -strict experimental output_merged.mp4This command combines a video file input_video.mp4 with an audio file input_audio.mp3 into a single file named output_merged.mp4.
These examples showcase the versatility of FFmpeg, enabling us to perform advanced multimedia tasks through its command-line interface.
2.6. Features
FFmpeg impresses with its extensive codec support, facilitating effective manipulation of diverse audio and video formats.
Overall, its versatile capabilities encompass tasks such as video resizing, cropping, and seamless merging of audio and video. In essence, with its robust feature set, FFmpeg provides a powerful command-line interface for efficient and comprehensive multimedia conversion on Linux
3. HandBrake
Moving beyond command-line tools, HandBrake stands out as a user-friendly open-source multimedia converter for Linux. Also, renowned for its intuitive interface, HandBrake simplifies the process of converting audio and video files into various formats.
3.1. Installation
We use the APT package manager to install HandBrake:
$ sudo apt install handbrakeThus, we have the application available locally.
If needed, we can check the handbrake version using the -version flag.
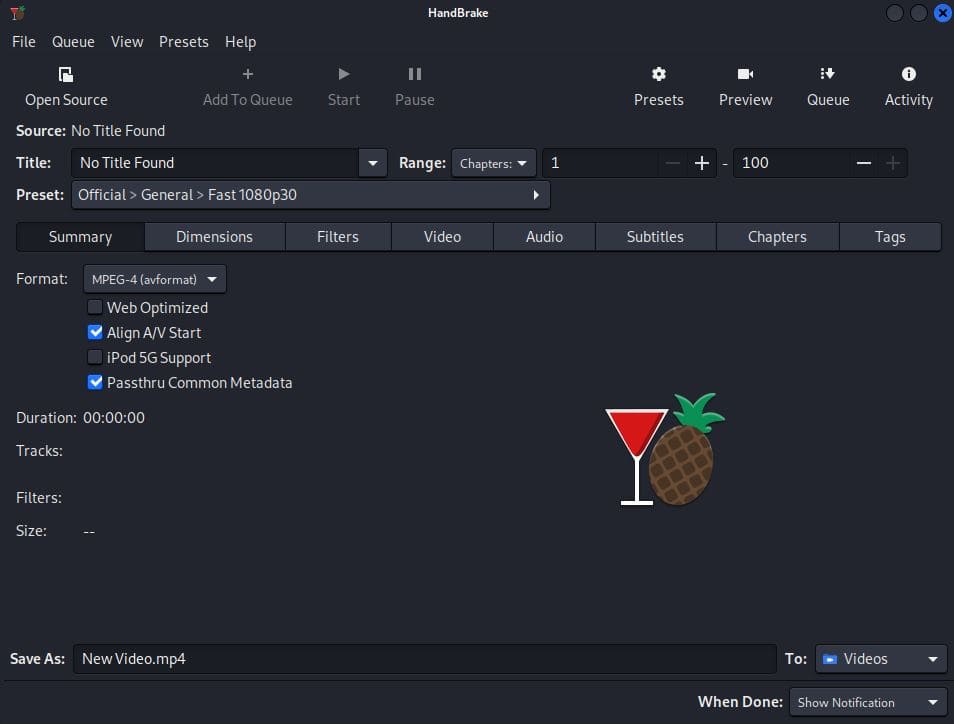
3.2. Import Media
Once the installation is complete, let’s open the HandBrake application. One way to do that is via the terminal:
$ handbrakeAlternatively, we utilize the Activities panel. We input Handbrake into the search bar and press Enter to launch:
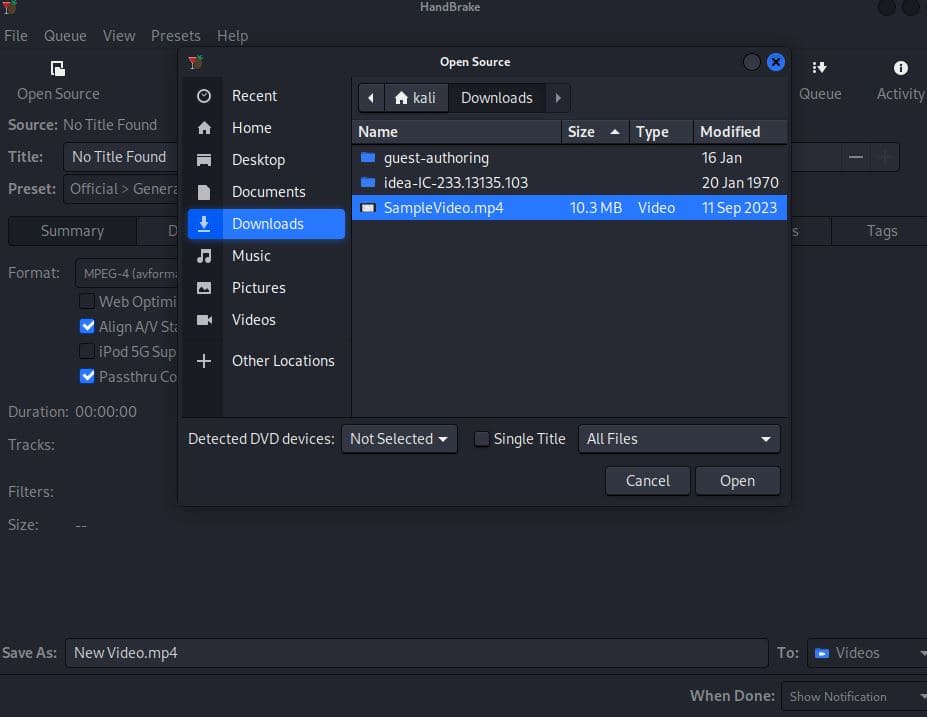
After that, let’s import media in Handbrake by clicking the Open Source icon on the toolbar below the menu bar. Then, we get a file picker to select our desired file:
Alternatively, we drag and drop a sample media file into the Project area and start editing and converting based on our choice.
3.3. Features
HandBrake is a widely used graphical user interface audio-video conversion tool known for its various features:
- intuitive user interface
- support for various output formats
- batch processing capability
Due to its open-source nature, HandBrake is often preferred for minor projects and small teams.
4. Avidemux
Avidemux is an open-source lightweight and user-friendly non-linear video editing tool. Furthermore, Avidemux is suitable for basic editing tasks such as filtering, audio editing, format conversion, subtitle support, and processing.
4.1. Installation
Let’s install Avidemux using Flatpak.
This application isn’t available by default on most Linux distributions. Notably, let’s install flatpak using the apt utility:
$ sudo apt install flatpakNext, let’s update the system:
$ sudo apt updateFurther, let’s add the Flathub remote repository to the Flatpak:
$ flatpak remote-add --if-not-exists flathub https://flathub.org/repo/flathub.flatpakrepoFinally, let’s use the flatpak command to install Avidemux:
$ flatpak install flathub org.avidemux.AvidemuxThus, Avidemux should now be available on our system.
4.2. Import Media
Once the installation is complete, let’s run Avidemux using the flatpak command:
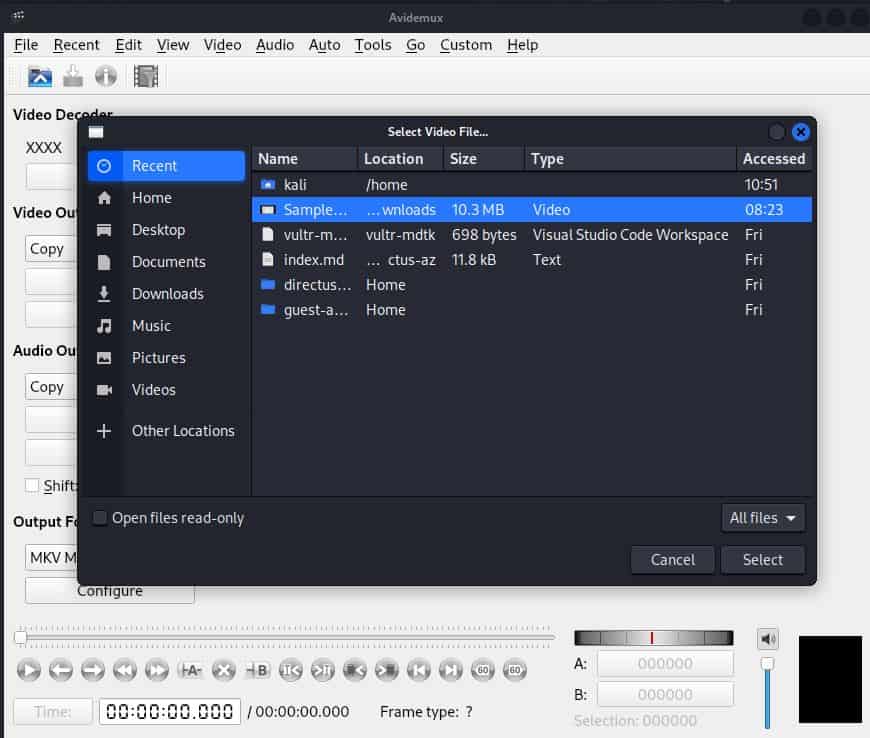
$ flatpak run org.avidemux.AvidemuxOnce Avidemux is open, let’s import media to edit. Moreover, to import the file, we click the menu bar and then click File, then Open:
Next, we pick the video file to convert. Then, after the video file is imported, we have an interface with various options to edit videos:
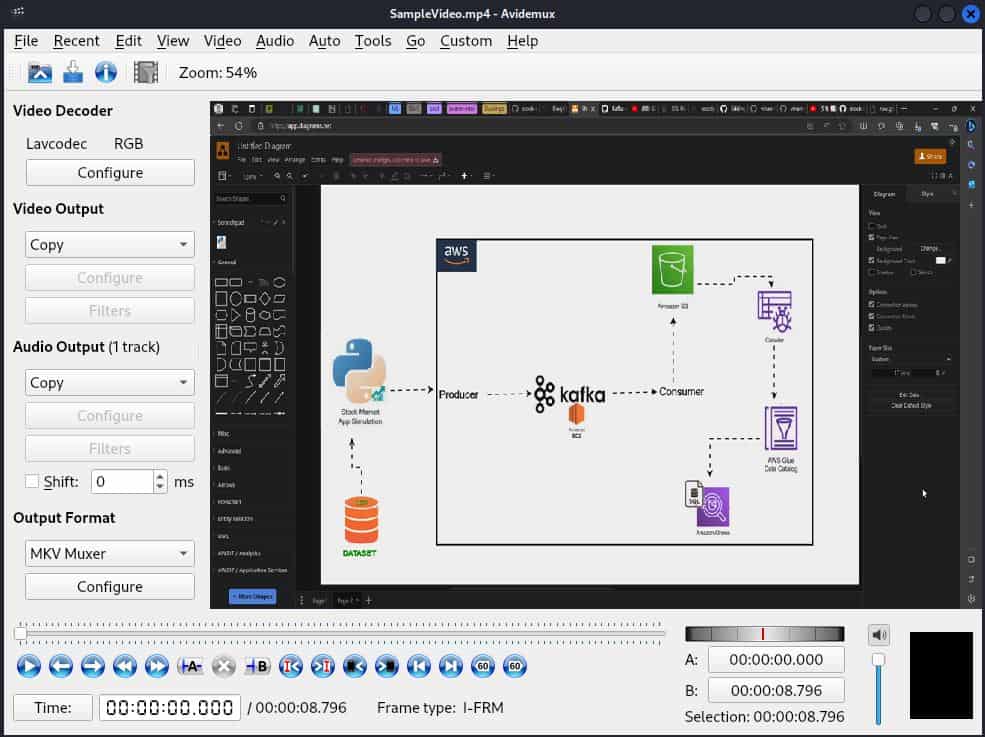
The main screen in Avidemux is fairly self-explanatory.
4.3. Features
Avidemux is more useful for basic conversion tasks:
- subtitle integration
- format conversion
- cutting videos
- quality enhancement
Avidemux stands out with its simplistic approach to audio and video handling.
5. Ciano
Ciano is an open-source modern and user-friendly graphical application for multimedia file conversion on Linux. Basically, it provides a straightforward interface and supports a variety of formats, making it suitable for both casual users and enthusiasts.
5.1. Installation
First, we add the flathub remote repository:
$ flatpak remote-add --if-not-exists flathub https://flathub.org/repo/flathub.flatpakrepoAfter that, we install Ciano using Flatpak:
$ flatpak install flathub com.github.robertsanseries.cianoThis completes the installation of Ciano on our system.
5.2. Usage
Once installed, we launch Ciano using the Flatpak command:
$ flatpak run com.github.robertsanseries.cianoAlternatively, we utilize the Activities panel. This time, we type Ciano at the search bar and press Enter to launch:
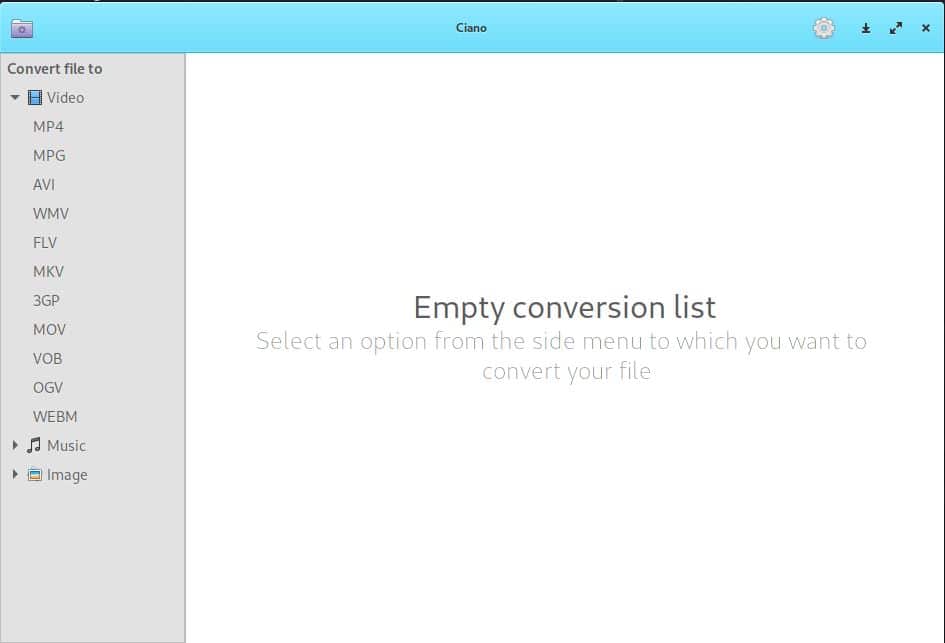
Once opened, we import media files and carry out multiple conversion operations.
5.3. Features
Ciano offers several features including:
- user-friendly interface
- format conversion
- batch processing
With its focus on simplicity and functionality, Ciano stands out as a valuable tool for multimedia conversion on Linux systems. Furthermore, the interface of Ciano is often easier to use and more straightforward than other competitors.
6. VLC
VLC (VideoLAN Client) is a widely acclaimed open-source multimedia player, but it also boasts powerful conversion capabilities. Further, with its extensive format support and user-friendly interface, VLC serves as a versatile tool for both playing and converting multimedia files.
6.1. Installation
To install VLC, let’s use the APT package manager:
$ sudo apt install vlcAfter installation, we can check the version:
$ vlc --version
VLC media player 3.0.20 Vetinari (revision 3.0.20-0-g6f0d0ab126b)
...
This verifies a successful installation of VLC on the system.
6.2. Usage
Let’s launch VLC through the terminal:
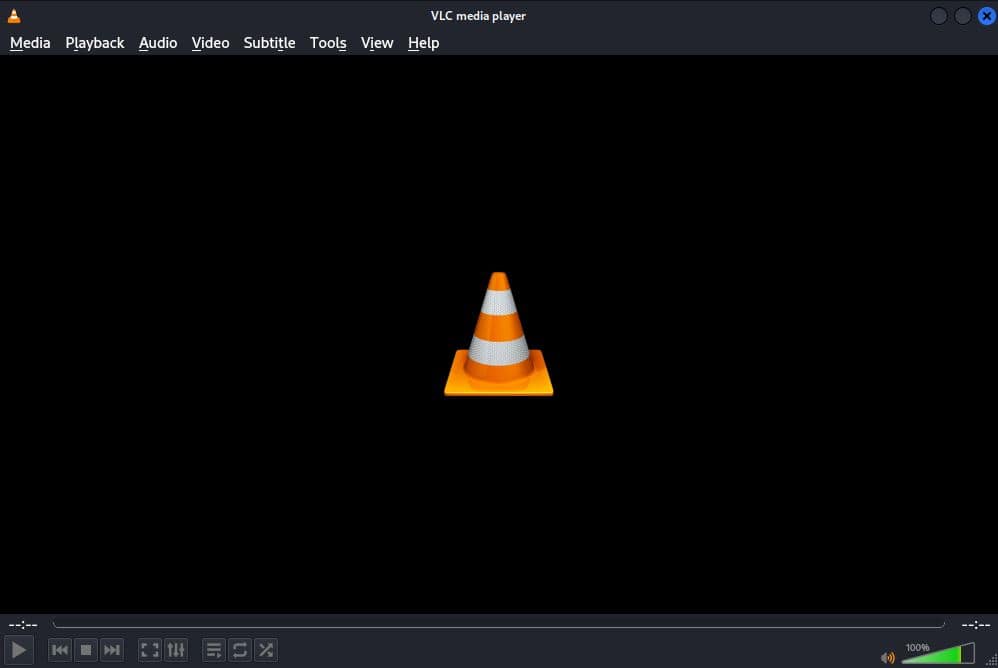
$ vlcAlternatively, we use the Activities panel. we search for VLC in the search bar and hit the Enter key.
Additionally, to use VLC for conversion, we navigate to Media in the menu and choose the desired video file:
Also, after the files have been converted, we then select the desired output format and destination.
6.3. Features
VLC’s conversion features include:
- wide format support
- streaming capabilities
- customization options
In addition, VLC’s dual role as a media player and converter makes it a valuable addition to the multimedia toolkit on Linux.
7. Shutter Encoder
Shutter Encoder is a versatile open-source multimedia encoding software designed for both beginners and professionals. Further, it offers a comprehensive set of features, including format conversion, editing, and optimization, making it a powerful tool for multimedia tasks.
7.1. Installation
First, we download the Shutter Encoder DEB package from the official website using the wget command:
$ wget -O shutterencoder.deb https://www.shutterencoder.com/Shutter%20Encoder%2015.8%20Linux%2064bits.debNext, we install the package using dpkg:
$ sudo dpkg -i shutterencoder.debAt this point, we should be able to use the Shutter Encoder application.
7.2. Usage
Once installed, let’s launch Shutter Encoder through the terminal:
$ shutter-encoderAlternatively, we run it through the application menu. In any case, we should see the main screen of Shutter Encoder:
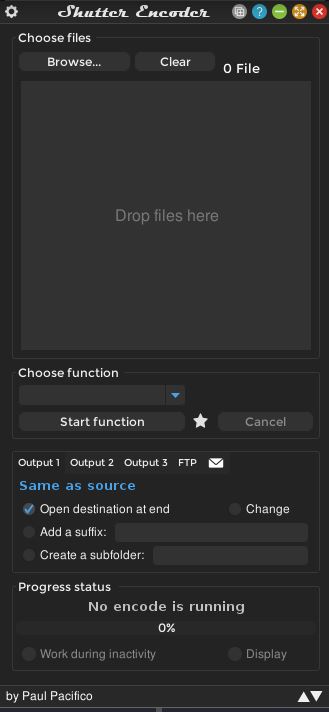
Upon opening, Shutter Encoder provides a user-friendly interface. Now, to begin a conversion, we click on the Browse button and select the media file we want to process.
Also, we drag and drop the media file we want to work with in the Drop files here area.
7.3. Features
Shutter Encoder offers a range of features:
- wide format support
- editing capabilities
- batch processing
Shutter stands out as a robust multimedia encoding solution with its user-friendly interface.
8. Conclusion
In this article, we delved into an array of multimedia converters that enrich the Linux experience.
In conclusion, from the command-line prowess of FFmpeg to the user-friendly interfaces of HandBrake, Avidemux, Ciano, VLC, and the versatile features of Shutter Encoder, each tool adds a layer of flexibility for users working with audio and video formats.