

Learn through the super-clean Baeldung Pro experience:
>> Membership and Baeldung Pro.
No ads, dark-mode and 6 months free of IntelliJ Idea Ultimate to start with.
Learn through the super-clean Baeldung Pro experience:
>> Membership and Baeldung Pro.
No ads, dark-mode and 6 months free of IntelliJ Idea Ultimate to start with.
Linux has a long list of audio recorders that play a vital role in offering users a spectrum of options to record, edit, and manage audio content.
In this tutorial, we’ll explore a range of some of the most notable sound recorder applications for Linux. In addition, we’ll highlight their features, functionality, and overall user experience.
Of course, we first need to ensure we have a properly functioning microphone connected to the system before proceeding. Alternatively, we can use an internal desktop or laptop microphone.
In general, we’ll be using the terms sound, audio, and voice recorder interchangeably.
Audacity is one of the most renowned free, open-source audio recording and editing software. Though not exclusively a voice recorder, its capabilities cover many audio recording needs.
Audacity has a number of key features:
Let’s see how we can install Audacity on Linux, and then explore some of its features.
We start by installing Audacity on our system via the local package manager.
On Ubuntu, we can use the APT package manager:
$ sudo apt-get install audacityAlternatively, on Arch Linux, we can use Pacman:
$ sudo pacman -S audacityFinally, on Fedora Linux, we can employ DNF:
$ sudo dnf install audacityAfter the installation, let’s explore how to use Audacity for voice and general recording.
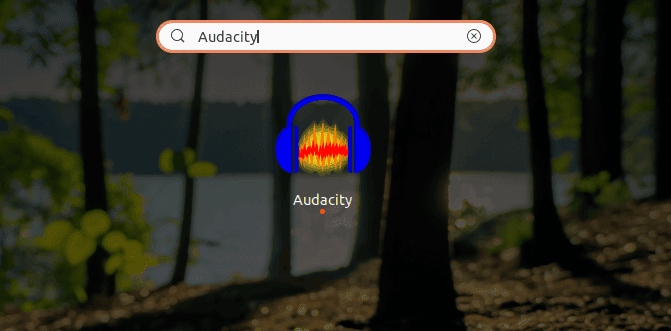
To use Audacity, let’s search for it in the applications menu by typing Audacity:
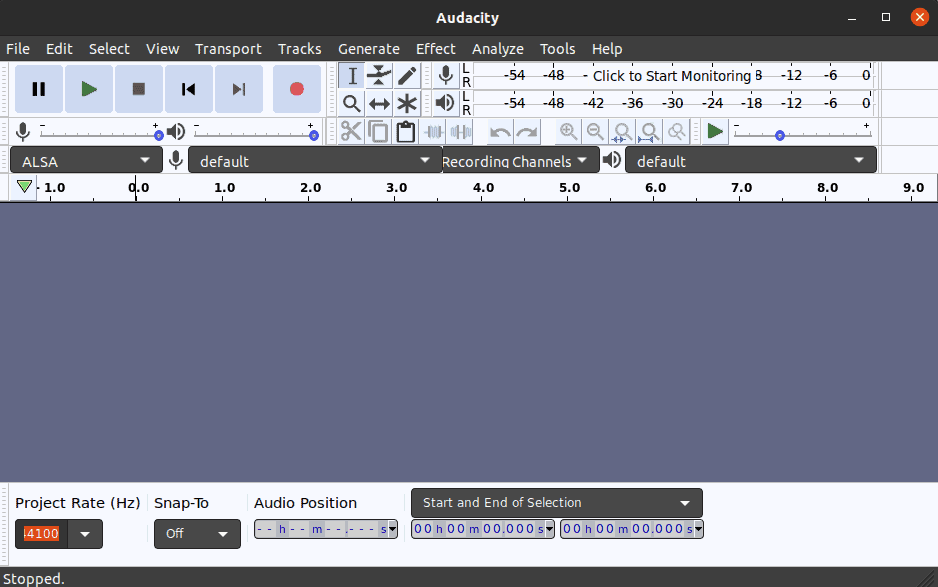
Once it’s open, we’ll see the main window of the application:
With our microphone connected to the system, Audacity automatically connects to it. So, we can start recording by clicking the Record button:
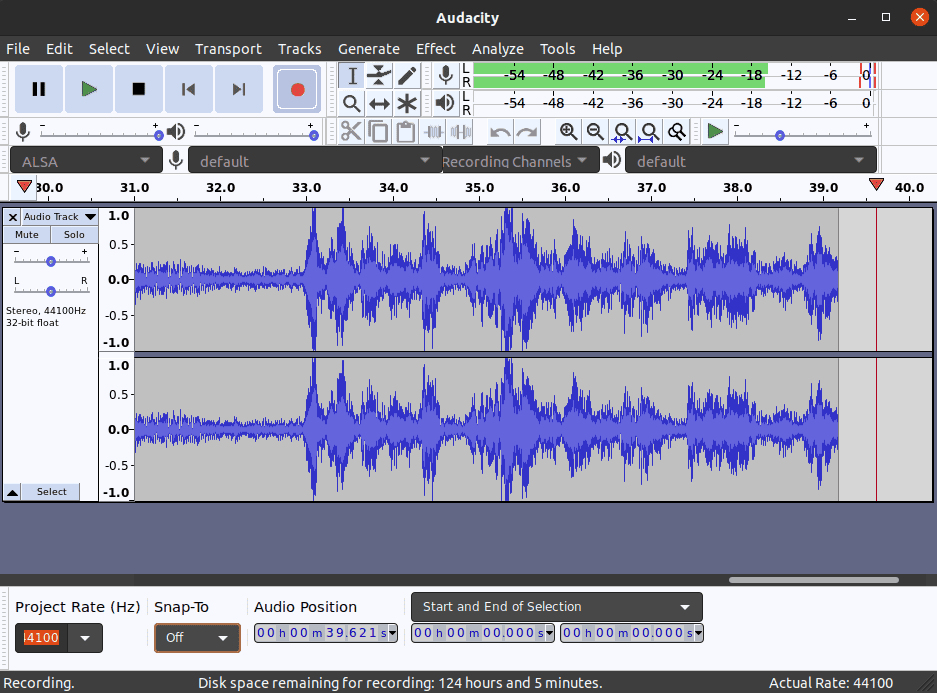
Alternatively, we can press the R button on our keyboard to automatically start the recording.
On the top left corner, we have a dropdown that reads ALSA which contains a list of all available audio devices that we can use for recording. ALSA provides audio and MIDI functionality to Linux operating systems.
Finally, Audacity supports exporting the recorded audio in different formats including MP3, WAV, OGG, and more.
OBS Studio (Open Broadcaster Software) is a popular open-source application for video or audio recording and live streaming. It was initially designed for live streaming but has evolved into a widely used tool.
OBS Studio provides an array of features that we can use to customize the overall recording experience.
OBS Studio has a number of important features:
Let’s find out how to install and use OBS Studio for sound recording on Linux.
The tool is available on most Linux distros. Thus, we can usually install it from the local package manager.
On Debian-based distros, we can first fetch the official OBS Studio repository:
$ sudo add-apt-repository ppa:obsproject/obs-studioThen we can install it with the APT package manager:
$ sudo apt install obs-studioAlternatively, to install OBS Studio on Arch Linux, we can use Pacman:
$ sudo pacman -S obs-studioFinally, on Fedora Linux, we can use DNF:
$ sudo dnf install obs-studioLet’s see how we can use OBS Studio as an audio recorder and then look at some of the features available to us.
We can open OBS Studio by searching for it in the applications menu:

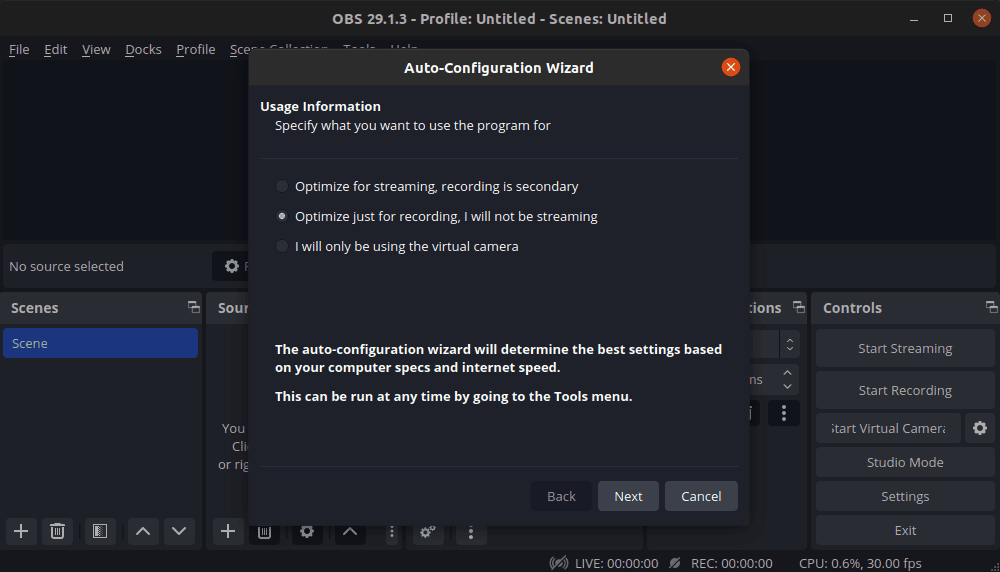
Upon first launching OBS Studio, we’ll get an Auto-Configuration Wizard prompt that offers us the option to optimize the application for streaming or recording:
After configuration, we’ll see the main window which contains several options for recording or streaming:
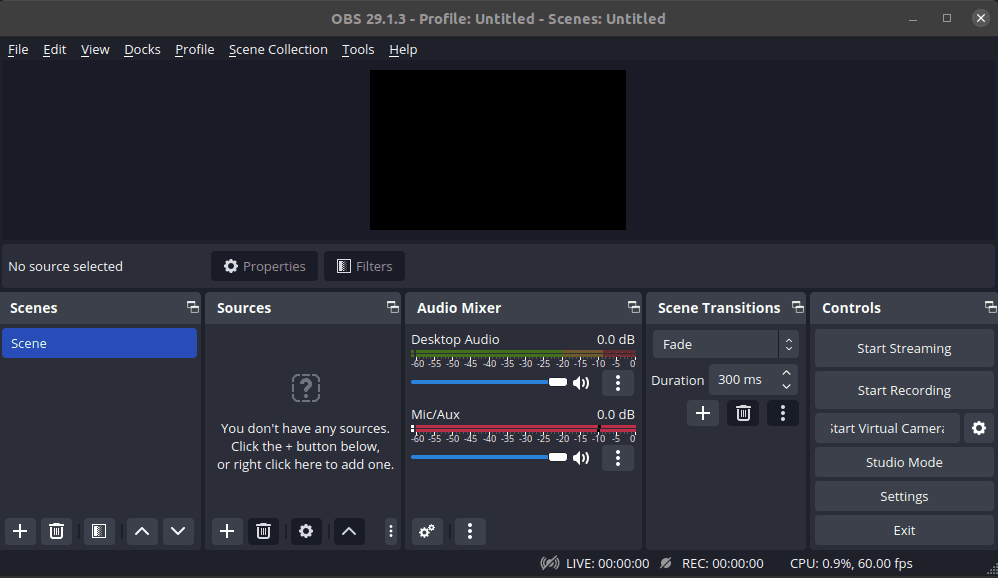
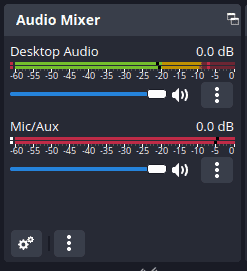
On the bottom middle section, we can see the Audio Mixer tab that shows sound levels registered from the desktop audio or a connected microphone. We can adjust the sound levels of each giving us the flexibility to switch between the microphone or desktop audio:
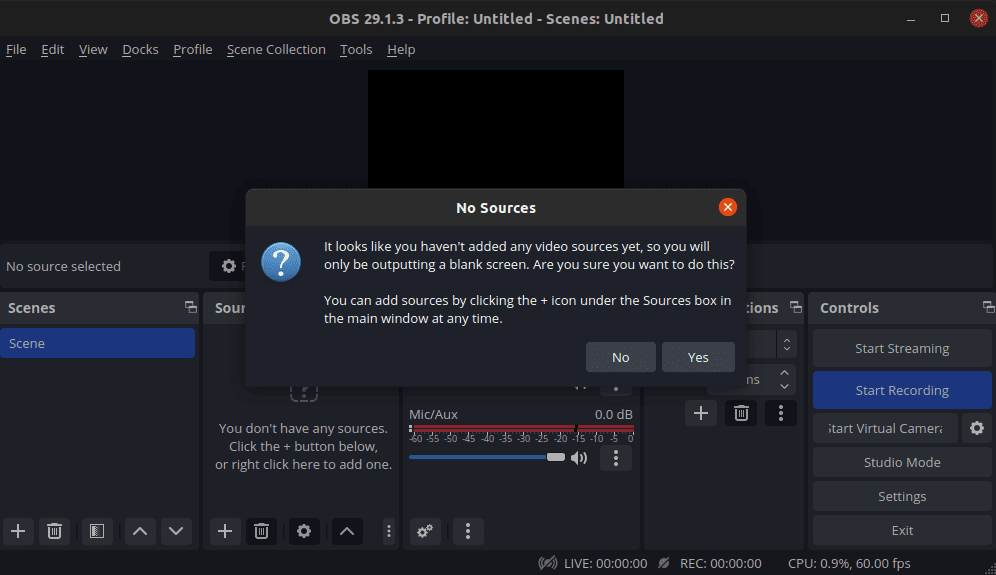
To start recording audio, we can click on the Start Recording option in the bottom right corner of OBS Studio. We’ll get a prompt to add a video source, however, this is optional and we can proceed with recording only the audio:
We can pause or stop the recording. However, if we stop the recording, OBS Studio automatically saves it in the /home/$user directory by default.
Furthermore, we can click on the Settings option and select Audio from the left sidebar to access all available audio settings:
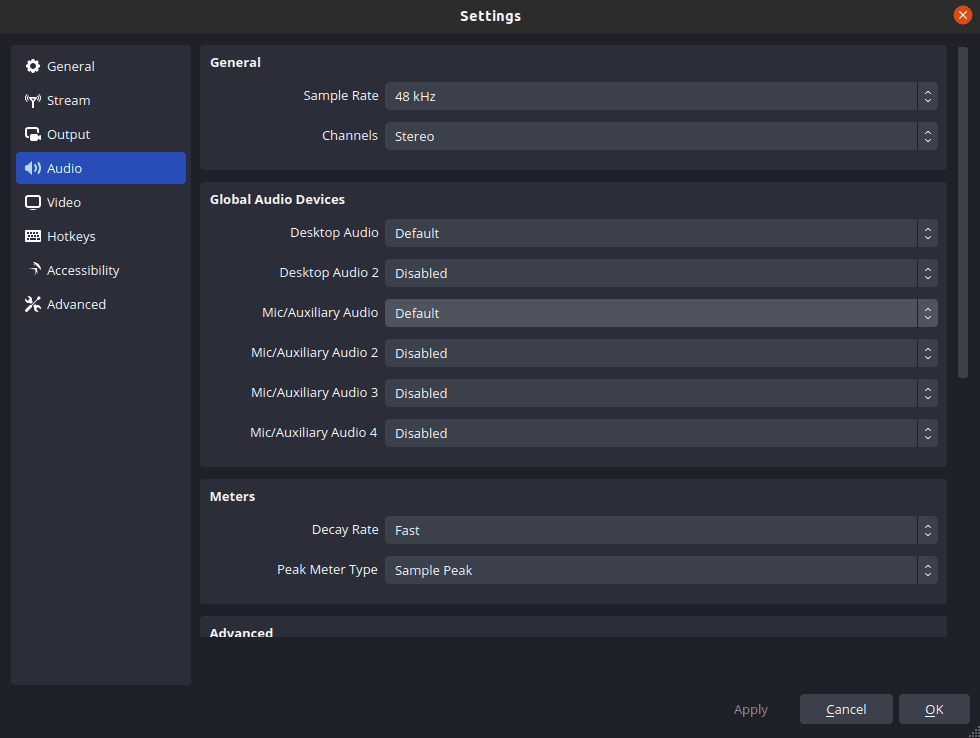
We can change the sample rate, audio channel, audio input devices, and more.
GNOME Sound Recorder is a simple and lightweight audio recording application designed specifically for the GNOME desktop environment, which is commonly found in various Linux distros.
It offers us a straightforward way to capture audio using the system’s microphone or other available input sources.
GNOME Sound Recorder has a number of important features:
Let’s begin by exploring how to install GNOME Sound Recorder on Linux.
We can install GNOME Sound Recorder on Debian via the APT package manager:
$ sudo apt install gnome-sound-recorderOn Arch Linux, we can use Pacman to install GNOME Sound Recorder:
$ pacman -S gnome-sound-recorderFinally, on Fedora Linux, we can use the DNF package manager:
$ sudo dnf -y gnome-sound-recorderAfter installation, we can open GNOME Sound Recorder and then explore some of its features.
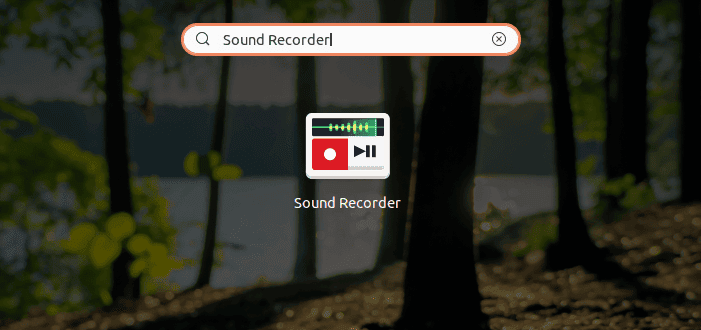
We can open GNOME Sound Recorder by searching for Sound Recorder in the applications menu:
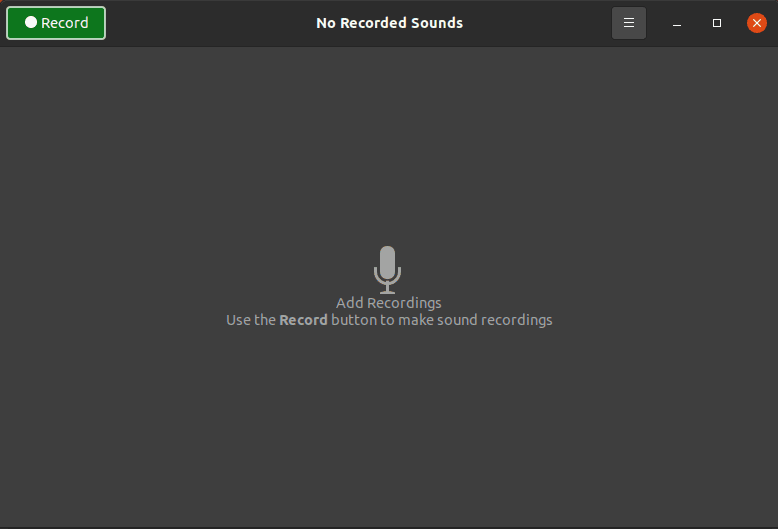
By default, GNOME Sound Recorder has a simple and easy-to-use interface with only two options:
Let’s start recording by clicking on the Record button on the top left corner:
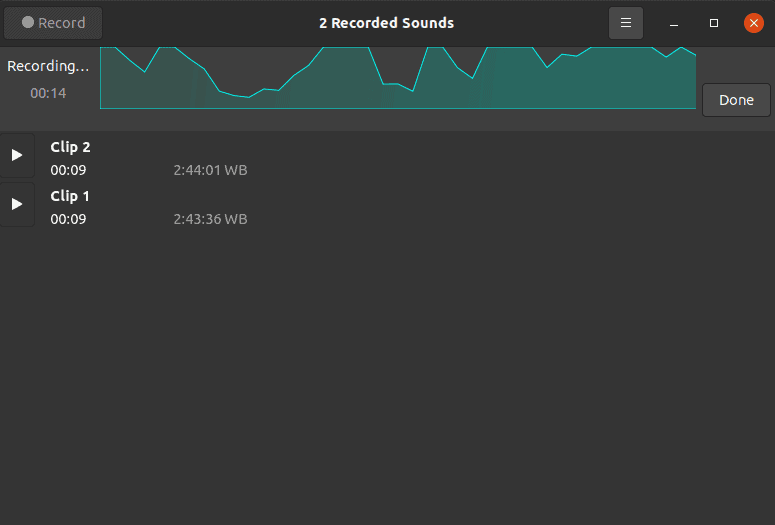
We can click on Done to stop the recording, and as a result, GNOME Sound Recorder automatically keeps a record of it.
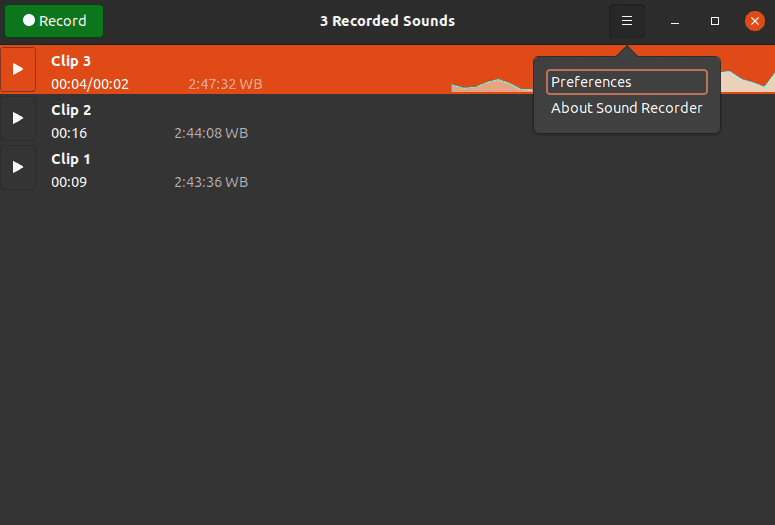
Moreover, we can change the settings by clicking on the Preferences option from the dropdown in the top right corner:
From the preference option, we can adjust different settings such as the preferred export format or the default mode:
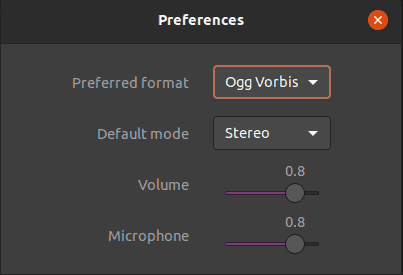
By default, GNOME Sound Recorder exports audio recordings in Ogg Vorbis format, but it also supports MP3, FLAC, NOV, and Opus.
In addition, we can adjust the microphone and system volume. This offers us an easy way to control the volume level of each while recording.
In this article, we’ve explored the different Linux tools available for voice and general sound recording. Audacity and OBS Studio have more complex layouts but offer us a lot of options to customize the audio recording experience.
We also looked at GNOME Sound Recorder which has an easy-to-use interface and is suitable for quick recordings. In contrast, it doesn’t have a lot of customization options which may be more suitable for more experienced users.