

Learn through the super-clean Baeldung Pro experience:
>> Membership and Baeldung Pro.
No ads, dark-mode and 6 months free of IntelliJ Idea Ultimate to start with.
Last updated: July 20, 2024
Learn through the super-clean Baeldung Pro experience:
>> Membership and Baeldung Pro.
No ads, dark-mode and 6 months free of IntelliJ Idea Ultimate to start with.
Microphones are just audio input devices. Thus, any devices that accept audio input use a microphone. Further, we can use a phone as a microphone for a PC or laptop. This is very helpful if we have no dedicated microphone.
Notably, Android has many apps for this purpose. As a result, we can turn our Android phones into a microphone for a Linux system.
In this tutorial, we’ll see how to use an Android phone as a microphone in Linux.
We’ll go through each step of this tutorial on a Ubuntu 22.04 system. However, the steps should work on many other Linux systems with little or no changes.
AudioRelay streams audio from an Android phone to a Linux machine. Also, it can stream the data over WiFi or a USB connection.
AudioRelay creates a virtual audio device. This device acts as a middleman between the phone and other applications. In particular, the virtual device gets an audio stream from the phone. It then presents the audio as an input to the system.
Let’s set up AudioRelay on Linux.
First, we download the application from the official website using wget:
$ wget https://dl.audiorelay.net/setups/linux/audiorelay-0.27.5.debThen, we install the downloaded package using dpkg:
$ sudo dpkg -i audiorelay-0.27.5.deb
Selecting ...
(Reading database ...
...
As a result, we have access to the application.
Let’s see now how to use AudioRelay as an audio source.
First, we create a virtual audio device. Moreover, this device receives the audio from AudioRelay. It then acts as an actual audio source for other applications.
To set the audio device from the command line, we use the pactl command:
$ pactl load-module module-null-sink \
sink_name=audiorelay-virtual-mic-sink \
sink_properties=device.description=Virtual-Mic-Sink
Let’s break down the above command:
In summary, the above command instructs pactl to load the module-null-sink module. As expected, this module creates a null sink which doesn’t preserve audio data.
Moreover, we’ve set sink_name to audiorelay-virtual-mic-sink. This is for clarity purposes.
Also, the device.description property defines a human-readable description of the device. We’ve set it to Virtual-Mic-Sink to easily identify it in applications.
Then, we create a virtual device discoverable by other applications:
$ pactl load-module module-remap-source \
master=audiorelay-virtual-mic-sink.monitor \
source_name=audiorelay-virtual-mic-sink \
source_properties=device.description=Virtual-Mic
Let’s break down the above command:
These changes are still temporary. As we reload the PulseAudio, the virtual device is gone:
$ pulseaudio -kLet’s make these changes permanent. For this, we modify the file /etc/pulse/default.pa.
Let’s make the virtual audio device persist between system restarts.
First, we open the server startup script for PulseAudio. Then, we append some lines to the end of the script:
$ cat /etc/pulse/default.pa
...
# Creates a device where AudioRelay can stream audio into
load-module module-null-sink sink_name=audiorelay-virtual-mic-sink sink_properties=device.description=Virtual-Mic-Sink
# Creates a device usable by other apps
load-module module-remap-source master=audiorelay-virtual-mic-sink.monitor source_name=audiorelay-virtual-mic-sink source_properties=device.description=Virtual-Mic
These lines are similar to the commands we ran above.
Let’s open PulseAudio Volume Control. Here, we should see our virtual input and output devices:
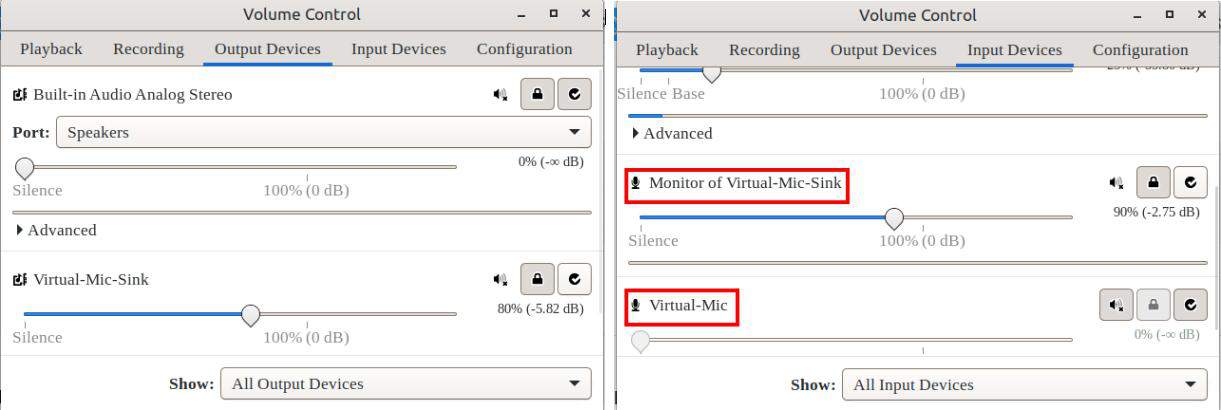
Now, let’s select the Virtual-Mic as an input to our applications. For this, we open the system Sound settings:
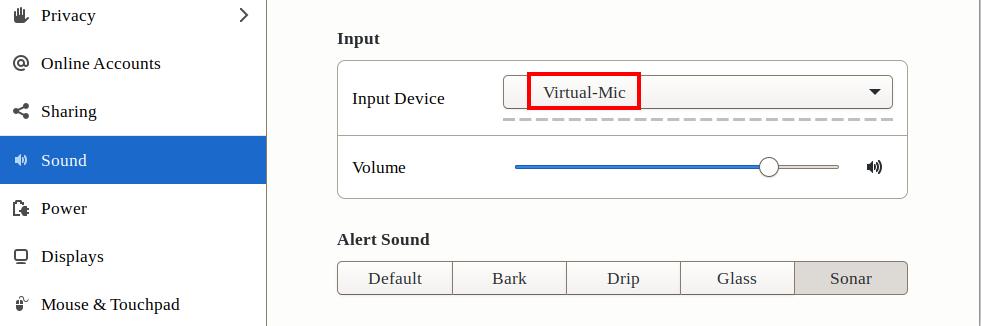
Here, we choose Virtual-Mic as an input device.
Let’s install the AudioRelay app from the Playstore:
Also, we have to connect the phone to the same network as our Linux machine.
Then, we open the app. Under the Server tab, we select the option Microphone. As a result, the AudioRelay server starts on the phone.
Also, we can see the server IP on the screen:
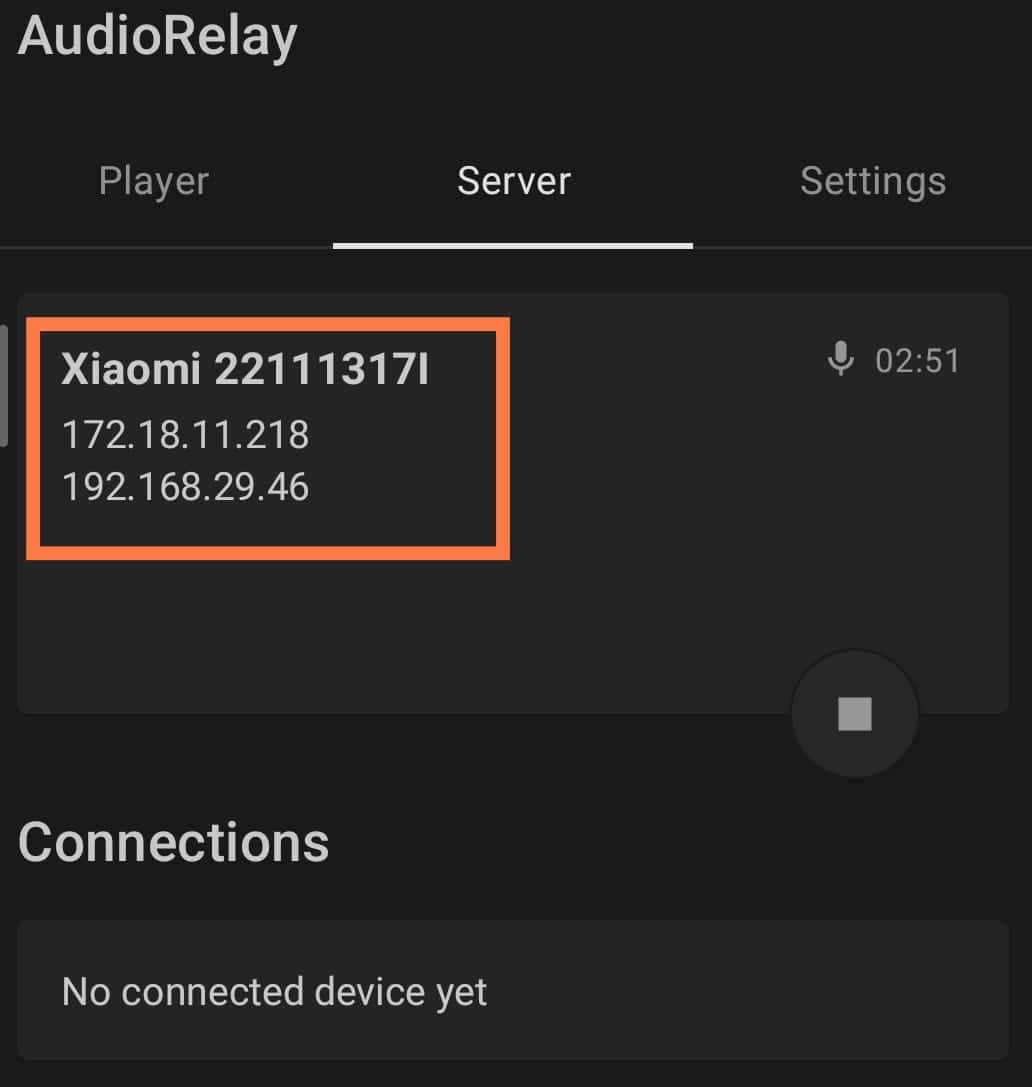
Let’s keep a note of the IP of the server.
Next, we open the AudioRelay app on our desktop. Then, we go to the Player section.
After that, we select the server IP that matches the AudioRelay server on the phone:

As a result, this connects the phone’s microphone to the desktop client:
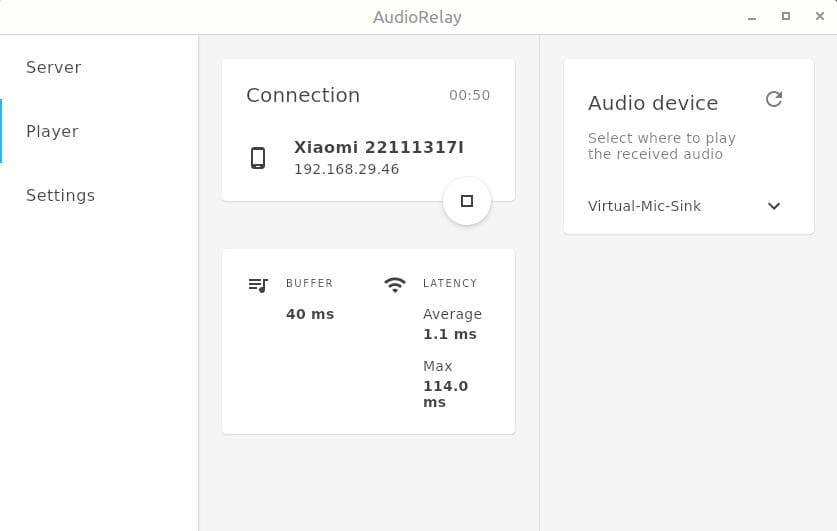
Finally, we should now be able to use the phone’s mic as an input.
Mumble is a popular open-source voice chat application. It can also stream audio from an Android phone to a Linux machine.
Let’s install Mumble on our Linux machine.
We can install the Mumble server on Ubuntu using apt:
$ sudo apt install mumble-serverAfter that, we use the dpkg-reconfigure command to configure the server:
$ sudo dpkg-reconfigure mumble-serverInitially, the configuration prompts whether we want the Mumble server to start at system boot automatically:
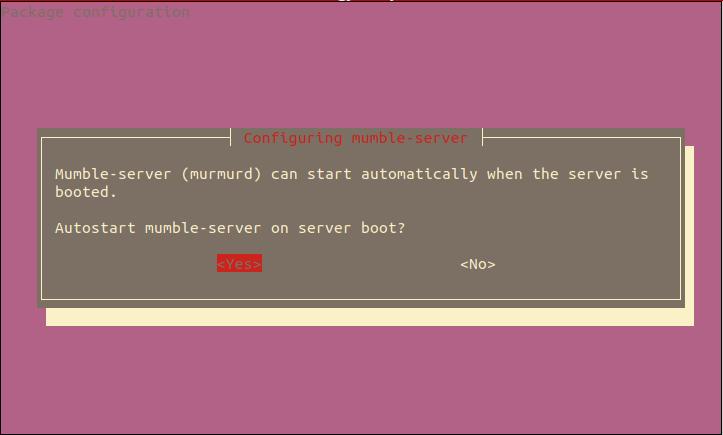
We select Yes here to enable server auto start.
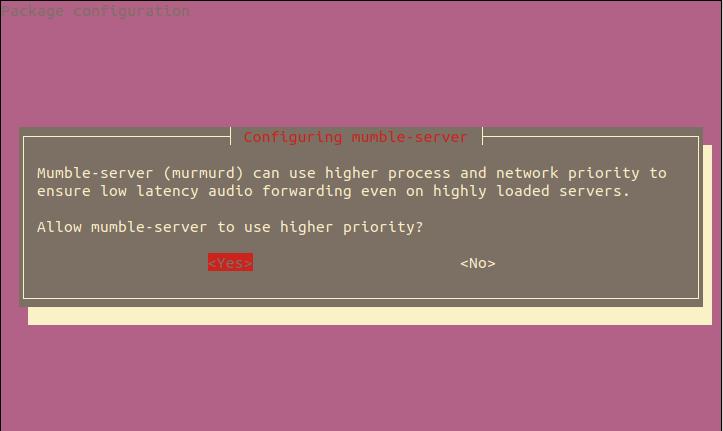
Next, we give the Mumble server a higher priority to ensure low latency:
On the next window, we set a password for Mumble’s SuperUser account:
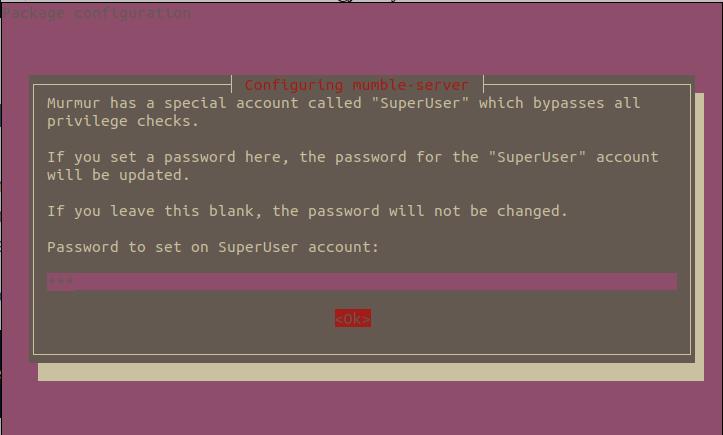
This account has the highest-level administrative privileges on the server.
For this reason, SuperUser has the privilege to administer server management.
At this point, the server configuration is complete. However, we can also set any advanced settings. For this, we can update the file /etc/mumble-server.ini.
Let’s now install the Mumble client on the system:
$ sudo apt install mumbleOnce it’s installed, we can start it from the Application menu.
Upon startup, we see an Audio Tuning Wizard introduction window:
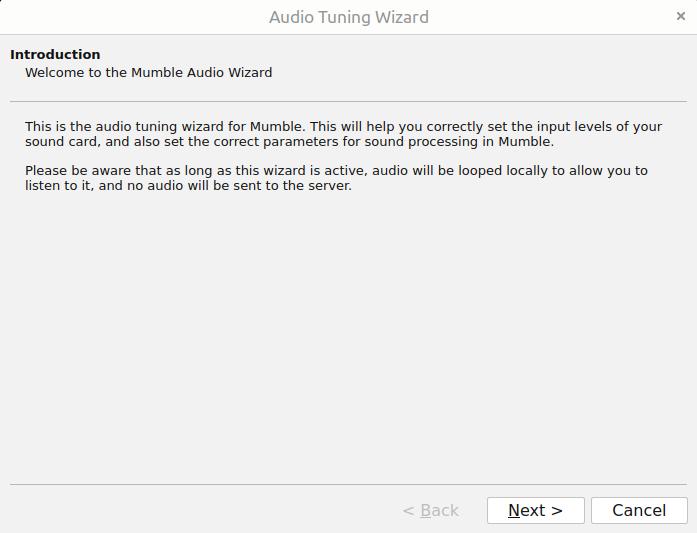
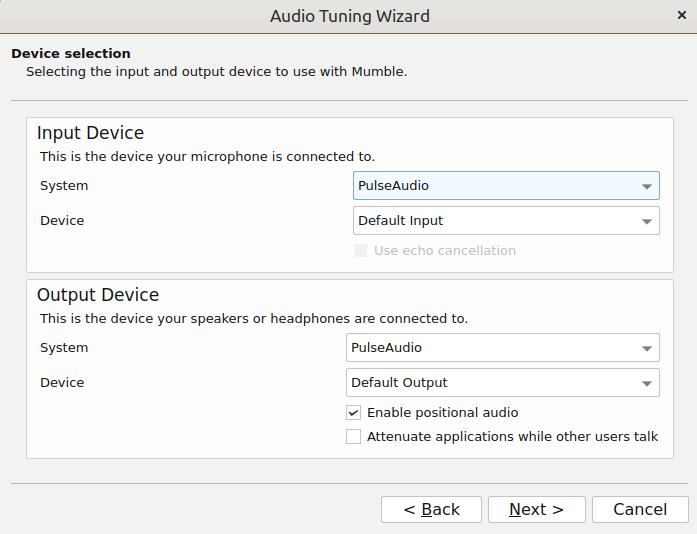
After pressing Next, we continue with the default options at each step:
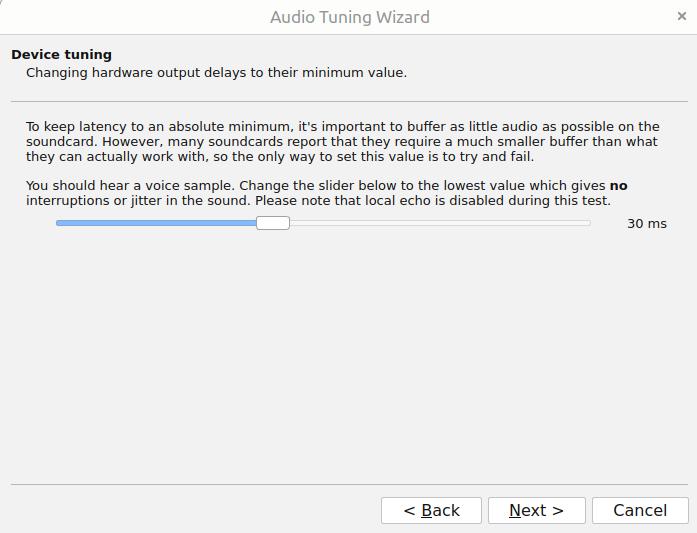
Next, the setup plays a sample voice. We can use the slider to set how much data to buffer:
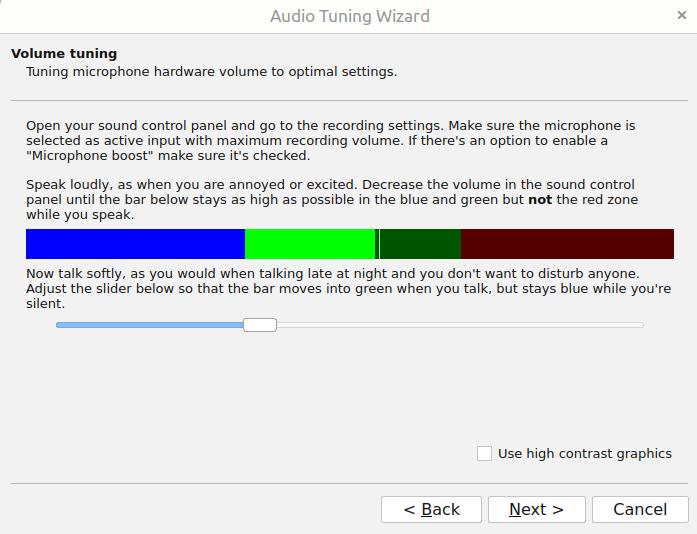
Moving on, we tune the microphone volume to its optimal settings. There are some instructions in the given window. We can use them to apply these settings:
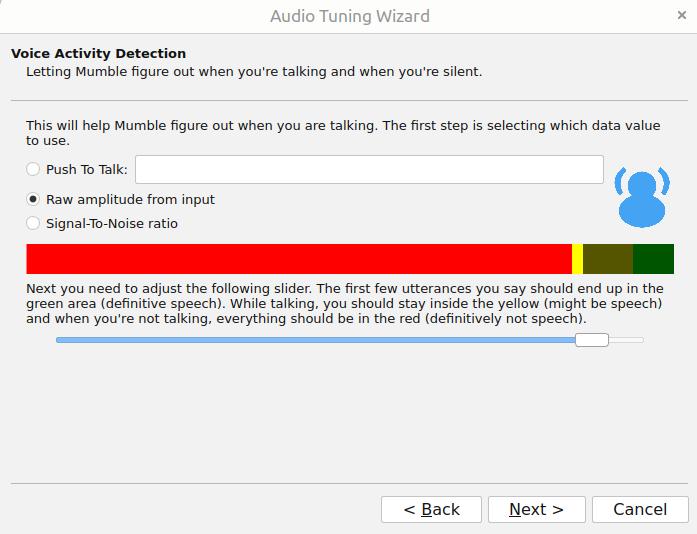
 Next, we select the data value as Raw amplitude from input. Then, we set the voice detection threshold:
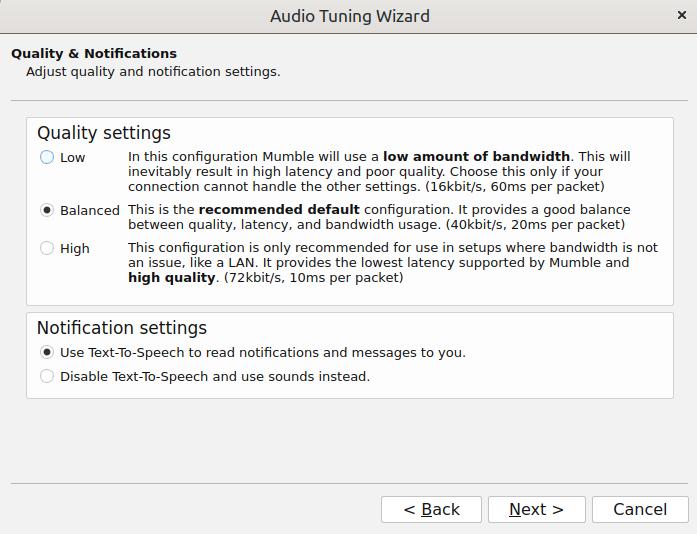
On the next window, we set the quality and notification settings:
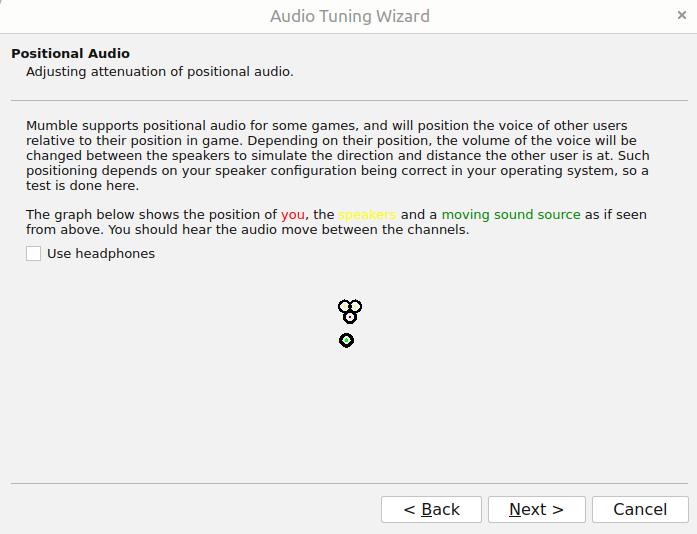
Then, the setup adjusts the audio positioning for some games:
Finally, we can finish the setup:
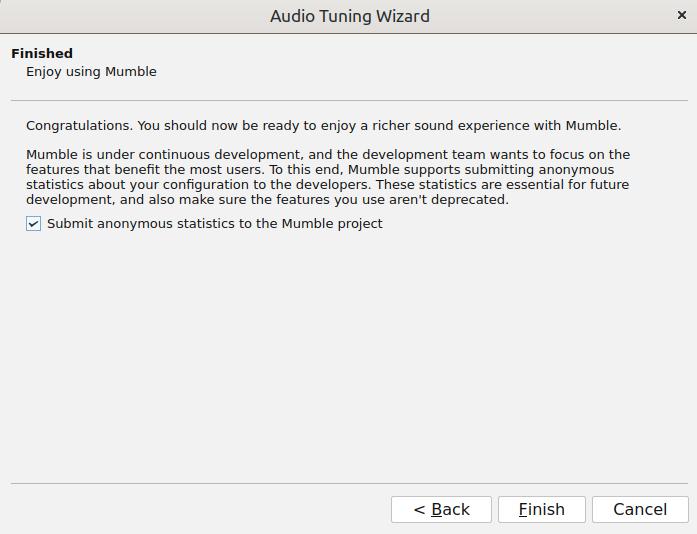
At this point, the client setup is complete.
Let’s now restart the Mumble server:
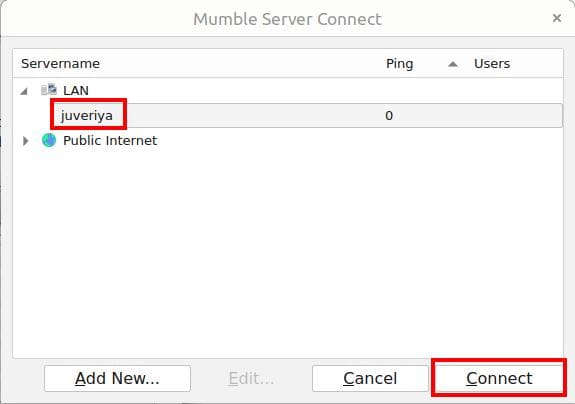
$ sudo systemctl restart mumble-serverNext, we check the Mumble client application. We should see our local Mumble server here.
Let’s select the local Mumble server, juveriya in our case. Then, we click the Connect button:
After this, we enter a name, say Desktop_Client. Then, it prompts us to accept a certificate:
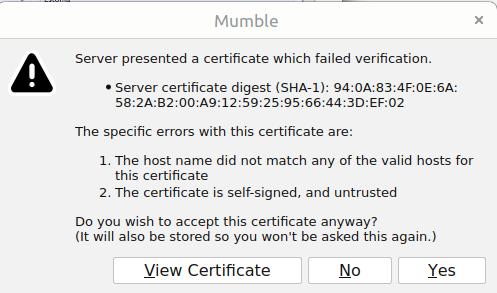
On a successful connection, the client plays a voice message connected.
Let’s now install the Mumble client on the phone from the Play Store:
After that, we launch the Mumble client app on the phone. Initially, it prompts us to generate a certificate.
Again, the phone should be on the same network as the Linux system.
Next, we add the server details. The IP address of this server is the same as that of the Mumble server on the desktop.
Let’s give a name to the user, say Baeldung:
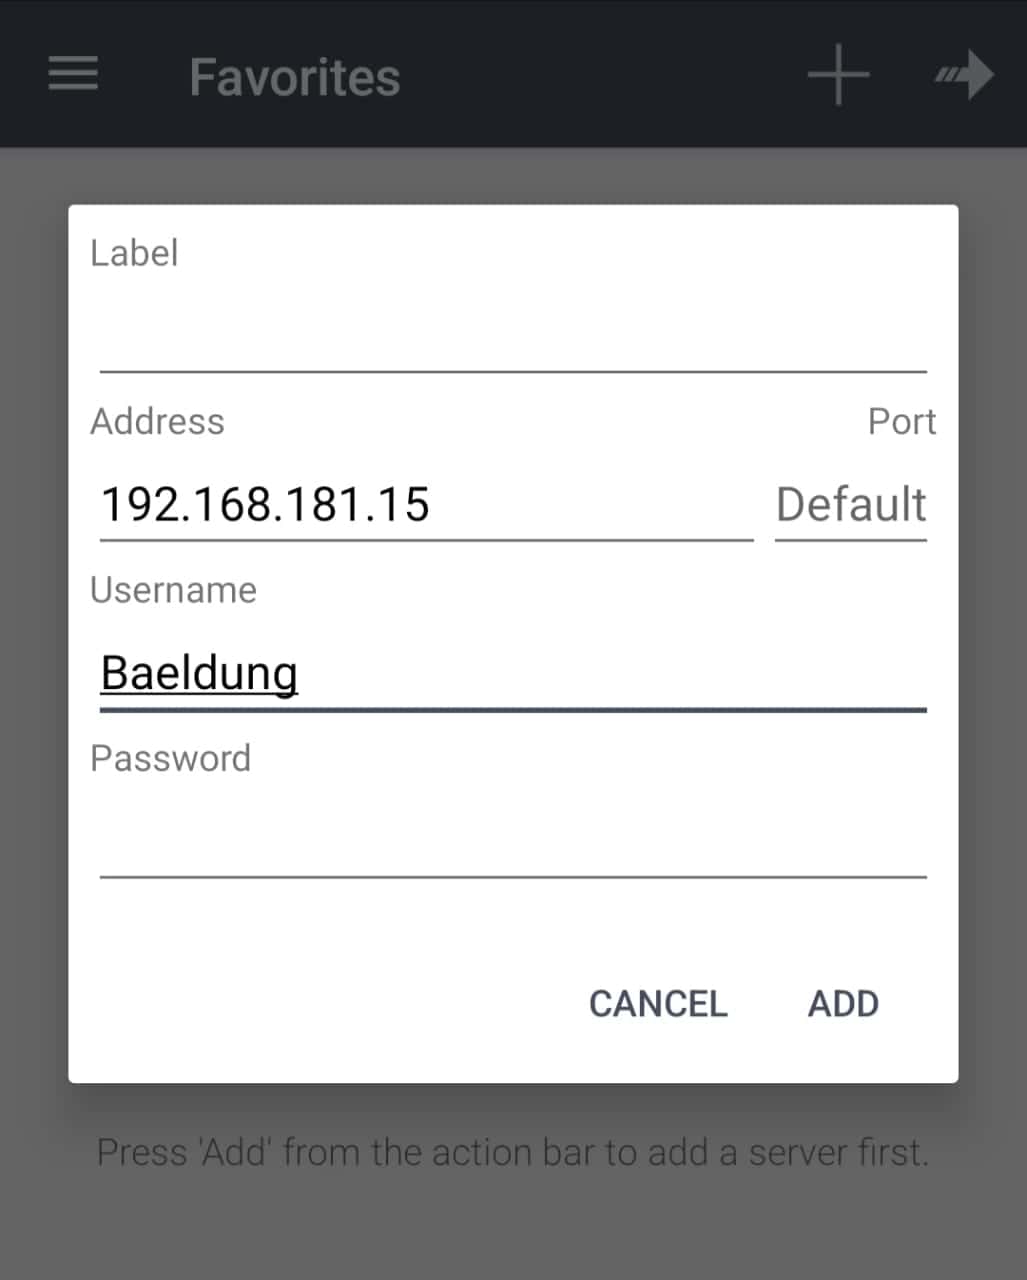
The above server name is shown under the Favorites section. Then, we click the server name.
Again, a certificate shows up on the phone screen. We need to allow this certificate. This connects the phone to the Mumble server:
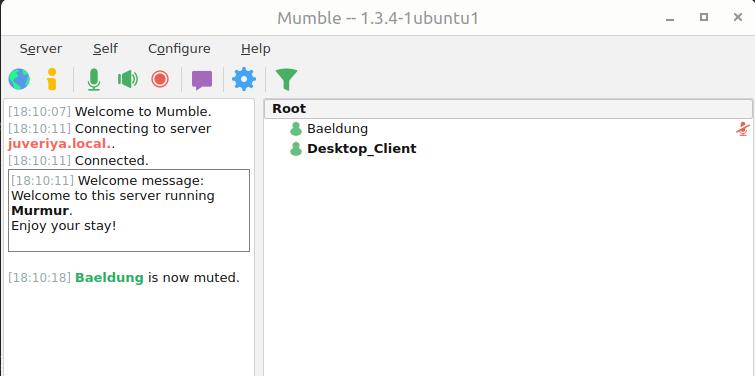
As a result, we see both the client users on the Mumble client applications.
We can now use the phone’s microphone to speak and listen to the voice playback.
IP Webcam is an Android app. We can use it to turn an Android phone into a microphone for a desktop machine. Let’s see how it works.
First, we install the IP Webcam app from Playstore:
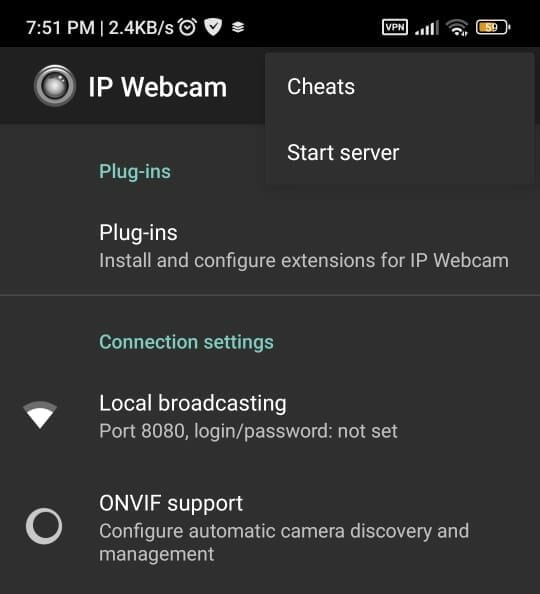
Then, we start the server. For this, we click the Start server option from the three vertical dots:
By this time, an IP address and a port number should be shown on the phone:
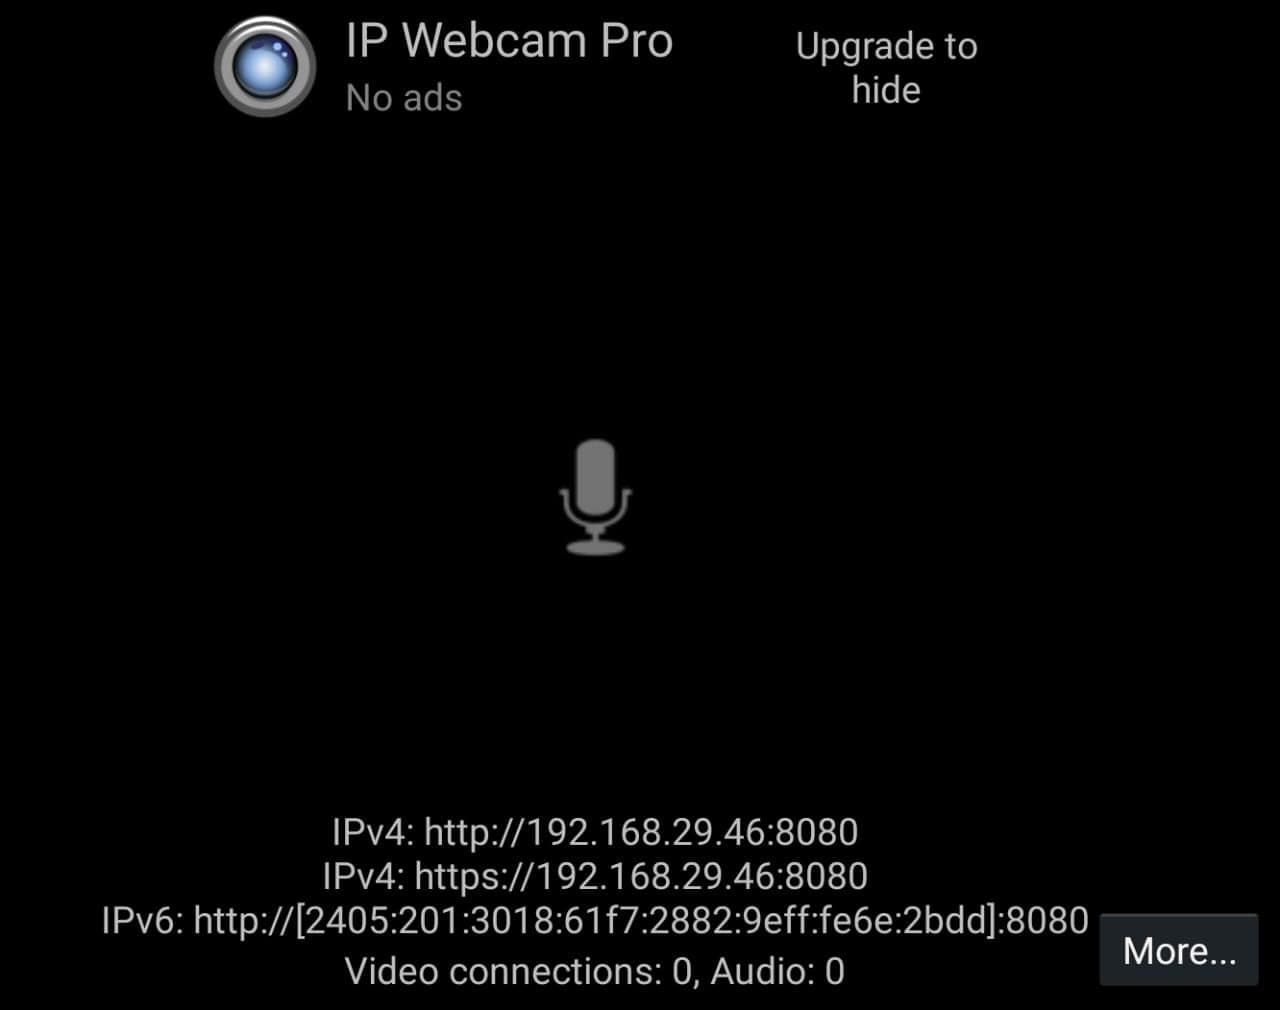
Hence, we input the above IP address and port number in a web browser.
On the landing page, we select an output format for the audio. For example, let’s take the option as HTML 5Wav:
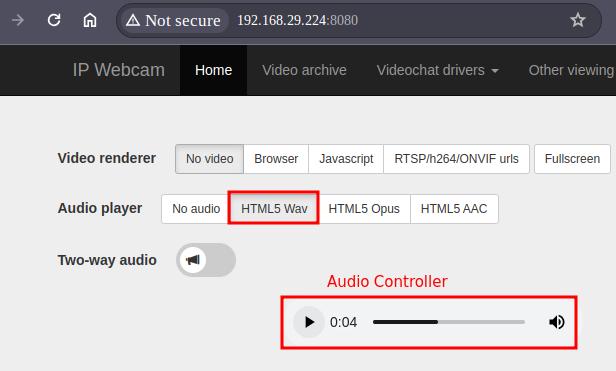
After that, we can speak on the phone’s microphone. As a result, we can listen to the audio playback.
IP Webcam works as a webcam and as a microphone as well.
Let’s compare the tools above.
First, we test the audio quality for the free version of these tools.
Let’s check it over USB mode:
Generally, Mumble quality is better than the rest.
Now, let’s see the delay in audio delivery:
As a result, we can say IP Webcam isn’t a good choice for real-time transmission.
Let’s now see the setup complexity for these tools:
As we’ve seen, Mumble performs better than others. However, this comes at the cost of setting up the client on the desktop, which can be involved.
In this article, we’ve seen how to use an Android phone as a microphone in Linux. We used multiple apps to achieve this goal.
First, we checked AudioRelay. Then, we worked with the Mumble tool. Further, we saw the IP Webcam Android app.
Finally, we looked at the performance of each and compared them to each other.