

Learn through the super-clean Baeldung Pro experience:
>> Membership and Baeldung Pro.
No ads, dark-mode and 6 months free of IntelliJ Idea Ultimate to start with.
Last updated: March 18, 2024
Learn through the super-clean Baeldung Pro experience:
>> Membership and Baeldung Pro.
No ads, dark-mode and 6 months free of IntelliJ Idea Ultimate to start with.
A public key certificate is a way to send and verify the authenticity of a public key. Typically, a trusted certificate authority (CA) also known as an issuer, signs the public key certificate and verifies its authenticity. Alternatively, a certificate may be self-signed, meaning it is signed by an individual instead of a CA.
In this tutorial, we’ll learn how to create a self-signed certificate. After that, we’ll learn how to configure our self-signed certificate to be trusted by applications on our system.
We should begin by creating our private key and an associated self-signed certificate. On Linux, the most common method to do this is using openssl.
The config file we use with the openssl command is where we’ll define our x509 extensions, distinguished name, and other general settings. Let’s take a look at an example configuration file that enables HTTPS on our localhost:
[ req ]
prompt              = no
distinguished_name  = distinguished_name
x509_extensions     = x509_extension
[ distinguished_name ]
CN = localhost
[ x509_extension ]
subjectAltName         = DNS:localhost, IP:127.0.0.1
extendedKeyUsage       = critical, serverAuth, clientAuth
keyUsage               = critical, digitalSignature, keyEncipherment
There are three sections in this configuration file: req, distinguished_name, and x509_extensions. The first section in our configuration file is the req section. This is where we define the other sections we’re using in our config. In addition, we set the prompt field to no, preventing prompting for distinguished name information when we create our certificate.
The second distinguished_name section contains the CN field which stands for Common Name. It defines the domain name applicable to the certificate. There are many more options we can set in this section, but openssl requires that it defines at least one field in distinguished_name.
Finally, the last x509_extension section contains the subjectAltName, keyUsage, and extendedKeyUsage fields. The subjectAltName field defines the domain names and IP addresses applicable to the certificate. The keyUsage field shows authorized uses of the certificate and the extendedKeyUsage field defines the purpose the certificate may be used for.
The x509_extension section is where we specify the usage, purpose, and domains of our certificate. We set extendedKeyUsage and keyUsage to critical to require that our certificate is used for the purposes expressly defined therein.
After creating our configuration file, we can now create our certificate and private key:
$ openssl req -x509 -config config.cnf -newkey rsa:2048 -keyout mykey.pem -out mycert.crt -nodes
...
Two files should be created after the execution of this command, our self-signed certificate (mykey.pem) and our private key (mycert.crt).
In this example, we use openssl req to create our private key and digital certificate. Let’s review the options we used and their meanings:
| Option | Meaning |
|---|---|
| -x509 | Creates a new self-signed certificate. |
| -config | Specifies a config file to use to make our certificate. |
| -newkey rsa:2048 | Create a new 2048-bit RSA key to use with our digital certificate. |
| -keyout | Specifies the file name to use for our private key. |
| -out | Specifies the file name to use for our digital certificate. |
| -nodes | Creates the private key file without encryption (no password). For openssl version 3+ –noenc should be used instead. |
To output a list of all options for the openssl req command, we can use the -help flag.
Now that we have our self-signed certificate, we’ll need to configure our system to trust it. The approach is different depending on the distribution and application, but the methods are similar.
Both Chrome and Firefox use network security services (NSS) to handle certificate trust. The only difference between the two is the path of their database.
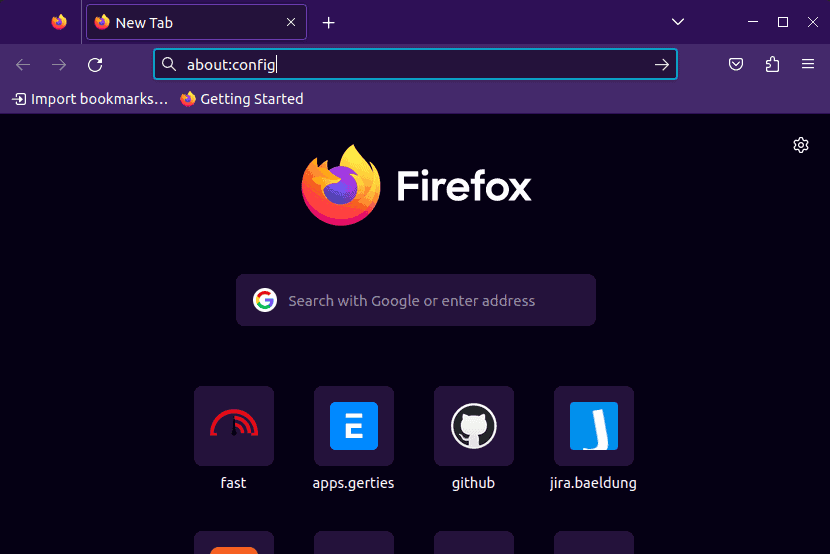
On Firefox, we need to launch the application from the application menu and then type about:config in the address bar:
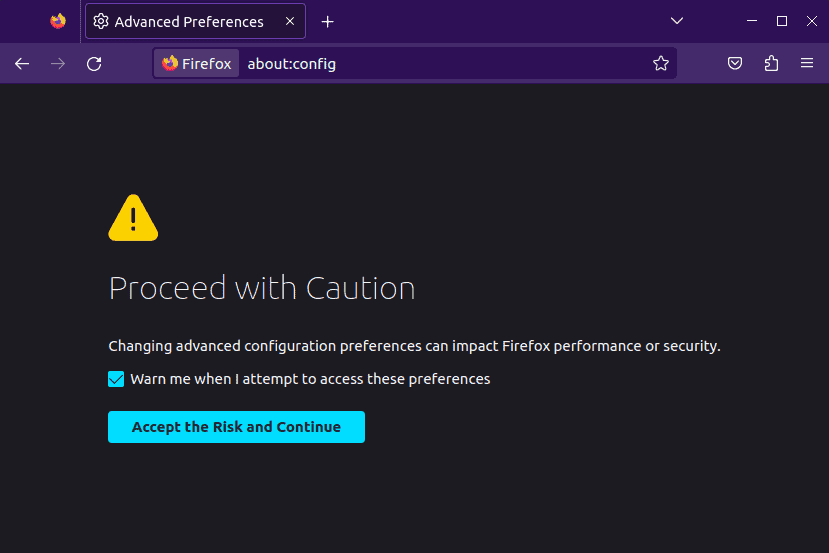
Upon pressing enter, we’ll see a warning message appear that we need to accept. The warning serves to let us know that changing advanced configuration preferences may have an impact on Firefox’s performance and security:
Once we accept the warnings, we’ll see a screen with a search bar at the top. We need to type security.enterprise_roots.enabled and double-click it to change the value to true:
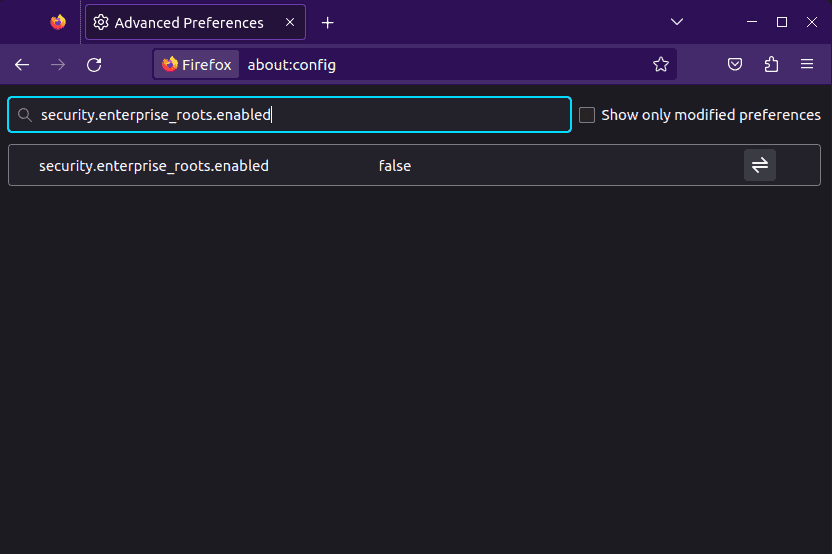
This setting allows Firefox to use the operating system’s certificate store. Once done, we need to close the Firefox browser to prepare for the certificate installation.
Next, let’s open the terminal window and navigate to where the self-signed certificate is located. Then, we can use the certutil command to add the certificate to Firefox’s certificate store:
$ certutil -d sql:$HOME/.pki/nssdb -A -t "P,," -n "Your Certificate Name" -i mycert.crtHere, the -d sql:$HOME/.pki/nssdb option specifies the location of the Firefox certificate database. The -A option adds a new certificate and the -t “P,,” option sets trust flags. Finally, the -n option lets us specify a user-friendly name of the certificate and the -i option specifies the path to our self-signed certificate.
All that’s left to do is restart Firefox and our self-signed certificate should now be trusted.
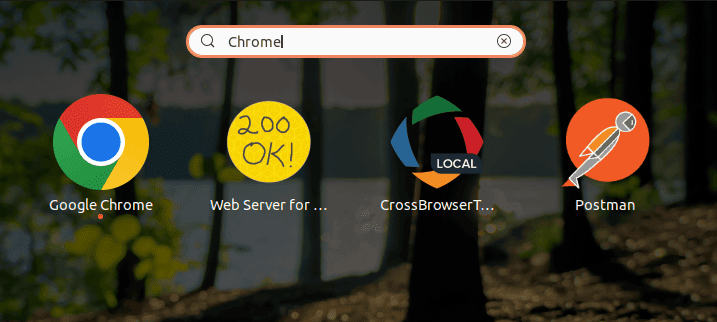
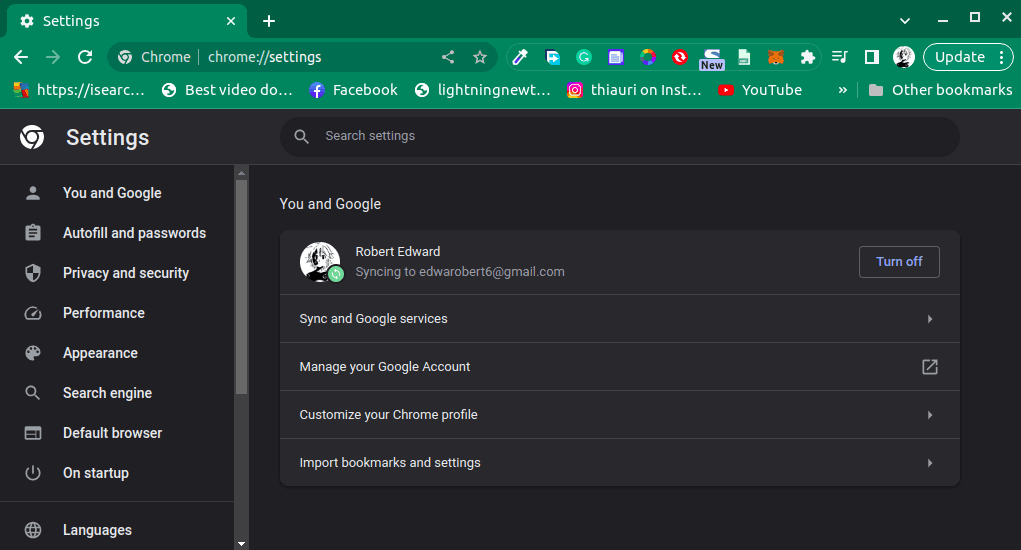
To manually trust a self-signed certificate on Chrome, we need to first launch it from the application menu search:
Once open, let’s click on the three vertical dots in the top right corner to open the Chrome menu then select “Settings” from the dropdown list. Alternatively, we can type chrome://settings in the address bar:
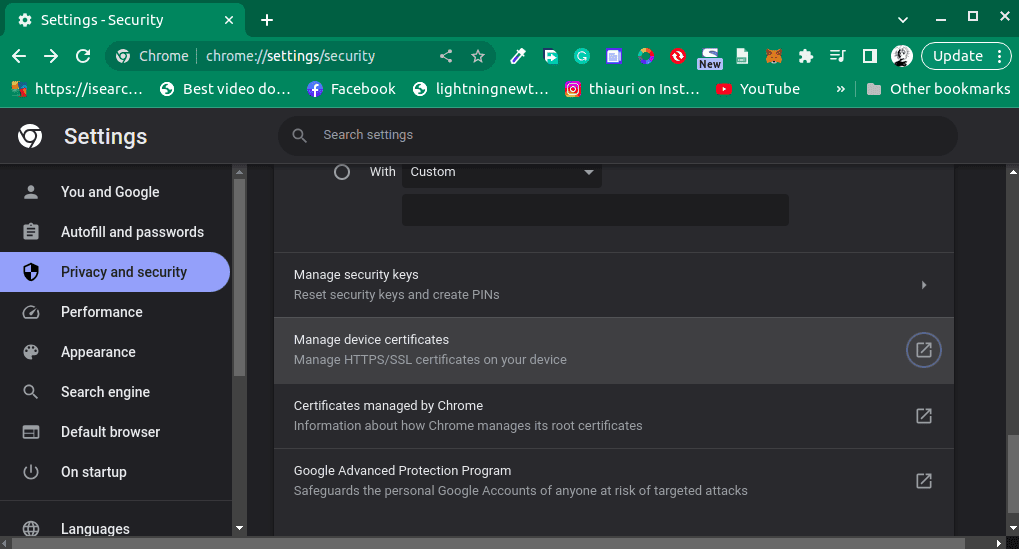
Next, we need to click on “Privacy and security”, from the left sidebar navigation. Then we need to scroll down and click on an option that reads “Security”. In the “Security” tab we need to scroll further down and look for an option that reads “Manage device certificates”:
Clicking on the “Manage device certificates” option opens up a new window where we can see all of our certificates and an option to import new certificates:
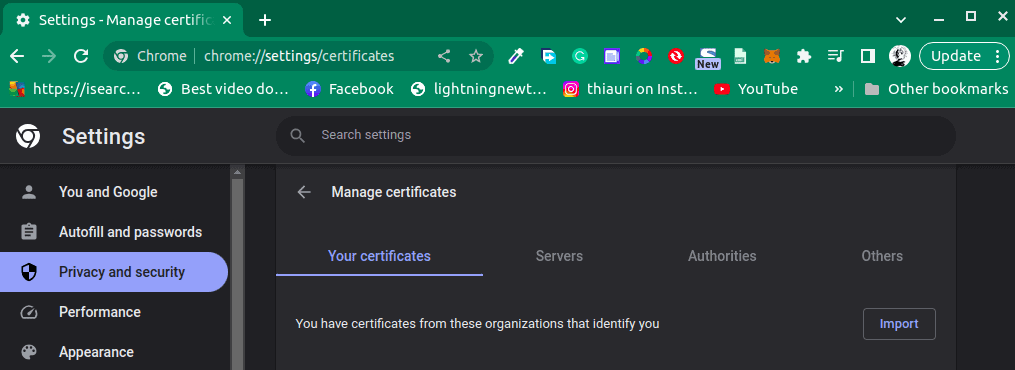
Let’s click on the “Import” button and locate and select our self-signed certificate. Once the import is done, we need to restart Chrome and our self-signed certificate will be trusted on Chrome.
Most other applications in Linux use the system’s trust store. However, the way that a system handles trusting certificates varies depending on which Linux distribution we’re on. Let’s begin by looking at the typical procedure used for Debian-based distributions:
$ cp mycert.crt /usr/local/share/ca-certificates
$ update-ca-certificates
To add a certificate to the trusted list in a Debian-based distribution, we need to copy the certificate to /usr/local/share/ca-certificates. If we want to remove a certificate from the trusted list, we just have to take it out of this directory. To make these changes take effect we’ll need to run the update-ca-certificates command.
Some distributions, such as Arch and Fedora, use p11-kit for their trust stores. In this case, we can trust our certificate using the trust command:
$ trust anchor --store mycert.crt
$ update-ca-trust
In this example, we run trust anchor –store to store our certificate in the trust-source directory. Then we run update-ca-trust to make our changes take effect. To remove our certificate from the trusted list, we can run trust anchor –remove:
$ trust anchor --remove mycert.crt
$ update-ca-trust
We can also remove our certificate from the trusted list by deleting the associated file in the ca-certificates/trust-source directory.
In this article, we learned how to make a self-signed certificate. After that, we saw how to add our certificate to the trusted list for Chrome and Firefox and then looked at system-wide solutions.