

Mocking is an essential part of unit testing, and the Mockito library makes it easy to write clean and intuitive unit tests for your Java code.
Get started with mocking and improve your application tests using our Mockito guide:
Handling concurrency in an application can be a tricky process with many potential pitfalls. A solid grasp of the fundamentals will go a long way to help minimize these issues.
Get started with understanding multi-threaded applications with our Java Concurrency guide:
Spring 5 added support for reactive programming with the Spring WebFlux module, which has been improved upon ever since. Get started with the Reactor project basics and reactive programming in Spring Boot:
Since its introduction in Java 8, the Stream API has become a staple of Java development. The basic operations like iterating, filtering, mapping sequences of elements are deceptively simple to use.
But these can also be overused and fall into some common pitfalls.
To get a better understanding on how Streams work and how to combine them with other language features, check out our guide to Java Streams:
Explore Spring Boot 3 and Spring 6 in-depth through building a full REST API with the framework:
Yes, Spring Security can be complex, from the more advanced functionality within the Core to the deep OAuth support in the framework.
I built the security material as two full courses - Core and OAuth, to get practical with these more complex scenarios. We explore when and how to use each feature and code through it on the backing project.
You can explore the course here:
Spring Data JPA is a great way to handle the complexity of JPA with the powerful simplicity of Spring Boot.
Get started with Spring Data JPA through the guided reference course:
Refactor Java code safely — and automatically — with OpenRewrite.
Refactoring big codebases by hand is slow, risky, and easy to put off. That’s where OpenRewrite comes in. The open-source framework for large-scale, automated code transformations helps teams modernize safely and consistently.
Each month, the creators and maintainers of OpenRewrite at Moderne run live, hands-on training sessions — one for newcomers and one for experienced users. You’ll see how recipes work, how to apply them across projects, and how to modernize code with confidence.
Join the next session, bring your questions, and learn how to automate the kind of work that usually eats your sprint time.
1. Introduction
In this tutorial, we’ll take a look at the Apollo configuration system. We’ll see what it is, how to use it to manage configuration settings, and how to consume these settings from within our applications.
2. What Is Apollo?
Apollo is a free, open source configuration management system that originally came out of the Ctrip framework R&D department. It allows us to manage the configuration settings of multiple applications across multiple clusters, all from a central interface. Apollo also maintains configuration versions, so we can track how they’ve changed over time.
Apollo also gives us a set of rich SDKs to make consuming the configuration within our applications easy. This also allows our applications to pick up configuration changes live without needing a reinstall or restart.
3. Running Apollo
Now that we know what Apollo is for, we need to be able to run it. Apollo requires a Java 1.8 or newer JVM and can use a MySQL database for storing its data. However, it also provides a quick-start mode that we can use.
We can download apollo-all-in-one.jar from the Apollo quick-start repository. This is a Spring Boot app that we can run, just like any other.
Before we run it, we need to create an application.properties file to tell it where to put the log files:
logging.file.name: ./logs/apollo.logOtherwise, logs will be written to /opt/logs, which you may not have permission to write to.
We’re then ready to start. When running, we need to specify some Spring profiles to indicate the components to run when we start our application:
$ SPRING_PROFILES_ACTIVE="github,database-discovery,auth" java -jar apollo-all-in-one.jar

2025-09-20 09:28:52.972  INFO   --- [           main] c.c.f.apollo.assembly.ApolloApplication  [starting:common] : commonContext starting...
     _                _ _
    / \   _ __   ___ | | | ___
   / _ \ | '_ \ / _ \| | |/ _ \
  / ___ \| |_) | (_) | | | (_) |
 /_/   \_\ .__/ \___/|_|_|\___/
         |_|

:: Spring Boot ::  (v2.7.11)
.....
2025-09-20 09:29:14.912  INFO 43923 --- [nio-8090-exec-1] o.a.c.c.C.[Tomcat-1].[localhost].[/]     : Initializing Spring DispatcherServlet 'dispatcherServlet'
2025-09-20 09:29:14.913  INFO 43923 --- [nio-8090-exec-1] o.s.web.servlet.DispatcherServlet        : Initializing Servlet 'dispatcherServlet'
2025-09-20 09:29:14.916  INFO 43923 --- [nio-8090-exec-1] o.s.web.servlet.DispatcherServlet        : Completed initialization in 3 ms
By default, this will start an in-memory H2 database, meaning our data will be lost on restart. We also have support for a file-based H2 database or a MySQL database as appropriate.
Once the application has started, we’re ready to log in and start using it. By default, we can access the admin UI on http://localhost:8070:
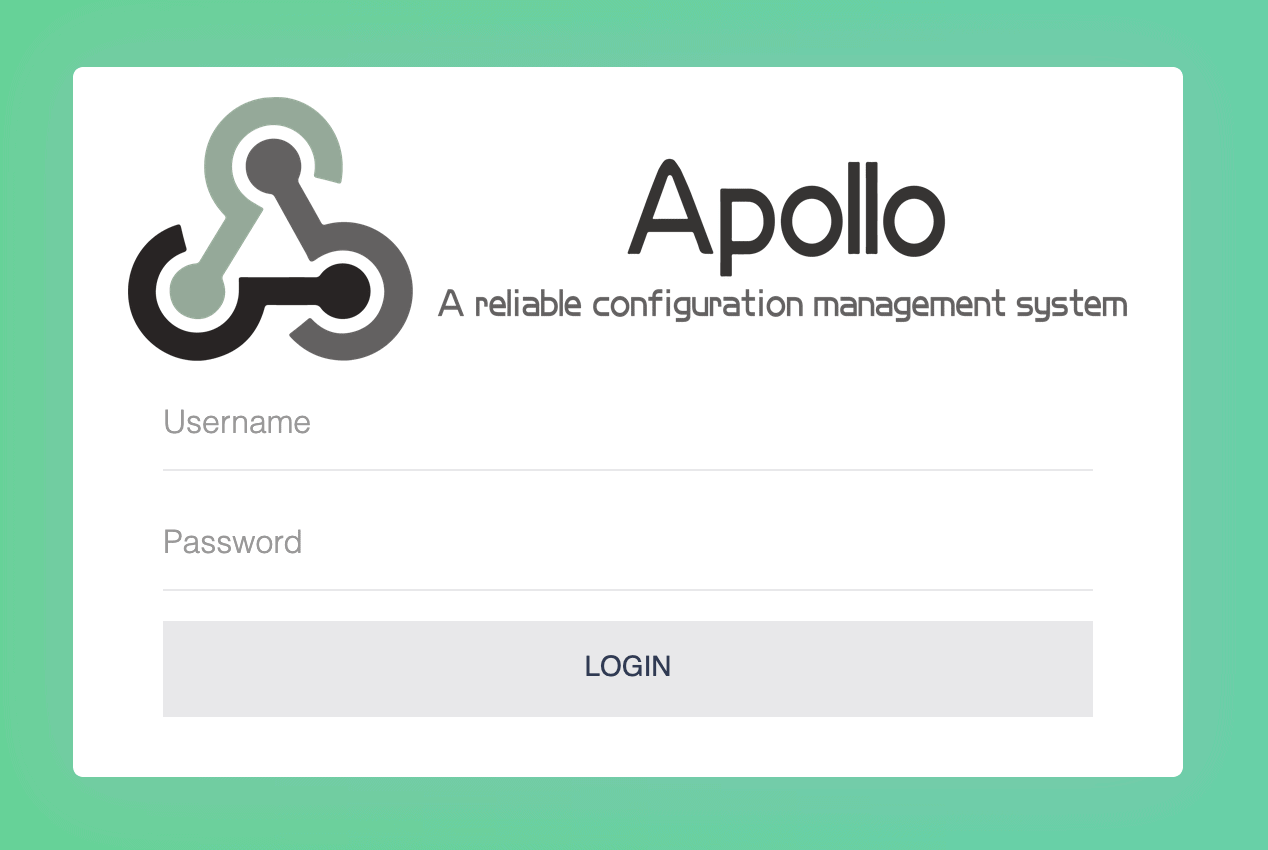
We can now log in with the default credentials of apollo and admin:
At this point, we have a fully usable system with which we can manage our configuration settings.
Since we’re running the quick-start setup, we have some sample data that comes with it. All of this can be customised, but this is beyond the scope of this article.
4. Managing Configuration
Now that we have a working system, we’re ready to start configuring our applications within it.
Apollo controls all of the configuration settings along four different areas:
- Project: This represents the actual application that the configuration is for.
- Environment: This represents the environment the application is deployed into. Each Apollo instance manages a single environment, though the admin UI can work across multiple environments.
- Cluster: This represents a group of service instances within the same environment. This allows us to have different instances of the same application running with different configurations – for example, different data centers.
- Namespace: This represents a group of configuration settings for the same project.
When managing and loading configurations, we’ll work across the appropriate combination of all of these. This gives us every possible combination that we need for our applications.
4.1. Projects
The first area that we need to work with is the Project. This represents an application, but divorced from any context of where the application is running.
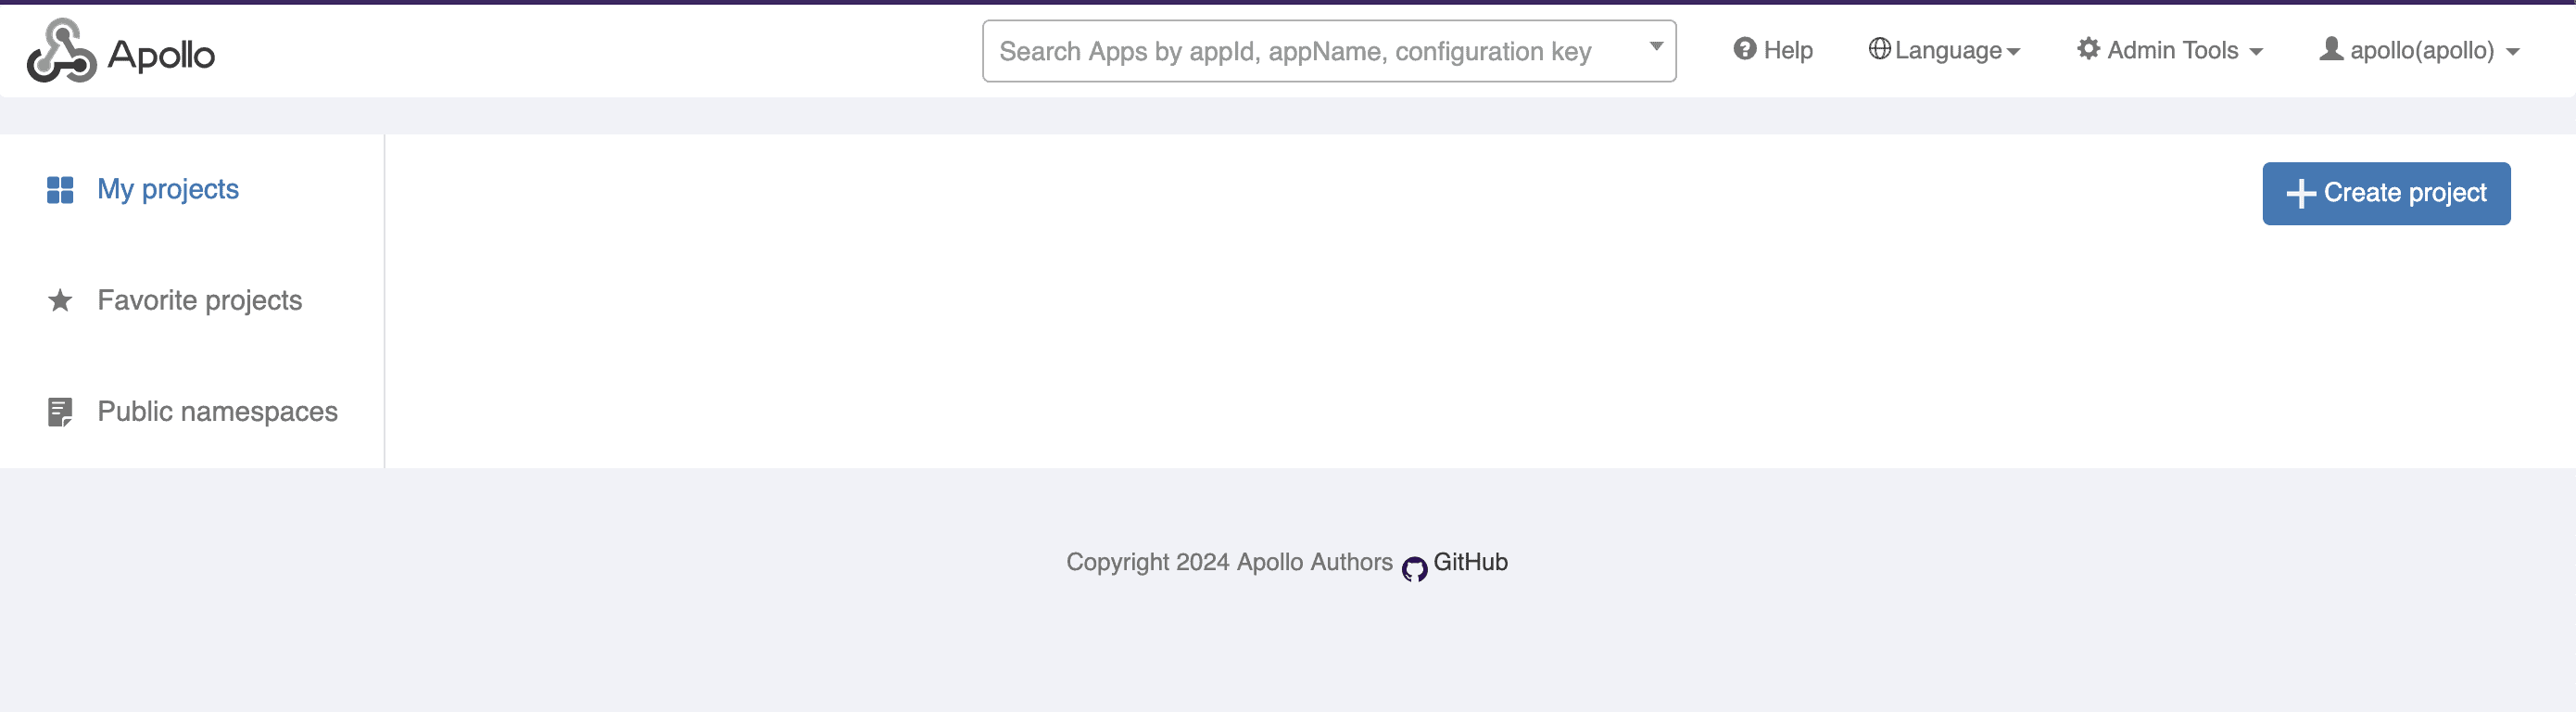
Projects are created using the “Create Project” button on the main dashboard:
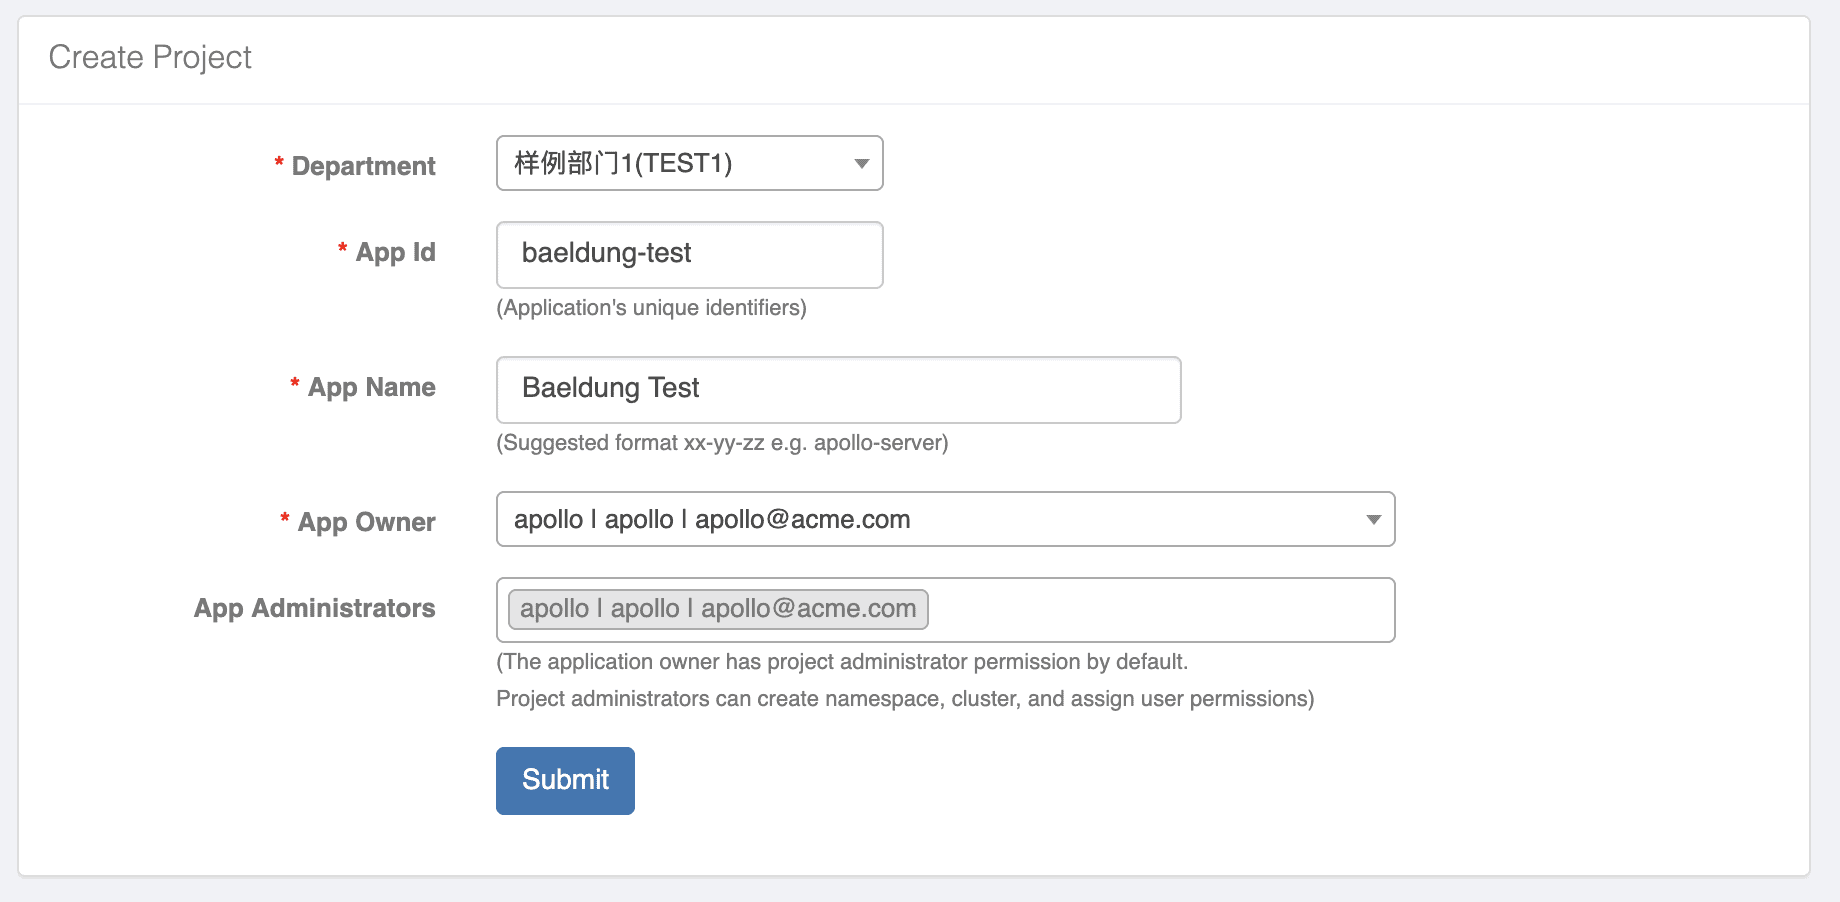
In order to create a new project, we need to fill out a number of values. Some of these – “Department”, “App Owner” and “App Administrators” – relate to data that comes with our quick-start installation, so we can just select pre-existing values for now.
The “App Id” field is the identifier that we’ll need to use to access our configuration, whilst “App Name” is a friendly name we’ll see in the UI after it’s created.
Once we create a new project, we’ll see the project dashboard:
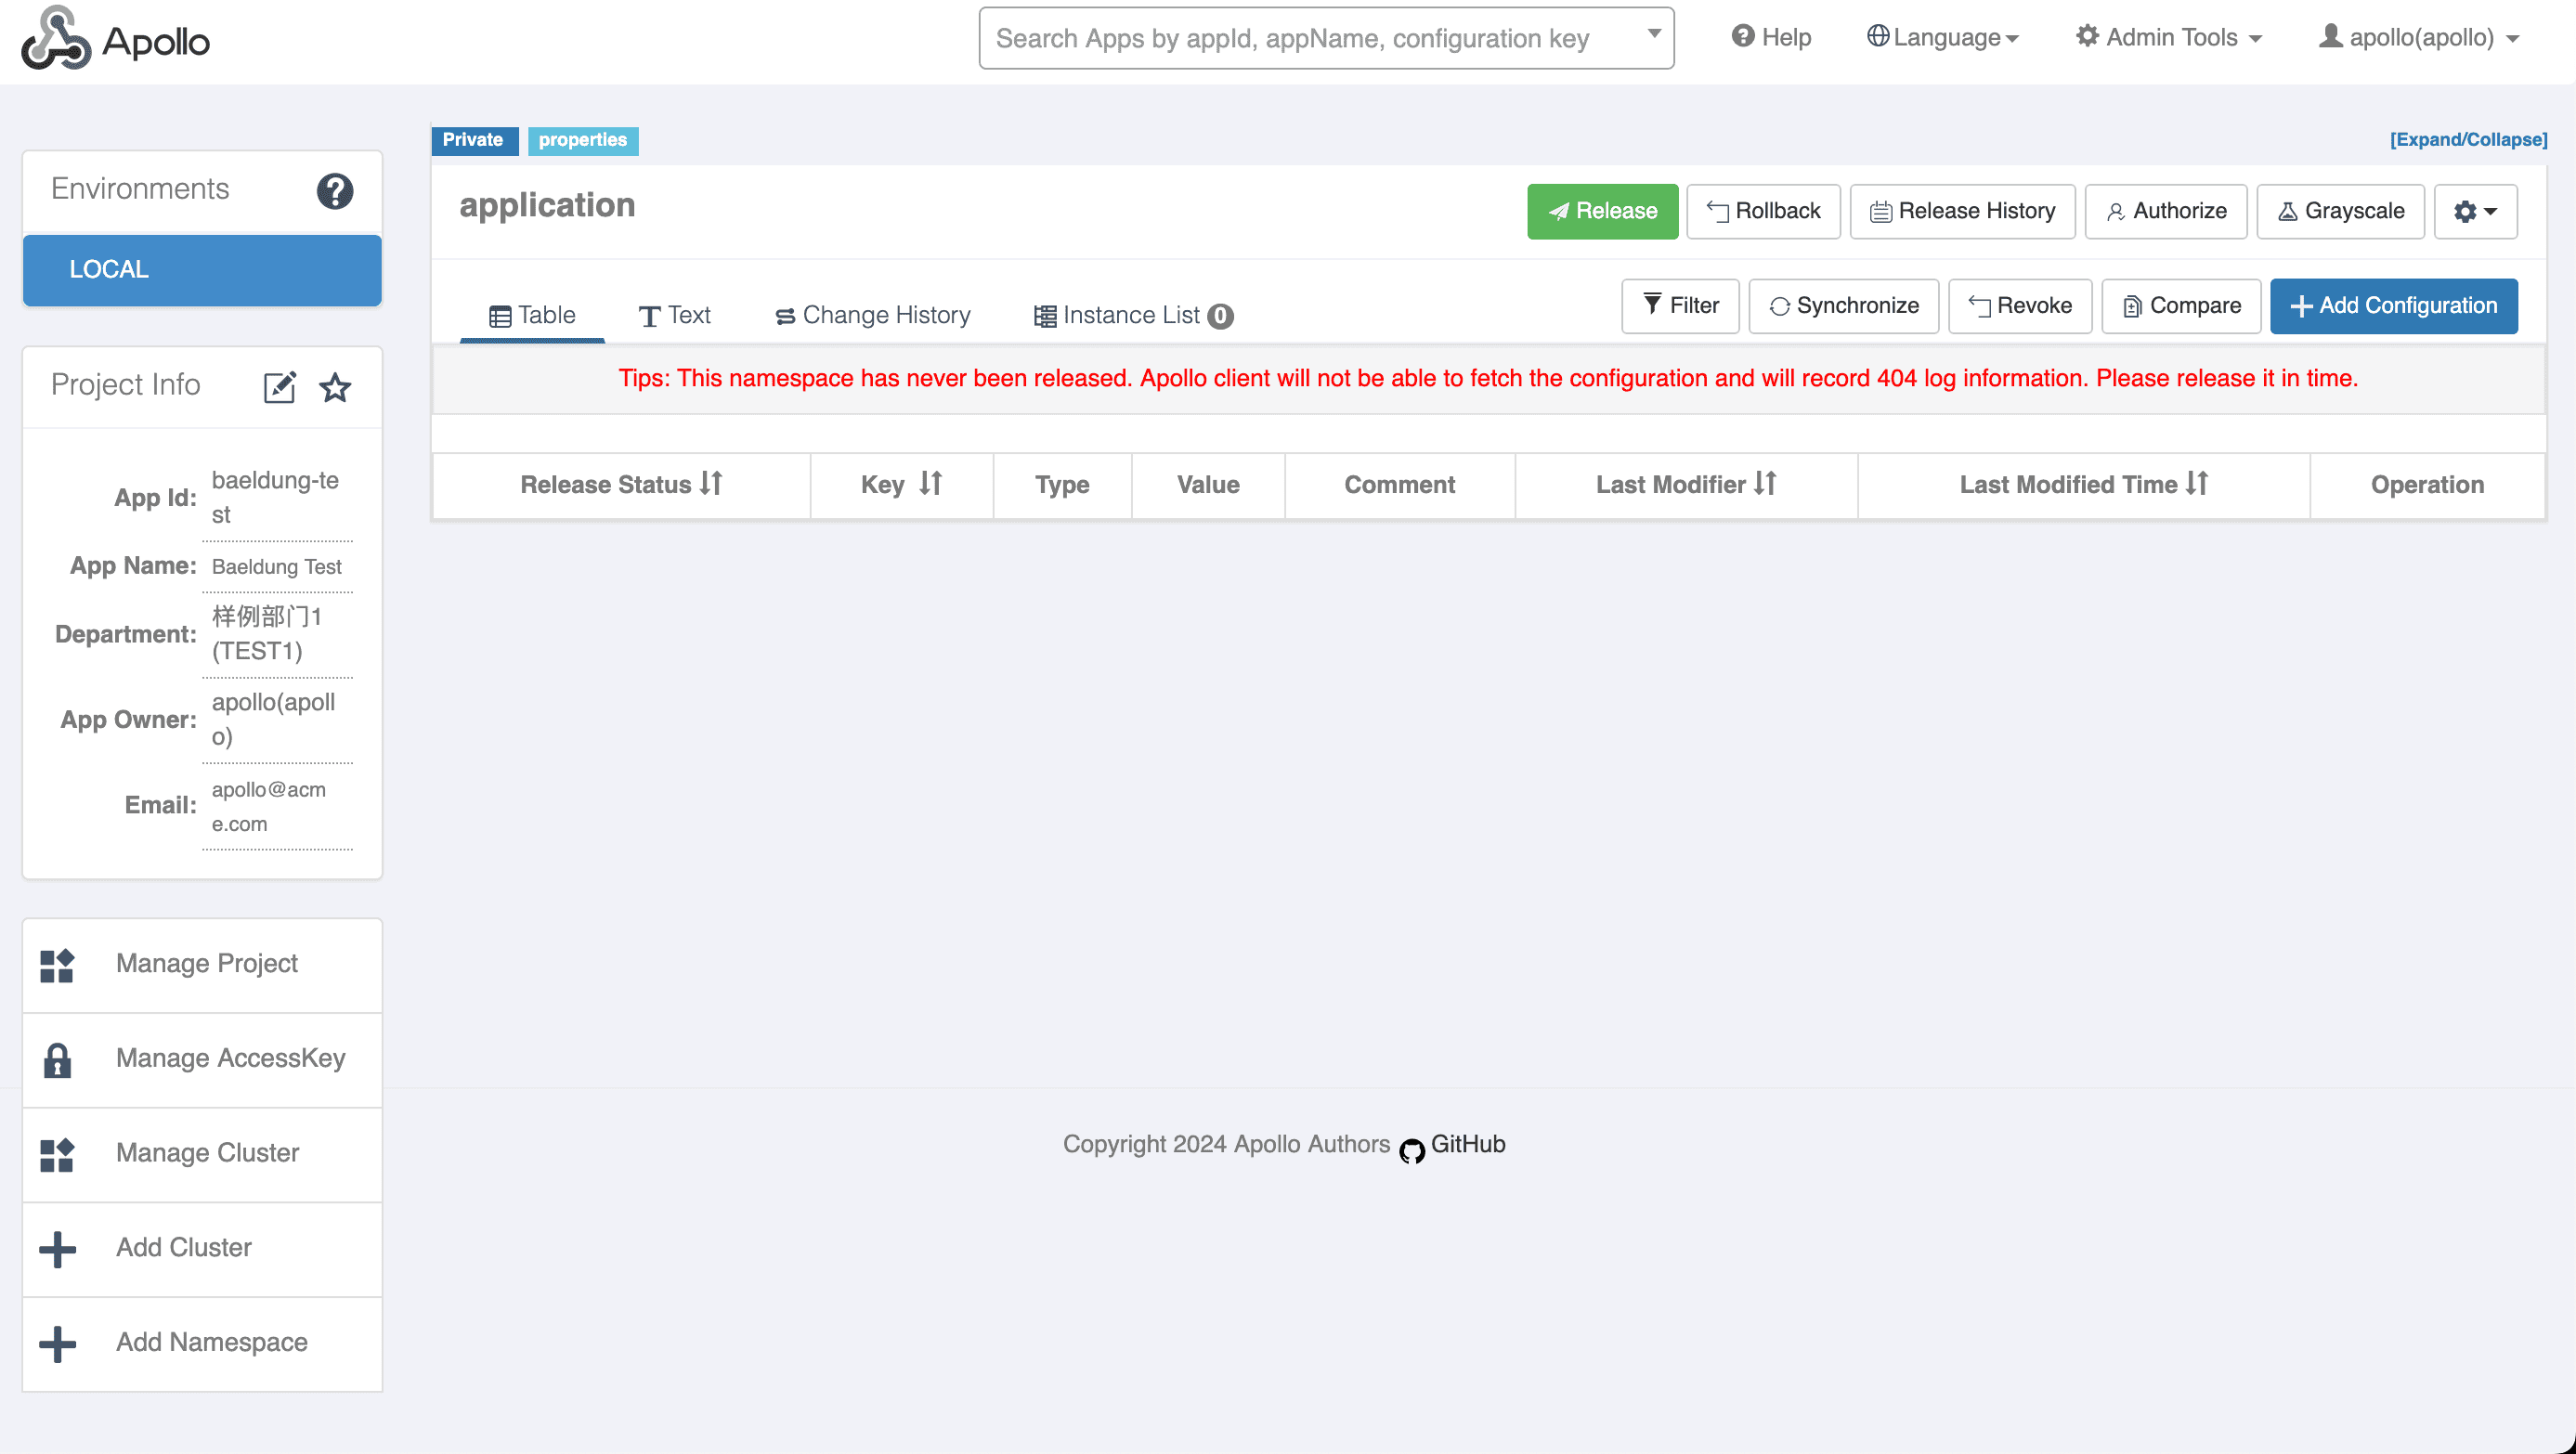
From here, we can manage our application.
4.2. Clusters
Clusters represent a group of deployed instances of the same application that make a coherent whole. For example, we might have different clusters representing different data centers that the application can be deployed to.
For many applications, we may only need a single cluster. And indeed, when we’ve created a new project, we get a single cluster called “default”. However, if we need more clusters, we can add them from here using the “Add Cluster” button:

When we create a new cluster, we need to give it a unique name and select the set of environments within which the cluster exists. Not all clusters need to exist in all environments – our Dev environment might only use a single data center, whereas Production might use several. Note that our quick-start instance represents a single LOCAL environment.
Once created, we can select the cluster that we want to work with from the project dashboard:

This will then change the configuration sets that we’re managing.
4.3. Namespaces
Namespaces represent a collection of configuration settings for an application. These are a different concept from Clusters, but within the same Project. As such, every namespace exists within every cluster across every environment. However, the configuration settings within each are distinct. We can use these if we have different, distinct sets of configurations needed within the same application instance.
As with clusters, we’ll often only need a single namespace for our application, and projects automatically come with a single namespace called “application”. But, if we need more, we can create them with the “Add Namespace” button:
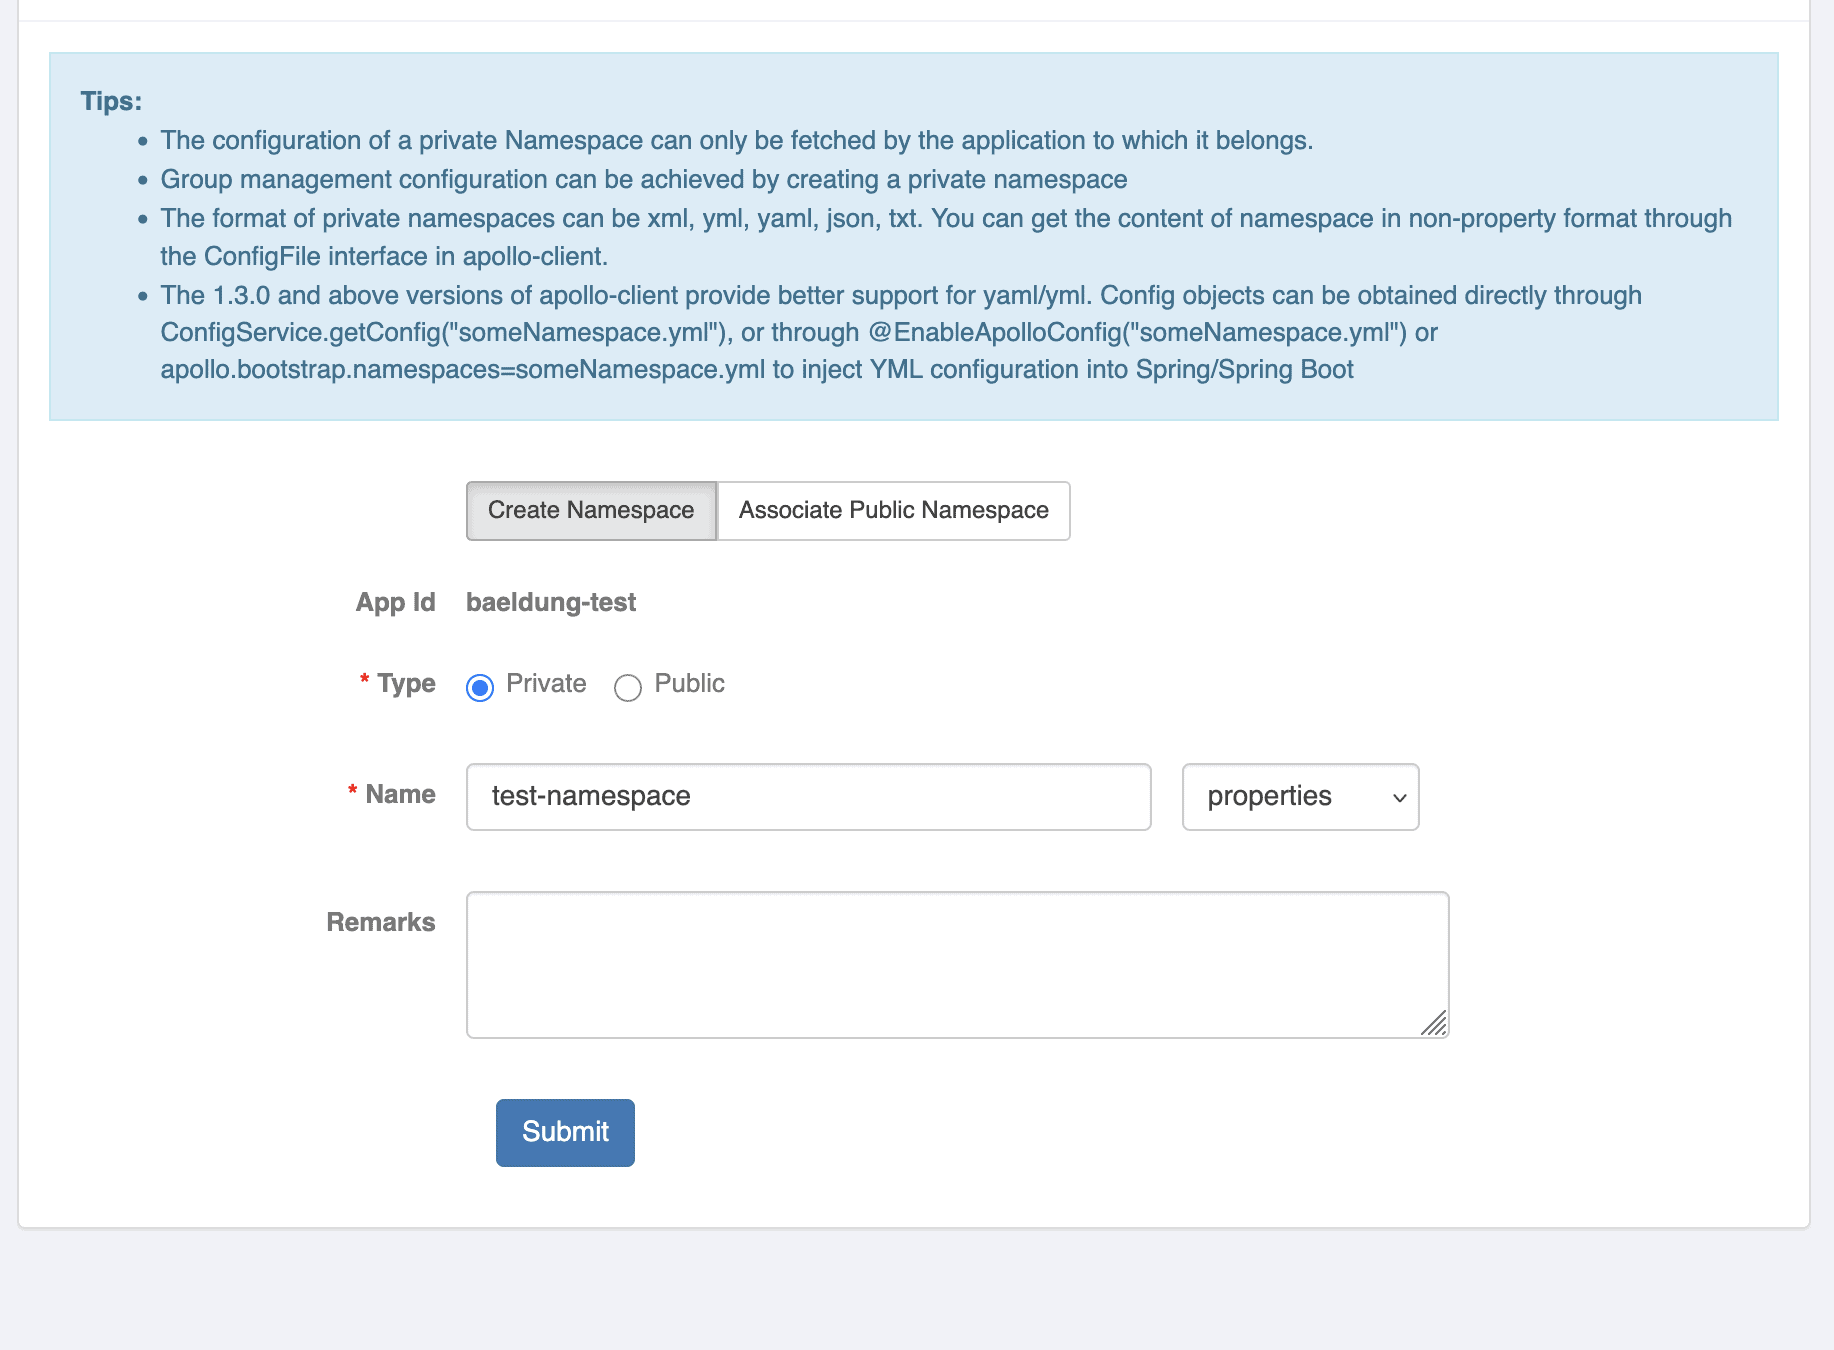
All we need to create a new namespace is the name. Private namespaces are specific to a single project, whereas Public namespaces can be shared across multiple projects. We can also specify the format that the configuration settings are loaded in, though properties files are typically the most useful here.
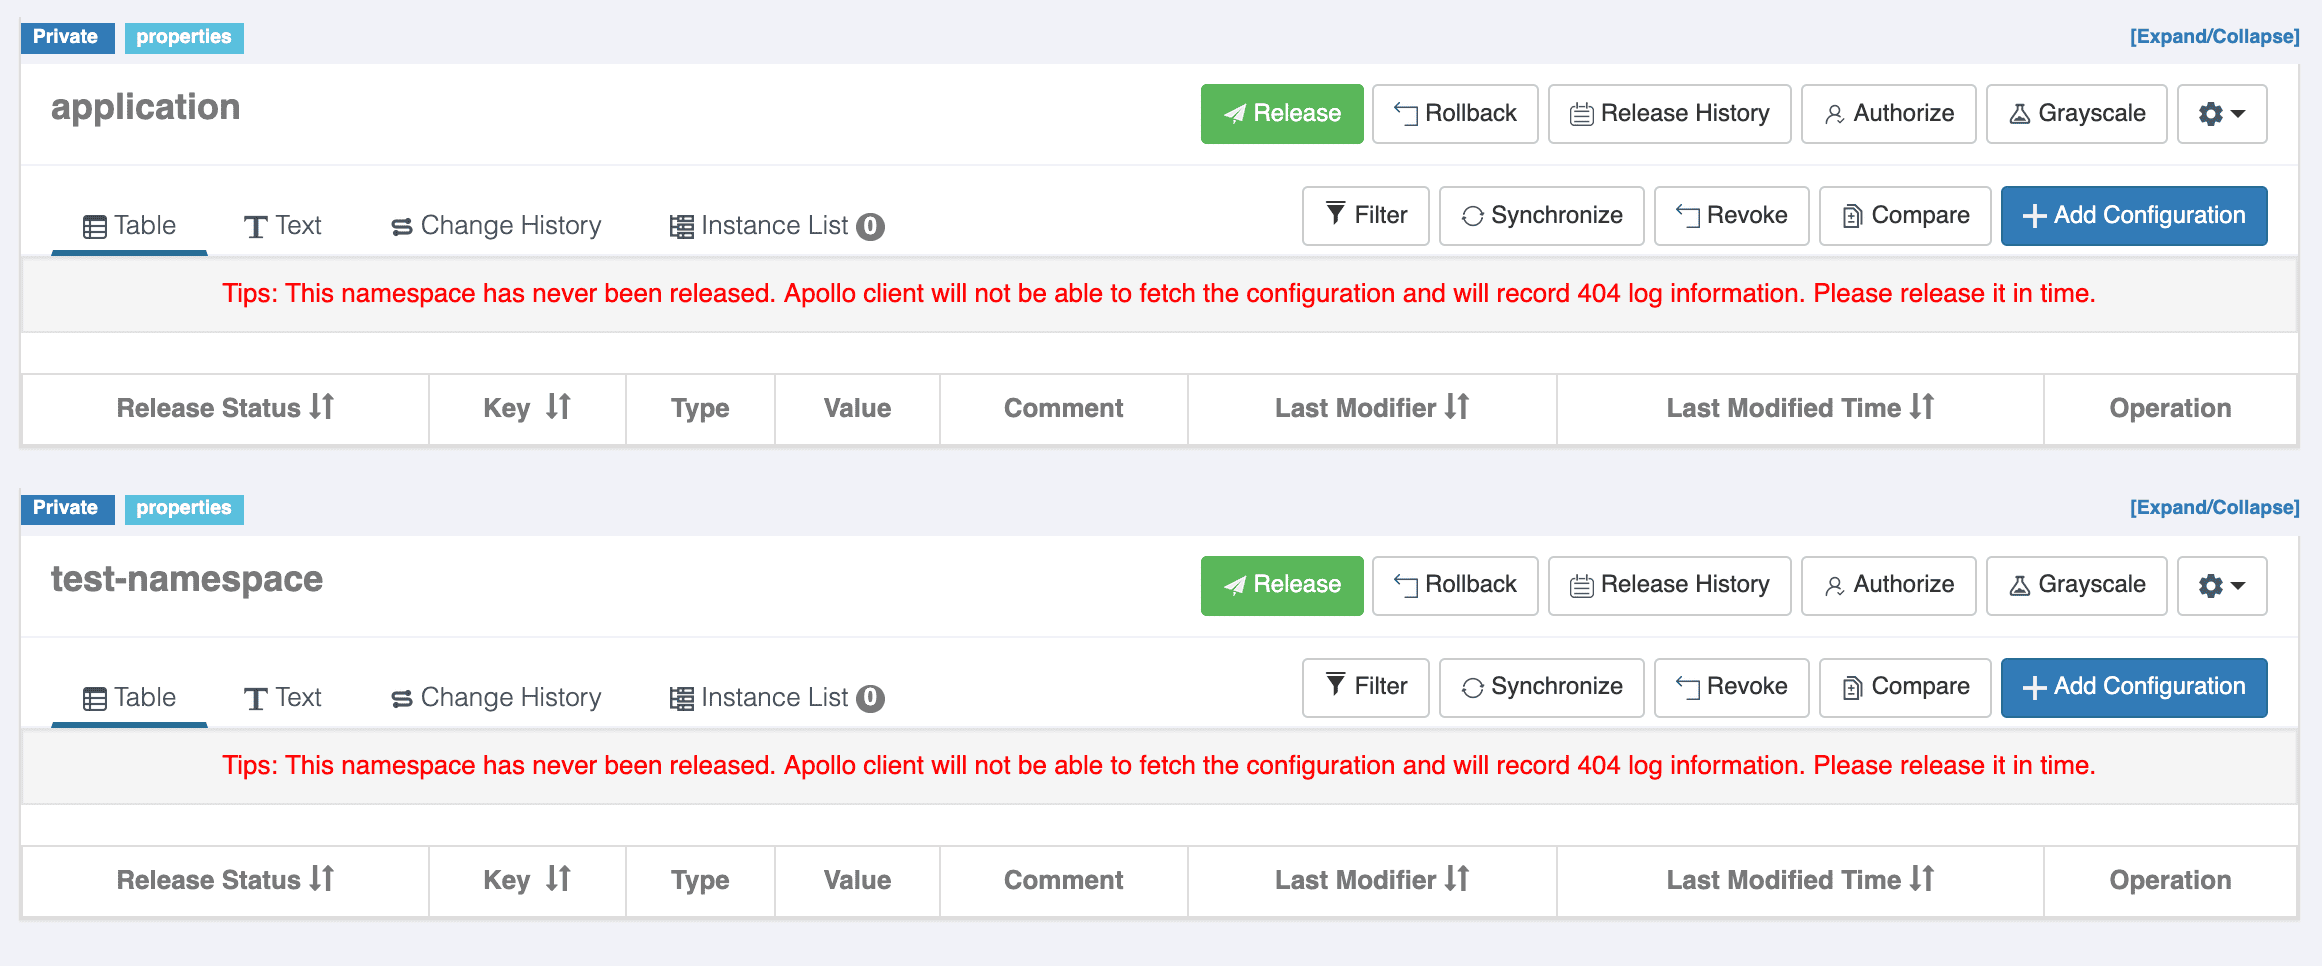
Once we’ve created a namespace, we can access it from the project dashboard:
4.4. Configurations
Our configuration settings within our project exist under a combination of Cluster and Namespace. When managing these, we need to ensure we have the correct cluster selected and are working within the correct namespace section.
Adding a new configuration setting can be done using the “Add Configuration” button for the appropriate namespace:
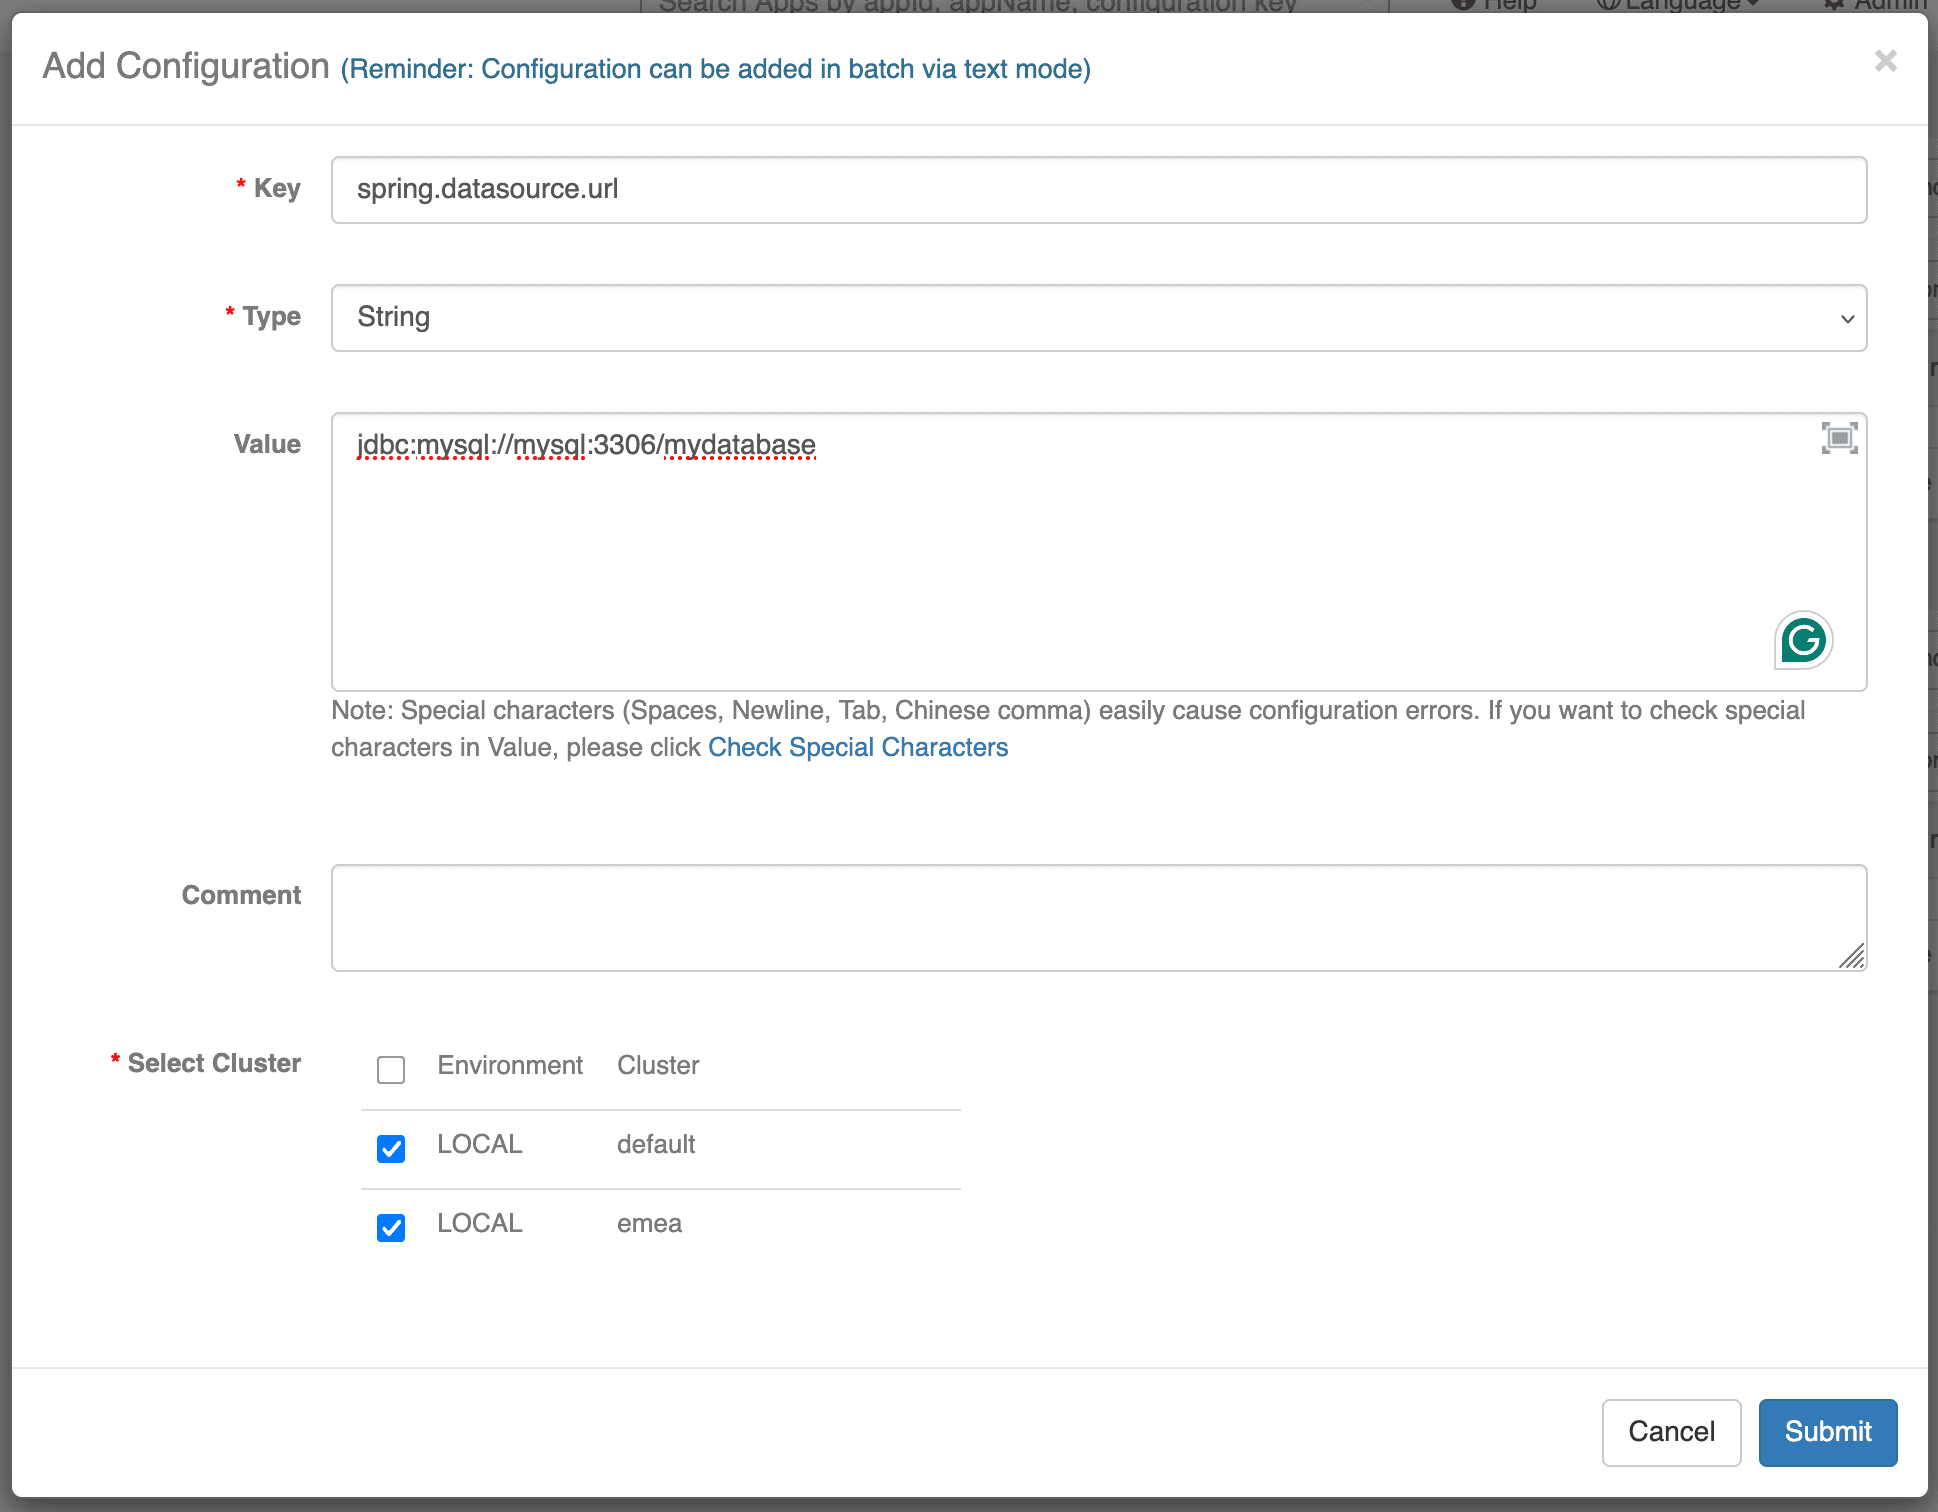
When creating configurations, we can choose the clusters in which to create them. However, once created, these are entirely distinct and are managed separately from each other. Apollo does give us tools to compare and synchronise these across clusters if needed, though.
Once created, our configuration setting appears under our namespace section within our cluster:
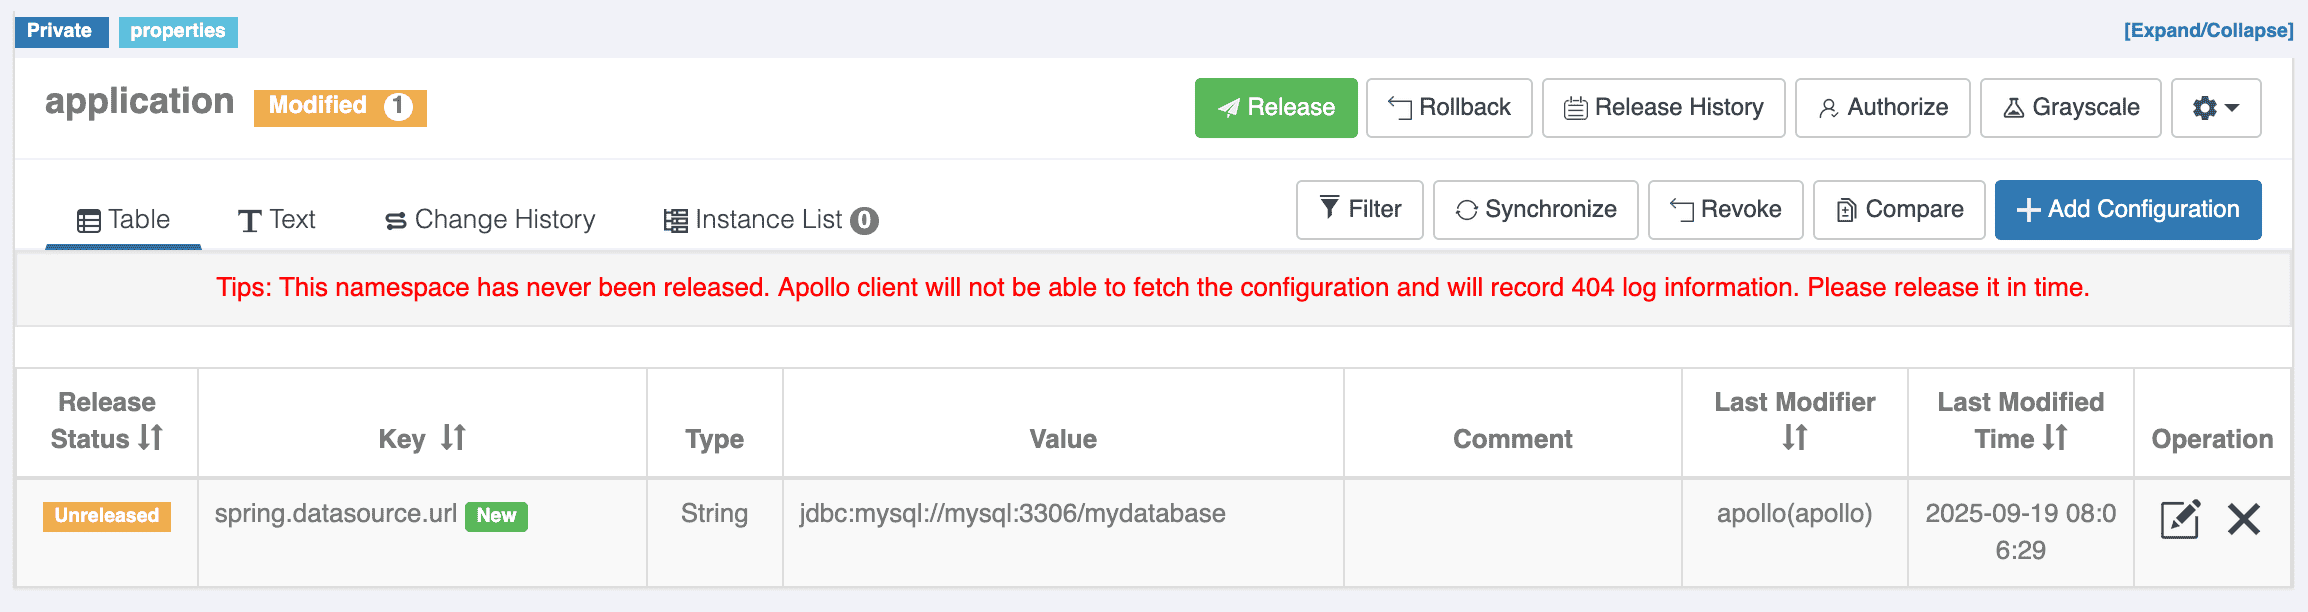
From here, we’re able to modify and delete any settings as needed.
4.5. Releasing Configuration
In order to use our configuration settings, we first need to release them. This is a distinct step so that we have no risk of applications using partial configuration – e.g. a database URL without the correct credentials.
Releasing changes to our configuration settings is done using the “Release” button:
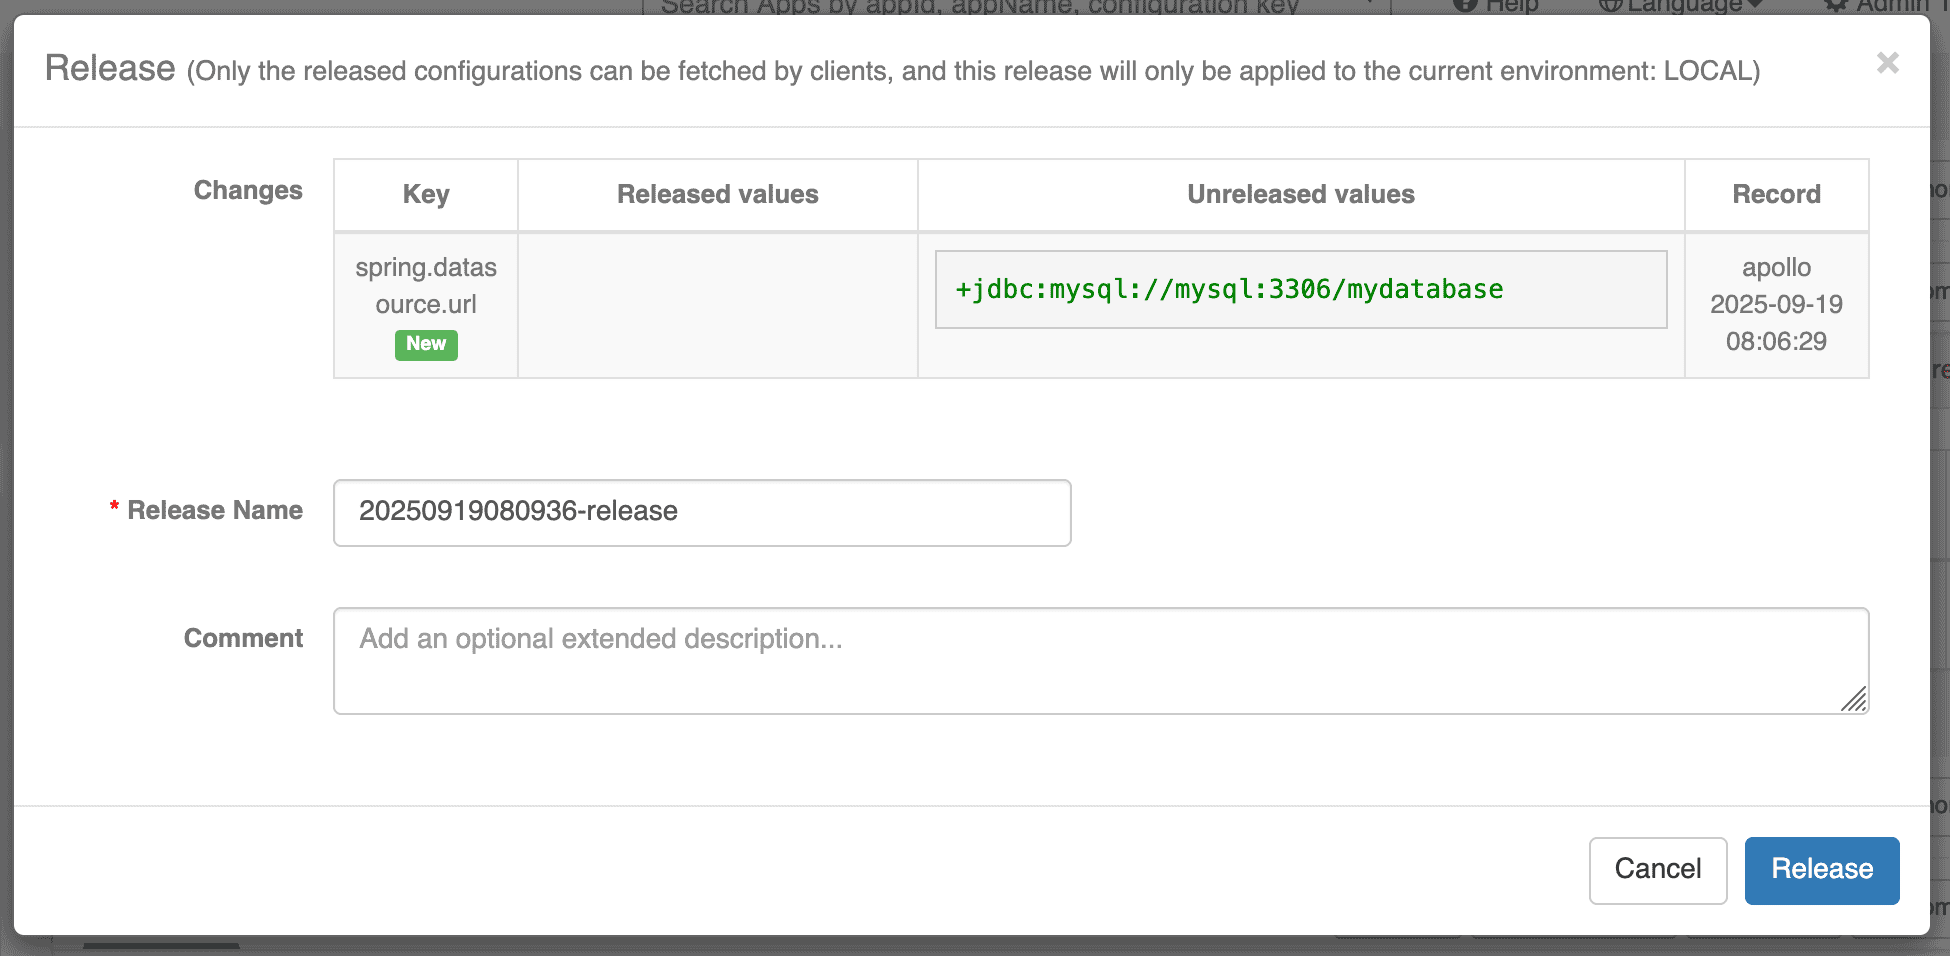
This shows us the set of changes that we’re releasing and asks for a unique release name – though this has a sensible default.
Once we’re happy with this, we can proceed to release the configuration settings, at which point they’re immediately available for our application instances to use.
Apollo also maintains a history of our configuration settings, allowing us to see how and when they’ve changed and to roll back to previous versions if needed.
5. Consuming Configuration with Spring Boot
Now that we can manage our configuration, we also need to be able to use it in our applications. Apollo provides an SDK library that we can use to consume our configuration within our application.
To use this, we need to include the latest version in our build, which is currently 2.4.0.
If we’re using Maven, we can include this dependency in our pom.xml file:
<dependency>
    <groupId>com.ctrip.framework.apollo</groupId>
    <artifactId>apollo-client</artifactId>
    <version>2.4.0</version>
</dependency>
This dependency acts like a Spring Boot Starter, so we’re almost ready. The final step is to enable Apollo configuration settings. We do this with the @EnableApolloConfig annotation:
@SpringBootApplication
@EnableApolloConfig
public class DemoApplication {
}
The annotation also allows us to specify the namespaces to load configuration from:
@SpringBootApplication
@EnableApolloConfig({"test-namespace"})
public class DemoApplication {
}
If we don’t specify any, it will default to application.
At this point, we can refer to configuration settings defined in Apollo in the same way as any other:
@Value("${example.setting}")
private String exampleSetting;
All we need to do now is tell Spring where to get our config from. We can do this either with environment variables or from our application.properties file:
apollo.meta: http://localhost:8080
app.id: baeldung-test
apollo.cluster: emea
The apollo.meta property tells Spring where to find the configuration settings. The app.id property tells it the ID of the project within Apollo. The apollo.cluster property tells it the cluster to use within this project. If we omit this, or the cluster doesn’t exist, then it will fall back to default.
When we start our service now, our properties will load directly from Apollo. These will always be the latest released configuration for the given project, cluster and namespace. The Apollo SDK also automatically reloads configuration settings whenever we release a new version, without needing an application restart.
6. Summary
In this article, we’ve taken a very quick look at the Apollo configuration management system. There’s a lot more that we can do with this system. Next time you need to manage configuration for your applications, why not give it a try?


