

Learn through the super-clean Baeldung Pro experience:
>> Membership and Baeldung Pro.
No ads, dark-mode and 6 months free of IntelliJ Idea Ultimate to start with.
Learn through the super-clean Baeldung Pro experience:
>> Membership and Baeldung Pro.
No ads, dark-mode and 6 months free of IntelliJ Idea Ultimate to start with.
In today’s fast-paced world, automation testing has become a crucial part of the software development process. Selenium is a popular tool used for automated testing of Web applications. Docker, on the other hand, is a platform that enables developers to easily pack, ship, and run applications in containers. Thus, installing and running Selenium in Docker enables us to harness the capabilities of two powerful technologies to perform efficient testing. However, the process of doing so may prove to be a bit tricky.
In this tutorial, we’ll have a detailed discussion on the step-by-step process of installing and running Selenium in Docker.
Notably, all the commands in this tutorial have been tested on Ubuntu 22.04.
As usual, the first step in the process is to ensure Docker is available on the system.
To start with, let’s use the apt command to update the package list on the machine:
$ sudo apt updateNow, we install the packages that Docker requires:
$ sudo apt install apt-transport-https ca-certificates curl software-properties-commonDoing so ensures that Docker functions smoothly on our device.
The next thing to do is to add the Docker repository to the system.
For this, we just use the curl command to add the GPG key that corresponds to the official Docker repository to the system:
$ curl -fsL https://download.docker.com/linux/ubuntu/gpg | sudo apt-key add -Here, we used three options:
After that, let’s use the add-apt-repository command to add the Docker repository to the system:
$ sudo add-apt-repository "deb [arch=amd64] https://download.docker.com/linux/ubuntu $(lsb_release -cs) stable"Let’s now proceed to the final step.
The final step is to install Docker on the system:
$ sudo apt install docker-ceOnce the installation is complete, let’s use the systemctl command to start Docker on the machine:
$ sudo systemctl start dockerFinally, we verify that Docker is running on the system:
$ sudo systemctl status docker
 * Docker is running
As we can see above, Docker is indeed running on the machine.
In the next section, let’s learn how to set up Selenium in Docker.
When it comes to the Selenium deployment, there are a couple of steps we go through.
We have to use a docker image to set up Selenium in Docker. There are several Docker images available on the Internet. For this tutorial, we use the selenium/standalone-chrome docker image. This image enables us to launch Selenium in the Chrome browser, helping us run Selenium tests remotely.
With that said, we should also make sure that Chrome exists on the machine.
Next, let’s use the docker pull command to pull the selenium/standalone-chrome Docker image:
$ sudo docker pull selenium/standalone-chromeAfter that, we verify the successful operation via the docker images command:
$ sudo docker images
REPOSITORY                   TAG       IMAGE ID       CREATED       SIZE
selenium/standalone-chrome   latest    66d3196083ca   2 weeks ago   1.44GB
Evidently, we’ve successfully pulled the image to the machine.
The next thing to do is to start a Docker container from the pulled image. Let’s do so using the docker run command:
$ sudo docker run -d -p 4444:4444 selenium/standalone-chrome
6785a23708bf8274115505d5401995624e0385a35d3cc4bd7367f66d50193712
Above, we use a couple of options:
Thus, we can launch and access Selenium at https://localhost:4444.
Moreover, the container ID from the terminal indicates that the container started successfully.
So, let’s now navigate to https://localhost:4444 in Chrome to access Selenium:
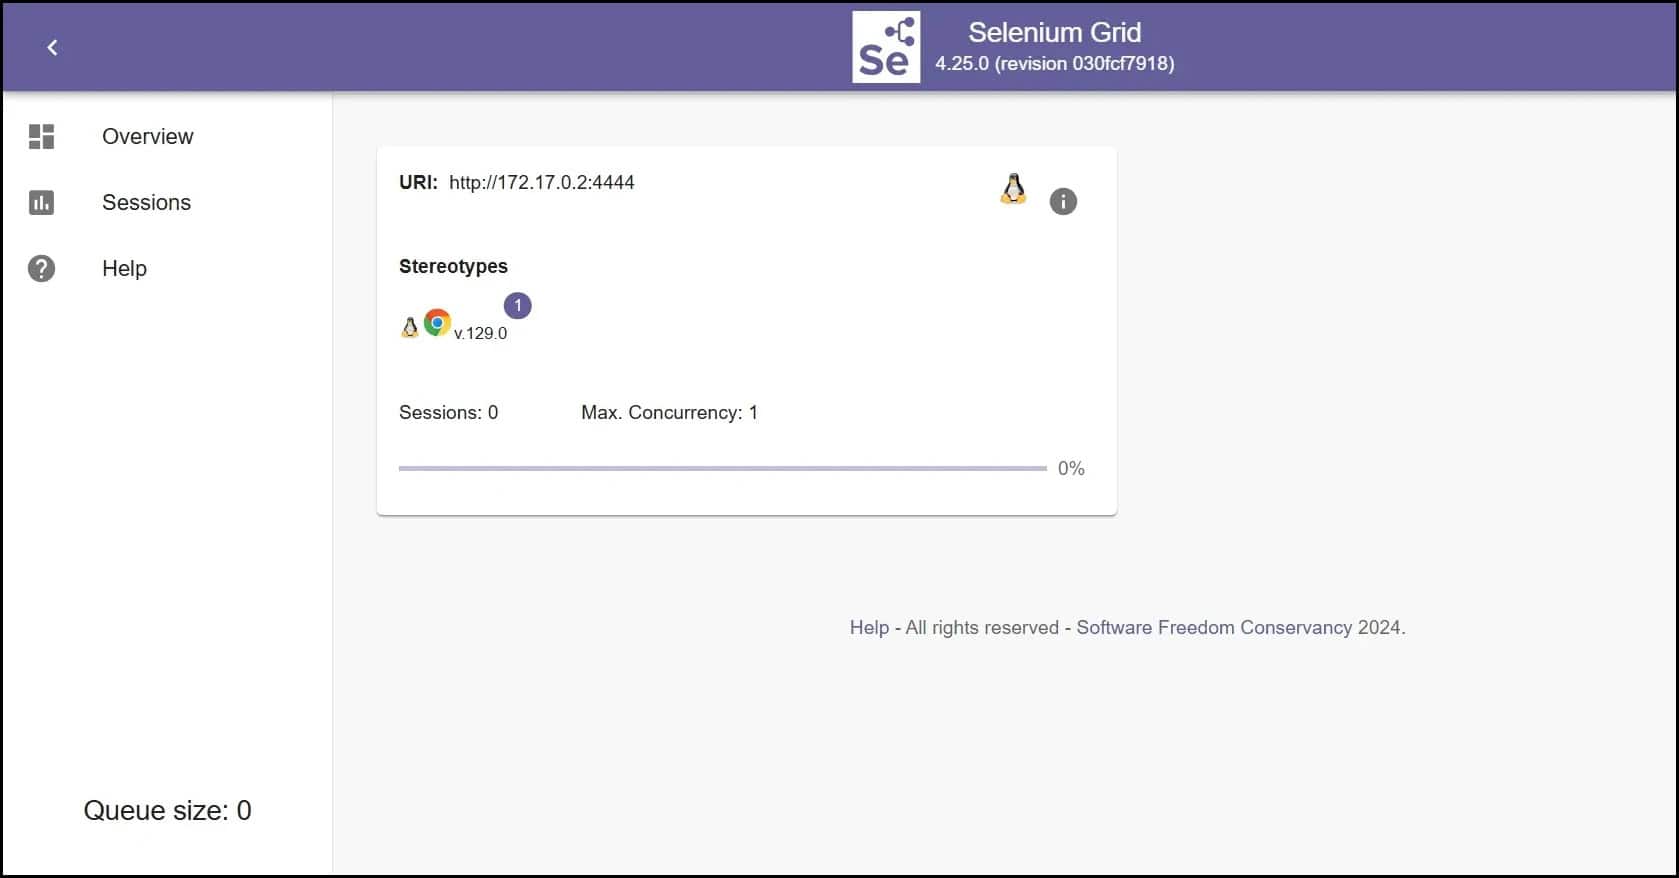
The above image indicates that we’ve successfully finished setting up Selenium in Docker.
Next, we’ll run a Selenium test in Docker to verify that everything is working correctly.
There are several languages that we can use to write Selenium tests, such as Java, Python, and more. For this tutorial, we go with Python.
The first step in this process is to create a Python script for writing the test. So, let’s create a file named test.py:
$ touch test.pyThen, we write a simple test in the newly created file:
$ cat test.py
# Import Selenium WebDriver
from selenium import webdriver

# Initialize a new Chrome instance
browser = webdriver.Remote("http://localhost:4444", options=webdriver.ChromeOptions())

# Visit the Baeldung website
browser.get("https://baeldung.com")

# Print the title of the homepage
print(browser.title)

browser.quit()
After inserting the above test, let’s save and close the file.
Next, let’s run the test:
$ python test.py
Baeldung
As we can see above, the title of the Baeldung homepage is printed on the terminal.
Furthermore, we can navigate to the Sessions tab at https://localhost:4444/ during the test:
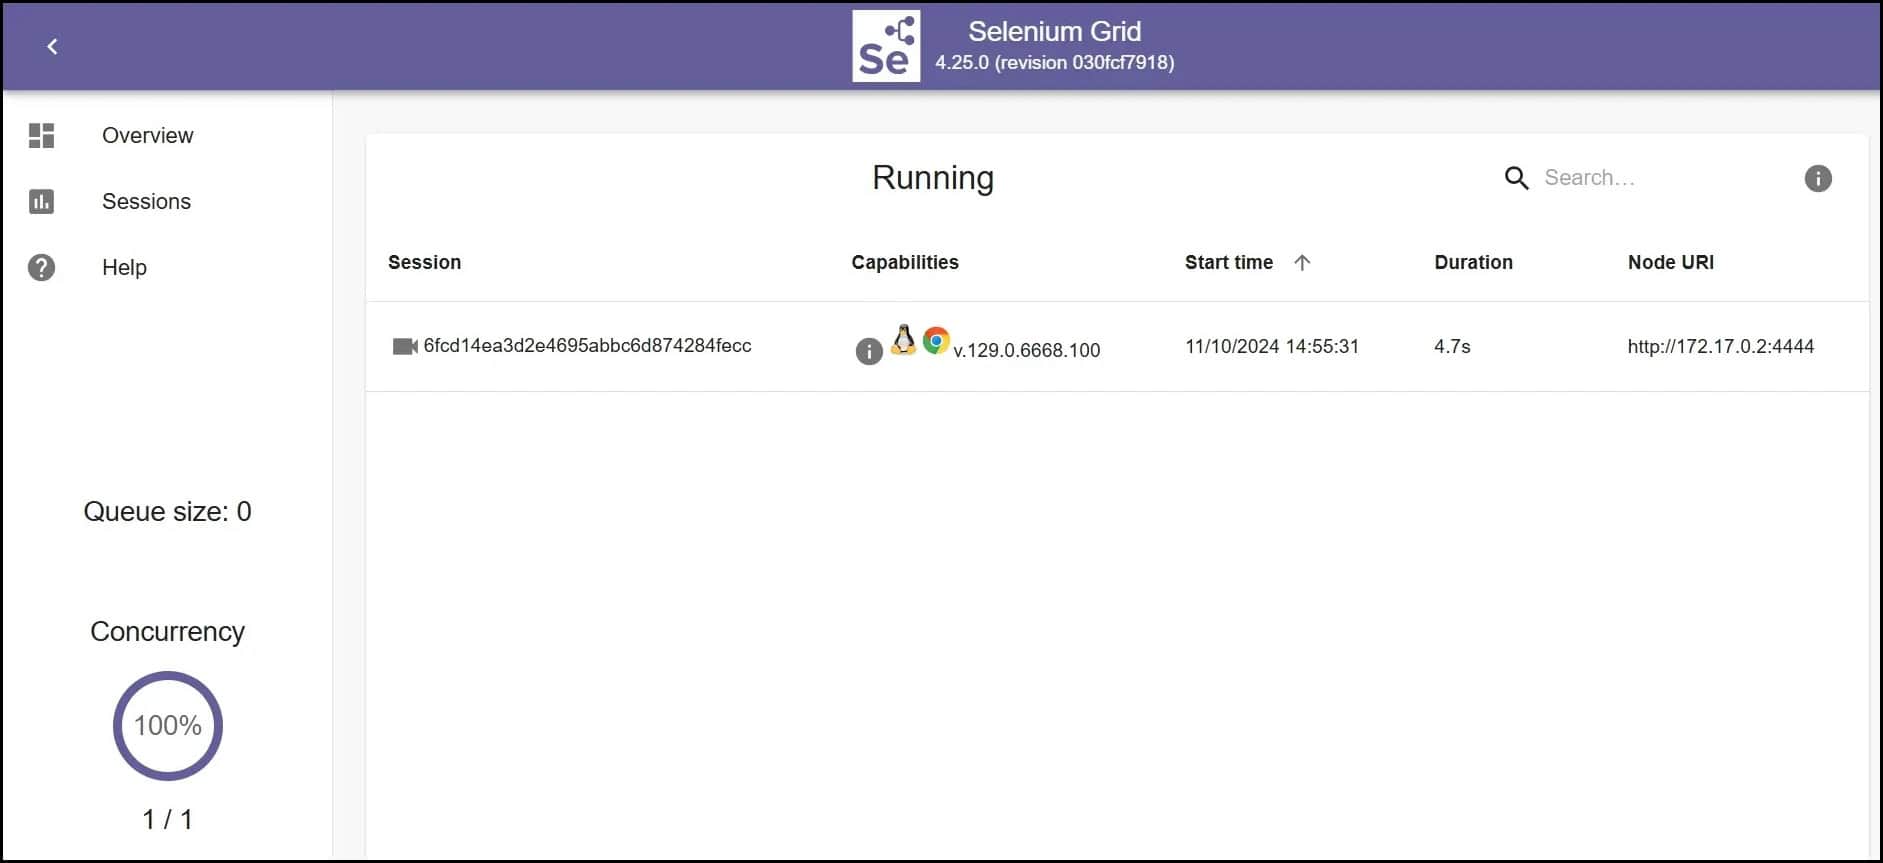
Thus, we see the currently active test session.
In this article, we learned how to install Docker, how to set up Selenium in Docker, and how to run a simple Selenium test in Docker.
By following this step-by-step guide, we should have Selenium running in Docker on the system in no time ready to use for automated web testing.