

Yes, we're now running our only Summer Sale. All Courses are 30% off until 20th July, 2026:
Prevent EC2 Instance From Changing IP Address After Restart
Last updated: November 7, 2024
Learn through the super-clean Baeldung Pro experience:
>> Membership and Baeldung Pro.
No ads, dark-mode and 6 months free of IntelliJ Idea Ultimate to start with.
1. Overview
Network configuration is a core part of designing a scalable and reliable cloud architecture. Once we understand the functions of all network components, we can configure network resources more effectively. One crucial part of these network configurations is the IP addressing.
In this tutorial, we’re going to cover the basics of IP addressing for EC2 instances in AWS. We’ll explain the concept of a VPC in AWS, and we’ll discuss the different types of EC2 IP addresses. Then, we’ll show how to prevent a change in the IP address for an EC2 after restart.
2. What Is AWS EC2?
EC2 is an AWS service that provides compute resources that we can provision on demand. An EC2 instance is a virtual server that runs in the AWS cloud.
It resembles a traditional server where it has hardware resources, runs an operating system image and applications, and can be configured for network connectivity. The difference is that all EC2 resources are actually virtual resources that a hypervisor software creates while abstracting the underlying physical resources.
EC2 is flexible, allowing us to modify its resources, change its attached network, or add additional storage volumes to it. We can use the AWS CLI to create an EC2 instance and provide the configurations we need:
$ aws ec2 run-instances --image-id ami-0866a3c8686eaeeba --count 1 --instance-type t2.micro --key-name MyKey
--security-group-ids sg-0610f6319ad5ffb81 --subnet-id subnet-02e1541228f5fd7fb
The aws ec2 run-instances command creates a new EC2 instance. The command options allow setting the properties for this instance:
- –image-id: specifies the image for this instance; in the above command, the ami-0866a3c8686eaeeba is an Ubuntu image
- –instance-type: specifies the EC2 instance type, which controls the amount of resources this instance will have
- –security-group-ids: specifies one or more security groups that we’ll attach to the instance
- –subnet-id: specifies which subnet to attach the instance to
Let’s verify our instance configurations from the console:
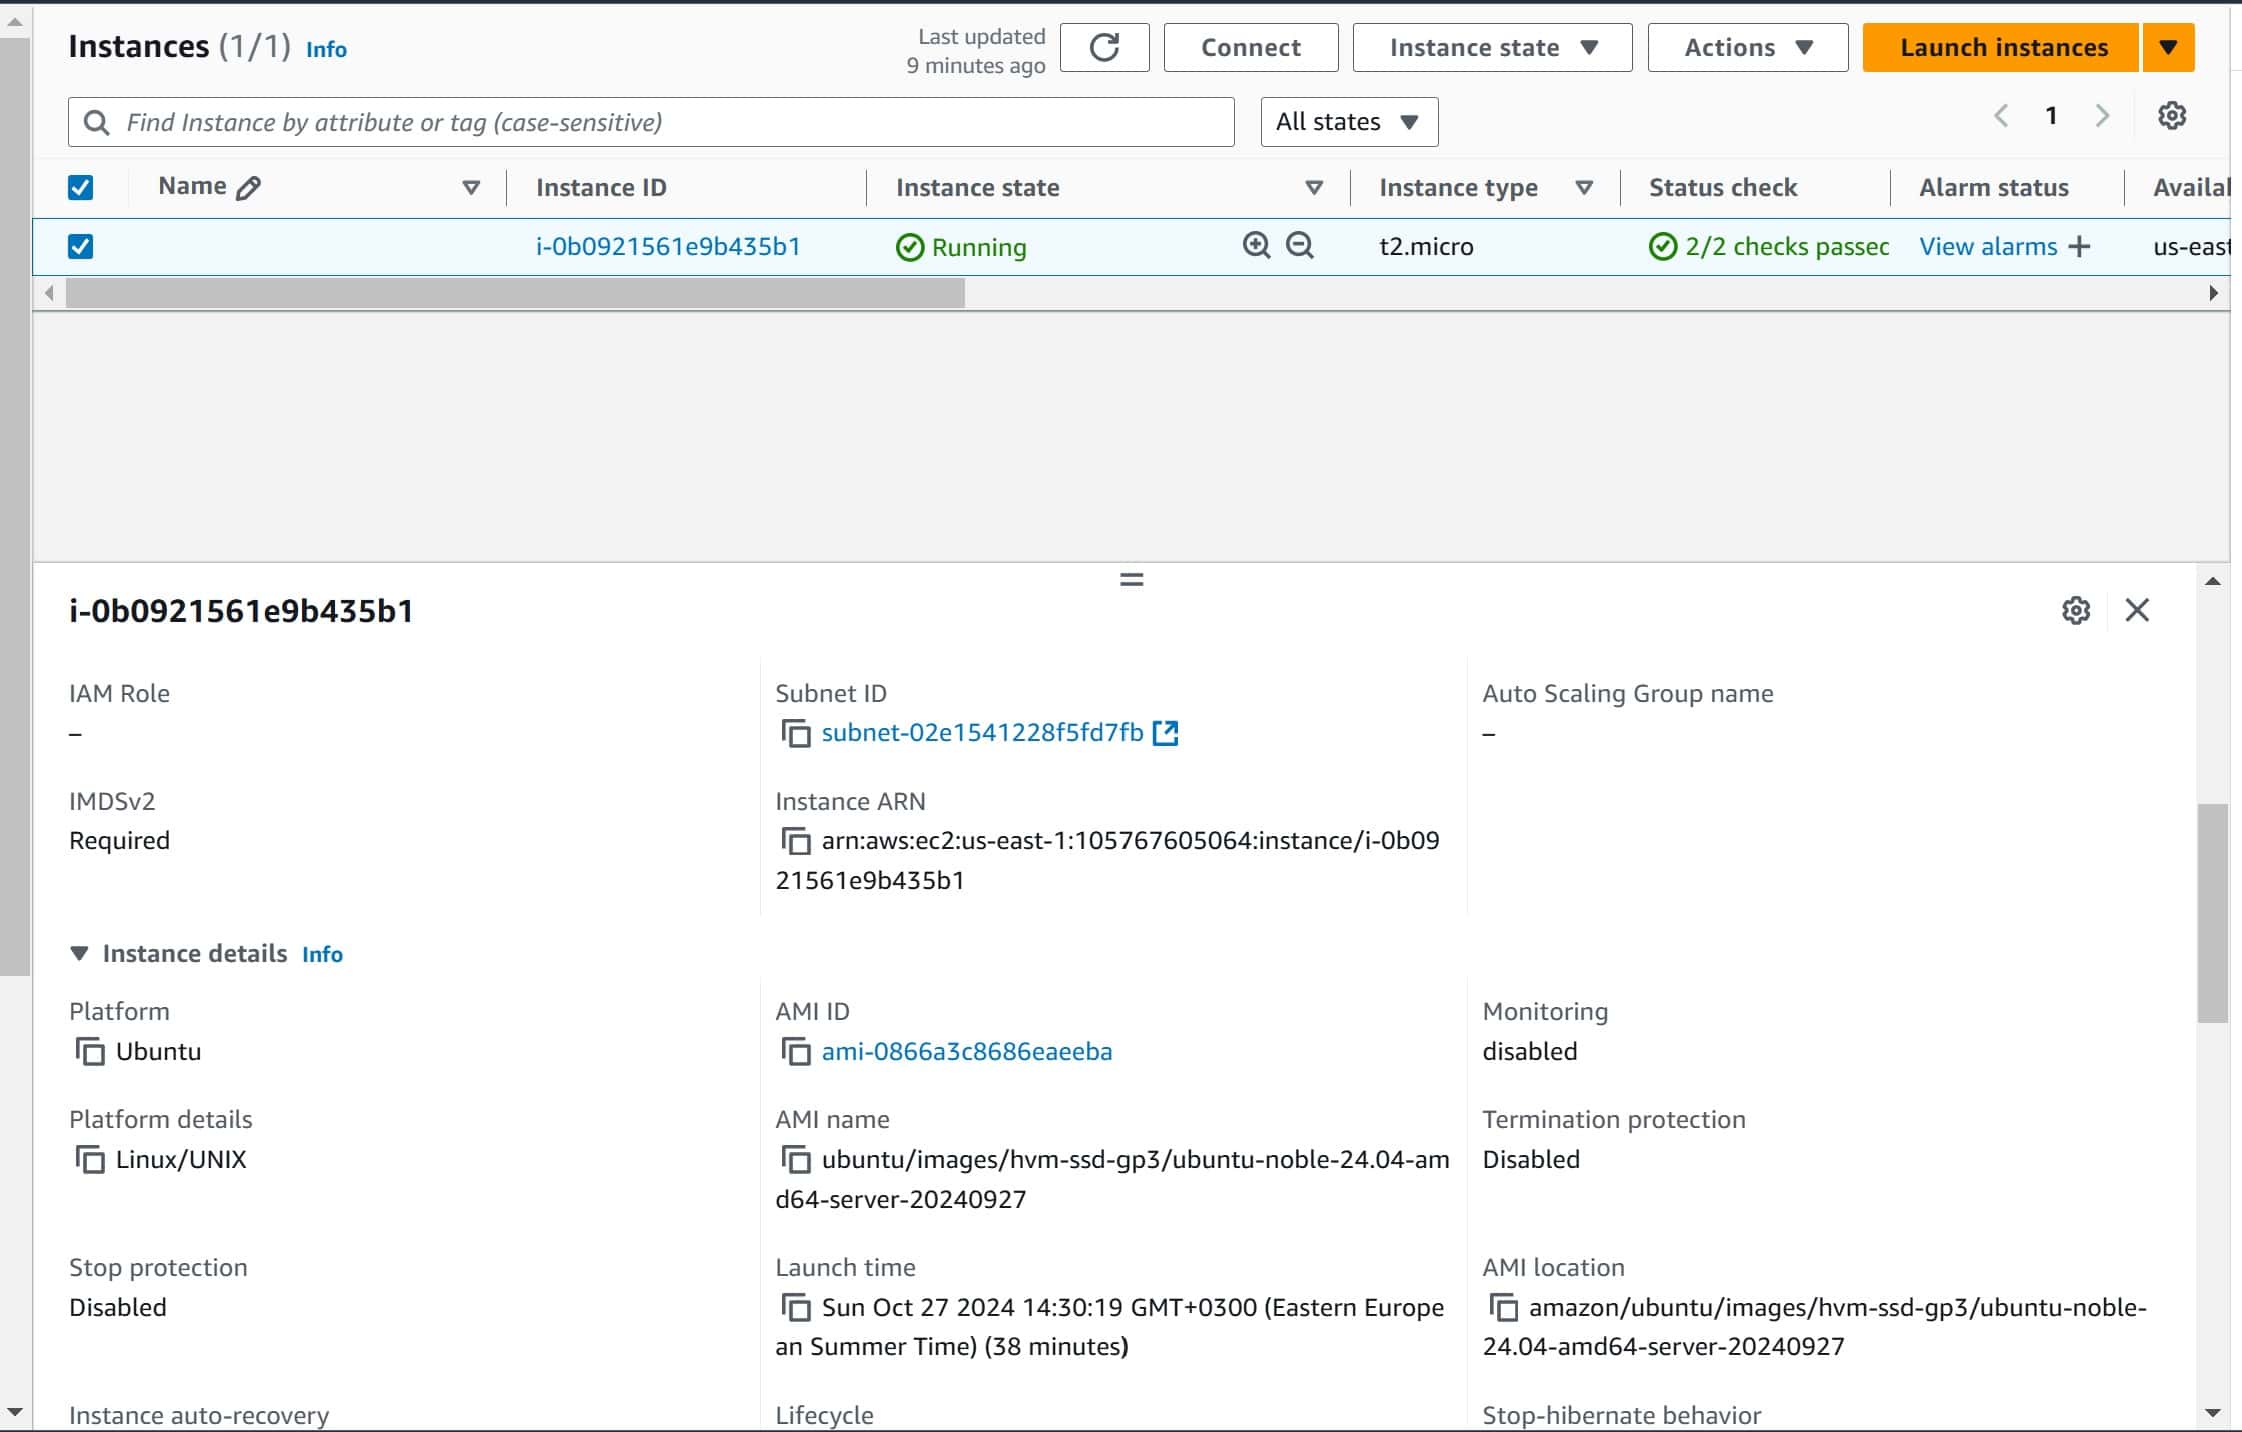
In the above image, we can see that the EC2 instance was created with the same configurations specified in the AWS CLI command.
3. What Is AWS VPC?
AWS VPC is a logically isolated network space where we can provision our resources inside AWS. It provides connectivity between resources and offers different network functionalities like IP addressing, routing, and subnetting.
When we create a VPC, we specify a CIDR block for the VPC. Resources that we add to this VPC will be allocated an IP address from this CIDR block. By default, resources in the same VPC will have network connectivity with each other if no security configurations are restricting this connectivity.
A VPC includes one or more subnets. Each subnet is assigned an IP address range within the VPC’s configured CIDR block. To add a resource to a VPC, we attach the resource to a subnet within this VPC.
In the previous example, when we created the EC2 instance inside the subnet subnet-02e1541228f5fd7fb, it was automatically added to a VPC:
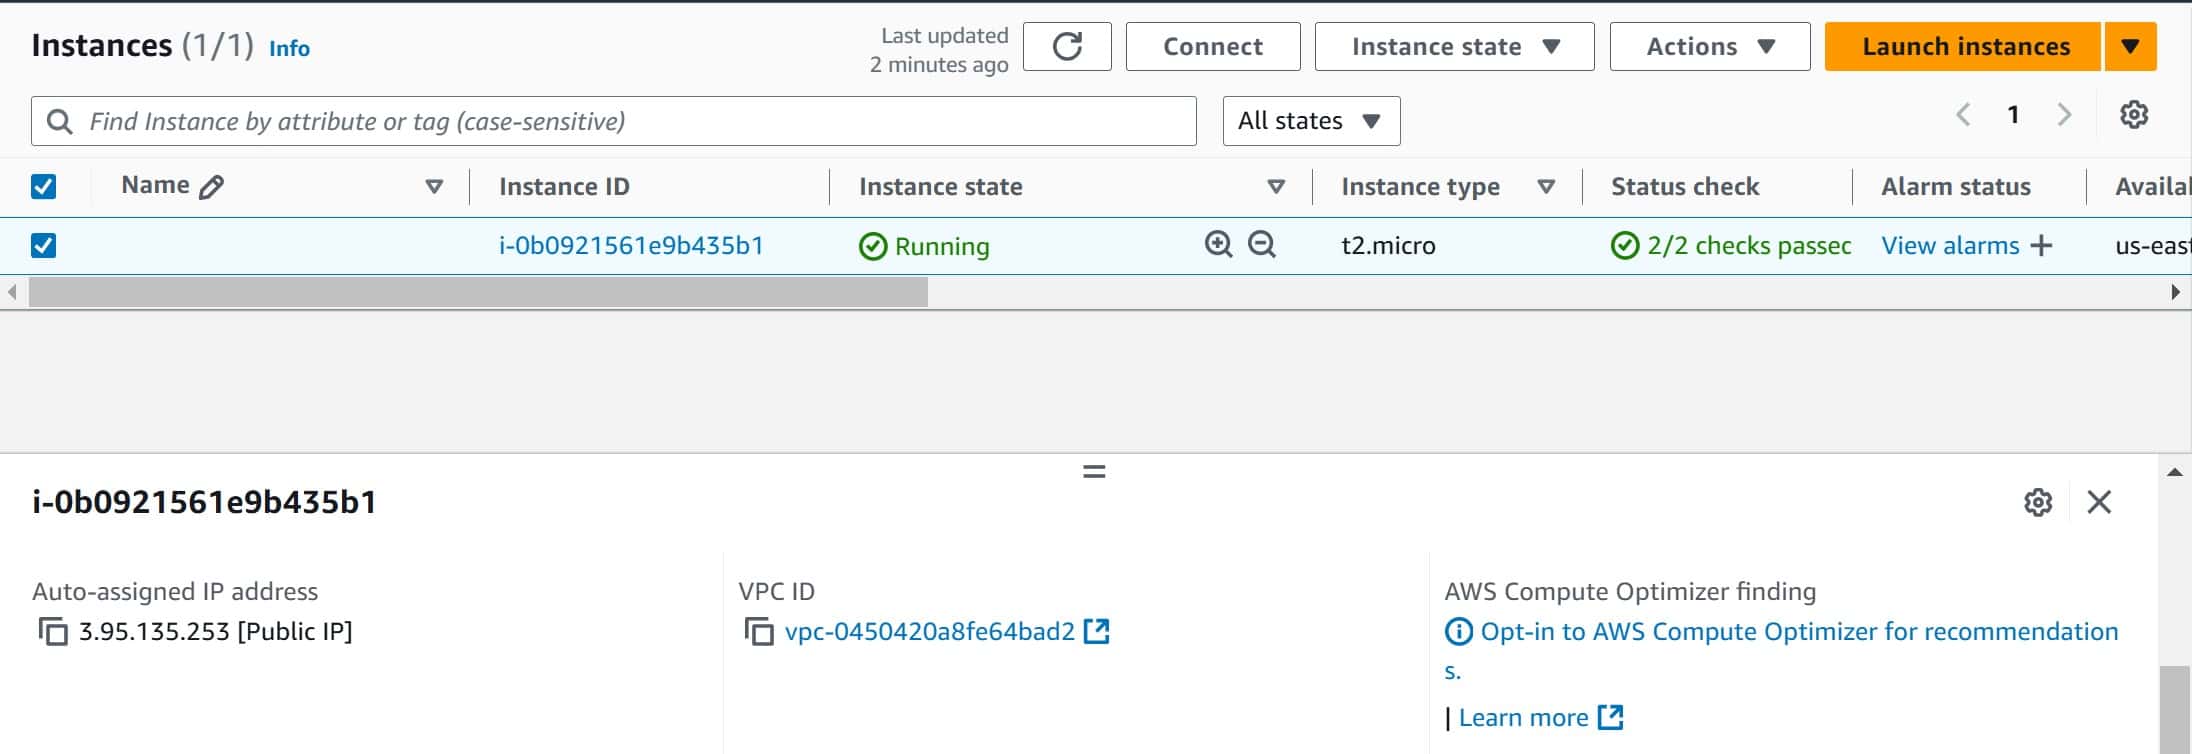
We can see from the above image that our EC2 instance is connected to the VPC with id vpc-0450420a8fe64bad2. This is the VPC that contains the subnet subnet-02e1541228f5fd7fb:
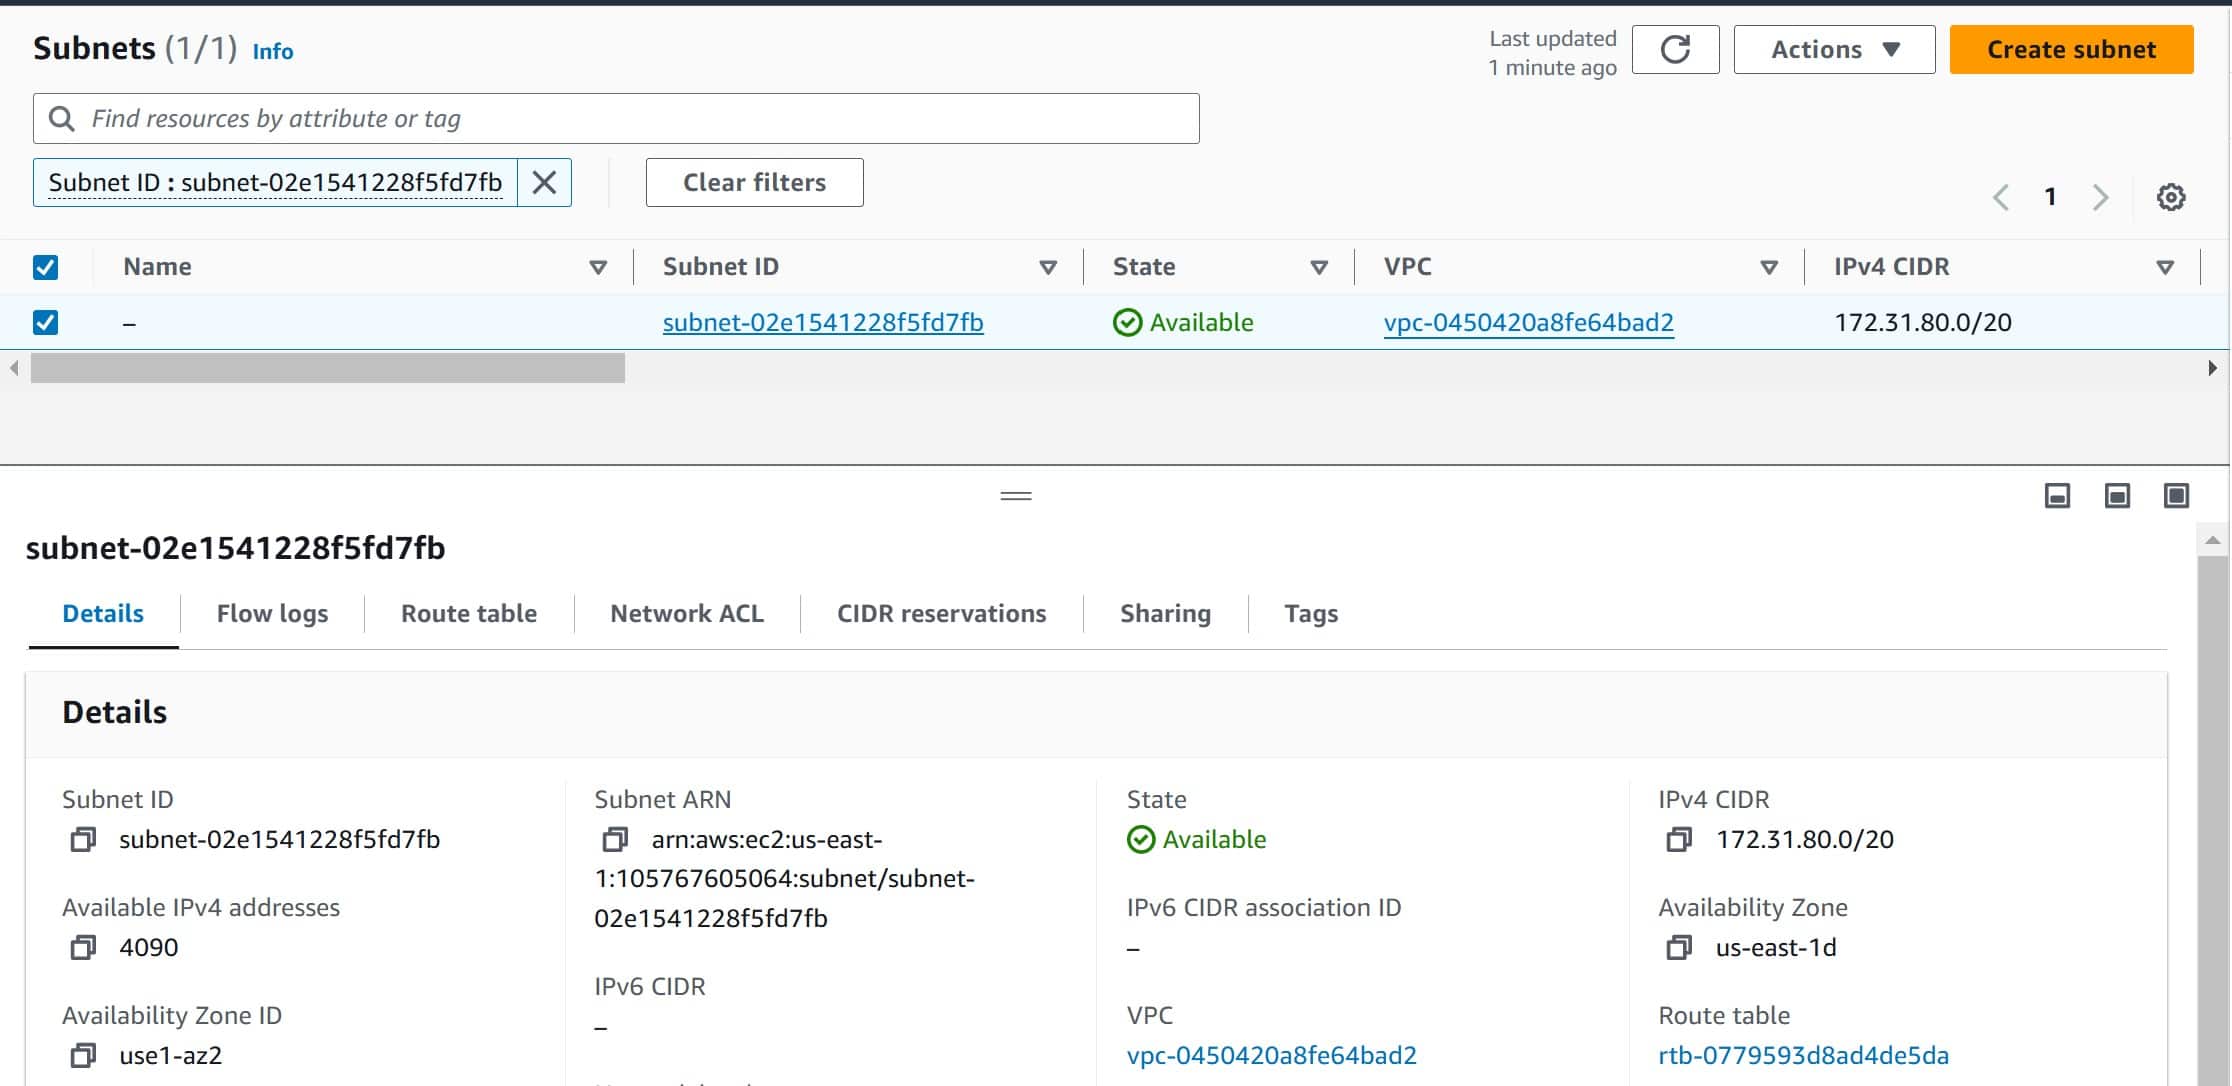
As we can see, our subnet is part of the VPC where the EC2 instance was added automatically.
4. EC2 IP Address Types
Since an EC2 instance works like a traditional server, it needs an IP address to communicate on the network. AWS provides different EC2 IP address types that fit different use cases.
4.1. Private IP
Private IP addresses allow EC2 instances to communicate internally within the same VPC. These are the IP addresses assigned from the VPC CIDR block range. We can think of a private IP as the IP that we assign to a network interface on a server.
A private IP address is automatically allocated to an EC2 instance when it’s connected to a VPC. This IP remains with the EC2 instance and doesn’t change if the instance is restarted.
Let’s check the private IP of an instance from the console:

Here, our instance has a private IP of 172.31.80.128, which is part of the CIDR block of subnet subnet-02e1541228f5fd7fb.
4.2. Public IP
A public IP address allows an EC2 instance to access the internet. It’s automatically assigned to an EC2 if we set the Auto-assign Public IP option to true when launching the instance. Unlike a private IP address, public IPs aren’t persistent, which means that they automatically change when we stop and start the instance.
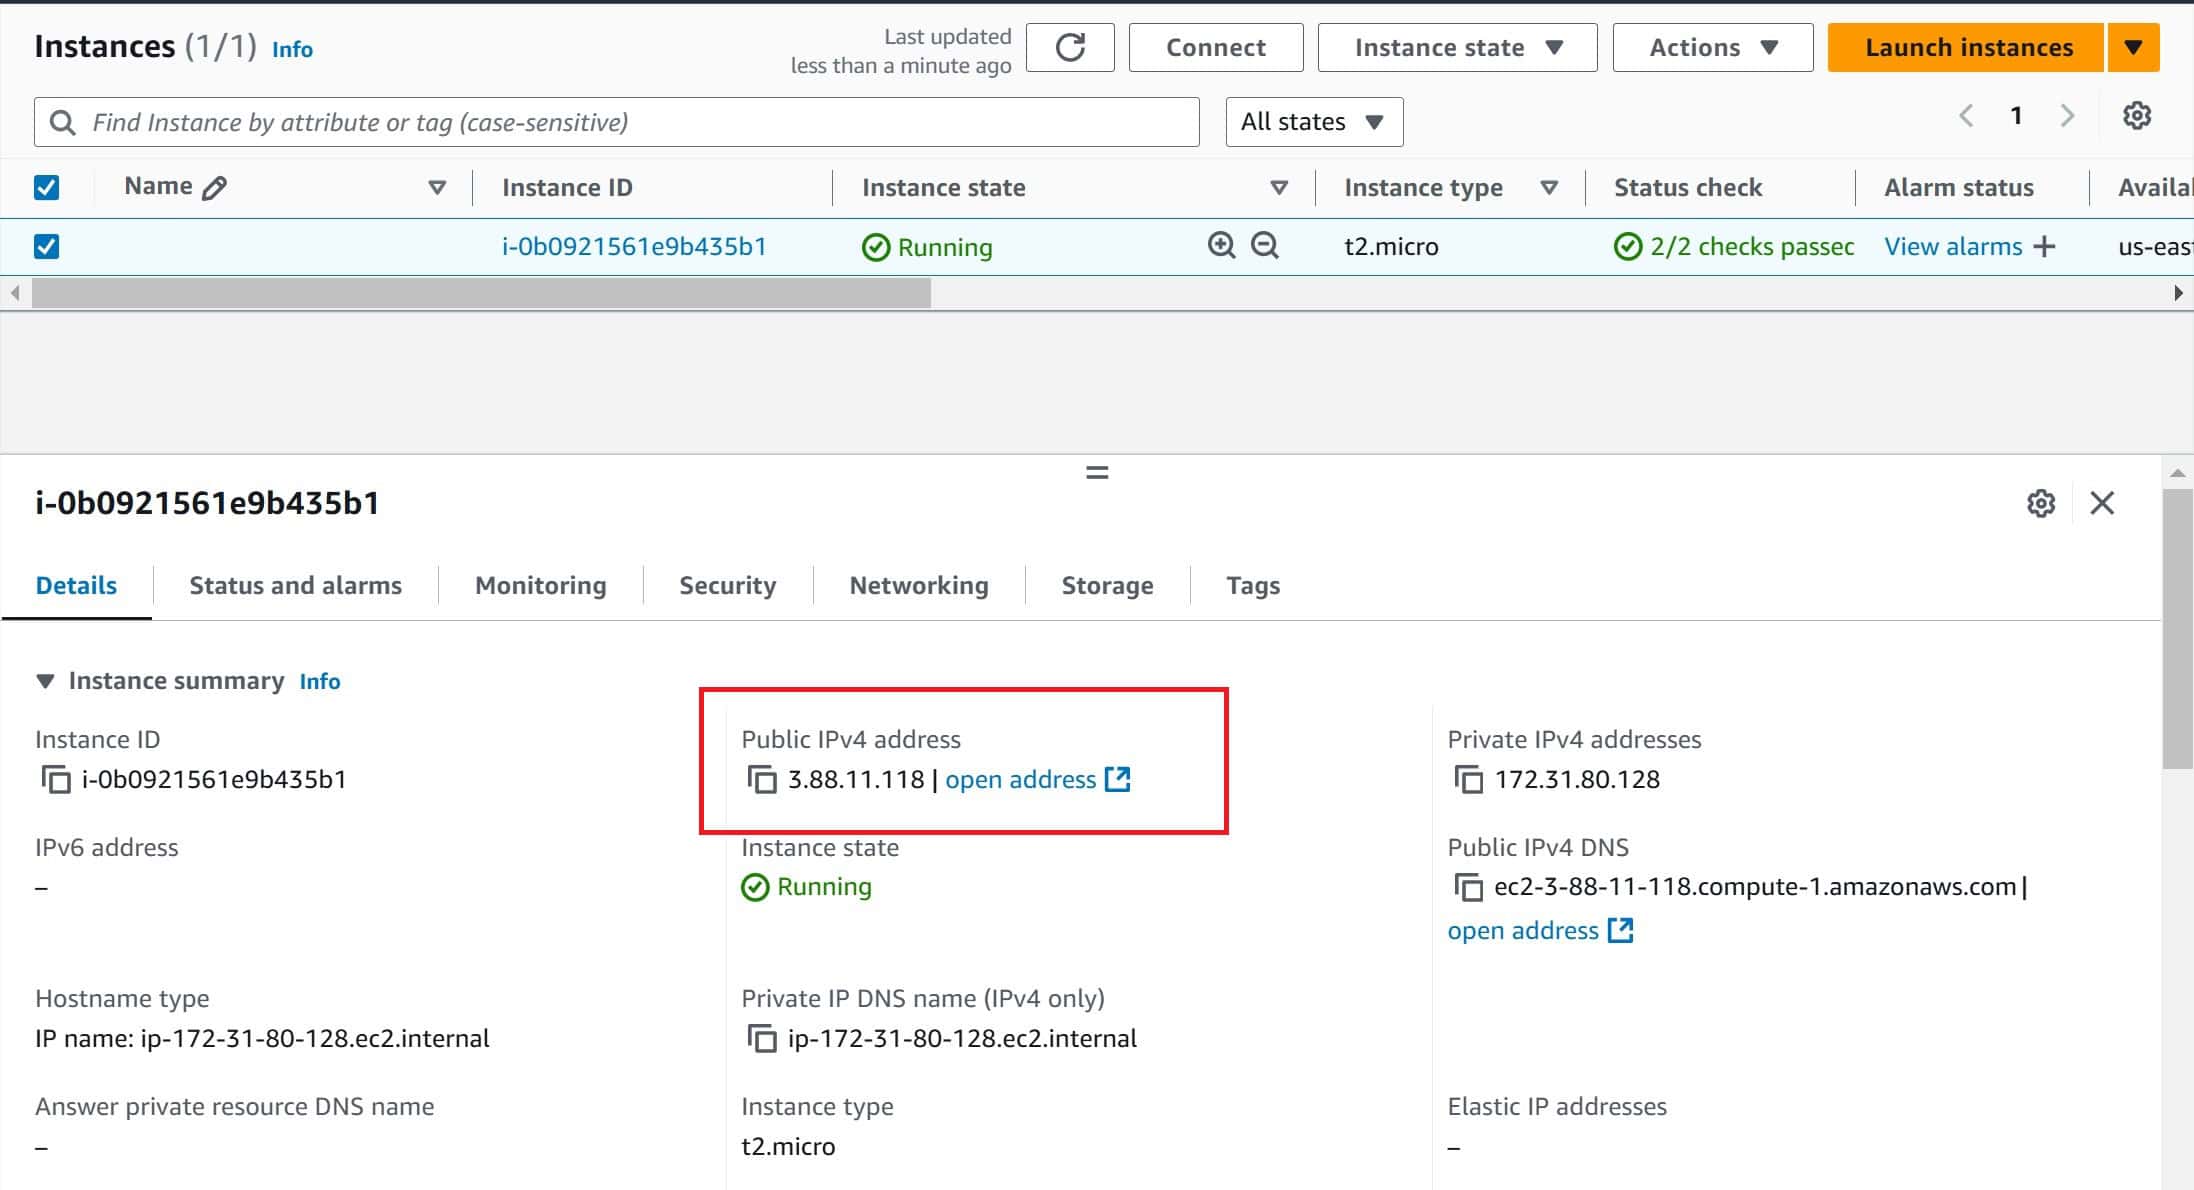
We can also check an instance’s public IP from the console:
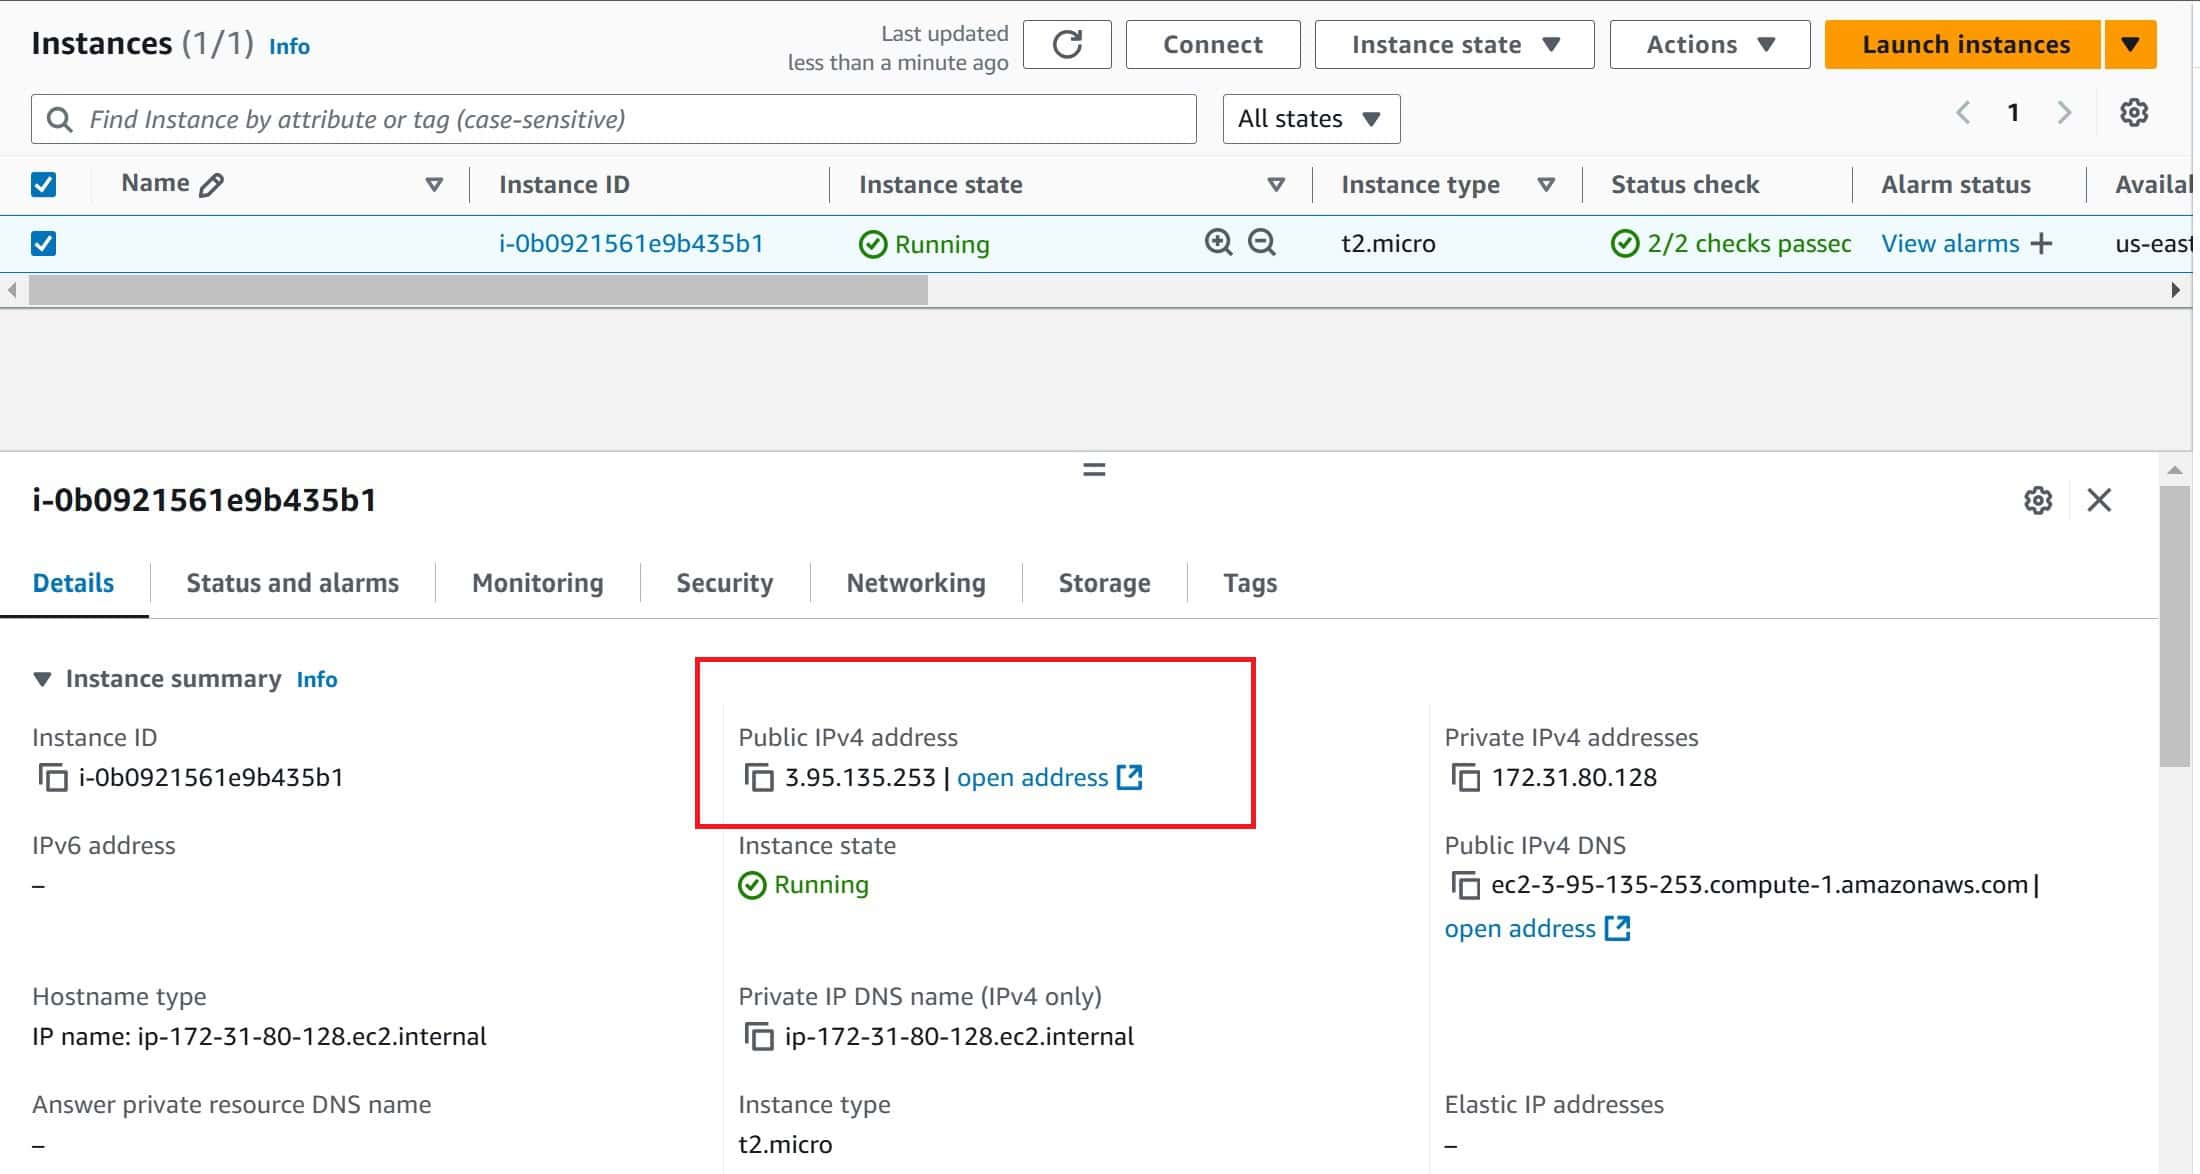
In the above image, our instance has a public IP of 3.95.135.253. This is the IP address it currently uses to connect to internet resources.
Now, let’s try to stop and start our instance:
$ aws ec2 stop-instances --instance-ids i-0b0921561e9b435b1
$ aws ec2 start-instances --instance-ids i-0b0921561e9b435b1
The above ec2 stop-instances and start-instances commands stop and start an EC2 instance using its ID.
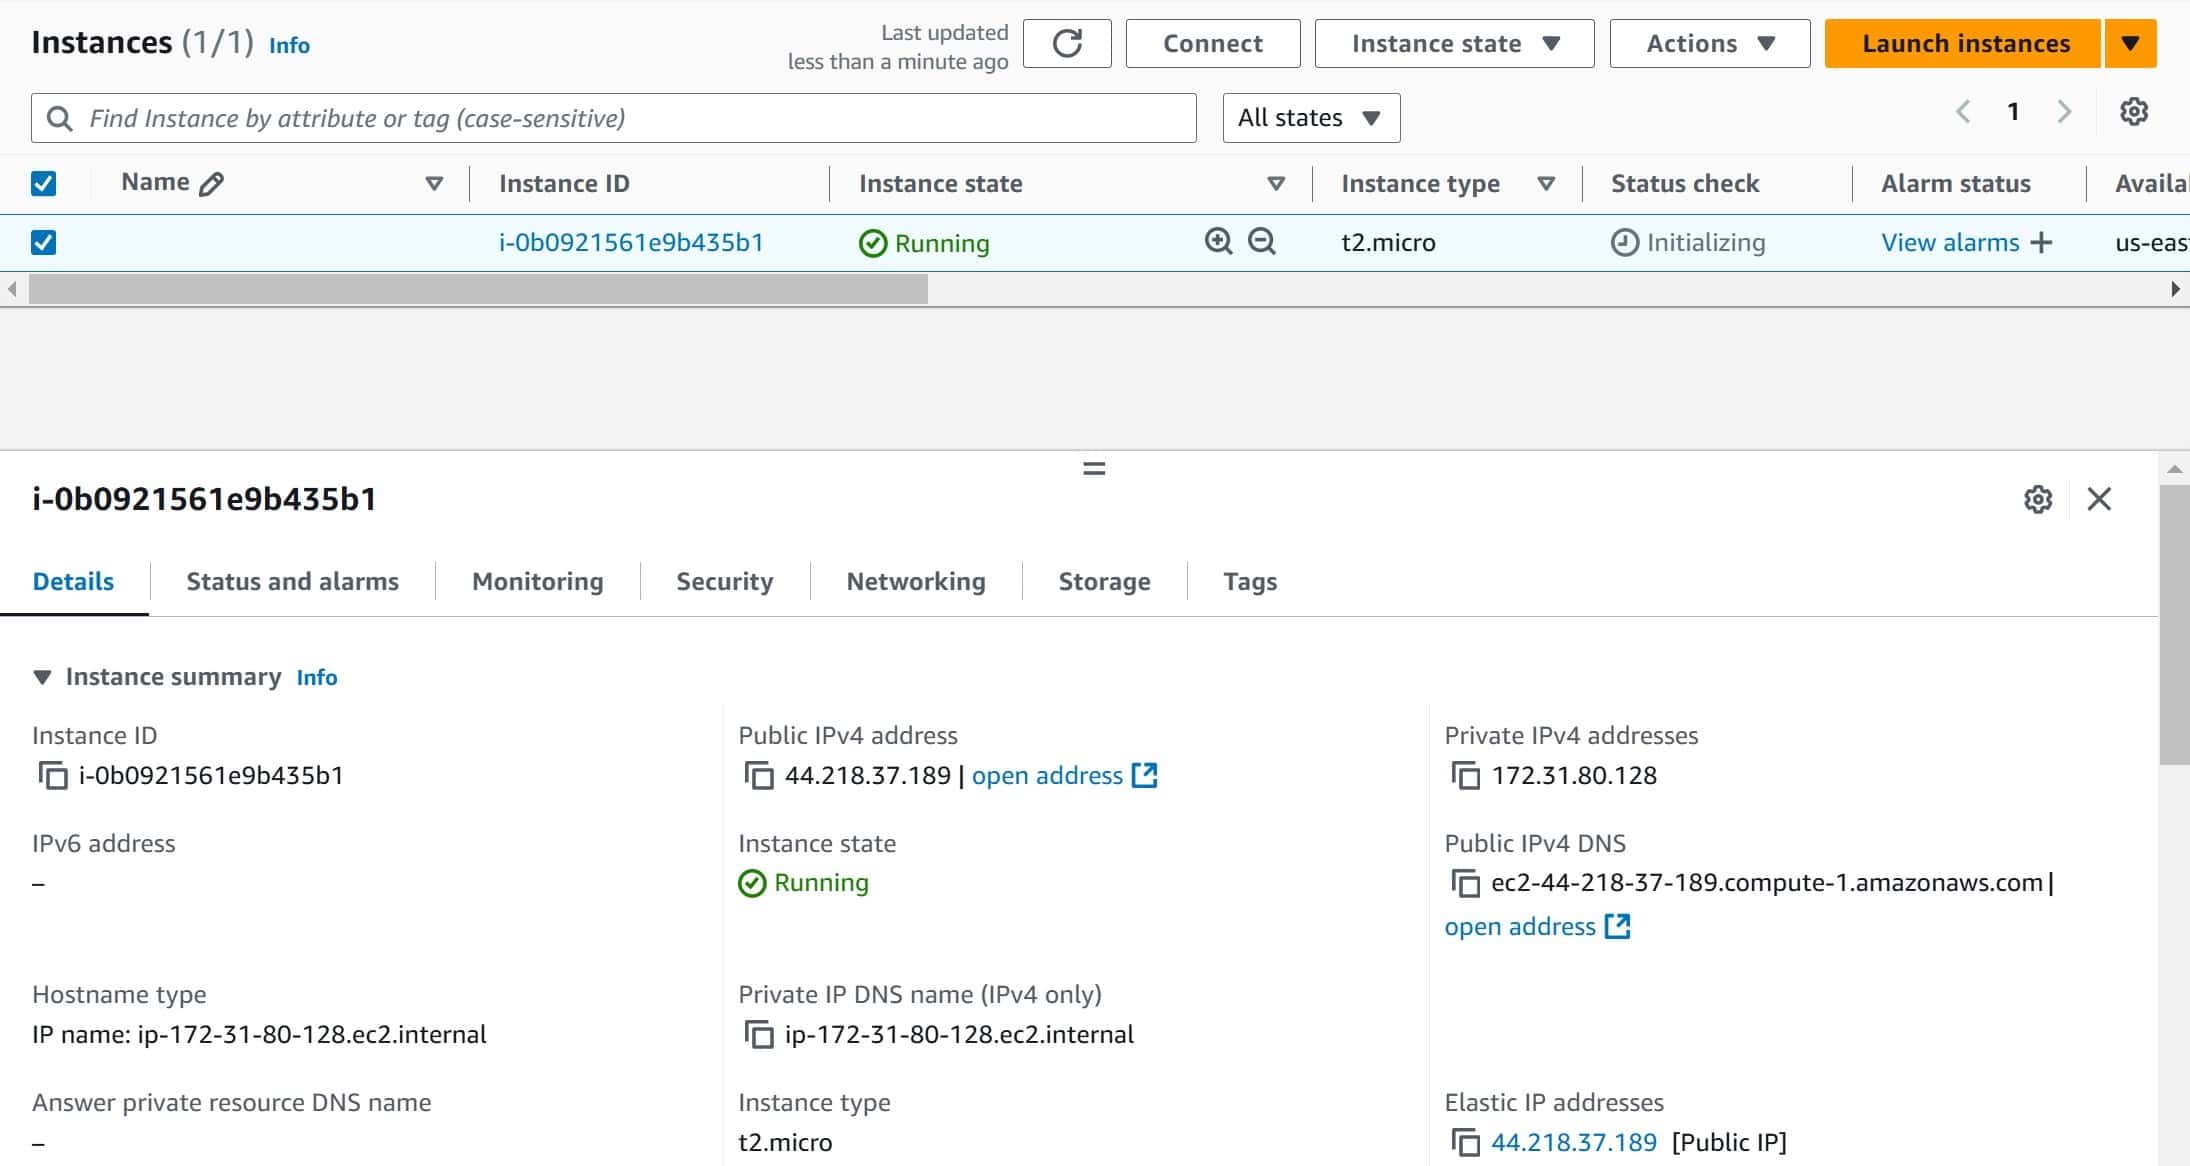
Let’s check our instance’s public IP again:
As we can see, our instance’s public IP has changed after we stopped and started the instance.
4.3. Elastic IP
An elastic IP also allows an EC2 instance to connect to the internet. However, we create an elastic IP address manually and allocate it to our specific instance. So, it’s not automatically assigned to the instance as the public IP address.
Another difference between an elastic IP and a public IP is that elastic IPs remain with an EC2 if we stop and start the instance. So, it doesn’t change unless we manually decide to remove or replace it.
To assign an elastic IP to an instance, we first need to create the elastic IP:
$ aws ec2 allocate-address
{
    "AllocationId": "eipalloc-04807c763484bbf59",
    "PublicIpv4Pool": "amazon",
    "NetworkBorderGroup": "us-east-1",
    "Domain": "vpc",
    "PublicIp": "44.218.37.189"
}
The above command allocates a new elastic IP address. We can see from the output that the IP is 44.218.37.189 and it has an allocation id of eipalloc-04807c763484bbf59.
Let’s attach this elastic IP to our instance:
$ aws ec2 associate-address --instance-id i-0b0921561e9b435b1 --allocation-id eipalloc-04807c763484bbf59
{
    "AssociationId": "eipassoc-0ffe47ecfcb0cb990"
}
Here, we use the allocation id of the elastic IP to associate it to our instance using its instance id.
Now, if we check the instance from the console, we should see our elastic IP:

We can see that our instance is now using the elastic IP that we created.
Let’s stop and start the instance:
$ aws ec2 stop-instances --instance-ids i-0b0921561e9b435b1
$ aws ec2 start-instances --instance-ids i-0b0921561e9b435b1
Now, if we check our elastic IP again, it should remain as it was:
As we can see here, our elastic IP remained without any change. We can also notice that it replaced the automatic public IP address.
5. Conclusion
In this article, we’ve covered the basics of AWS EC2 IP addresses. We explained the concept of an EC2 instance and a VPC and how they work together. We also explained the different types of EC2 IP addresses.
The private IP address is an internal-only IP that the EC2 uses to communicate with other resources within the VPC.
On the other hand, the public IP is automatically assigned to an EC2 instance and allows it to connect to the internet. It also changes every time we stop and start the instance.
If we want a static IP address that persists after we stop and start an instance, we should allocate an elastic IP.