

Learn through the super-clean Baeldung Pro experience:
>> Membership and Baeldung Pro.
No ads, dark-mode and 6 months free of IntelliJ Idea Ultimate to start with.
Last updated: March 18, 2024
Learn through the super-clean Baeldung Pro experience:
>> Membership and Baeldung Pro.
No ads, dark-mode and 6 months free of IntelliJ Idea Ultimate to start with.
The ability to manipulate and edit PDF files has become essential for professionals across various industries. Creating a black-and-white PDF file is essential for printing or reading on devices with limited color capabilities.
In this tutorial, we’ll discuss two methods to convert a color PDF file into a black-and-white PDF file: Ghostscript and GIMP.
Ghostscript is a popular software suite that allows users to manipulate and convert PDF files on Linux. Additionally, it’s a command-line tool. Therefore, we need to open a terminal window to use it. It’s popularly used to perform batch processing of PDF files, including merging, splitting, compressing, and extracting pages.
First, we need to install the Ghostscript software suit on Linux using apt:
$ sudo apt-get install ghostscriptFurthermore, we need to open a terminal window. Hence, we can open a terminal window by searching it in the system’s applications menu. After opening the terminal window, the next step is to navigate to the PDF file directory. Additionally, we can use the cd command to navigate to the directory where the target PDF file is located. Let’s assume that the target PDF file is in the Downloads directory:
$ cd ~/DownloadsMoving forward, we start converting the color PDF file to a black-and-white PDF file by running a command from Ghostscript software suit:
$ gs -sOutputFile=output.pdf -sDEVICE=pdfwrite -sColorConversionStrategy=Gray
  -dProcessColorModel=/DeviceGray -dCompatibilityLevel=1.4 -dNOPAUSE -dBATCH input.pdf
Here, input.pdf is the name of the original color PDF file, and output.pdf is the converted black-and-white PDF file.
GNU Image Manipulation Program (GIMP) is a powerful open-source image manipulation program. It provides a wide range of tools and features that allow users to perform basic to advanced photo editing tasks. Additionally, it can be used to convert PDF files to black and white.
First, we need to install the GIMP software suite on Linux. Typically, there’re two ways to install GIMP. The easiest way is to install GIMP from the software center. Alternatively, we can install it from the terminal:
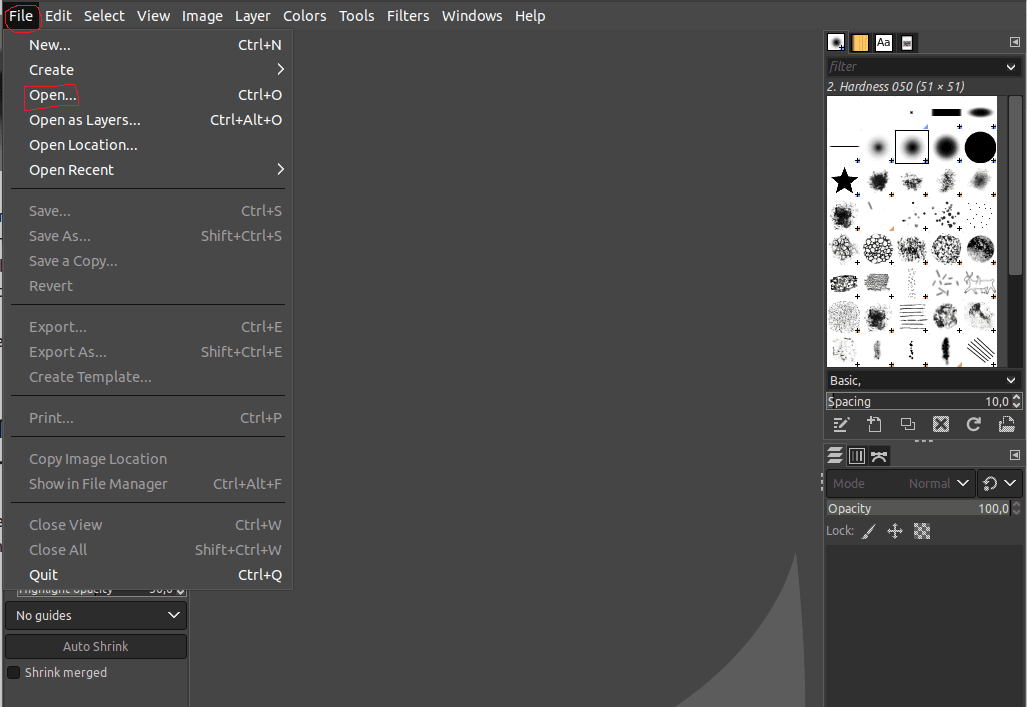
$ sudo apt-get install gimpThe next step is to open the original PDF file using GIMP:
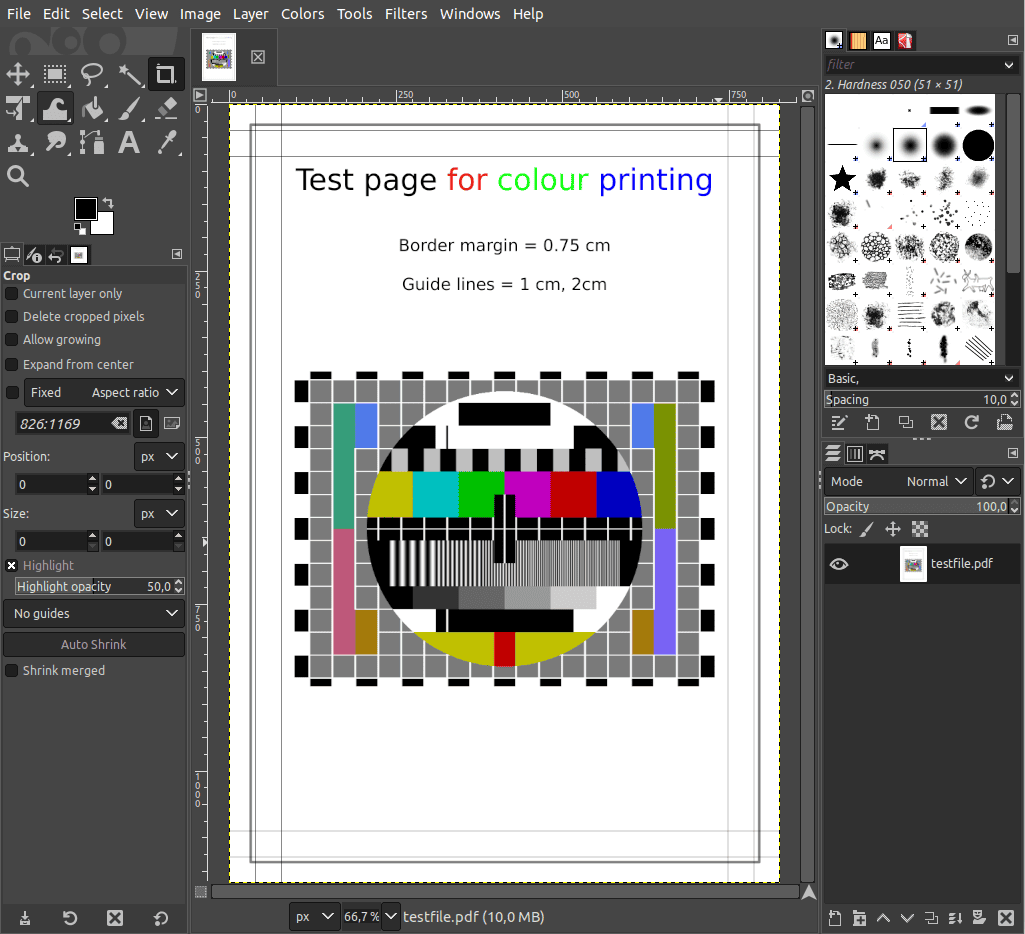
Further, we navigate to the target PDF file and click Import:
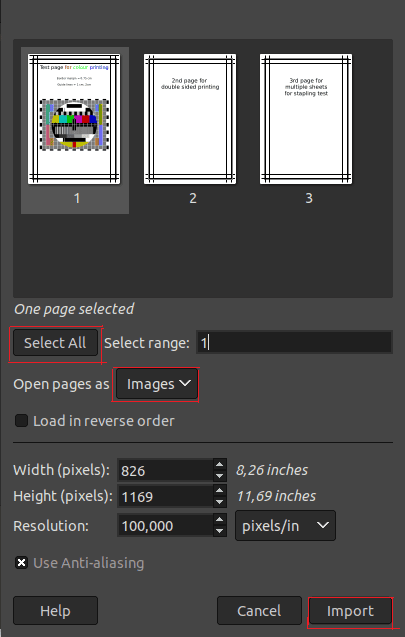
While importing, we can either select a specific range or all the pages in the PDF file. In this example, we import the first page of the original PDF file:
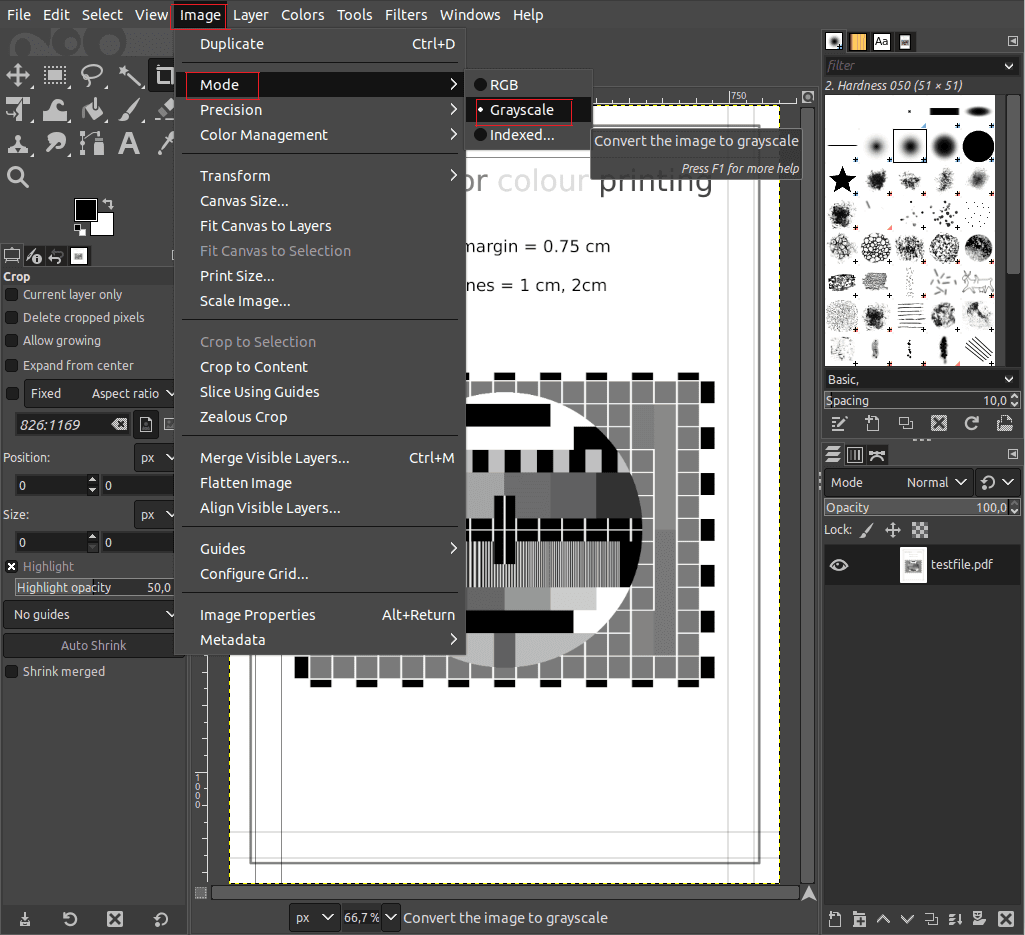
Furthermore, in the GIMP menu, we click Image and select the Mode option. Under the Mode option, we choose the Grayscale option:
We finally save the grayscale image as a PDF file by clicking on File and selecting the Export As option. While exporting the file, we can set a name and choose a directory to save the final converted PDF file.
Alternatively, we can export the grayscale image as an image file and save it in a directory. Additionally, we can open a terminal window and navigate to the directory where the grayscale image file is saved. Now using the convert command, we can create a new black-and-white PDF file:
$ convert -density 300 grayscale_image.jpg output.pdf
Here, grayscale_image.jpg is the output we generate from GIMP. The output.pdf is the final converted black-and-white PDF file.
In this tutorial, we discussed two methods for converting a color PDF file into a black-and-white PDF file: Ghostscript and GIMP. Based on the need, users can choose between the command-line interface of Ghostscript or the graphical user interface of GIMP.