

Yes, we're now running our only Summer Sale. All Courses are 30% off until 20th July, 2026:
Installing Firefox Directly From Mozilla Using APT
Last updated: November 30, 2024
Learn through the super-clean Baeldung Pro experience:
>> Membership and Baeldung Pro.
No ads, dark-mode and 6 months free of IntelliJ Idea Ultimate to start with.
1. Overview
Firefox, developed by the Mozilla Foundation, is a well-known web browser that enables users to browse the internet, access websites, and use web applications. Many Linux distributions, such as Ubuntu, Fedora, and Debian, typically come with Firefox pre-installed and configured as the default web browser. Therefore, this makes it convenient for users to start browsing right away without any setup.
In case Firefox isn’t pre-installed on the system or if the users prefer a different installation method, there are several alternative ways to get Firefox on Linux. These include installing from package managers like APT, DNF, Flatpak, and Snap, or even downloading directly from Mozilla.
In this tutorial, we’ll illustrate the method of installing Firefox directly from Mozilla using APT (Advanced Package Tool) for Debian-based Linux distributions.
2. Installing Firefox From Mozilla
Installing Firefox directly from Mozilla using Mozilla’s official APT repository has several advantages over using the default package provided by the Linux distribution. In particular, it ensures that we always have access to the latest version of Firefox, including new features, enhancements, and important security updates, without any delay. Let’s explore the different steps for installing Firefox using APT.
2.1. Create a Directory for APT Keys
To begin with, we create a directory to securely store APT repository keys:
$ sudo install -d -m 0755 /etc/apt/keyringsThis command creates the /etc/apt/keyrings directory with the appropriate permissions.
2.2. Import Mozilla’s APT Repository Signing Key
The next step is to download and save the signing key for Mozilla’s official APT repository. This key ensures that the packages are signed and authentic:
$ wget -q https://packages.mozilla.org/apt/repo-signing-key.gpg -O- | sudo tee /etc/apt/keyrings/packages.mozilla.org.asc > /dev/nullThis repository contains the latest Firefox packages directly from Mozilla.
2.3. Verify the Signing Key
For additional security, we verify the key fingerprint:
$ gpg -n -q --import --import-options import-show /etc/apt/keyrings/packages.mozilla.org.asc | awk '/pub/{getline; gsub(/^ +| +$/,""); if($0 == "35BAA0B33E9EB396F59CA838C0BA5CE6DC6315A3") print "\nThe key fingerprint matches ("$0").\n"; else print "\nVerification failed: the fingerprint ("$0") does not match the expected one.\n"}'
gpg: keyblock resource '/home/laiba/.gnupg/pubring.kbx': No such file or directory

The key fingerprint matches (35BAA0B33E9EB396F59CA838C0BA5CE6DC6315A3).
We get the output message which confirms that the key fingerprint matches the expected value. If the output indicates a mismatch, it means the key isn’t valid, and we shouldn’t proceed with adding the repository.
2.4. Add Mozilla’s APT Repository
Next, we add the Mozilla APT repository to our system’s sources list:
$ echo "deb [signed-by=/etc/apt/keyrings/packages.mozilla.org.asc] https://packages.mozilla.org/apt mozilla main" | sudo tee -a /etc/apt/sources.list.d/mozilla.list > /dev/nullConsequently, APT is now configured to fetch the latest Firefox packages directly from Mozilla.
2.5. Configure APT to Prioritize Mozilla Packages
Let’s now create a preferences file to ensure that APT prioritizes packages from the Mozilla repository over the default system repository:
$  echo '
> Package: *
> Pin: origin packages.mozilla.org
> Pin-Priority: 1000
> ' | sudo tee /etc/apt/preferences.d/mozilla

Package: *
Pin: origin packages.mozilla.org
Pin-Priority: 1000
As a result, the configuration is set to give a higher priority (1000) to packages from Mozilla’s repository.
2.6. Update Package List
Next, we need to refresh the APT package list to include the new Mozilla repository:
$ sudo apt update
Get:1 https://packages.mozilla.org/apt mozilla InRelease [1522 B]
Hit:2 http://archive.ubuntu.com/ubuntu jammy InRelease
Hit:3 http://security.ubuntu.com/ubuntu jammy-security InRelease
Get:4 https://packages.mozilla.org/apt mozilla/main all Packages [5439 kB]
Hit:5 http://archive.ubuntu.com/ubuntu jammy-updates InRelease
Fetched 5535 kB in 1min 5s (84.7 kB/s)
Reading package lists... Done
Hence, the system’s package list has been updated successfully.
2.7. Install Firefox
Finally, install the latest version of Firefox directly from Mozilla using apt:
$ sudo apt install firefox
Reading package lists... Done
Building dependency tree... Done
Reading state information... Done
The following additional packages will be installed:
  alsa-topology-conf alsa-ucm-conf libasound2 libasound2-data libgdk-pixbuf-xlib-2.0-0 libgdk-pixbuf2.0-0
...
Setting up firefox (132.0.1~build2) ...
Processing triggers for libc-bin (2.35-0ubuntu3.8) ...
This pulls the latest package of Firefox directly from Mozilla’s repository.
2.8. Verify Installation
For verifying the installation, let’s check Firefox’s version to ensure that we installed the latest one:
$ firefox --version
Mozilla Firefox 132.0.1
In this case, the output shows that the installed version of Firefox is 132.0.1.
3. Launching Firefox
Once the installation is complete, we can launch Firefox via the command line using the firefox -p command:
$ firefox -p
This will launch a dialog box. Next, we click on the Create Profile button to create a new Firefox profile. These profiles allow users to maintain separate browsing environments for different purposes, such as personal use, work, or testing:

Then, we click on the Next button to continue:

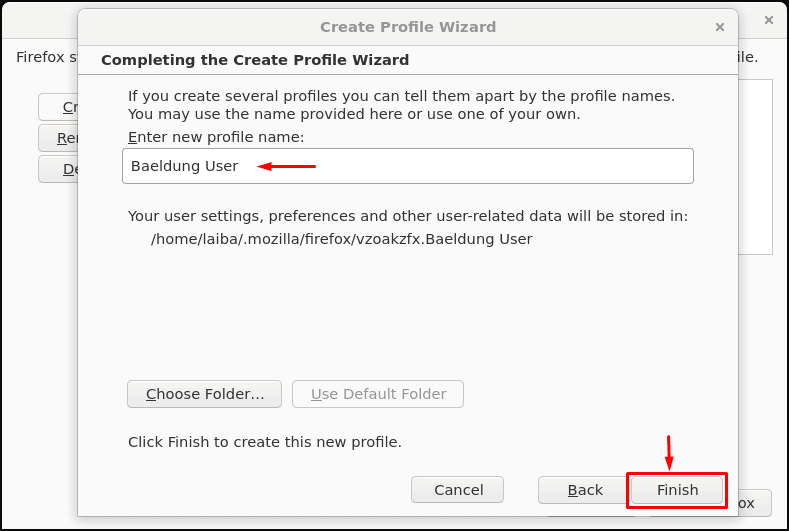
Afterward, we type in the desired profile name and hit the Finish button. Here, we set the profile name as Baeldung User:
Now, we select the Firefox profile that we created and click on the Start Firefox button:

Subsequently, Firefox will launch:
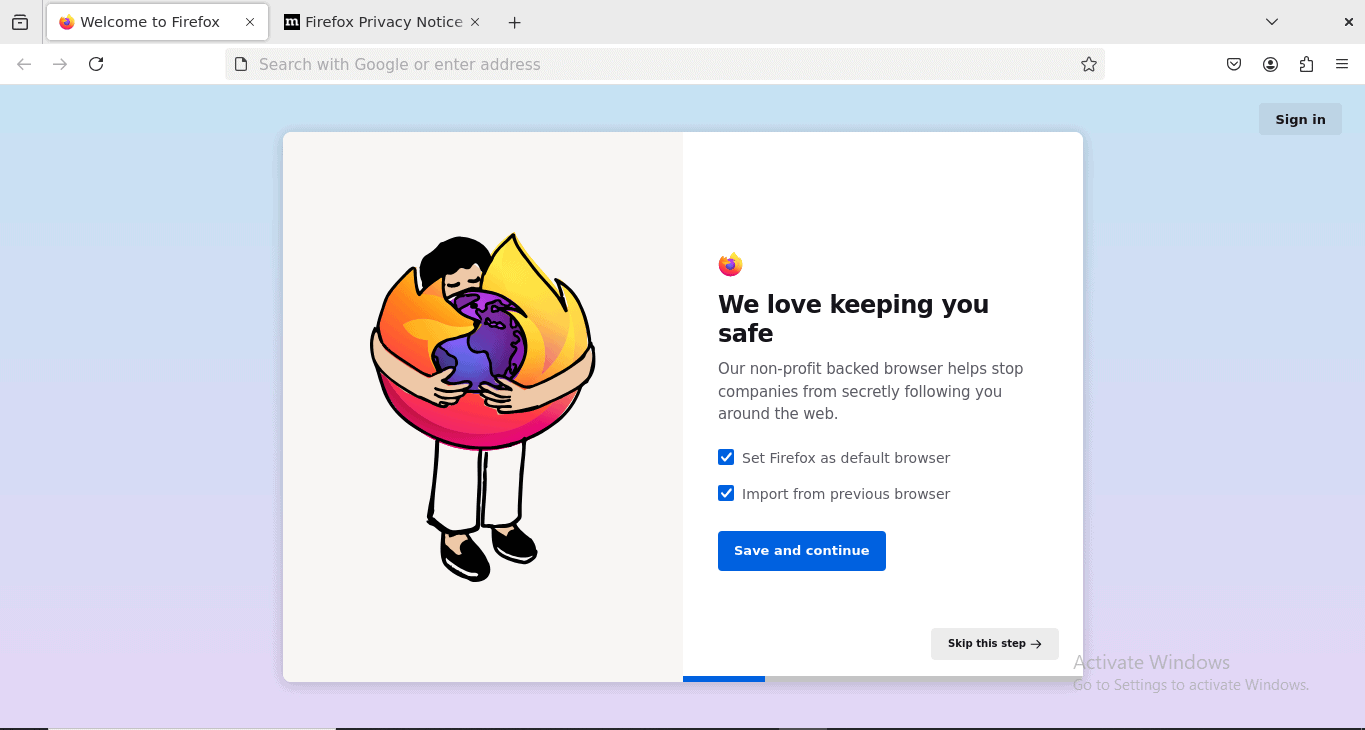
Therefore, we have successfully launched Firefox on the Linux system.
4. Setting up Different Languages in Firefox
Firefox also enables users to set up different interface languages and input options. We can browse the web in a preferred language and switch between multiple languages for the interface or content display.
To see all available Firefox language packs, run the apt-cache search firefox-l10n command:
$ apt-cache search firefox-l10n
firefox-l10n-ach - Mozilla Firefox - Firefox Language Pack for Acholi (ach) – Acoli
firefox-l10n-af - Mozilla Firefox - Firefox Language Pack for Afrikaans (af)
firefox-l10n-an - Mozilla Firefox - Firefox Language Pack for Aragonés (an) – Aragonese
firefox-l10n-en-ca - Mozilla Firefox - Firefox Language Pack for English (CA) (en-CA)
firefox-l10n-en-gb - Mozilla Firefox - Firefox Language Pack for English (GB) (en-GB)
...
firefox-l10n-zh-cn - Mozilla Firefox - Firefox Language Pack for 简体中文 (zh-CN) – Simplified Chinese
firefox-l10n-zh-tw - Mozilla Firefox - Firefox Language Pack for 正體中文 (zh-TW) – Traditional Chinese
The output shows a list of available language packs. Each language pack includes translations for the Firefox interface in the corresponding language. Therefore, we can select a desired language and install it.
For instance, to install the Romanian language pack, we run the following command:
$ sudo apt install firefox-l10n-ro
[sudo] password for laiba:
Reading package lists... Done
Building dependency tree... Done
Reading state information... Done
The following NEW packages will be installed:
  firefox-l10n-ro
...
Unpacking firefox-l10n-ro (132.0.1~build2) ...
Setting up firefox-l10n-ro (132.0.1~build2) ...
This installs the required localization files and prepares Firefox to use the new language.
Once we’ve installed the desired language pack, we navigate to Firefox Settings > Language, and set the preferred language for the interface:
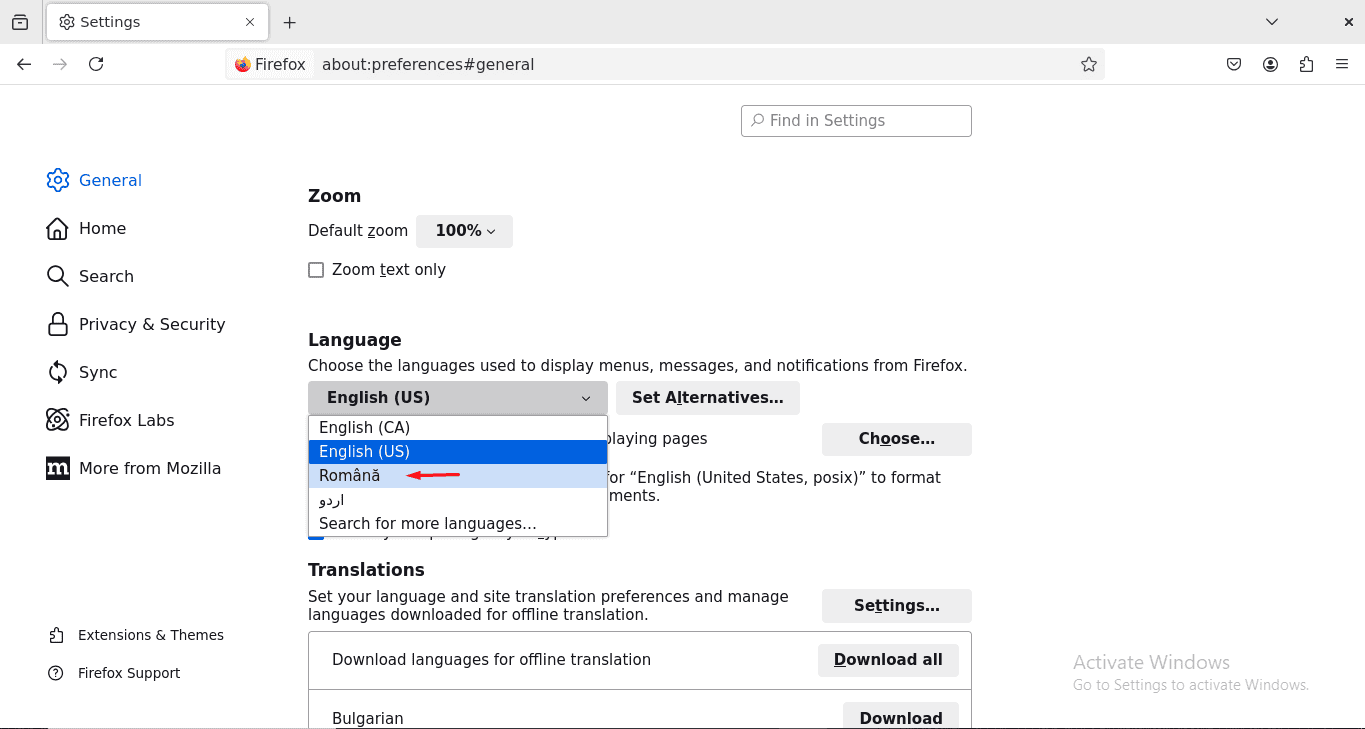
This way, we can successfully install and set the desired language for the Firefox interface.
5. Conclusion
In this article, we explained the step-by-step instructions for installing the latest version of Firefox directly from Mozilla using the APT package manager. In particular, we imported and added Mozilla’s APT repository to the system. Then, we installed Firefox’s latest version directly from Mozilla using apt.
Moreover, we demonstrated how to create and manage Firefox profiles to suit different browsing needs, as well as how to install and switch between various language packs for a personalized experience.