

Learn through the super-clean Baeldung Pro experience:
>> Membership and Baeldung Pro.
No ads, dark-mode and 6 months free of IntelliJ Idea Ultimate to start with.
Learn through the super-clean Baeldung Pro experience:
>> Membership and Baeldung Pro.
No ads, dark-mode and 6 months free of IntelliJ Idea Ultimate to start with.
A hex dump is the hexadecimal view of a file’s content. In this tutorial, we’ll cover the different tools we can use to create the hex dump of a file.
Let’s create a sample text file in ASCII format to use throughout this article:
$ cat >> sample.txt
This will be our sample text in the file. We will convert it to hex using different tools.hexdump is a built-in Linux utility to filter and display the contents of different files in hex, decimal, octal, or ASCII formats. It functions well as an inspection tool and can be used for data recovery.
We can also use it to view the executable code of different programs.
hexdump has the following basic syntax:
$ hd [OPTIONS...] [FILES...]Using the sample.txt file we created above, let’s create a hex dump:
$ hexdump sample.txt

0000000 6854 7369 7720 6c69 206c 6562 6f20 7275
0000010 7320 6d61 6c70 2065 6574 7478 6920 206e
0000020 6874 2065 6966 656c 202c 6577 7720 6c69
..truncated
By default, the hexdump command outputs hex data in 16-bit values. We can use the -canonical flag to display both hex and ASCII data:
$ hexdump -C sample.txt

00000000  54 68 69 73 20 77 69 6c  6c 20 62 65 20 6f 75 72  |This will be our|
00000010  20 73 61 6d 70 6c 65 20  74 65 78 74 20 69 6e 20  | sample text in |
00000020  74 68 65 20 66 69 6c 65  2c 20 77 65 20 77 69 6c  |the file, we wil|
...truncated
Additionally, if we want to restrict the output to hexadecimal values, then we can use a custom format string with the –format and –no-squeezing options:
$ hexdump --no-squeezing --format '/1 "%02x"' sample.txt
546869732077696c6c206265206f75722073616d706c65207465787420696e207468652066696c652e2057652077696c6c20636f6e7665727420697420746f20686578
Alternatively, we can use the shortcut hd command that also displays both hex and ASCII data:
$ hd sample.txtLastly, we can use the “>” operator to redirect output to a different file:
$ hd sample.txt > hex_dump_infoWe can use xxd to create the hex dump of a file. We can also use it to convert a hex dump back to its original ASCII or binary format.
xxd has the following syntax:
$ xxd [OPTIONS...] [FILES...]Let’s create the hex dump of our sample.txt file:
$ xxd sample.txt

00000000: 5468 6973 2077 696c 6c20 6265 206f 7572  This will be our
00000010: 2073 616d 706c 6520 7465 7874 2069 6e20   sample text in
00000020: 7468 6520 6669 6c65 2c20 7765 2077 696c  the file, we wil
...truncated
By default, xxd outputs three columns. They represent file offsets, hex data, and text or ASCII data respectively.
The results are only printed to the terminal. We can use the “>” operator to save changes to a specific file:
$ xxd sample.txt > hex_dump_fileFurthermore, we can use the -p option to restrict the output to hexadecimal values only:
$ xxd -p sample.txt
546869732077696c6c206265206f75722073616d706c6520746578742069
6e207468652066696c652e2057652077696c6c20636f6e76657274206974
20746f20686578207573696e6720646966666572656e7420746f6f6c732e
0a
We can notice that xxd inserts newlines in the output for better readability. However, we can use the -c option to specify the number of input bytes to show in each line of the output:
$ xxd -p -c256 sample.txt
546869732077696c6c206265206f75722073616d706c65207465787420696e207468652066696c652e2057652077696c6c20636f6e7665727420697420746f20686578207573696e6720646966666572656e7420746f6f6c732e0a
Lastly, to convert a hex dump back to its original binary format, we use the -revert (-r) flag:
$ xxd -r hex_dump_fileod or octal dump is a built-in command to convert files to different formats. The default format is octal. The od command can take in multiple files as input by combining the data in each of the files in the order we listed them in.
We can use this command to convert executable files to a human-readable format which is useful for debugging.
od has the following syntax:
$ od [OPTION]... [FILE]...By default, the od command displays data in octal format. Therefore, we’ll use the -t x1 flag to convert the output to hex format:
$ od -t x1 sample.txt

0000000 54 68 69 73 20 77 69 6c 6c 20 62 65 20 6f 75 72
0000020 20 73 61 6d 70 6c 65 20 74 65 78 74 20 69 6e 20
0000040 74 68 65 20 66 69 6c 65 2c 20 77 65 20 77 69 6c
...truncated
We can also combine the -t x1 flag with the -c flag to display each character along with its hex value:
$ od -t x1 -c sample.txt0000000 54 68 69 73 20 77 69 6c 6c 20 62 65 20 6f 75 72
T h i s w i l l b e o u r
0000020 20 73 61 6d 70 6c 65 20 74 65 78 74 20 69 6e 20
s a m p l e t e x t i n
0000040 74 68 65 20 66 69 6c 65 2c 20 77 65 20 77 69 6c
t h e f i l e , w e w i l
...truncatedFurthermore, if we only need the hexadecimal values, then we can add the -An option:
$ od -An -t x1 sample.txt |  tr -d '[ \n]'
546869732077696c6c206265206f75722073616d706c65207465787420696e207468652066696c652e2057652077696c6c20636f6e7665727420697420746f20686578207573696e6720646966666572656e7420746f6f6c732e0a
We must note that we used the tr command to trim any new lines or spaces that the od command adds for better readability.
Moreover, in cases where we need to save the output, instead of just printing it on the terminal, we can use the “>” operator and specify a filename:
$ od -x sample.txt > hex_dump_filehexcurse is a ncurses-based hex editor which displays hexadecimal data and readable text (ASCII) in a standard split view. We can also use it to edit our files.
It’s available in all major Linux distributions, although it doesn’t come pre-installed. We can install it using the package manager:
$ sudo apt install hexcurseNext, we open our sample.txt file:
$ hexcurse sample.txt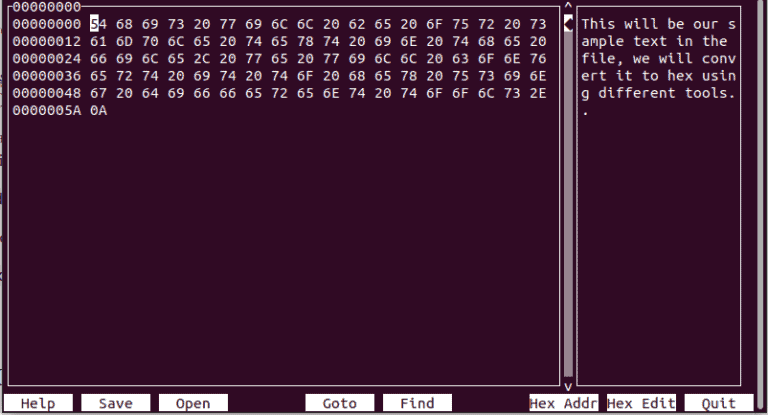
hexcurse has many keyboard shortcuts, including ctrl+s to save any changes we make.
If we need to save the changes to a different file, we can use the outfile(-o) flag:
$ hexcurse sample.txt -o hex_dump_fileThis opens up hexcurse with data from our sample.txt file. Then, we can save the changes to hex_dump_file.
hexyl is a simple hex viewer program that uses colors in the output to distinguish the different types of bytes: ASCII, whitespace, non-ASCII, etc.
Since it does not come pre-installed, let’s install it using the package manager:
$ sudo apt install hexylNow we can view the hex dump of our sample.txt file:
$ hexyl sample.txt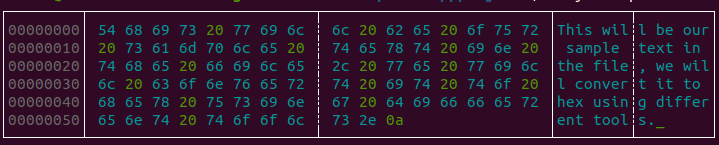
vim is one of the most advanced and highly customizable text editors for efficient text editing. It was developed by Bram Moolenaar.
We can also use vim with just about any file format. It has some handy built-in commands to get the hex dump of files.
First, let’s install the editor:
$ sudo apt-get install vimNext, we open our sample.txt file with vim:
$ vim sample.txtNow, we run this command on vim’s terminal to convert our text to hex format:
:%!hexdump -CThis will produce the following output:
00000000  54 68 69 73 20 77 69 6c  6c 20 62 65 20 6f 75 72  |This will be our|
00000010  20 73 61 6d 70 6c 65 20  74 65 78 74 20 69 6e 20  | sample text in |
00000020  74 68 65 20 66 69 6c 65  2c 20 77 65 20 77 69 6c  |the file, we wil|
...truncatedGNOME Hex Editor is a simple editor to view, edit and convert files to other formats, including hex or ASCII.
The display is split into two columns, with hexadecimal values in one column and the ASCII representation in the other.
We can download and install GNOME Hex Editor using the package manager:
$ sudo apt install ghexNow, we can view our file:
$ ghex sample.txt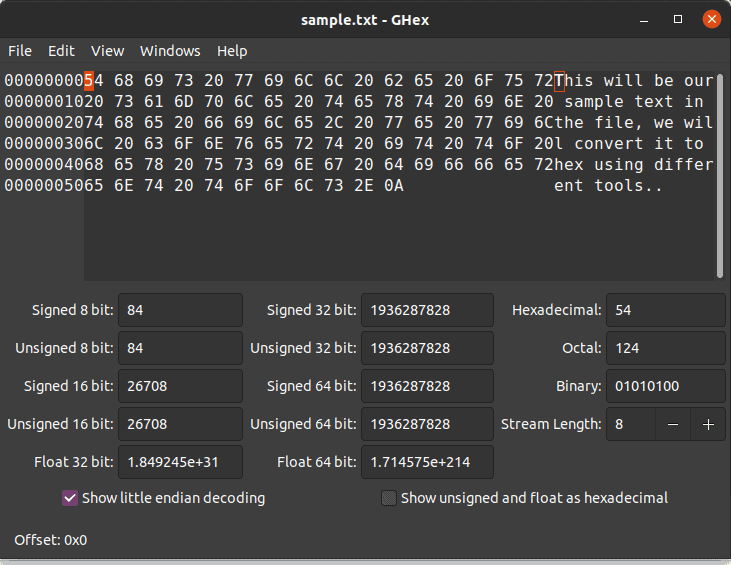
This gives us a nice graphical representation of the sample.txt file, separated into three columns that represent file offsets, hex data, and its ASCII representation, respectively.
We can use the arrow keys to navigate through the hex values and edit them.
In this article, we’ve covered the different tools available to convert files to hex format. Editing hex files is particularly important when working with executable files and is useful when debugging.