

Learn through the super-clean Baeldung Pro experience:
>> Membership and Baeldung Pro.
No ads, dark-mode and 6 months free of IntelliJ Idea Ultimate to start with.
Learn through the super-clean Baeldung Pro experience:
>> Membership and Baeldung Pro.
No ads, dark-mode and 6 months free of IntelliJ Idea Ultimate to start with.
Webcams have become integral in our digital lives and essential for video conferencing, streaming, security monitoring, and more. It is vital to ensure that our Linux system recognizes and interacts with these devices for a smooth user experience.
In this tutorial, we’ll explore various methods to check all available webcams on a Linux system. We will cover both command-line utilities and GUI applications that can be used to verify and manage webcam devices effectively.
The lsusb command is a powerful tool in Linux that lists all USB devices connected to the system. Whether dealing with external storage, peripherals, or webcams, lsusb provides a quick overview of all USB hardware. This command is handy for identifying connected devices and troubleshooting hardware-related issues, especially when working with devices like webcams that rely on a USB connection.
lsusb is available by default on most Linux distros. It’s part of the usbutils package and is commonly pre-installed on many systems.
Let’s list all USB devices connected and then identify the webcams:
$ lsusb
[...]
Bus 001 Device 007: ID 0000:3825   USB OPTICAL MOUSE
Bus 001 Device 003: ID 04f2:b669 Chicony Electronics Co., Ltd HP HD Camera
Bus 001 Device 006: ID 0bda:b00c Realtek Semiconductor Corp. Bluetooth Radio
Bus 001 Device 002: ID 045e:07f8 Microsoft Corp. Wired Keyboard 600 (model 1576)
One webcam is available in this example, the Chicony Electronics Co., Ltd HP HD Camera.
Alternatively, we can pipe the results to the grep command and filter them to show only webcams:
$ lsusb | grep -E -i 'camera|webcam|video'
Bus 001 Device 003: ID 04f2:b669 Chicony Electronics Co., Ltd HP HD Camera
We’re using the -E option to enable extended regular expressions, which allows using the | (or) operator. The –i option makes the search case insensitive.
The v4l2-ctl command is a versatile utility in the v4l-utils package designed to interact with video devices that comply with the Video4Linux (V4L2) API.
It offers detailed information about all connected webcams or other video input devices and comprehensive control over a wide range of functionalities, from listing and querying device capabilities to adjusting settings and capturing video.
We should ensure we have v4l-utils installed by the local package manager so that we can use the v4l2-ctl command.
On Debian-based systems, we can install it using APT:
$ sudo apt-get install v4l-utilsAlternatively, for Arch Linux and Arch-based distributions, we can use Pacman:
$ sudo pacman -S v4l-utilsFinally, on Fedora, we can employ DNF:
$ sudo dnf install v4l-utilsNow, let’s look at how to use the v4l2-ctl command to access information about webcams.
Let’s open the terminal and then list all video devices:
$ v4l2-ctl --list-devices
HP HD Camera: HP HD Camera (usb-0000:00:14.0-2):
	/dev/video0
The device node /dev/video0 is associated with the HP webcam. We can use this information for further configuration or troubleshooting.
Using the device node, we can also get more detailed information about each webcam:
$ v4l2-ctl -d /dev/video0 --all
Driver Info:
	Driver name      : uvcvideo
	Card type        : HP HD Camera: HP HD Camera
	Bus info         : usb-0000:00:14.0-2
	Driver version   : 5.15.158
	Capabilities     : 0x84a00001
		Video Capture
		Metadata Capture
[...]
This detailed output includes information such as the driver name, card type, bus info, driver version, and capabilities, which can be helpful in troubleshooting and configuration.
Finally, we can list all supported formats for a particular webcam:
$ v4l2-ctl -d /dev/video0 --list-formats-ext
ioctl: VIDIOC_ENUM_FMT
	Type: Video Capture

	[0]: 'MJPG' (Motion-JPEG, compressed)
		Size: Discrete 1280x720
			Interval: Discrete 0.033s (30.000 fps)
			Interval: Discrete 0.067s (15.000 fps)
		Size: Discrete 320x180
This output shows the pixel formats and resolutions supported by the webcam.
Cheese is a simple and powerful webcam application that comes pre-installed with many Linux distros for users who prefer a graphical interface. It was initially developed as part of the GNOME project and utilizes the GStreamer framework to provide a seamless webcam experience.
This application lets users capture photos and videos, apply fun effects, and test their webcam functionality.
Let’s launch the Cheese application from the terminal:
$ cheeseThe command opens up the main Cheese window.
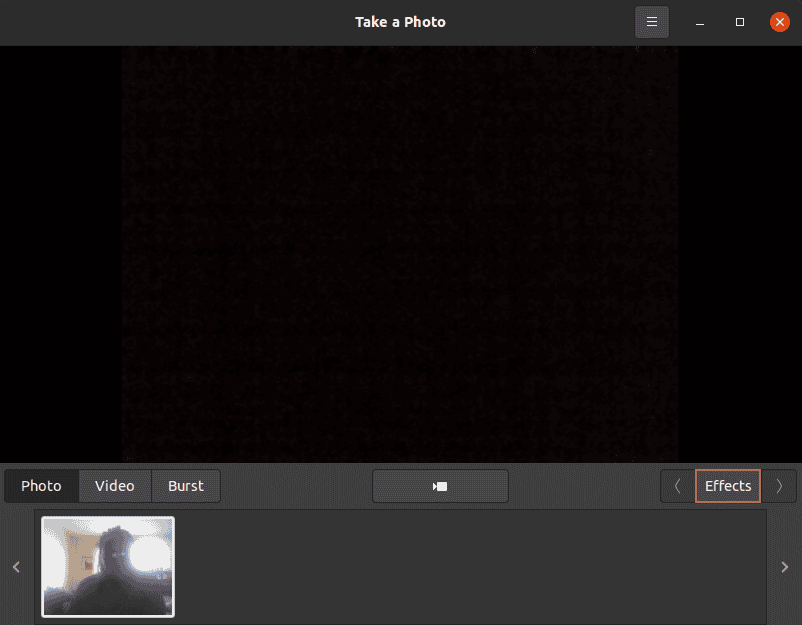
Cheese main view
Cheese automatically detects all connected webcams and provides a live feed, allowing us to test them quickly. Moreover, we can switch between taking photos, recording a video, or taking a burst of photos with the click of a button.
Finally, we can adjust each webcam’s photo and video resolution by clicking the options button in the top nav bar and selecting the Preferences options.
Guvcview is a powerful and feature-rich webcam application for Linux that offers users more advanced control over their video capture devices.
Although created as a graphical front-end for the uvcvideo driver, it offers tools for capturing and streaming video, adjusting camera settings, and applying effects. Unlike basic webcam applications, Guvcview lets users fine-tune parameters such as brightness, contrast, hue, and framerate.
We install Guvcview from the local package manager.
For example, on Debian-based systems, we can use APT:
$ sudo apt-get install guvcviewOn the other hand, we can use Pacman for Arch-based distros:
$ sudo pacman -S guvcviewFinally, we can employ DNF on Fedora:
$ sudo dnf install guvcviewLet’s now look at how to use the Guvcview application.
Let’s launch the Guvcview application through the terminal:
$ guvcviewThe command above launches two windows:
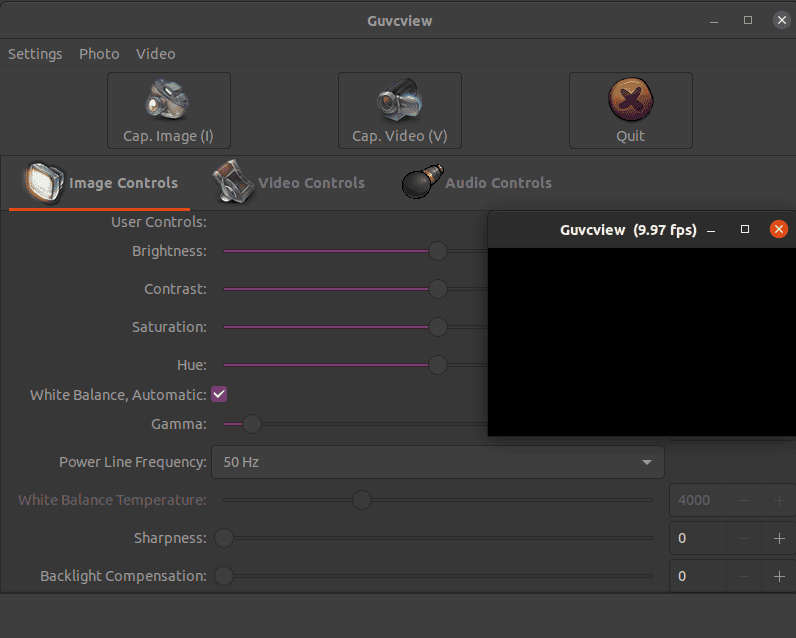
One window contains the different settings we can tweak. The second window shows a preview of each webcam’s live camera feed.
It provides a more comprehensive interface with various controls and settings for each webcam. It also lists all available webcams, allowing us to switch between them easily.
Furthermore, it displays the current frame rate per second (FPS) on each live camera feed, and we can even adjust audio settings for finer tuning.
In this article, we’ve looked at different methods of checking all available webcams. For example, command-line tools like lsusb and v4l2-ctl offer detailed information for users comfortable with the terminal. Conversely, graphical applications like Cheese and Guvcview provide user-friendly interfaces for testing and configuring webcams.