

Learn through the super-clean Baeldung Pro experience:
>> Membership and Baeldung Pro.
No ads, dark-mode and 6 months free of IntelliJ Idea Ultimate to start with.
Learn through the super-clean Baeldung Pro experience:
>> Membership and Baeldung Pro.
No ads, dark-mode and 6 months free of IntelliJ Idea Ultimate to start with.
Synchronization is an essential technique to ensure the data is up-to-date and secure on more than one device. Additionally, it’s beneficial when multiple users need to access the same data on numerous devices. To facilitate this, we can employ the Linux rsync command that syncs and transfers data between remote and local machines.
In this tutorial, we’ll use the rsync command to transfer files between Android and Linux machines.
The Rsync (remote sync) command is a powerful Linux command that enables users to synchronize and copy files and directories locally and remotely between two servers. It aids users in different aspects of data migration and archiving:
Let’s discuss the syntax of the rsync command:
$ rsync <options> SOURCE DESTINATIONIn the above syntax, we replace the options parameter with the rsync options that modify its behavior. Additionally, we replace SOURCE and DESTINATION with the respective file or directory paths. However, in the case of a remote server, we need to add the remote system user and address as USERNAME@IP_ADDRESS: before the SOURCE or DESTINATION path.
Moving forward, let’s highlight some of the commonly used rsync command options:
At this point, we understand how to use the rsync command locally and remotely on Linux machines. How does Android fit into such a setup?
Now, let’s discuss how we can utilize the rsync command to synchronize data between Android and Linux. For this purpose, we install Termux (terminal emulator) on Android and establish SSH connections between both endpoints. After establishing the connection, we can use the rsync command to transfer data.
To begin with, we browse the F-Droid website on Android:
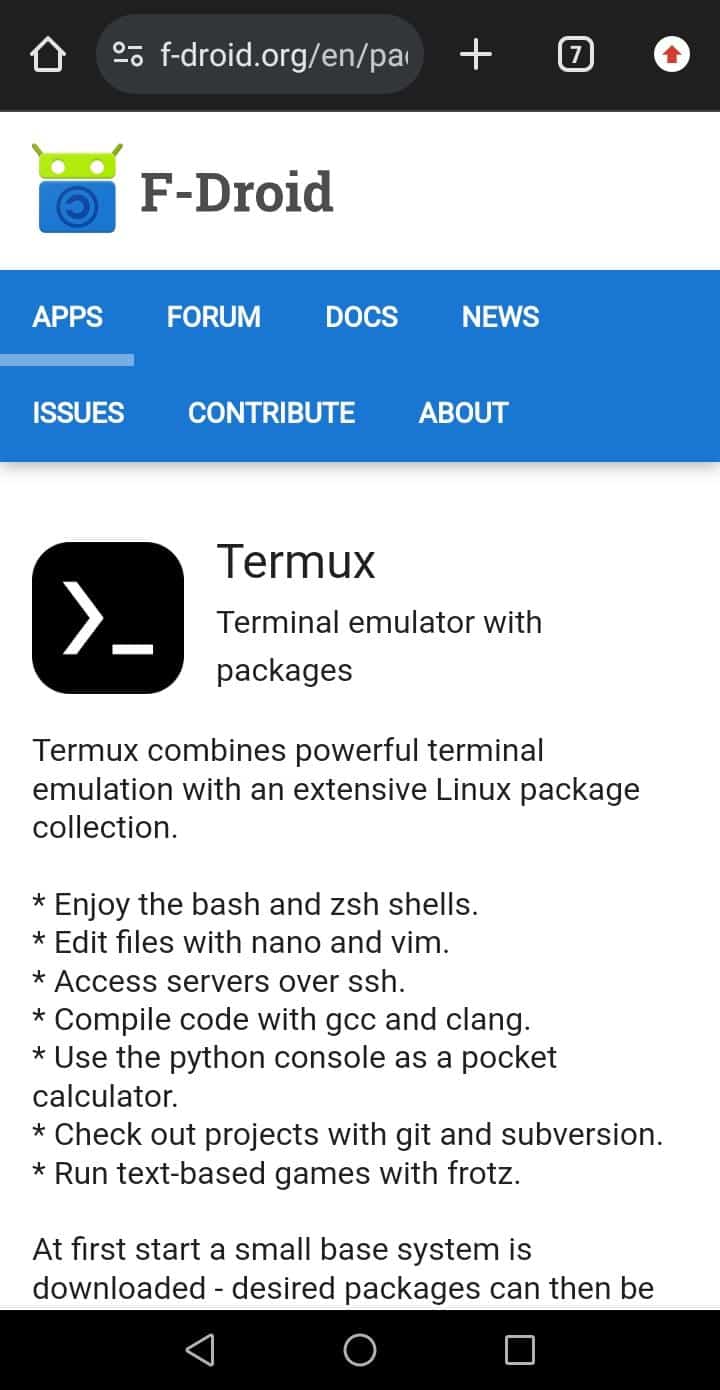
Then, we download the latest Termux APK:

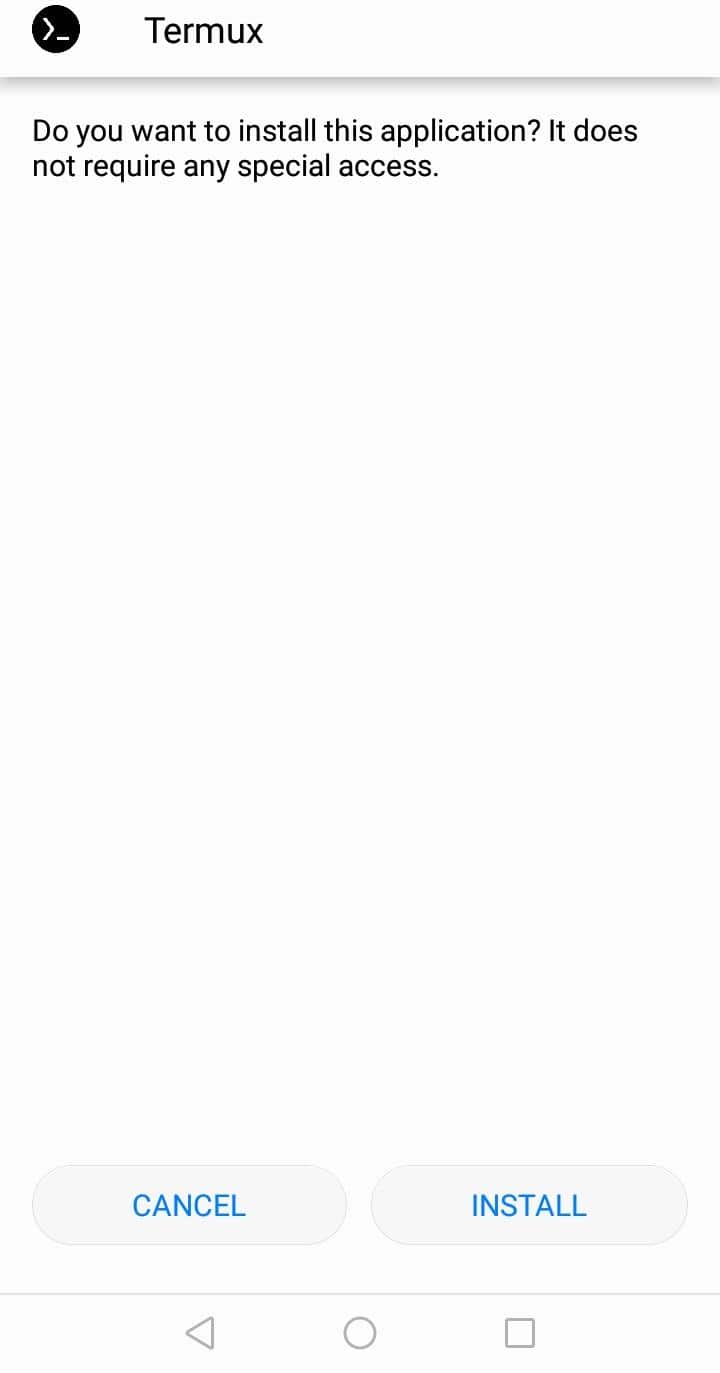
After downloading Termux, we install it:
Once Termux is installed successfully, we open it to run commands:

Now, let’s execute the update command to ensure that the package lists are up-to-date:
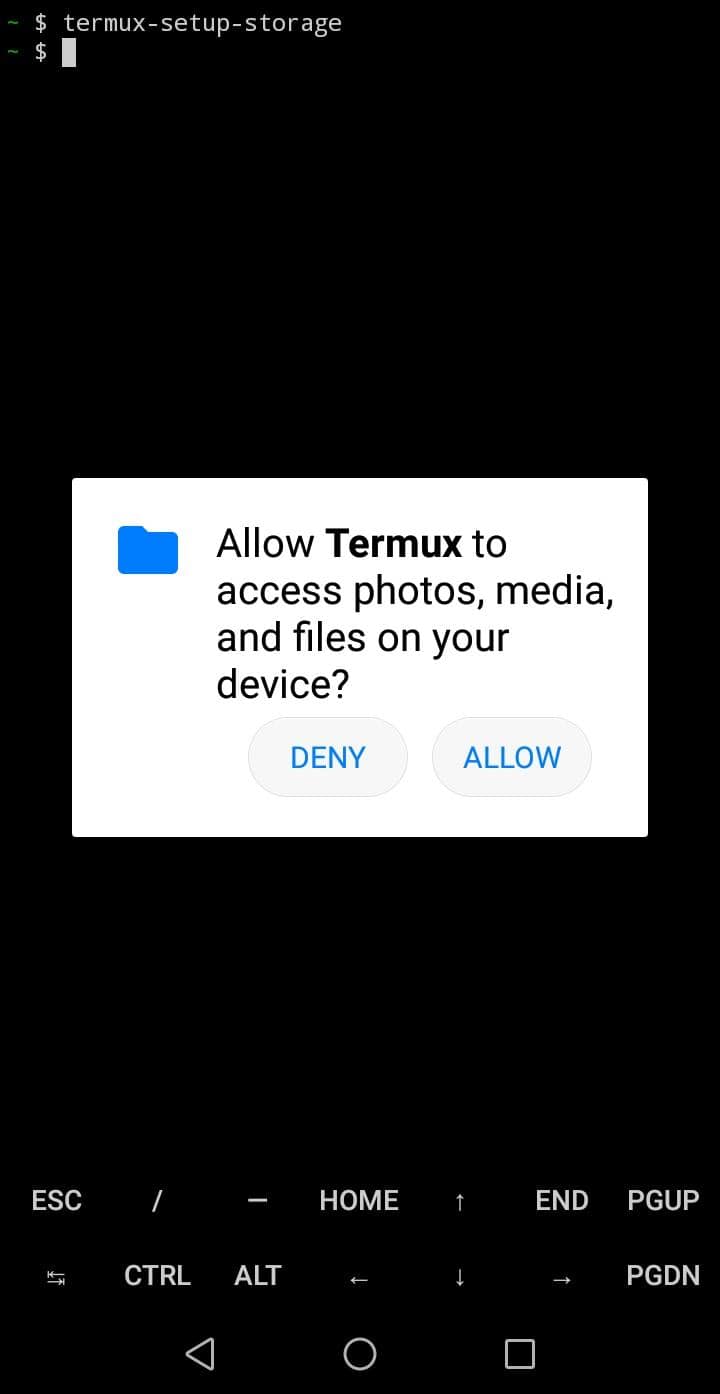
$ pkg updateAfterward, we grant the storage permission to Termux via the termux-setup-storage command:
$ termux-setup-storageAs a result, we see a pop-up notification for permissions. Here, we press the Allow button:
Finally, let’s check the IP address of the Android by executing the ifconfig command:
$ ifconfigWe copy this information for later use:

We’ve successfully installed Termux on Android and are ready to establish SSH connections on both devices.
First, we need to decide if we want to send data from Android to Linux or vice versa. Whatever the case, we set up the SSH server on the source machine and access it from the destination machine. Let’s discuss both cases.
We can install the OpenSSH server on Linux from its official repository:
$ sudo apt install openssh-serverAfterward, we can confirm its status to check if the SSH server is running:
$ sudo systemctl status ssh
● ssh.service - OpenBSD Secure Shell server
     Loaded: loaded (/lib/systemd/system/ssh.service; enabled; vendor preset: e>
     Active: active (running)
...
If the SSH server isn’t running, we can use the the systemctl command to start it:
$ sudo systemctl start sshNext, let’s add a firewall rule to allow incoming SSH traffic:
$ sudo ufw allow ssh
Rules updated
Rules updated (v6)
Now that the SSH server is up and ready, let’s run the ifconfig command to check the server IP:
$ ifconfig
enp0s3: flags=4163<UP,BROADCAST,RUNNING,MULTICAST>  mtu 1500
        inet 192.168.2.106  netmask 255.255.255.0  broadcast 192.168.2.255
        ...
Finally, we note the IP address for future use.
After setting up the SSH server on Linux, we can access it from Android by running an ssh command:
$ ssh [email protected]
The authenticity of host '192.168.2.106 (192.168.2.106)' can't be established.
ED25519 key fingerprint is SHA256:NFKh7GG7YJjgUHvxDA5TH6qVKlXQomXOHZTFRU/4yas.
This key is not known by any other names.
Are you sure you want to continue connecting (yes/no/[fingerprint])? yes
Warning: Permanently added '192.168.2.106' (ED25519) to the list of known hosts.
[email protected]'s password:
Welcome to Ubuntu 22.04.4 LTS (GNU/Linux 6.8.0-40-generic x86_64)
…
neem@baeldung:~$
In the above command, neem is the Linux username, and 192.168.2.106 is the Linux machine’s IP address. Upon successful execution of the command, we can observe that the Android device is connected to the Linux machine successfully. To exit this remote session, we type exit:
neem@baeldung:~$ exit
logout
Connection to 192.168.2.106 closed.
We can reestablish this SSH session as needed.
Moving forward, let’s install the SSH server on Android via the pkg command in Termux:
$ pkg install opensshAfter installing the SSH server, we check the Android device’s username:
$ whoami
u0_a155
Next, let’s check the IP address of Android:
$ ifconfigJust like before, we require an open port for connection purposes. To check for open ports, let’s install Nmap in Android:
$ pkg install nmapAfter installing Nmap, we can use it to check for open TCP ports:
 $ nmap -Pn 192.168.2.100
Starting Nmap 7.95
…
PORT     STATE SERVICE
8022/tcp open  oa-system

Nmap done: 1 IP address (1 host up) scanned in 1.40 seconds
The open port is 8022. Again, we note down the Android device port number, username, and IP address, as we need these to connect from Linux.
Next, we set a password for the SSH connection by running the passwd command:
$ passwd
New password:
Retype new password:
New password was successfully set.
Finally, we run the sshd command to ensure the SSH daemon is started:
$ sshdThus, we’re ready to access Android from Linux.
Now, we can run the ssh command in the Linux terminal to connect to the Android device. In the command, we should carefully enter the username, IP address, and port number of the Android device as noted before:
$ ssh [email protected] -p 8022
The authenticity of host '[192.168.2.100]:8022 ([192.168.2.100]:8022)' can't be established.
ED25519 key fingerprint is SHA256:Ae8wjRcbAdce4PX4zppCFOZv9rIcx6yEi6FG7ZCJwH8.
This key is not known by any other names
Are you sure you want to continue connecting (yes/no/[fingerprint])? yes
Warning: Permanently added '[192.168.2.100]:8022' (ED25519) to the list of known hosts.
[email protected]'s password:

Welcome to Termux!
...
We can observe that the connection was successful. To close this connection, we can type exit. However, let’s not close this session for now, as we need it for sending files from Linux to Android using the rsync command.
As there’s a remote SSH session established between the Linux and Android devices, let’s open another tab in the Linux terminal and install the rsync command:
$ sudo apt install rsyncNext, we can use this rsync command to send the android_rsync file located in the /home/neem/Documents directory of Linux to the /data/data/com.termux/files/home/ path on Android:
$ rsync -a -e "ssh -p 8022" /home/neem/Documents/android_rsync [email protected]:/data/data/com.termux/files/home/If we don’t get any errors, it means the data has been transferred successfully. To confirm this, let’s run the ls command in Termux:
$ ls
android_rsync  share2.txt  storage
share.txt      share_dir
Now, we can use the rsync command to send files and directories from Linux to Android. Once the transfer is complete, we can close the SSH connection between both devices.
Before continuing, we create an SSH session from Android to Linux using the method discussed earlier.
After creating the SSH session, we can open another session in Termux and install rsync on Android:
$ pkg install rsync opensshNow, we can use the rsync command to send data from Android to Linux. For instance, we can run rsync to transfer the share.txt file to the Linux system Desktop:
$ rsync -a /data/data/com.termux/files/home/share.txt [email protected]:/home/neem/Desktop/Similarly, we can use rsync to transfer any directory:
$ rsync -a /data/data/com.termux/files/home/share_dir [email protected]:/home/neem/Desktop/The rsync command even enables users to share multiple files from Android to Linux:
$ rsync -a /data/data/com.termux/files/home/share_dir /data/data/com.termux/files/home/share2.txt [email protected]:/home/neem/Desktop/To verify, let’s head to the Linux Desktop directory and execute the ls command:
$ ls
share2.txt  share_dir  share.txt
Thus, we’ve successfully utilized the rsync command with Android and Linux to transfer data.
In this article, we discussed how to use the rsync command to transfer data between Linux and Android. It enables users to move data and make full use of the command features while preventing duplication.
In summary, to use rsync in this environment, we established an SSH session between both systems and then transferred the desired data.