

Learn through the super-clean Baeldung Pro experience:
>> Membership and Baeldung Pro.
No ads, dark-mode and 6 months free of IntelliJ Idea Ultimate to start with.
Learn through the super-clean Baeldung Pro experience:
>> Membership and Baeldung Pro.
No ads, dark-mode and 6 months free of IntelliJ Idea Ultimate to start with.
IntelliJ IDEA is one of the most popular IDE’s for Java-based software development. If we want to create applications using Kotlin, IntelliJ becomes the natural choice because of its native support and great user experience.
In this tutorial, we’re going to see how to get started with Kotlin using IntelliJ IDEA.
First of all, we need to download and install the latest version of IntelliJ IDEA for our operating system. There are fully supported versions for Windows, Linux, and macOS. All of them come with the runtime environment required to run Kotlin applications.
Once we’ve installed IntelliJ IDEA, we can create our first application with Kotlin:
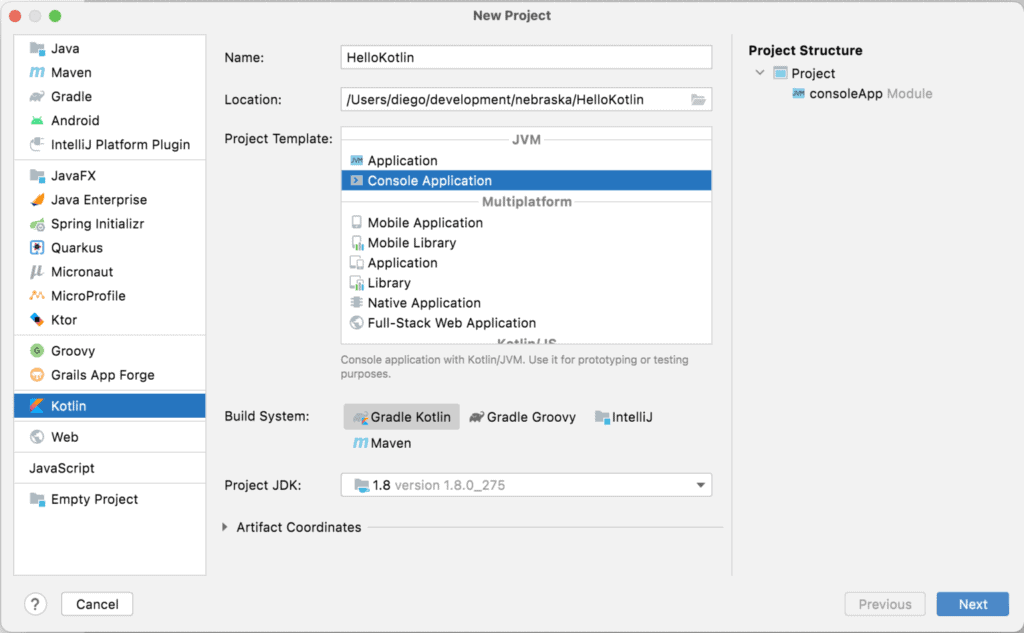
For this tutorial, we’re using JDK 1.8 for the JVM runtime environment, and by default, the project will use Gradle as the build automation tool.
The next step is to accept the default configuration and includes JUnit 4 as the testing framework, which is the library we are going to use for unit testing. We need to check that the data is correct and click “Finish”:
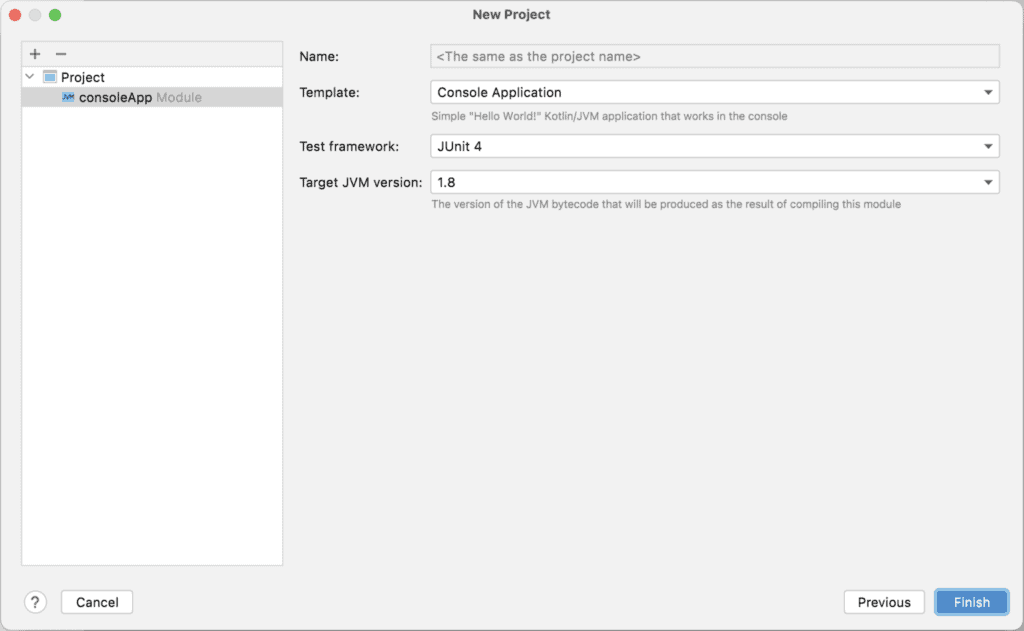
At this point, IntelliJ will configure all the required dependencies and libraries required by our project using the build.gradle.kts file configuration.
Now we’re going to add our own touch to the application by adding some changes to the generated base code. The project structure generated by IntelliJ includes a main.kt file in src/main/kotlin directory and should look similar to this:
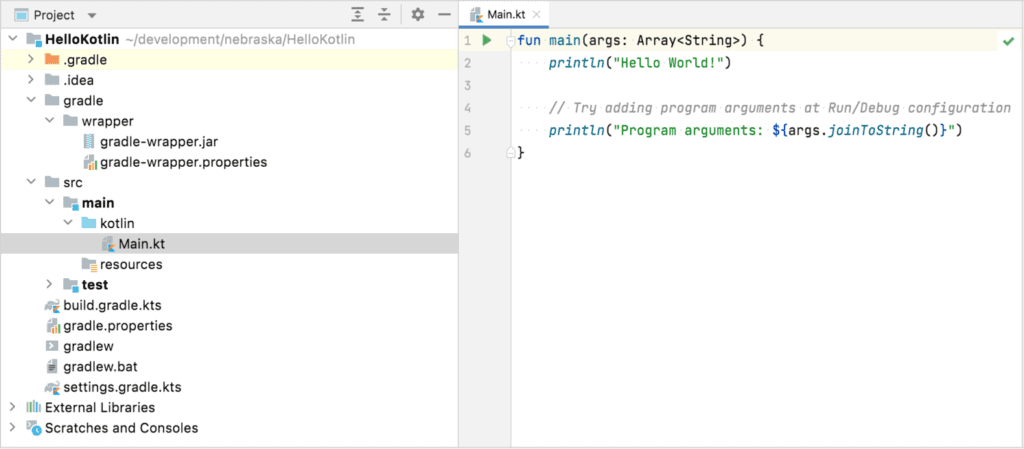
The main.kt is the entry point for our application and, by default, receives an array of String for the command line arguments. For this example, we’re not going to use any arguments, so we can just remove them.
We’ll now modify our application so we can emulate the magic hat of Hogwarts and select the house to which we’re going to belong:
fun main() {
val housesOfHogwarts = arrayOf("Gryffindor", "Hufflepuff", "Ravenclaw", "Slytherin")
val houseSelected = housesOfHogwarts.random()
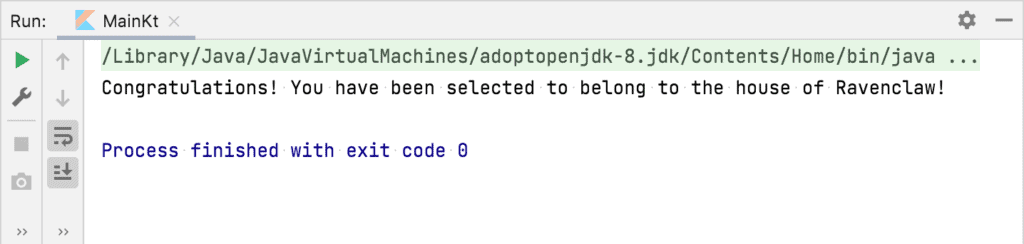
println("Congratulations! You have been selected to belong to the house of $houseSelected!")
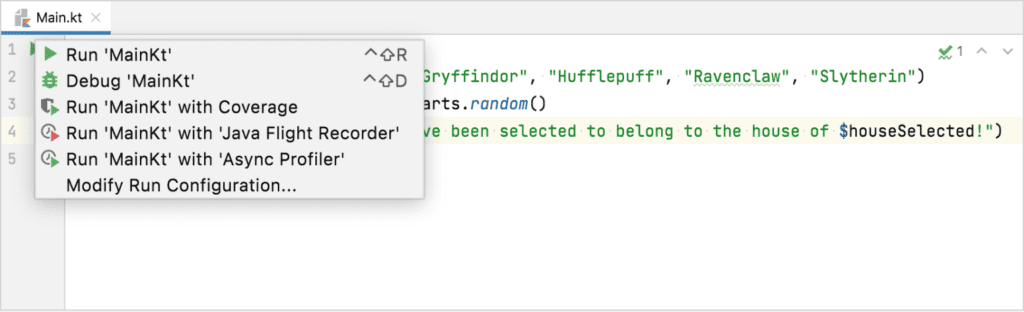
}Now, it’s time to run our application, and for this, we can just click on the green button at the left side of our code that says “Run” and select the option “Run MainKt”:
IntelliJ will prompt us the result of running the application on the console:
And this is how to run our first application in Kotlin. In the next section, we’ll see how to start testing our Kotlin applications.
In this article, we’re not going to go deeply into the key concepts of unit testing, but we’ll see how to use IntelliJ tooling to start writing basic tests.
To add some unit tests to our application, we need to set up the Kotlin test dependency and the task to run them with JUnit. IntelliJ should be added already in the build.gradle(.kts) file:
dependencies {
    testImplementation(kotlin("test"))
}

tasks.test {
    useJUnit()
}
Now, let’s modify our application again and add a specific class for the magic hat of Hogwarts instead of just running inside the main.kt file:
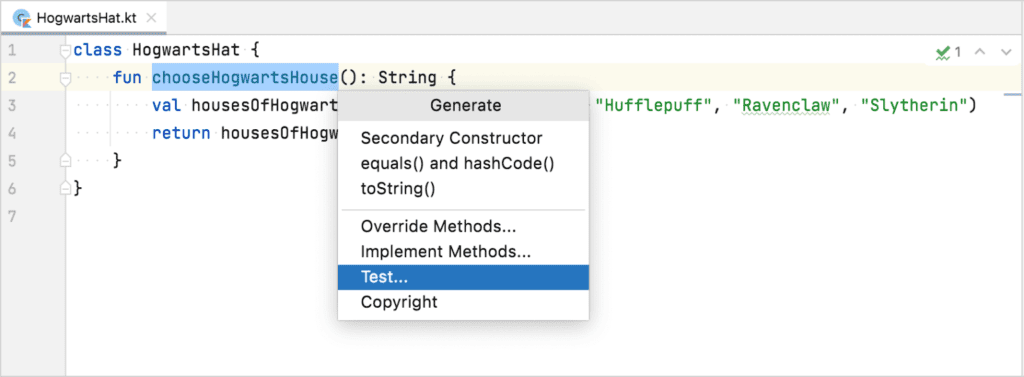
class HogwartsHat {

    fun chooseHouse(): String {

        val housesOfHogwarts = arrayOf("Gryffindor", "Hufflepuff", "Ravenclaw", "Slytherin")
        return housesOfHogwarts.random()
    }
}
Then, in the IntelliJ menu, we select “Code > Generate > Test…” and then the HogwartsHat class:
A new window will pop up, and we’ll need to specify a name for the testing class. By default, IntelliJ will suggest one that we can change. After confirmation, the testing class will be created on the src/test/kotlin directory.
We’ll now define the test case for our HogwartsHat application:
class HogwartsHatTest {
private val hogwartsHat: HogwartsHat = HogwartsHat()
@Test
fun testHouseSelection() {
val hogwartsHouse = hogwartsHat.chooseHogwartsHouse()
assertNotNull(hogwartsHouse)
assertTrue { arrayOf("Gryffindor", "Hufflepuff", "Ravenclaw", "Slytherin").contains(hogwartsHouse) }
}
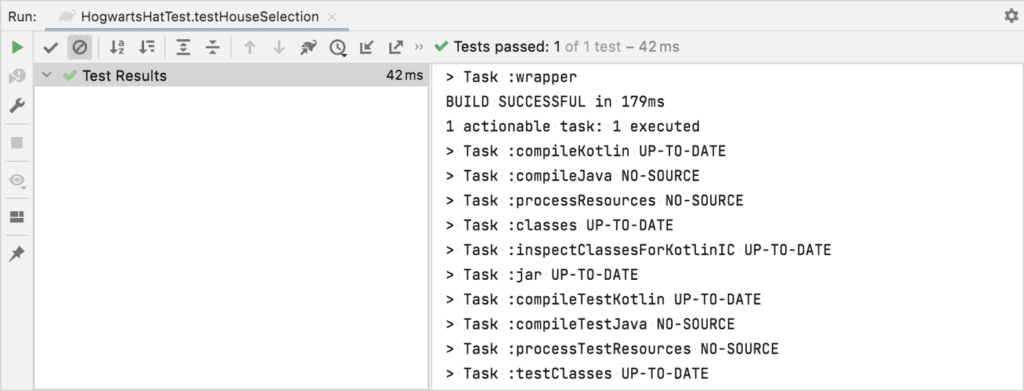
}And then, we can run this test by clicking on the “Run” button at the left of the method and select “Run” HogwartsHatTest. The result will be shown on the console:
In this article, we saw how to get starting with Kotlin using IntelliJ IDEA. We learned how to create new applications and how to add basic unit tests. IntelliJ offers great tooling set to make the Kotlin development process much easier.