
Learn through the super-clean Baeldung Pro experience:
>> Membership and Baeldung Pro.
No ads, dark-mode and 6 months free of IntelliJ Idea Ultimate to start with.
Learn through the super-clean Baeldung Pro experience:
>> Membership and Baeldung Pro.
No ads, dark-mode and 6 months free of IntelliJ Idea Ultimate to start with.
In this tutorial, we’re going to take a look at the Play Framework with Scala. We’ll learn how to set up the Play Framework, use the development tools to generate our first project, and how to implement our own features. Additionally, we’ll examine its built-in testing capabilities.
And for Java developers, we’ve also prepared a Java version of the Introduction to the Play Framework tutorial.
Before we start, we need to install the sbt command-line tool (and at least JDK 11, ideally 17). In this article, we’re using sbt version 1.9.7 to install Play Framework version 3.0.0. Play 2.9 is very similar to 3.0.0, except that Play 2.9 uses Akka whereas Play 3.0.0 uses Apache Pekko under the hood.
The Play Framework documentation promises us “a powerful console and build tools”.
We can start by generating the scaffolding of a new Play Framework application using sbt:
sbt new playframework/play-scala-seed.g8After loading a lot of dependencies, the tool displays a prompt and asks us to name the new project and provide the organization name.
This template generates a Play Scala project
name [play-scala-seed]:
In this example, we are going to name it “baeldung-play-framework.” The organization name is going to be used as the package name. Scala package names follow the same convention as Java package names. Therefore, our package name will be “baeldung.com“.
Now, we can run the project from the baeldung-play-framework directory:
cd baeldung-play-framework
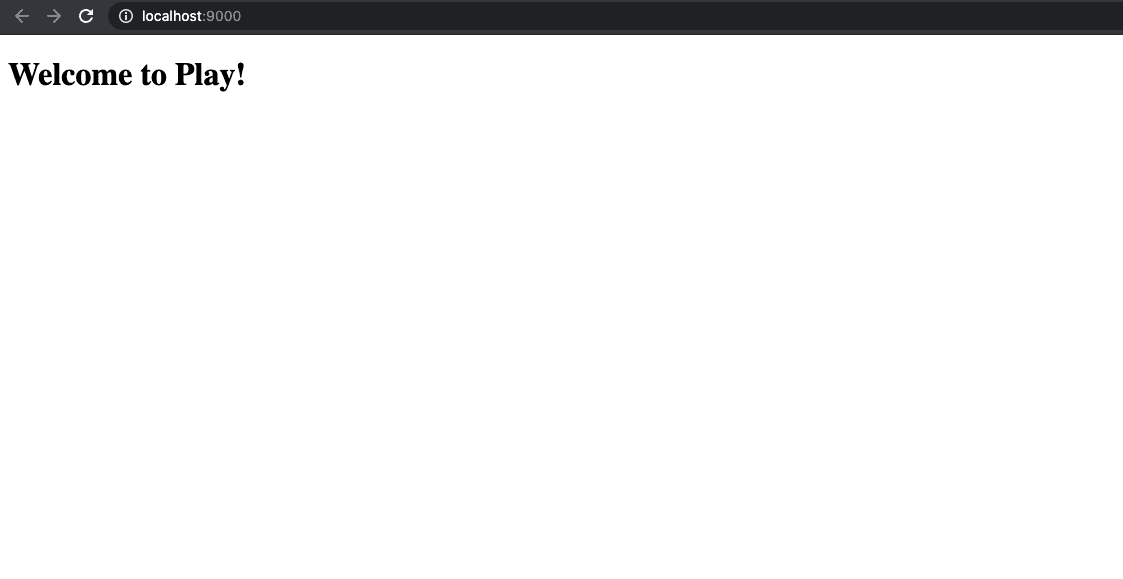
sbt runThe first time we run the project may take a couple of minutes, as it compiles and builds the libraries. Once it is started, we can open to http://localhost:9000 in the browser and get the default welcome page:
So far, we’ve created a working HTTP server in the Play Framework without touching any code.
Now, it’s time to load the project code into the IDE and look at the directory structure.
In our project directory, we see four directories created by the sbt template: app/controllers, app/views, conf, and public.
That’s all we need to know about the directories for now.
The Play Framework provides us with a “hit refresh workflow.” The idea is that we can update our code and refresh the page in the browser to see the changes without restarting the server.
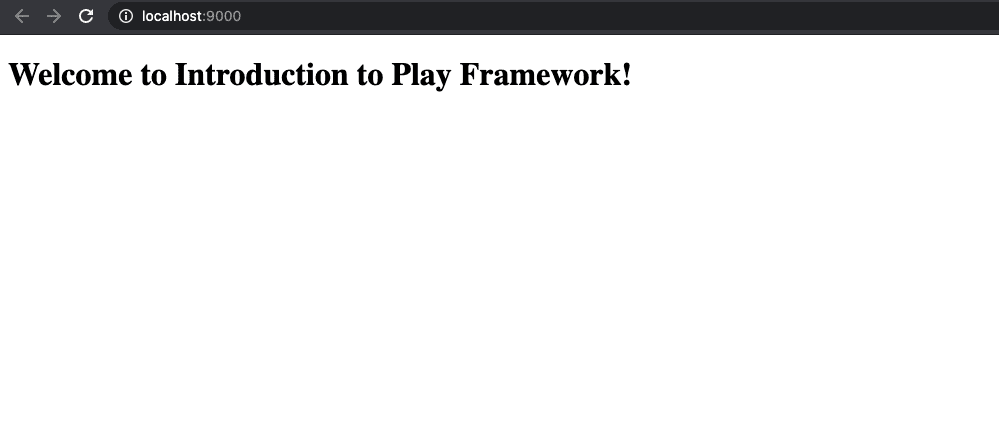
First, let’s create a new file in the app/view directory. We’re going to call it firstexample.scala.html. Now, we open the file and save the following code as its content:
@()

@main("Welcome to Introduction to Play Framework!") {
    <h1>Welcome to Introduction to Play Framework!</h1>
}
In addition to modifying the HTML file, we have to update the Scala code. Let’s open the app/controllers/HomeController.scala file and change the line: Ok(views.html.index()) to Ok(views.html.firstexample())
When we look at the output of the still running Play server, we don’t see anything new. It seems that nothing has happened yet.
However, when we hit the “Refresh” button in the browser, we’ll see the following content in the browser window:
In the previous example, we made some changes to the existing code and saw the results. Now, let’s look at Play internals to understand how it works and what else we can do.
When the Play server receives a request, it checks the config/routes file to determine which controller and method will handle the request. The method defined inside a controller and used in the routes file is called an action.
Let’s say that we want to define a new action in the HomeController class and configure a new route. Our code will get two parameters from the URL and print a value based on those two parameters. To keep things simple, we’ll read two numbers provided in the URL and display a page that prints the sum of those numbers.
To implement a new action, we open the Scala file (HomeController.scala) and add a new method that accepts two parameters, calculates their sum, and passes the result to the view template:
def printSum(first: Long, second: Long) = Action { implicit request: Request[AnyContent] =>
val sum = first + second
Ok(views.html.index(sum))
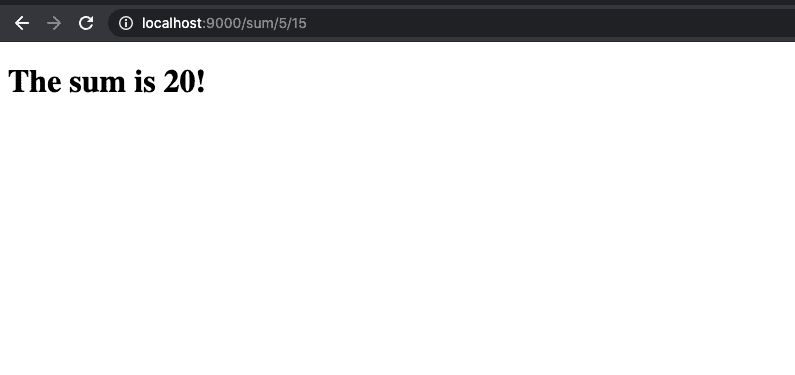
}Now, let’s open the index.scala.html file, add the sum parameter on top of the file, and use it in the content:
@(sum: Long)

@main("Add two numbers") {
    <h1>The sum is @sum!</h1>
}
We just defined a function that generates a page. The first line of the view file describes the function parameters. The other lines are the code that generates the output.
The sum is calculated in the controller and passed to the Ok function which returns the content with the status code 200 OK.
Finally, we’ll need to open the routes file to add the new path and action:
GET /sum/:first/:second controllers.HomeController.printSum(first: Long, second: Long)The route consists of three parts. First, we specify the HTTP method. Next, we define the path and its variables. In our case, we’re using two variables that denote the first and the second number of the sum we want to calculate.
Finally, we’re specifying the controller and which action should be used to handle the request. Note that we’re using the path variables as the parameters of the function.
In the browser, when we open the following URL: http://localhost:9000/sum/5/15, we should see this page:
Last but not least, we should take a look at the tests generated by sbt while creating a new Play project.
When we open the HomeControllerSpec file from the tests/controllers directory, we see a ScalaTest specification.
To make the code complete, we must write the test for the additional route that we have created. Let’s define a new test case called “render a page that prints the sum of two numbers” that calls the /sum route with two numeric parameters.
"render a page that prints the sum of two numbers" in {
    val request = FakeRequest(GET, "/sum/10/20")
    val sumOfNumbers = route(app, request).get

    // the rest of the test
}
Of course, we need an assertion to verify the results. In this case, we expect to see the text “The sum is 30!” on a successfully rendered HTML page.
status(sumOfNumbers) mustBe OK
contentType(sumOfNumbers) mustBe Some("text/html")
contentAsString(sumOfNumbers) must include ("The sum is 30!")
We can run the tests using the sbt test command. Upon execution of the command, we should see that our new test has passed.
In this article, we used the Play Framework command-line tools to create a simple website, added a new view template, and defined a new route with a parameterized template. In the end, we looked at the automatically generated tests and implemented our test cases.