

Yes, we're now running our only Summer Sale. All Courses are 30% off until 20th July, 2026:
Git Remote Branch Deleted Still Appears in branch -a
Last updated: December 10, 2024
Learn through the super-clean Baeldung Pro experience:
>> Membership and Baeldung Pro.
No ads, dark-mode and 6 months free of IntelliJ Idea Ultimate to start with.
1. Overview
Git is a Distributed Version control system (DVCS) that enables developers to effortlessly collaborate on a common code base. One of the prime reasons for the wide adoption of Git is its ability to manage remote branches efficiently.
However, sometimes one might observe that a branch appears in the local repository even after being deleted from the remote repository. This happens because, by default, the local repository doesn’t automatically sync when we perform any operation on the remote repository.
In this quick tutorial, we’ll discuss various methods for cleaning up stale branches from the local Git repository. So, let’s dive into a practical example.
2. Problem Setup
To demonstrate, let’s configure a potentially problematic setup, demonstrate the issue, and continue from there.
2.1. Creating a Remote Repository and Branches
First, we navigate to a remote repository and create a few remote branches from the web UI:
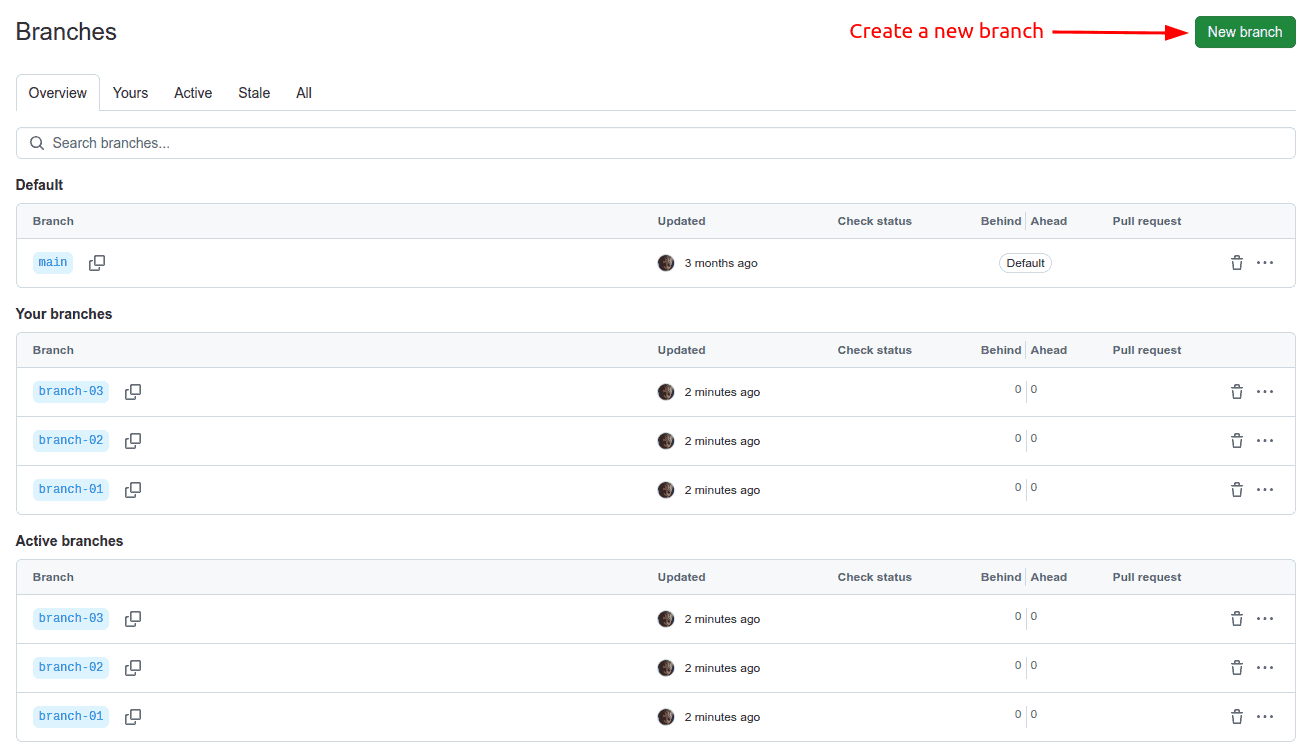
Here, we created three branches – branch-01, branch-02, and branch-03.
2.2. Cloning the Repository
Next, let’s clone this repository and verify that all remote branches are present locally:
$ git clone https://github.com/narendrakangralkar/demo.git
...
$ cd demo
$ git branch -a
* main
  remotes/origin/HEAD -> origin/main
  remotes/origin/branch-01
  remotes/origin/branch-02
  remotes/origin/branch-03
  remotes/origin/main
In this example, we used the -a option with the git branch command to show the remote-tracking as well as local branches.
2.3. Deleting a Branch
Now, let’s delete the remote branch branch-01 from the web UI:
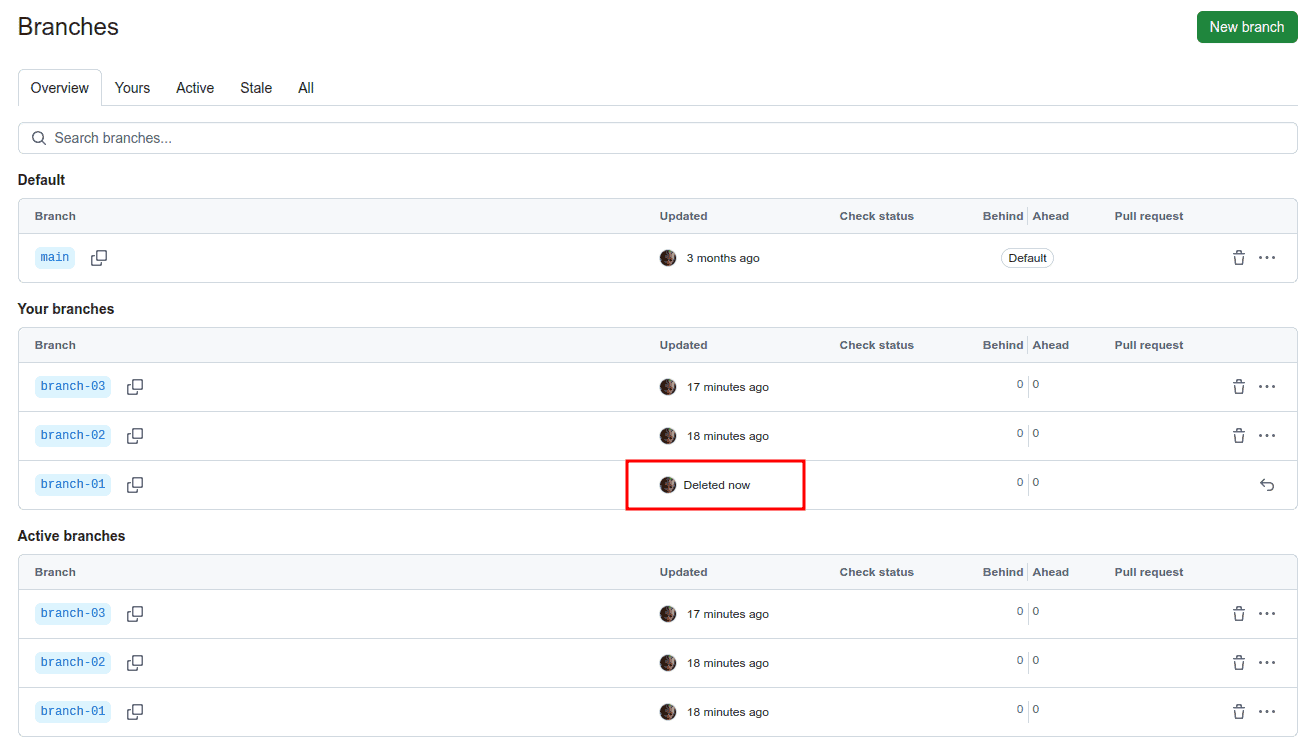
Finally, let’s check the output of the git branch -a command:
$ git branch -a
* main
  remotes/origin/HEAD -> origin/main
  remotes/origin/branch-01
  remotes/origin/branch-02
  remotes/origin/branch-03
  remotes/origin/main
Here, we can see that the deleted branch branch-01 still appears in the local Git repository.
Now, the setup is ready. In the upcoming sections, we discuss how to clean up the stale branches from the local repository.
3. Using the git remote prune Command
The remote prune command enables us to remove stale branches efficiently. With the help of this command, we can remove all stale branches from the local repository:
$ git remote prune origin --dry-run
Pruning origin
URL: https://github.com/narendrakangralkar/demo.git
 * [would prune] origin/branch-01
In this example, the keyword origin refers to the remote repository.
It’s important to note that we used the –dry-run option with the command. This option reports which branches would be pruned without actually pruning them. So, to actually prune the stale branches from the local repository, one should omit the –dry-run option.
4. Using the git pull Command
Similarly, we can use the –prune option of the pull command to remove the stale branches:
$ git pull --prune --dry-run
From https://github.com/narendrakangralkar/demo
 - [deleted]         (none)     -> origin/branch-01
In this example, the command output shows that it deleted branch-01 from the local repository.
5. Using the git fetch Command
Just like the pull command, we can also use the –prune option with the fetch command to remove the stale branches from the local repository:
$ git fetch --prune --dry-run
From https://github.com/narendrakangralkar/demo
 - [deleted]         (none)     -> origin/branch-01
Here, we can see that the fetch command removed the stale remote-tracking branch.
In addition to this, we can also set the fetch.prune option to true in the git-config:
$ git config --global fetch.prune trueThis configuration instructs Git to behave as if the –prune option is on the command line.
6. Conclusion
In this article, we discussed removing the stale remote-tracking branches from the local Git repository.
First, we used the remote prune command to remove a stale branch. Then, we used the pull command to achieve the same. Next, we removed the stale branch from the local Git repository using the fetch command.
Finally, we set the fetch.prune option to true in the Git configuration to perform the cleanup automatically while fetching.